vB5 Software Install - alanbjohnston/CubeSatSim GitHub Wiki
The CubeSatSim software requires Raspbian Stretch or Buster, full desktop or Lite and the following packages:
- wiringpi
- git
- libasound2-dev
- pi-power-button
- Direwolf
- rpitx
You will need the following:
- Pi Zero W with 2x20 male pin header soldered in, or Pi Zero WH (Note the software will will work on any Pi including the 4B, but the CubeSatSim hardware only works the Pi Zero or Pi Zero W)
- Pi Power supply ( or micro USB cable and wall plug)
- micro SD card 8GB or larger
- HDMI monitor, USB keyboard and mouse (to config WiFi and turn in SSH)
- WiFi access point so you can access the Pi once SSH is enabled.
Setup your Pi using these instructions
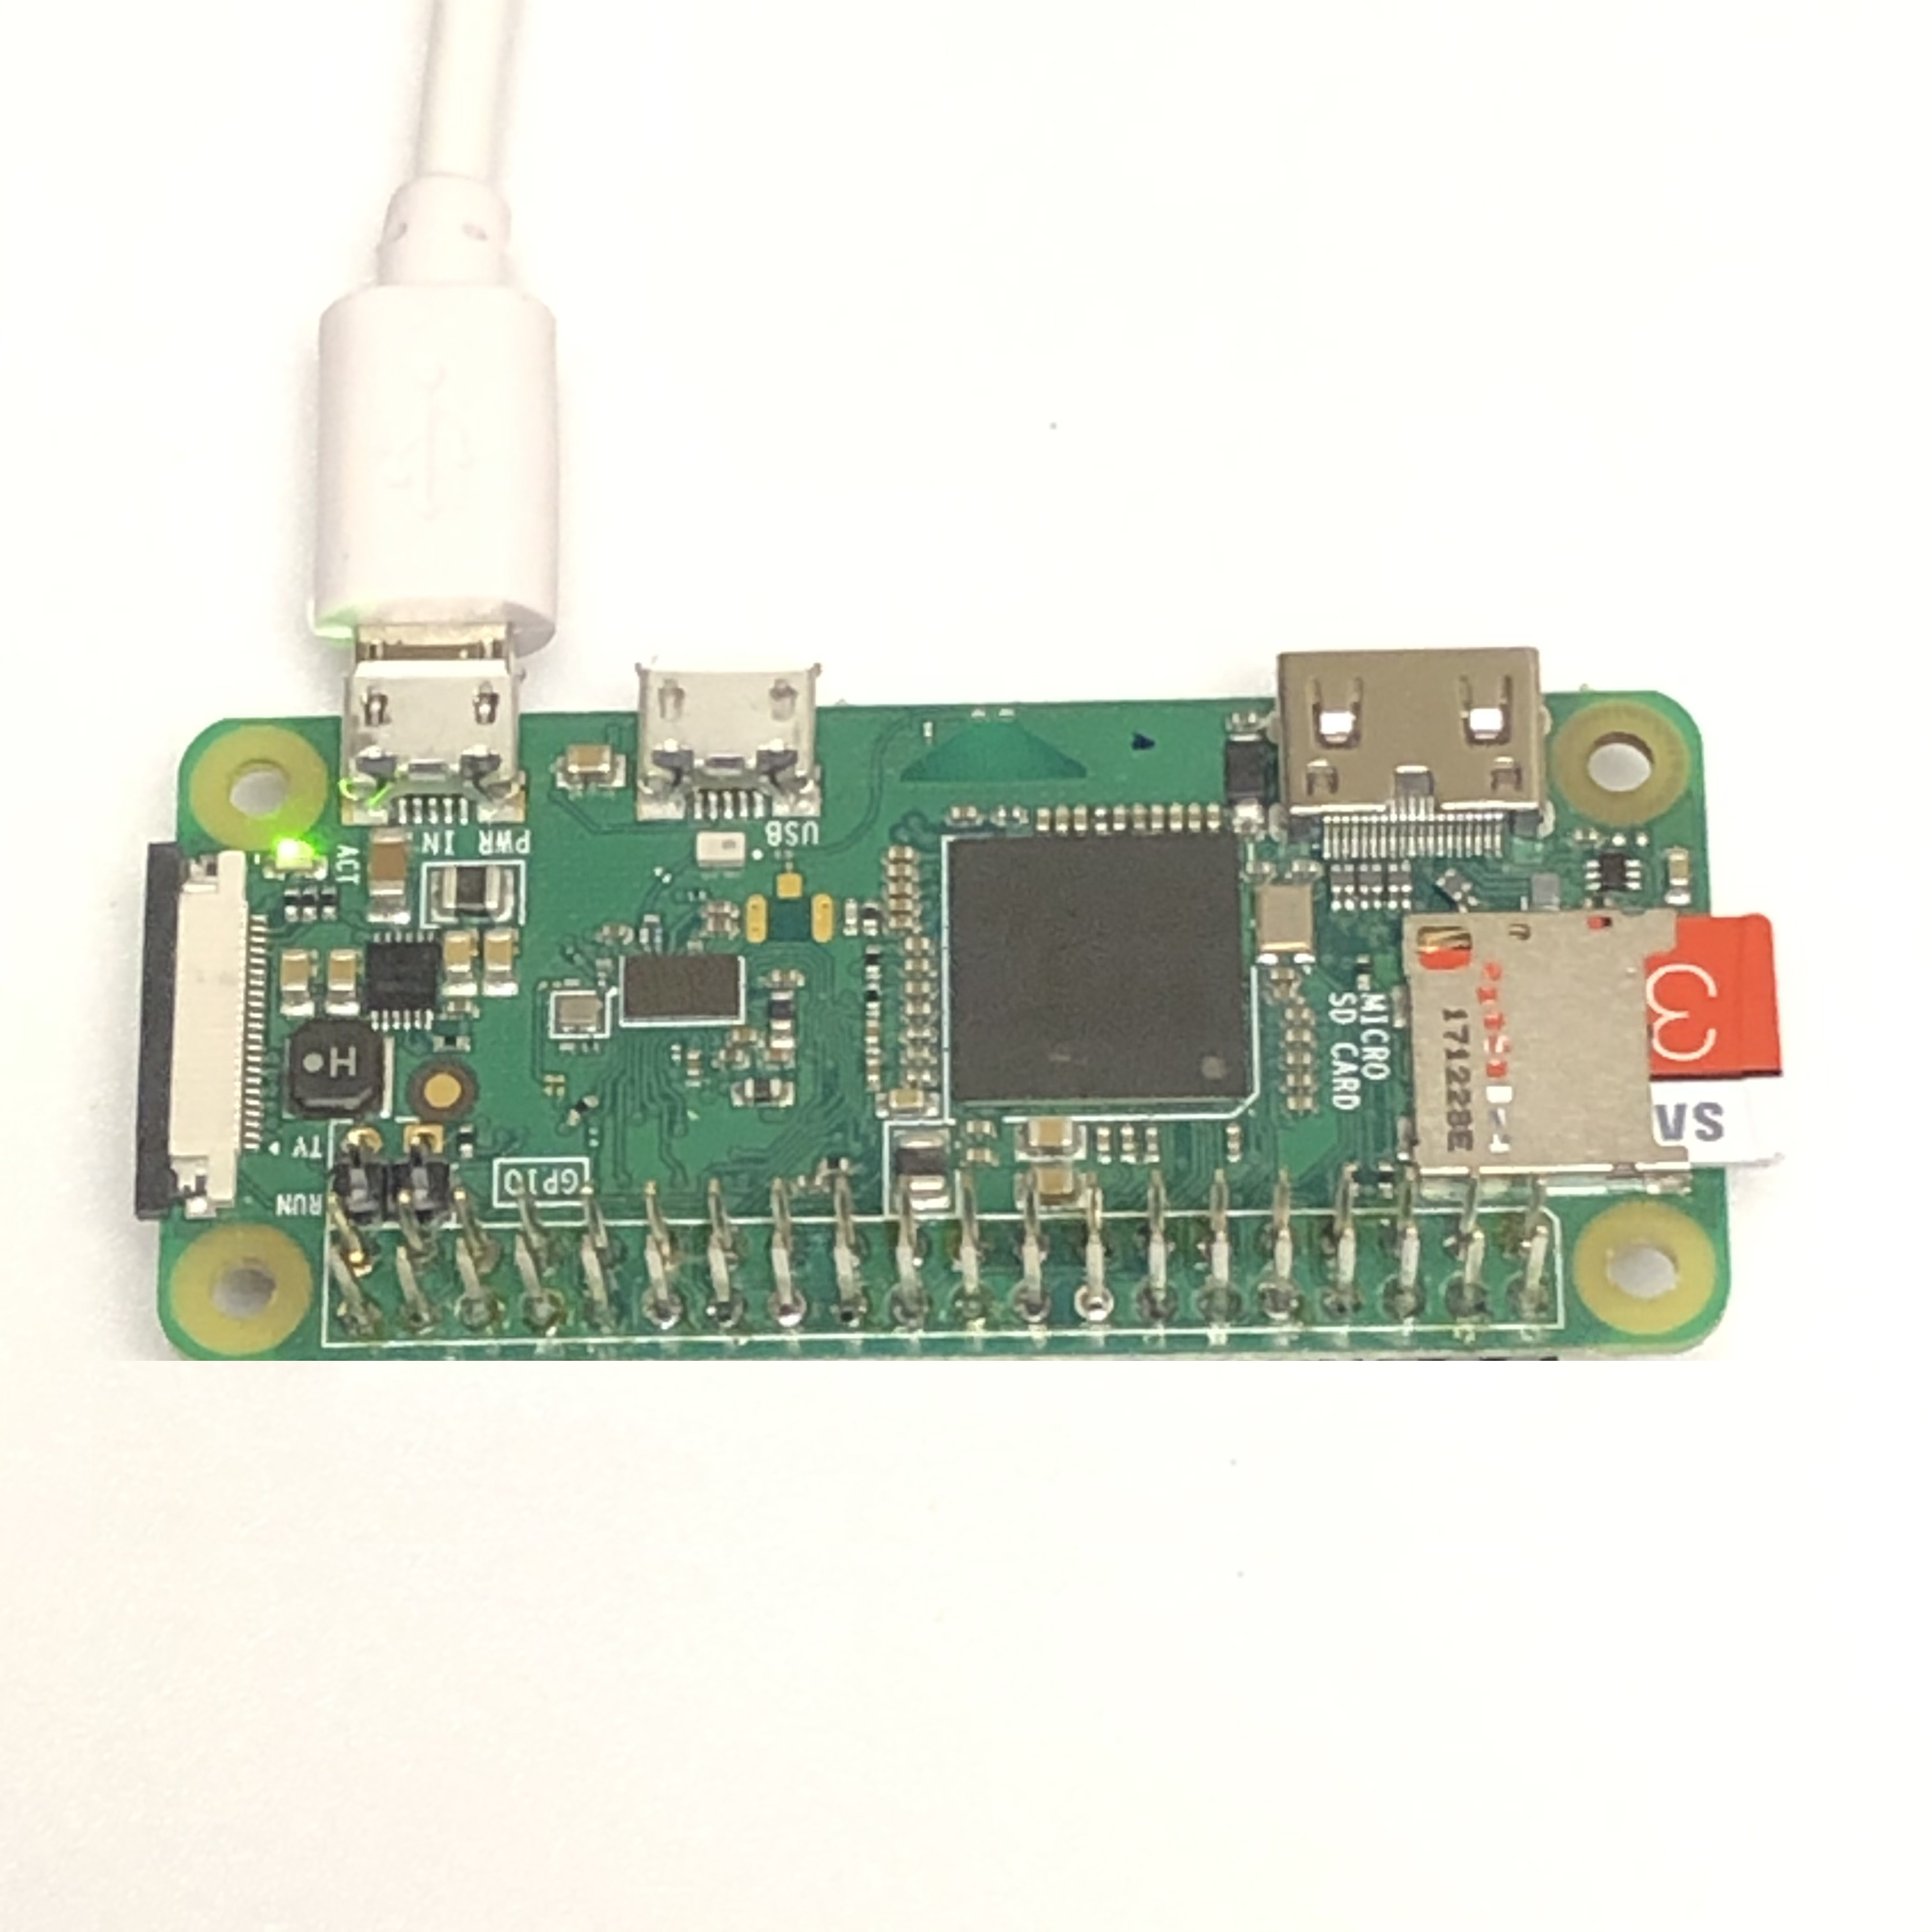
Once you have imaged your micro SD card, insert it into the Pi Zero W and connect your power supply. Perform these steps with just the Pi - don't plug in the Main Board and the other boards until you have completed these steps:
Configuring Raspbian Operating System
Once it has connected to the network, log into the Pi using SSH and type:
sudo apt-get update && sudo apt-get dist-upgrade -y
sudo apt-get install -y wiringpi git libasound2-dev i2c-tools
If you are installing on a Pi 4B, you will need to install the 2.52 version of wiring pi by following these steps (you can skip these steps for any other Pi version):
cd /tmp
wget https://project-downloads.drogon.net/wiringpi-latest.deb
sudo dpkg -i wiringpi-latest.deb
cd
Run raspi-config and enable the I2C bus by selecting Option 5 Interfacing Options and then Option 5 I2C and selecting Y to enable the ARM I2C bus:
sudo raspi-config
Select Finish at the bottom to exit raspi-config. Then type:
sudo cp /boot/config.txt /boot/config.txt.0
sudo nano /boot/config.txt
Use the down arrow key to go down in the file until you find this line:
# Additional overlays and parameters are documented /boot/overlays/README
Add the following two lines under it: (NOTE: if you started with the May 2020 Raspbian image and didn't update using the apt-get command earlier in these instructions, when you add i2c-gpio overlay, your Pi may fail to boot, stopping at the rainbow screen. If this happens, you will need to power off your Pi and insert the SD card into a computer and revert your config.txt using a command such as sudo cp /boot/config.txt.0 /boot/config.txt When your Pi boots, perform the update and then you should be able to enable to ei2c-gpio overlay. If you can't update for some reason, the temporary fix described here seems to work: https://github.com/raspberrypi/firmware/issues/1401.)
dtoverlay=i2c-gpio,bus=3,i2c_gpio_delay_us=1,i2c_gpio_sda=23,i2c_gpio_scl=24
dtoverlay=pi3-miniuart-bt
Press Ctrl-X then type y then hit Enter to save the file and exit the editor. You should back at the pi@... prompt.
Edit the cmdline.txt file by typing:
sudo cp /boot/cmdline.txt /boot/cmdline.txt.0
sudo nano /boot/cmdline.txt
Remove the following text in cmdline.txt to prevent a console from running on the serial port:
console=serial0,115200
Press Ctrl-X then type y then hit Enter to save the file and exit the editor. You should back at the pi@... prompt.
Now install the python packages:
sudo apt install -y python3-pip python-smbus
sudo pip3 install --upgrade setuptools
sudo pip3 install adafruit-blinka RPI.GPIO adafruit-extended-bus adafruit-circuitpython-ina219
Reboot by typing:
sudo reboot now
Installing Software
After logging back into the Pi, type:
ls -a /dev/i2c*
you should see two I2C buses:
/dev/i2c-1 /dev/i2c-3
Continue the install by typing:
cd
Then type:
git clone http://github.com/alanbjohnston/CubeSatSim.git
cd CubeSatSim
git checkout master
Create a sim.cfg configuration file with your amateur radio callsign (in place of CALLSIGN in the command below, in all caps, no lower case letters!) by typing:
echo "CALLSIGN" >> sim.cfg
echo "ARG1=f" >> .mode
This will set the telemetry mode to FSK. To set it to AFSK telemetry or BPSK telemetry, change it to ARG1=a or ARG1=b. For SSTV mode, change it to ARG1=s
Compile the code:
make rebuild
cd
git clone https://github.com/alanbjohnston/direwolf.git
cd direwolf
make -j
(takes a while)
sudo make install
make install-rpi
Note that this last command may fail if you are using Raspbian Lite since there is no Desktop (you may get an error such as this "ln: failed to create symbolic link '/home/pi/Desktop/direwolf.desktop': No such file or directory make: *** [Makefile.linux:727: install-rpi] Error 1"
cd
git clone https://github.com/F5OEO/rpitx.git
cd rpitx
./install.sh
(Takes a while). It will prompt you if you want to modify /boot/config.txt file. Type a y and the script will complete.
cd
git clone https://github.com/alanbjohnston/pi-power-button.git
cd pi-power-button
./script/install
To make the demo.sh script run automatically on boot:
sudo cp ~/CubeSatSim/systemd/cubesatsim.service /etc/systemd/system/cubesatsim.service
sudo systemctl enable cubesatsim
sudo cp ~/CubeSatSim/systemd/rpitx.service /etc/systemd/system/rpitx.service
sudo systemctl enable rpitx
Optional Increasing the Swap Space
If you plan to only run your CubeSatSim for short periods of time, you can skip the two steps below. However, if you plan to do extended demos of more than 30 minutes of continuous transmission, then you should follow the steps below to increase the disk swap space. These instructions are based on https://arcanesciencelab.wordpress.com/2019/08/03/increasing-swapfile-space-on-the-raspberry-pi-4/ Increasing the swap size on a file system on an SD card is, in general, not a good idea. However, I have found that the rpitx library stops transmitting within an hour (with no error messages) unless the swap size is increased. This swap increase may shorten the life of your SD card, since an SD card has a limited number of write cycles, and excessive swapping will increase the number of writes. However, I have so far had no issues. If you suffer SD card failures that you think are related to this, I would appreciate you letting me know.
To increase the swap size, you need to edit the file /etc/dphys-swapfile using any editor (for example, to use nano type sudo nano /etc/dphys-swapfile) and make two changes:
- On the line beginning
CONF_SWAPSIZE=remove any value listed here. This will let linux set the value. - Uncomment the line
CONF_SWAPFACTOR=2by deleting the#character at the start of the line.
Then save the file (if using the nano editor, press Ctrl-X then type y then hit Enter to save the file and exit the editor).
On my Pi Zero, after reboot, this increased the swap size from 100M to 883M and allows the rpitx library to run for multiple hours without interruption. You can check the swap size before and after by using the command free -h You can use any editor, such as nano:
Using the CubeSatSim
Now reboot for all the changes to take effect:
sudo reboot now
After rebooting, tune your radio or SDR to 434.9 MHz FM, and you should receive a signal. If you are testing with only the Pi, you will just hear Morse Code (CW) of your callsign once. If you have build the Main Board and plugged it in or have build the TFB and plugged it into your Pi, you will hear telemetry as well.
On the Main Board, the green LED will be on when the CubeSatSim software is running. The red LED when charging is occurring either through the micro USB or through the solar panels. The blue LED will illuminate when the CubeSatSim is transmitting.
The push button with the pi-power-button software will cause the Pi to reboot, change telemetry mode, or shutdown. Pressing and holding the pushbutton will make the green power LED blink first once, then two times, then three times, then blinks slowly. Depending on when you release the button, different things will happen. Here's what happens if you:
Press and release (don't hold button in at all): reboots CubeSatSim. The green LED will go out, and after 30 seconds, the CubeSatSim will be transmitting again.
Press and release after one blink of green LED: switches to AFSK telemetry mode. After about 5 seconds, the telemetry mode will switch to AFSK.
Press and release after two blinks of green LED: switches to FSK mode. After about 5 seconds, the telemetry mode will switch to FSK.
Press and release after three blinks of green LED: switches to BPSK mode. After about 5 seconds, the telemetry mode will switch to BPSK.
Press and release after green LED begins slow blinking: shuts down CubeSatSim.
Once the CubeSatSim shuts down, the RBF pin can then be safely inserted. Removing the RBF pin or pressing the push button will cause the CubeSatSim to start up again. It will use the same mode it was running when it was shutdown.
You can also change the telemetry mode using the command line. Edit the CubeSatSim/.mode file and change the value to change the mode. A value of ARG1=a will give you AFSK, ARG1=f will give you FSK, and ARG2=b gives BPSK. After saving the .mode file, restart the cubesatsim service to switch the mode by typing:
sudo systemctl restart cubesatsim
Note that to get FoxTelem to decode BPSK, you need to be in BPSK Fox/Husky mode (depending on which version of FoxTelem). Also, you usually need to click on the center of the FFT. For the first 30 seconds, it is just a carrier, so there will be no lock. After that, it should lock and the Phasor will show a line that jumps around, and the Frame count should start increasing at the bottom of the FoxTelem window.
You can stop the service:
sudo systemctl stop cubesatsim
After rebooting, it will start unless you disable it:
sudo systemctl disable cubesatsim