Raspberry Pi Configuration - alanbjohnston/CubeSatSim GitHub Wiki
Raspberry Pi Zero W installation
These instructions are for the initial configuration and installation of the Raspberry Pi Zero W for the CubeSatSim
These instructions assume we are starting with a new Raspberry Pi, out of the box. If you are using an existing Pi with software installed, you need to be careful of resource conflicts. This application uses both IC2 buses, and the UART. Any software that uses them could potentially conflict. Also, the boards used assume a particular GPIO pin mapping, so any software that remaps them could cause failures. Bluetooth must also be disabled (see below).
Start by going through the initial Pi install steps covered here.
https://www.raspberrypi.org/help/
Your Pi will have a username of pi and a default password of raspberry unless you change the password.
If you are using a Raspberry Pi Zero W or WH, then you will most likely need a mini HDMI to HDMI adapter, and a micro USB to USB adapter (USB OTG micro B to A cable) so you can connect a monitor and a keyboard/mouse (to plug both in, you will need a USB hub. There is only one micro USB port on the Pi Zero, and it is next to the mini HDMI connector. The other connector is only for micro USB power input, which we won't use since we will supply the Pi Zero through the GPIO connector. Alternatively, it is possible to switch them, unplugging and plugging as necessary). Also, the Pi Zero W usually comes without the GPIO pins installed. In order to stack the other boards on top, you will need to solder in the male 2x20 header.
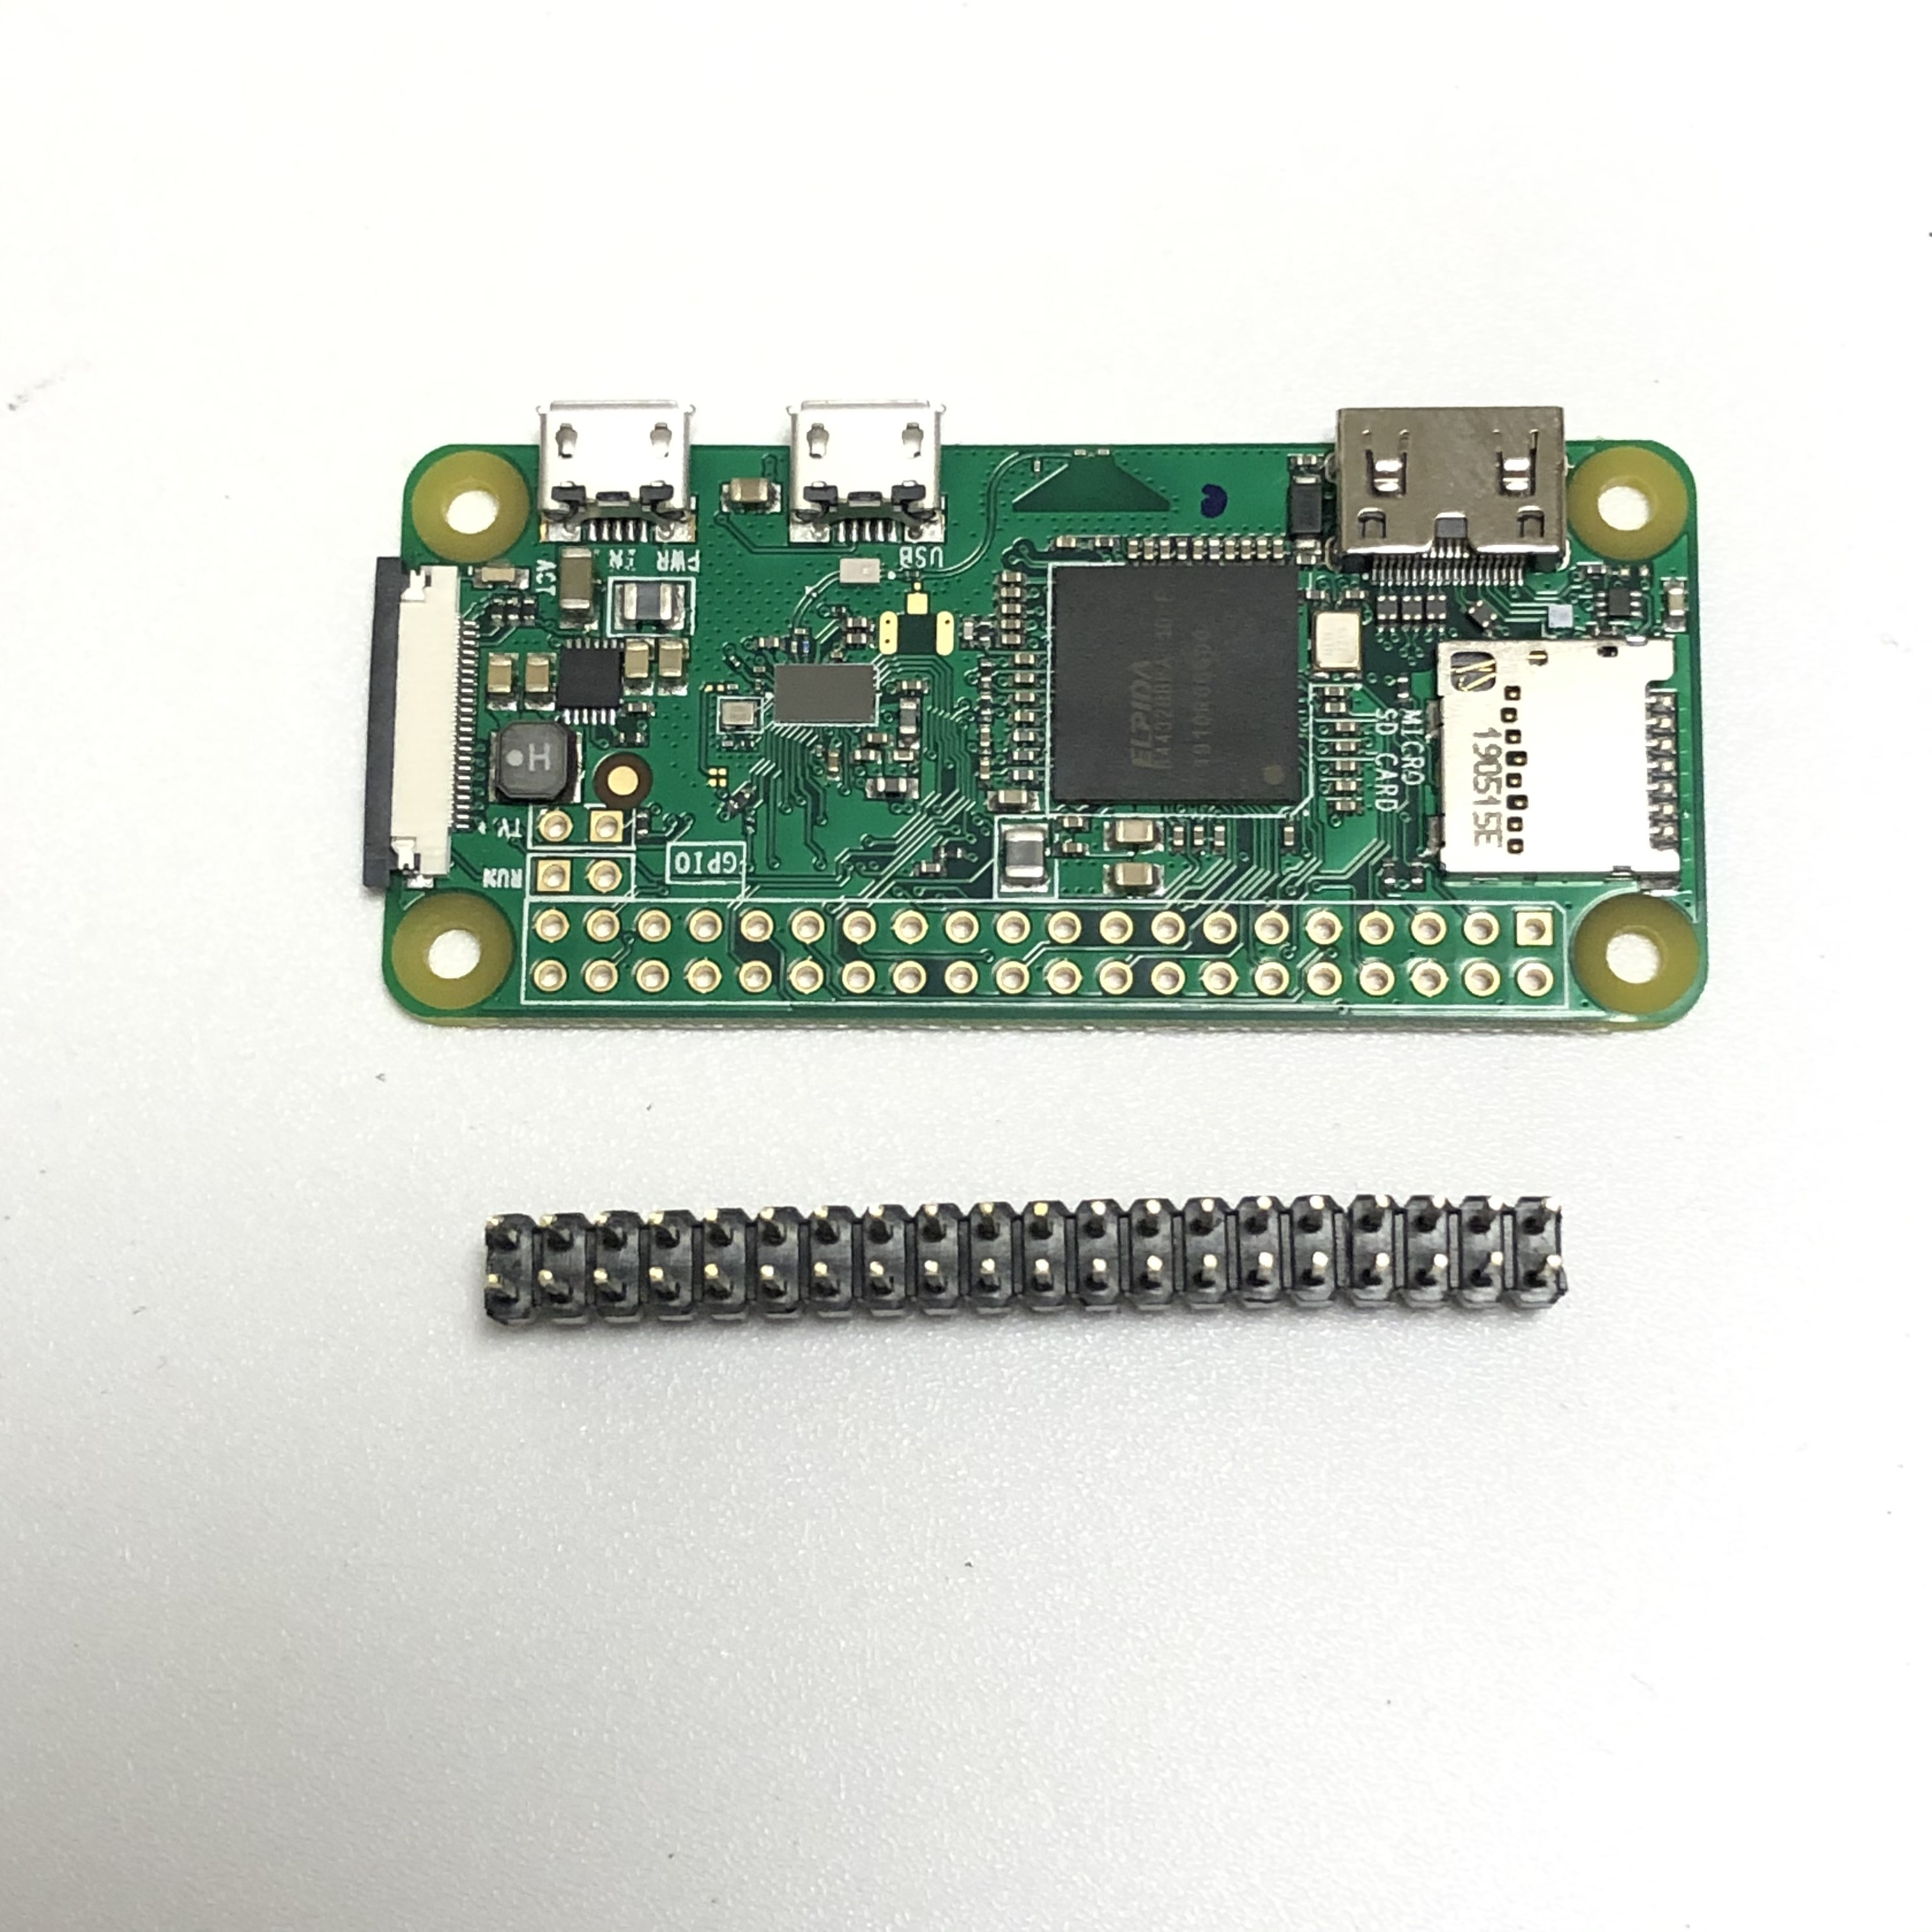
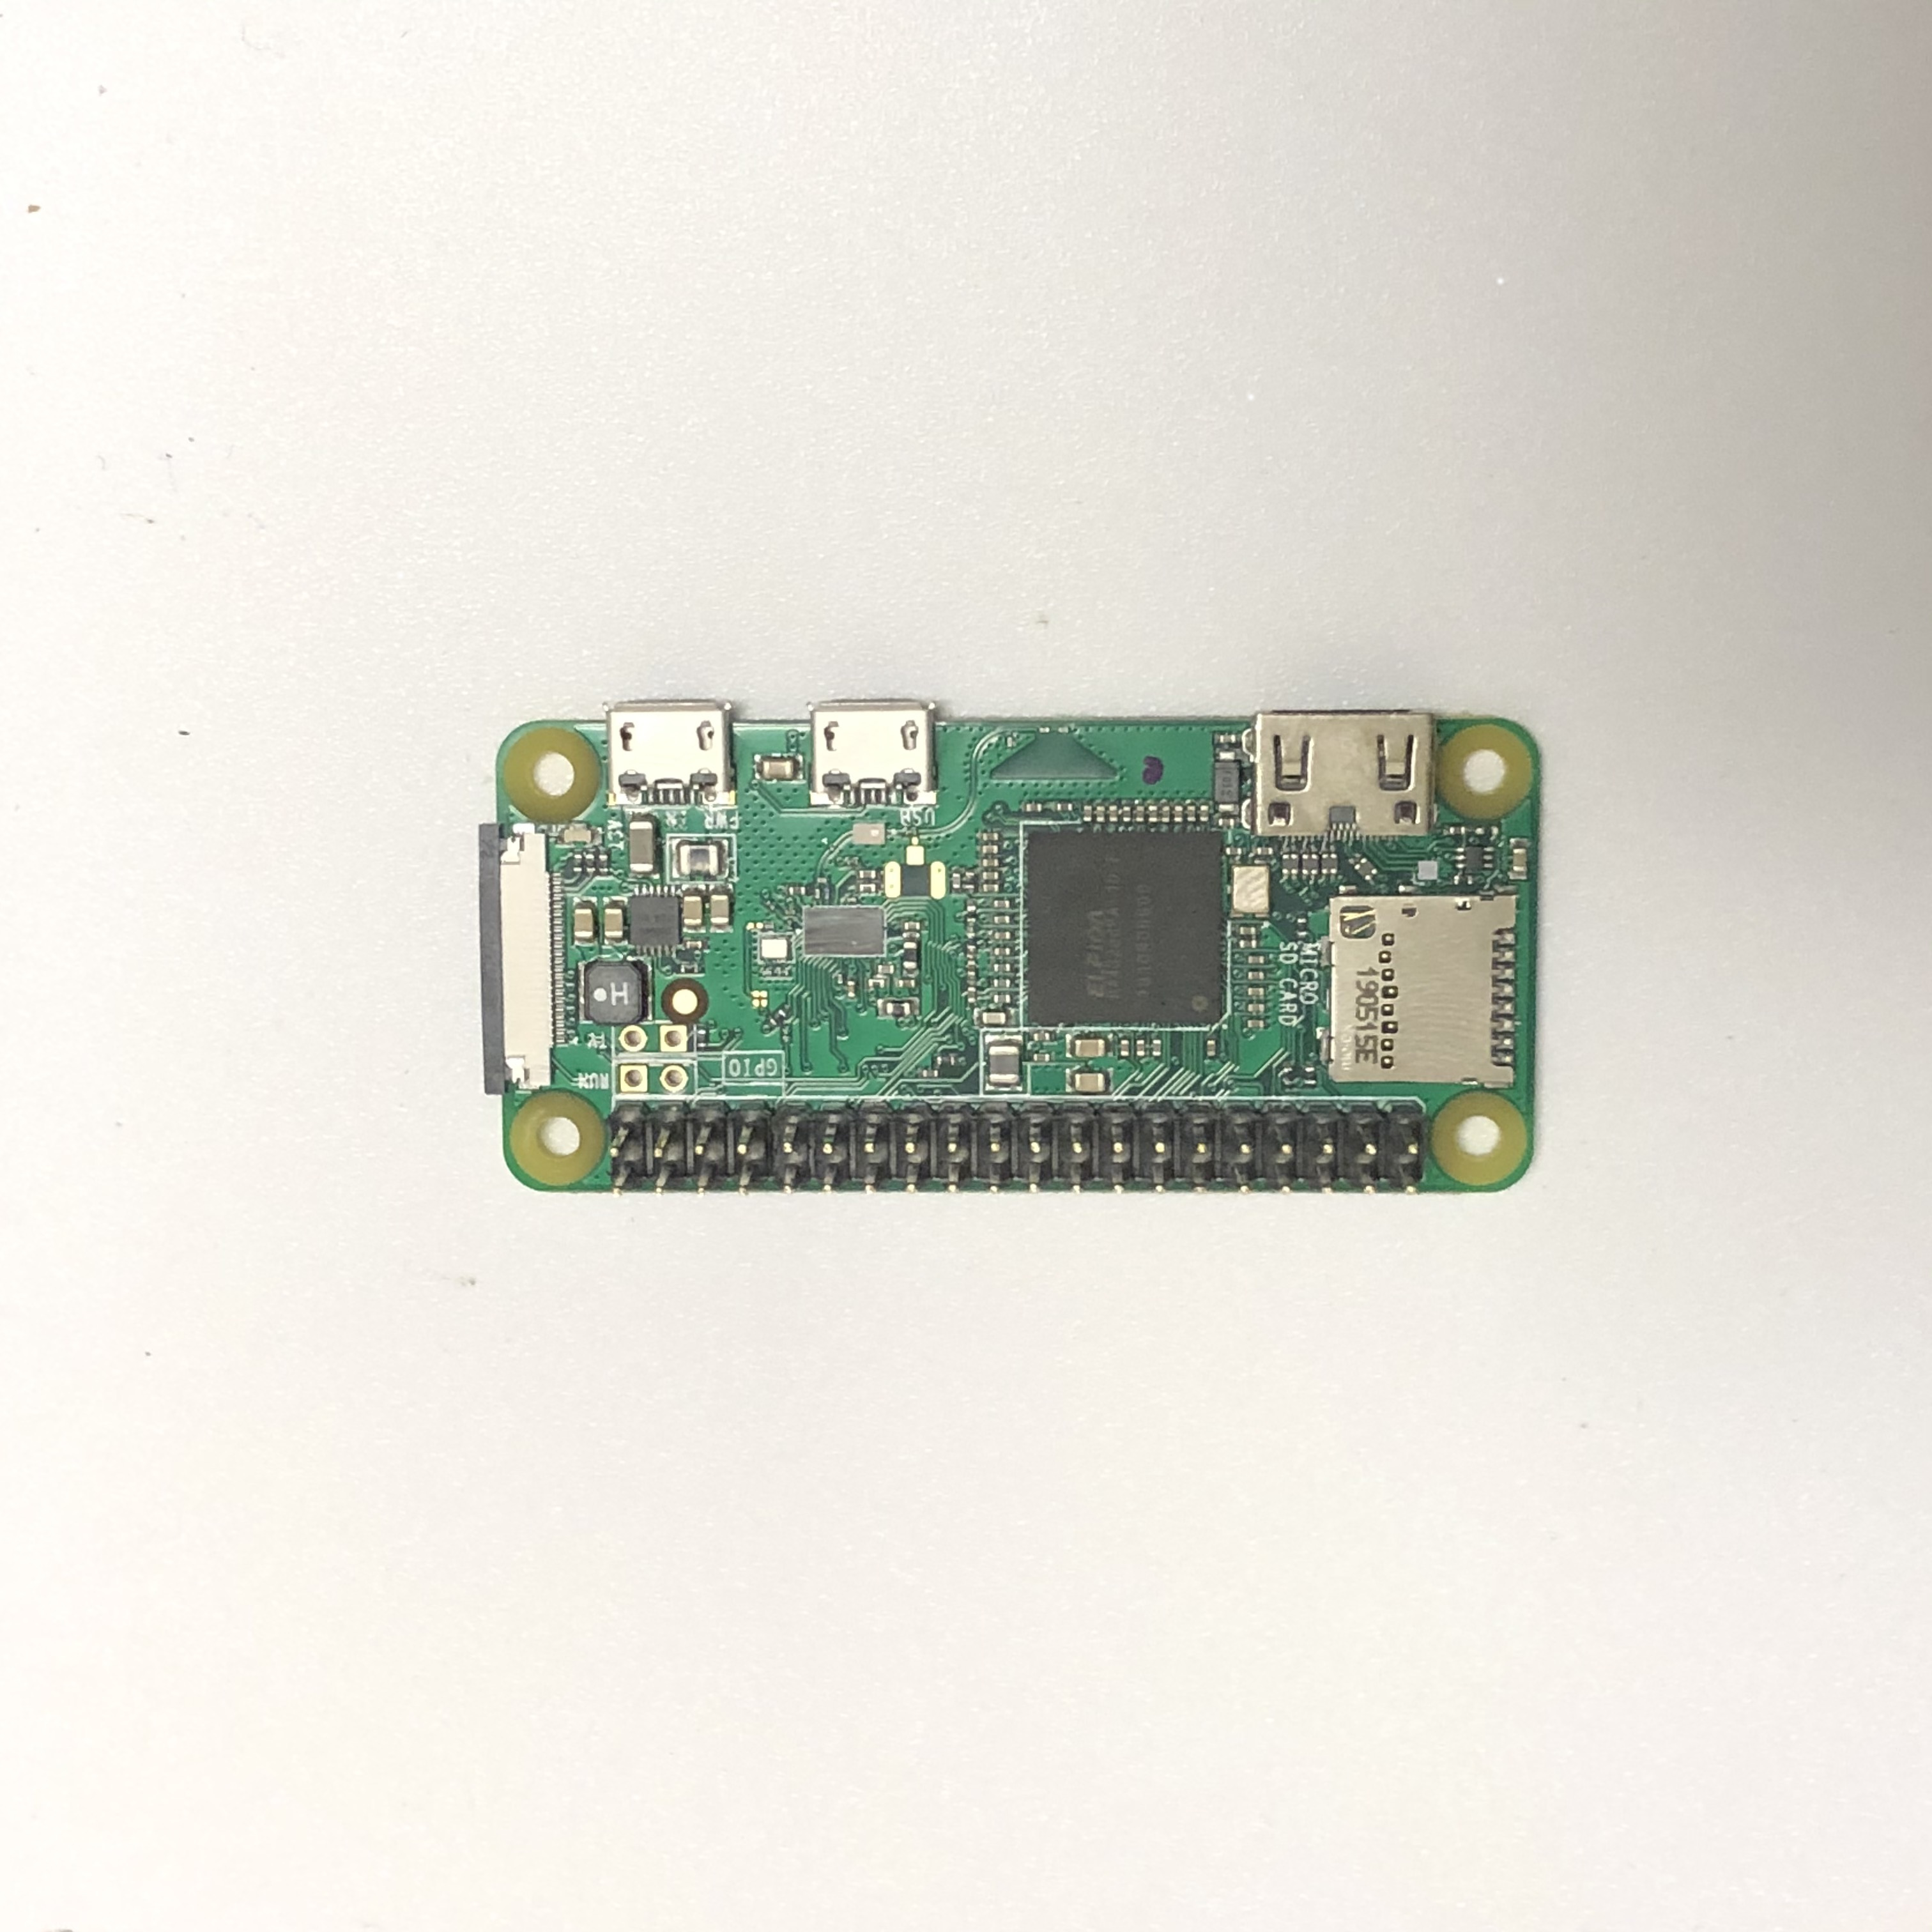
The Pi Zero WH comes with the header already soldered in:
Plug a monitor (through HDMI mini adapter) and a mouse (through the USB micro to USB adapter, using the connector closest to the HDMI connector) to the Raspberry Pi Zero W. Insert the micro SD card (at least 16GB preloaded with NOOBS or Raspbian Stretch or Raspbian Buster) into the Pi. Then connect a power cord into the other micro USB connector and the Pi will turn on - the green LED will flicker.
On the monitor, after some flashing colors you will see a message saying welcome to Raspberry Pi. You will need to to make some initial configurations using the mouse and keyboard. Click Next to begin.
First you will need to Set the Country. For example, I'd select United States, American English, and New York Time Zone then click Next.
Next is a Change of Password setting, click Next.
Then you can Select a WiFi Network - choose the WiFi name from the list.
Now you will need to unplug the mouse and plug in the keyboard to enter the WiFi password.
After you click Next, you will have an option to Update Software - this will take a while and when it is finished, you will need to click OK to reboot.
After the reboot, check to see if you are connected to the WiFi and what your IP address is so you can SSH into it. Note that you will need to know the IP address of the Pi in order to connect.
After the reboot, you will either have a login screen (black screen with Username prompt) or the graphical user interface. If you have the graphical user interface, click on the black Terminal icon in the top left of the screen and a black window will open. Click on that window, then unplug the mouse and plug in the keyboard.
After you are logged into your Pi using the keyboard and monitor, you can type:
sudo raspi-config
And under Interface Options select SSH then Enable.
Back at the command prompt, type
ifconfig
And look for the IP address (it will probably be 192.168.x.y where x and y are numbers 0-255 although it could be 10.x.y.z or have other forms)
Next shutdown the Pi by typing:
sudo shutdown now
and disconnect your micro USB power source.
Continue with your software install.