LCC XML Document XML Validation - USEPA/ATtILA2 GitHub Wiki
Validation ensures that any self-edited LCC XML document is both properly formatted as an XML document, and that all elements necessary for ATtILA are present and correctly populated.
Validation is not necessary for any LCC XML documents created with the Land Cover Classification Editor or for any of the Supplied Land Cover Classification Schemas that came with ATtILA . If you have used the Land Cover Classification Editor to create your LCC XML document, you may skip this section.
Validation is only recommended for LCC XML documents constructed outside of the Land Cover Classification Editor. If you have created a self-edited LCC XML file, please continue reading.
To perform validations, it is necessary to have either an XML editor/validator installed on your computer or by having access to the Internet and to one of several websites that provide validation service. If you do not currently have access to an XML program, an internet search using the phrase, "validation of XML", will locate several options.
While many programs/websites are available, the procedure for conducting syntax checks and validations are similar between them. We will describe the steps used within the Notepad++ v7.8.9 free source code editor. Notepad++ is available for download from https://notepad-plus-plus.org.
To use Notepad++ for validation, the XML plugin must be installed. To install the plugin, select 'Plugins Admin...' from the Plugins dropdown menu.
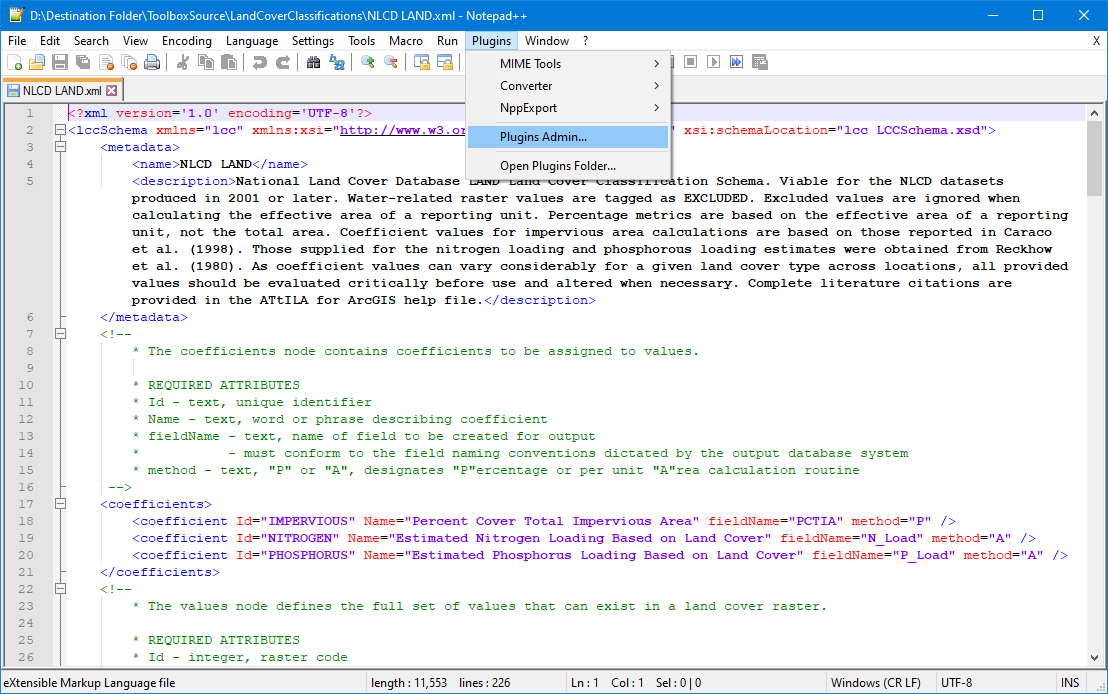
Once the Plugin Manager dialog box opens, select the Available tab and then click on XML Tools. Select Install. Notepad++ will typically ask to close and restart to finish the installation. If not, after installation is complete, close the Plugin Manager dialog.
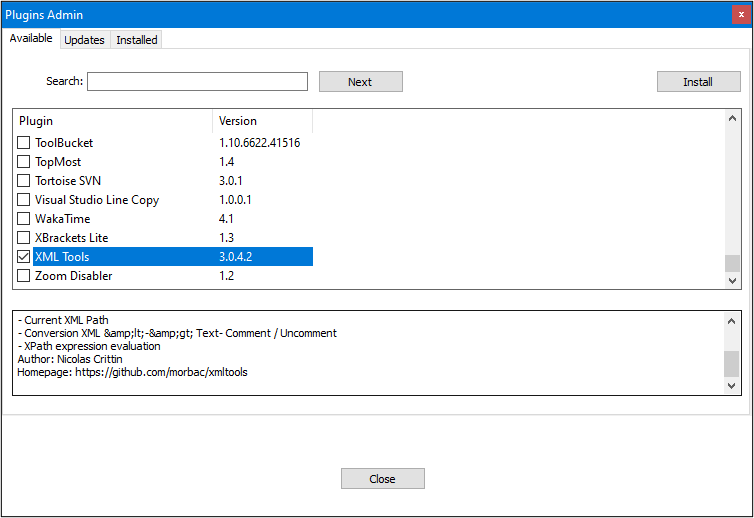
The XML Tools item will now be available from the Plugins dropdown menu.
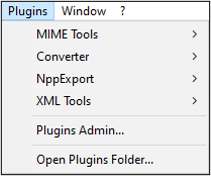
Validation is typically a two step process. The first step ensures that the XML document follows standard formatting rules. Some standard rules include:
- Each start-tag (<tag>) must have a matching end-tag. The end-tag can be either a non-empty element, (</tag>), or an empty element (/>).
- Attribute values must be quoted.
- Attribute names must be unique, but XML is case-sensitive so "name" is different from "Name" which is different from "NAME".
- Comments and processing commands cannot appear inside tags.
Checking of XML syntax rules is rather straightforward. Once your XML LCC documented is loaded into Notepad++, select "Check XML syntax now" from the XML Tools plugin menu.
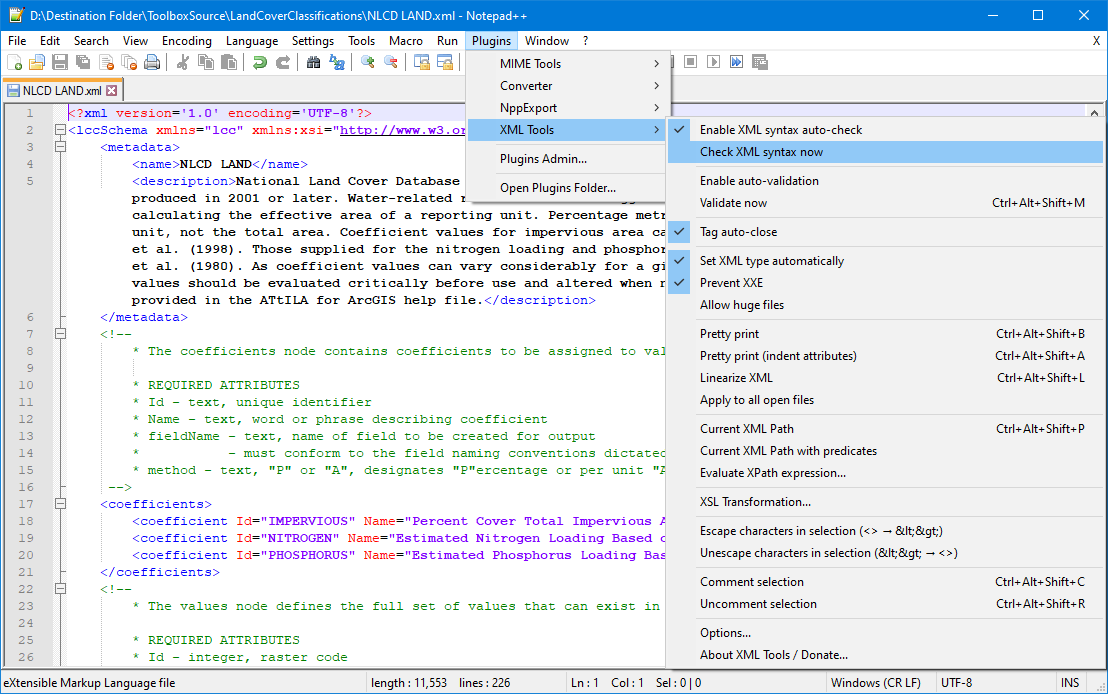
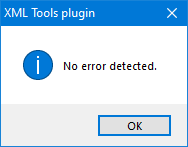
If all is correct, a message similar to the one below should appear indicating that no errors were detected, and you can proceed to step two.
If an error does exist, an error dialog will appear, and the error must be located and corrected before continuing. A couple examples of error messages are provided below.
Example: End tag error.
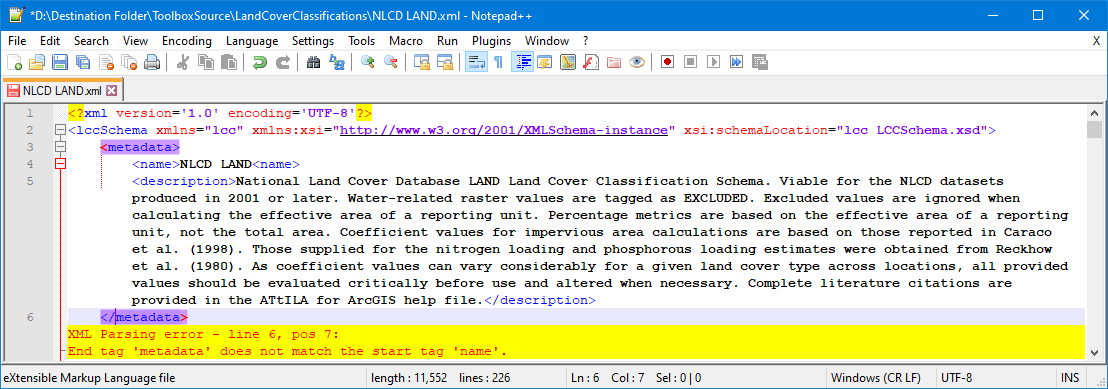
On line four, in the metadata element, the end-tag for the <name> attribute is missing a backslash. Each start-tag (e.g., <name>) must have a matching end-tag. The end-tag can be either a non-empty element, (e.g., </name>), or an empty element (/>).
Example: Mismatched tags error

On line 45, the end-tag is </Value> while the start tag on line 41 was <value>. This causes an error because XML is case-sensitive. This error can be corrected by changing the end-tag from </Value> to </value>.
Example: Unquoted attribute error

On line 174, the value for the Id attribute is missing quotation marks. Attribute values must be quoted. This error can be correct by changing the attribute assignment from, Id=for, to Id="for".
Example: Misquoted attribute error

On line 174, the error is caused by not closing the quotations for the Id attribute value. The value assignment of 'for' is missing its end-quote. Correct this error by changing the attribute assignment from, Id="for, to Id="for".
Example: Missing bracket error

On line 175, an XML Parsing error occurred. This error may be more difficult to troubleshoot than previous examples. It is caused by the class start-tag on line 174 missing its closing sharp bracket. The correct start-tag phrasing for this example is: <class Id="for" Name="Forest" filter="">.
Using the information from the error message will often quickly lead to the problem area in the text, but in certain cases, such as in our last example error message, locating and correcting the cause of the error requires a careful examination of the entire XML document. If the errors are not readily apparent, forgo manually editing your LCC XML document, and perform your final edits in the Land Cover Classification Editor.
Once all syntax errors have been corrected, you can proceed to step two.
The second step of the validation process is ensuring that all XML elements necessary for ATtILA are present and correctly populated. ATtILA requires several customized elements and attributes to also be in the XML document (see ATtILA's LCC XML Document). If these items are missing or their content rules are not followed, ATtILA may fail to operate or, worse yet, produce incorrect results.
To assist with this step of the validation, an XML Schema Definition (XSD) file has been provided for the ATtILA user. An XSD is a type of file that is used to formally describe the elements of an XML document, and to constrain and verify their contents. The XSD provided for ATtILA specifically controls which elements and attributes are permitted in the LCC XML document, the contents of those items, their order, and whether or not the items are required or optional.
ATtILA's XSD file is located in the ToolboxSource > LandCoverClassifications folder in the ATtILA toolbox destination folder (see Installing ATtILA). It is named, "LCCSchema.xsd". A copy of its contents can be found here.
You perform the validation step in much the same way as checking the XML's syntax, but you select "Validate now" from the XML Tools plugin menu instead.
If you have placed a reference to the XSD file in the root element of the LCC XML document, the XML editor should be able to locate the XSD file and perform the validation checks. If the XSD file is not found in the referenced location or if there is an error in the root element, the following error message may appear:

If the LCC XML document does not contain a reference to an XSD file in its root element, Notepad++ will open a "Select file..." dialog allowing you to locate the XSD file yourself.
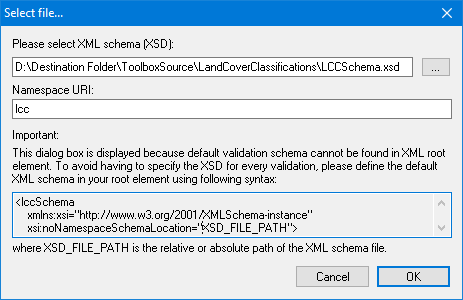
Again, the ATtILA XSD file is located in the ToolboxSource > LandCoverClassifications folder in the ATtILA toolbox destination folder (see Installing ATtILA. It is named, "LCCSchema.xsd", and a copy of its contents can be found here.
If all goes well, a "No error detected" statement will appear.

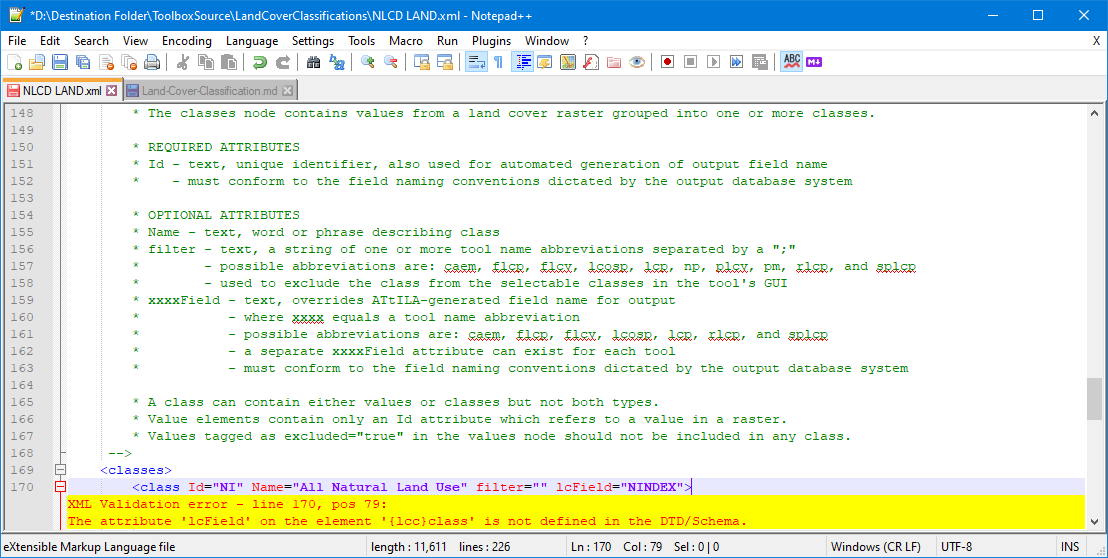
If any problems are encountered, Notepad++ will alert you with an Information dialog describing the problem. The descriptions tend to be detailed, but, depending on your validation application, the exact location of the troublesome element in the LCC XML document may or may not be difficult to locate (see example errors below).


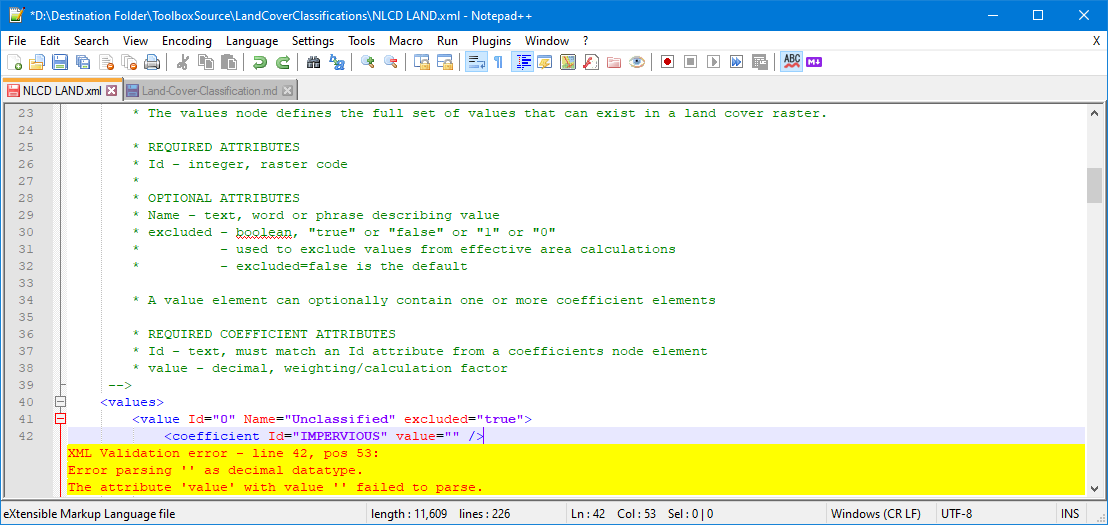
Once validation steps one and two are performed without error reports, your LCC XML document should be ready for use with ATtILA. If any problems do occur during tool execution, please reread the section, ATtILA's LCC XML Document, and amend your file as necessary. As mentioned above, if the errors are not readily apparent, forgo manually editing your LCC XML document, and perform your final edits in the Land Cover Classification Editor.
 Top of the page |
  Comments (optional) |
  Land Cover Classification Editor
