Cylon.js and Intel IoTDevKit Example Sketches - w4ilun/edison-guides GitHub Wiki
NOTICE
It is absolute necessary to update libmraa before running the Cylon.js examples
echo "src mraa-upm http://iotdk.intel.com/repos/1.1/intelgalactic" > /etc/opkg/mraa-upm.conf
opkg update
opkg install libmraa0
opkg upgrade
The purpose of this guide is to provide a working Intel XDK IoT Edition project with snippets to help you use 10 of the useful sensors which are packaged by default in the Seeed Studios IoT DevKit.
Index
- Sensor: Blink LED Example
- Sensor: Light Sensor Example
- Sensor: Sound Sensor Example
- Sensor: Buzzer Example
- Sensor: Rotary Angle Example
- Sensor: Temperature Sensor Example
- Sensor: LCD Example
- Sensor: Button(s) Example
- Sensor: Servo Example
- Sensor: Relay Example
Getting Started
- Plug in and flash your Intel Edison
- Make sure both your Intel Edison and computer running Intel XDK IoT Edition are on the same network
- Download and install Intel XDK IoT Edition
- git clone the Cylon example from this location
- Follow the instructions to get your Edison online
- Add your computer to Intel Edison's whitelist
- Open settings and ensure that NPM install is run automatically on your Intel Edison
- Run "build," then run "start" to begin the blink sketch
Running The Examples
Before running each example with Intel IoT XDK Edition, you must modify the "package.json" file to set the target script. The default is "blink.js."
All sketches may be found here
Blink Sketch
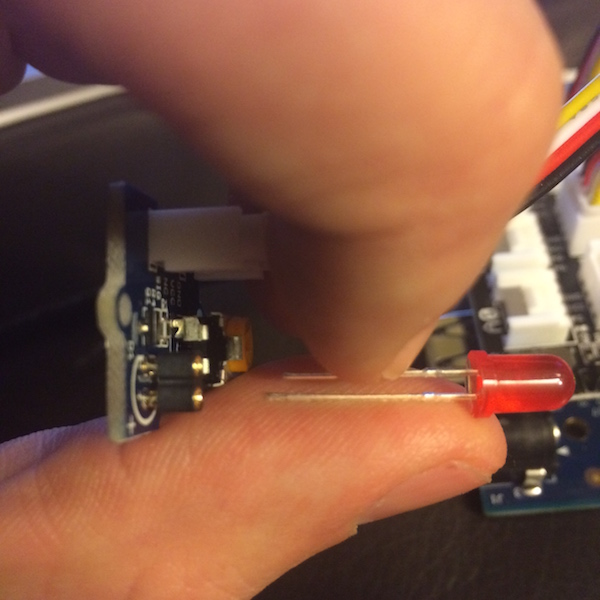
Take out the LED sensor and plug in an LED, make sure the "long" wire goes in the outer slot marked "+."
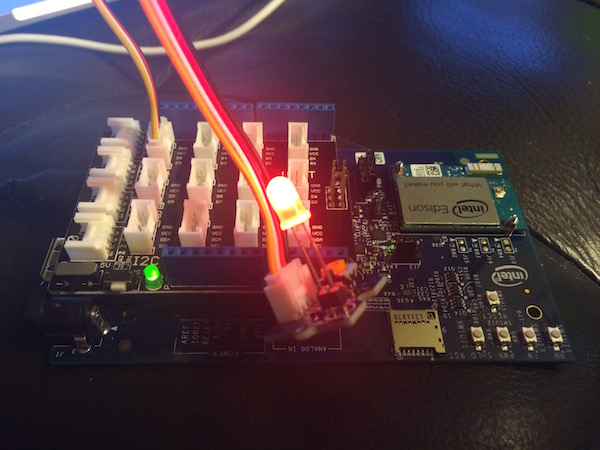
Plug the LED sensor into "pin 4." Change the "blink.js" script from pin 13 to pin 4 then upload and run to make the LED blink.
You can view the source code here: blink.js
Light Sensor Sketch
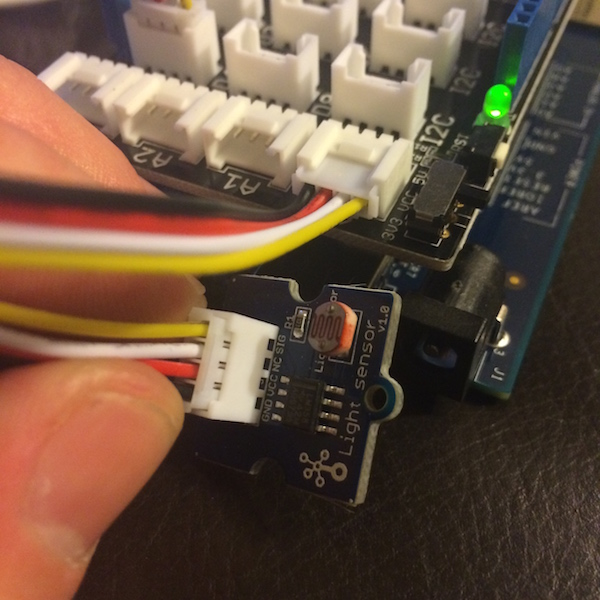
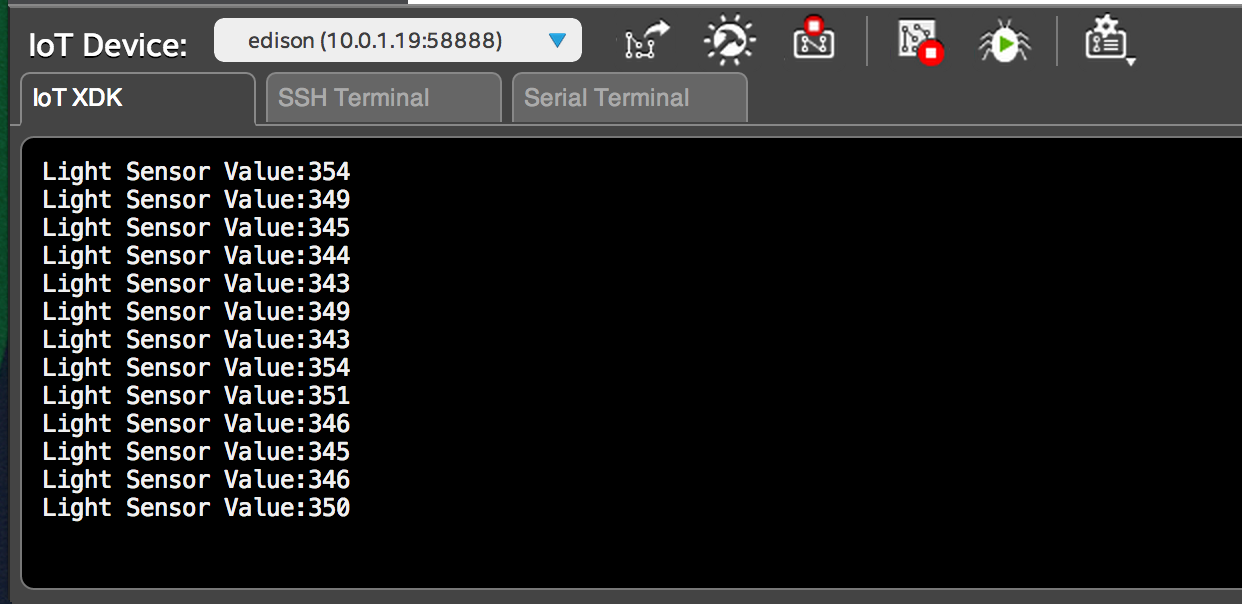
Plug the light sensor into Analog slot 0. Modify the package.json to make the target file "light.js."
You can view the source code here: light.js
Sound Sensor Sketch

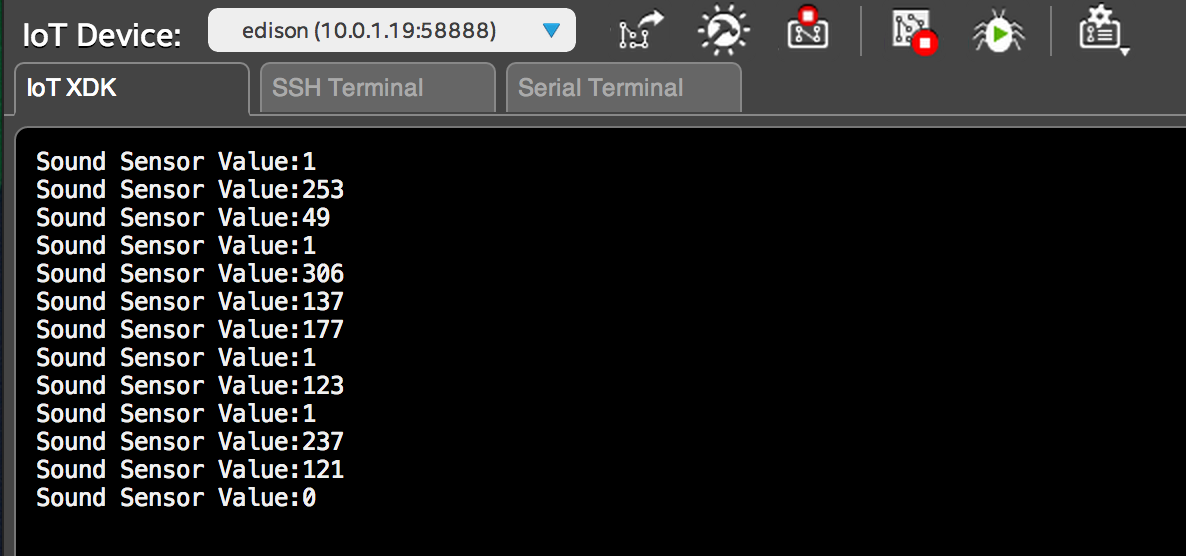
Plug the sound sensor into Analog slot 0. Modify the package.json to make the target file "sound.js."
You can view the source code here: sound.js
Buzzer
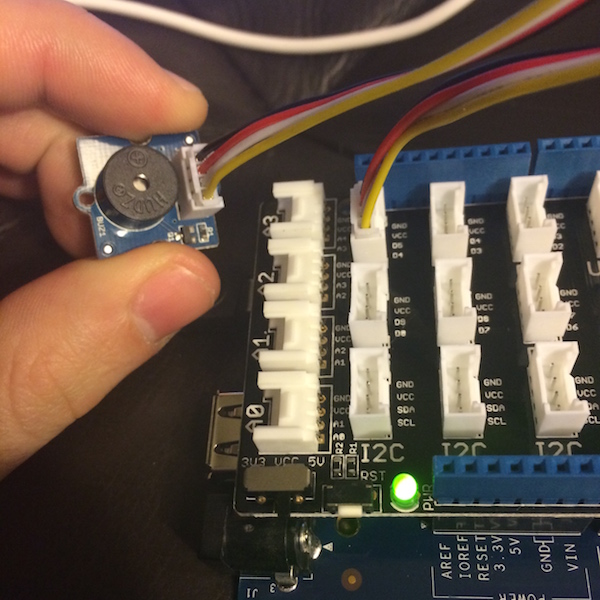
Plug the Buzzer into pin 4. Modify the package.json to make the target file "buzzer.js."
You can view the source code here: buzzer.js
Rotary Angle Sensor
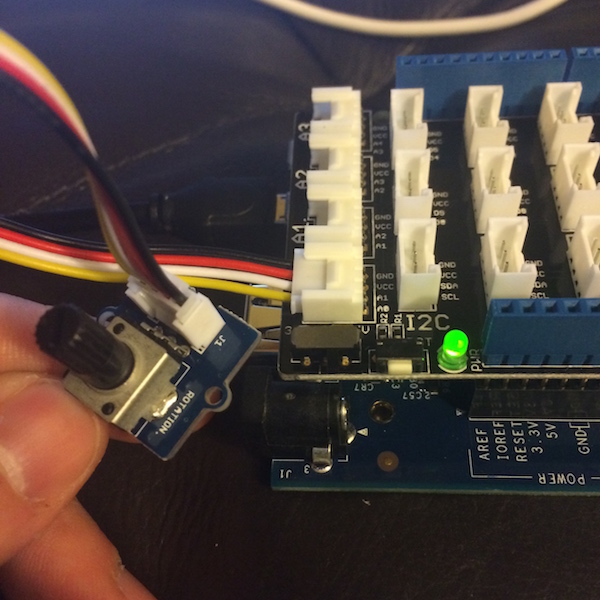

Plug the rotary sensor into Analog slot 0. Modify the package.json to make the target file "rotary.js."
You can view the source code here: rotary.js
Temperature Sensor
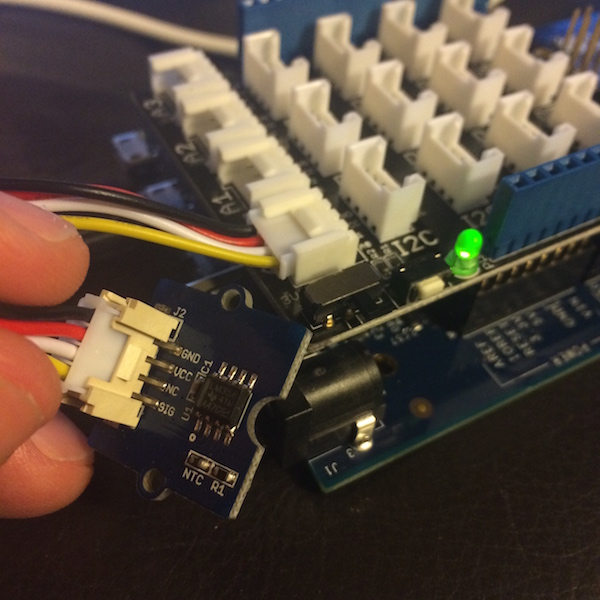
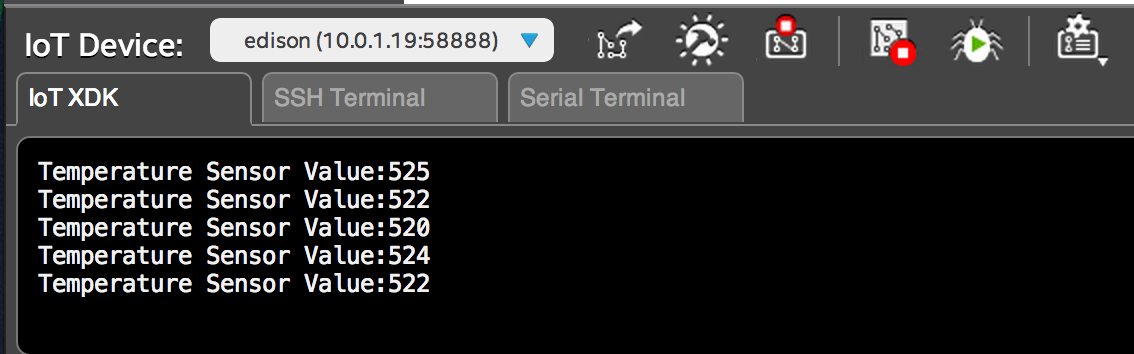
Plug the temperature sensor into Analog slot 0. Modify the package.json to make the target file "temperature.js."
You can view the source code here: temperature.js
LCD

Plug the LCD sensor into the I2C slot shown in the image. Modify the package.json to make the target file "lcd-screen.js."
You can view the source code here: lcd-screen.js
Buttons
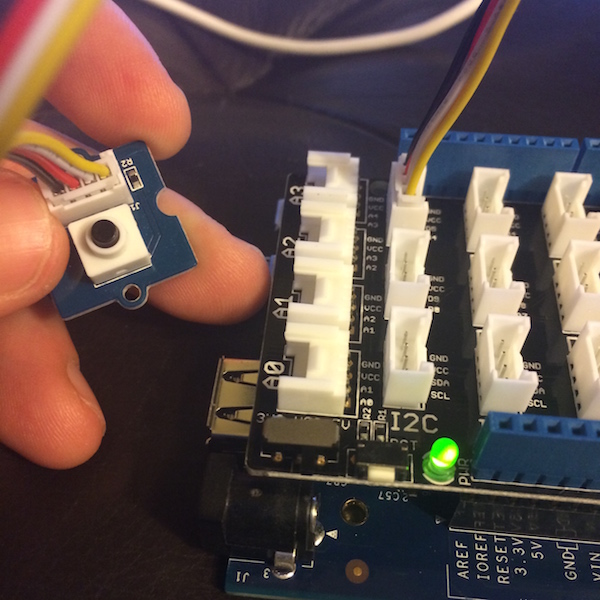
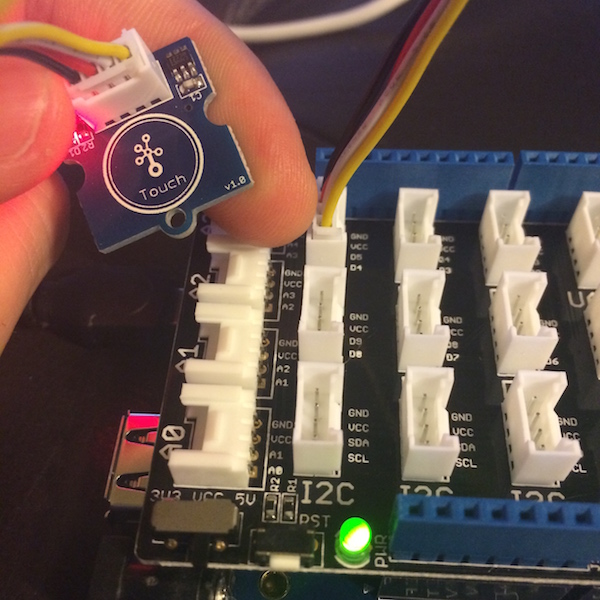

Plug the button (either the touch or black tipped button) into pin 4. Modify the package.json to make the target file "button.js."
You can view the source code here: button.js
Servo
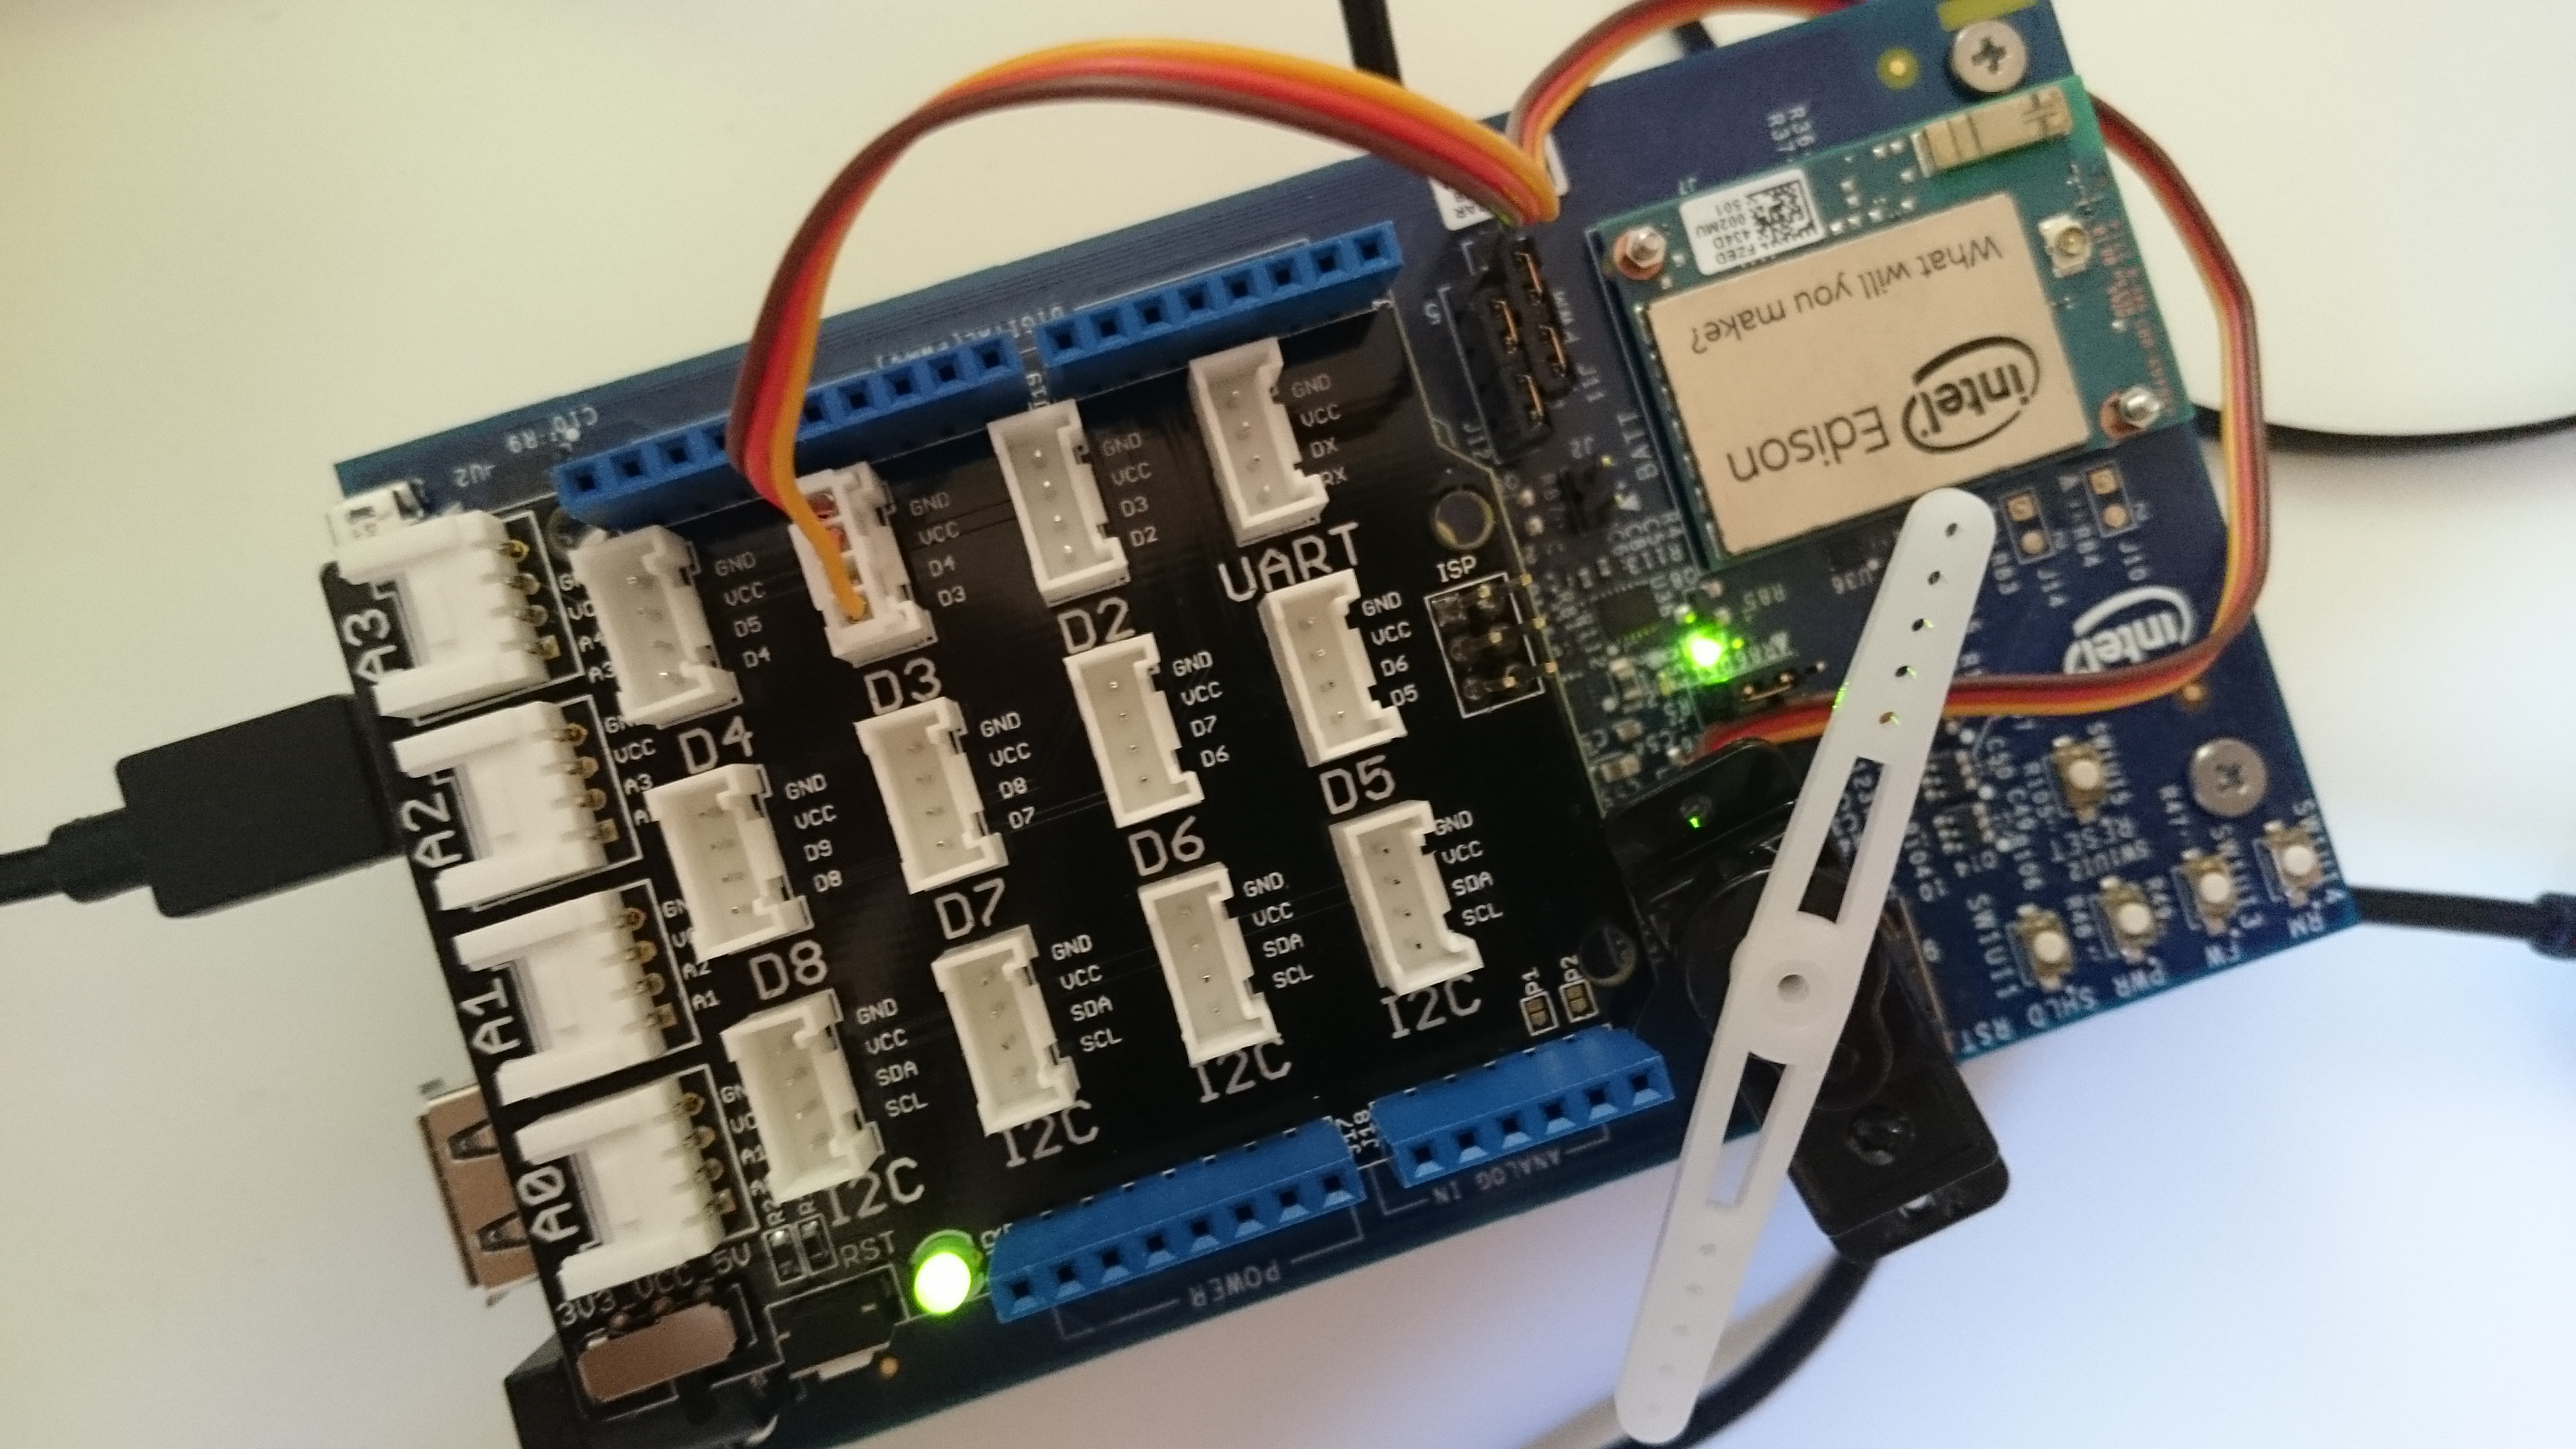
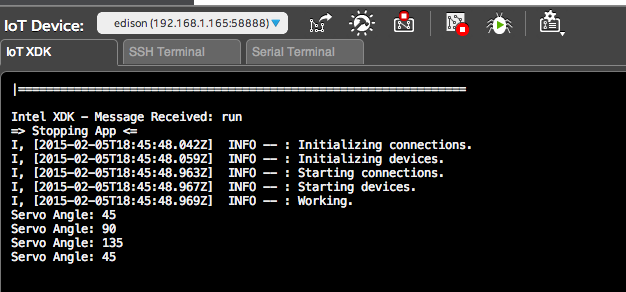
Plug the Servo into Pin 3 (D3) on the shield. Remember to change the target in package.json to the file servo.js
You can view the source code here: servo.js
Relay
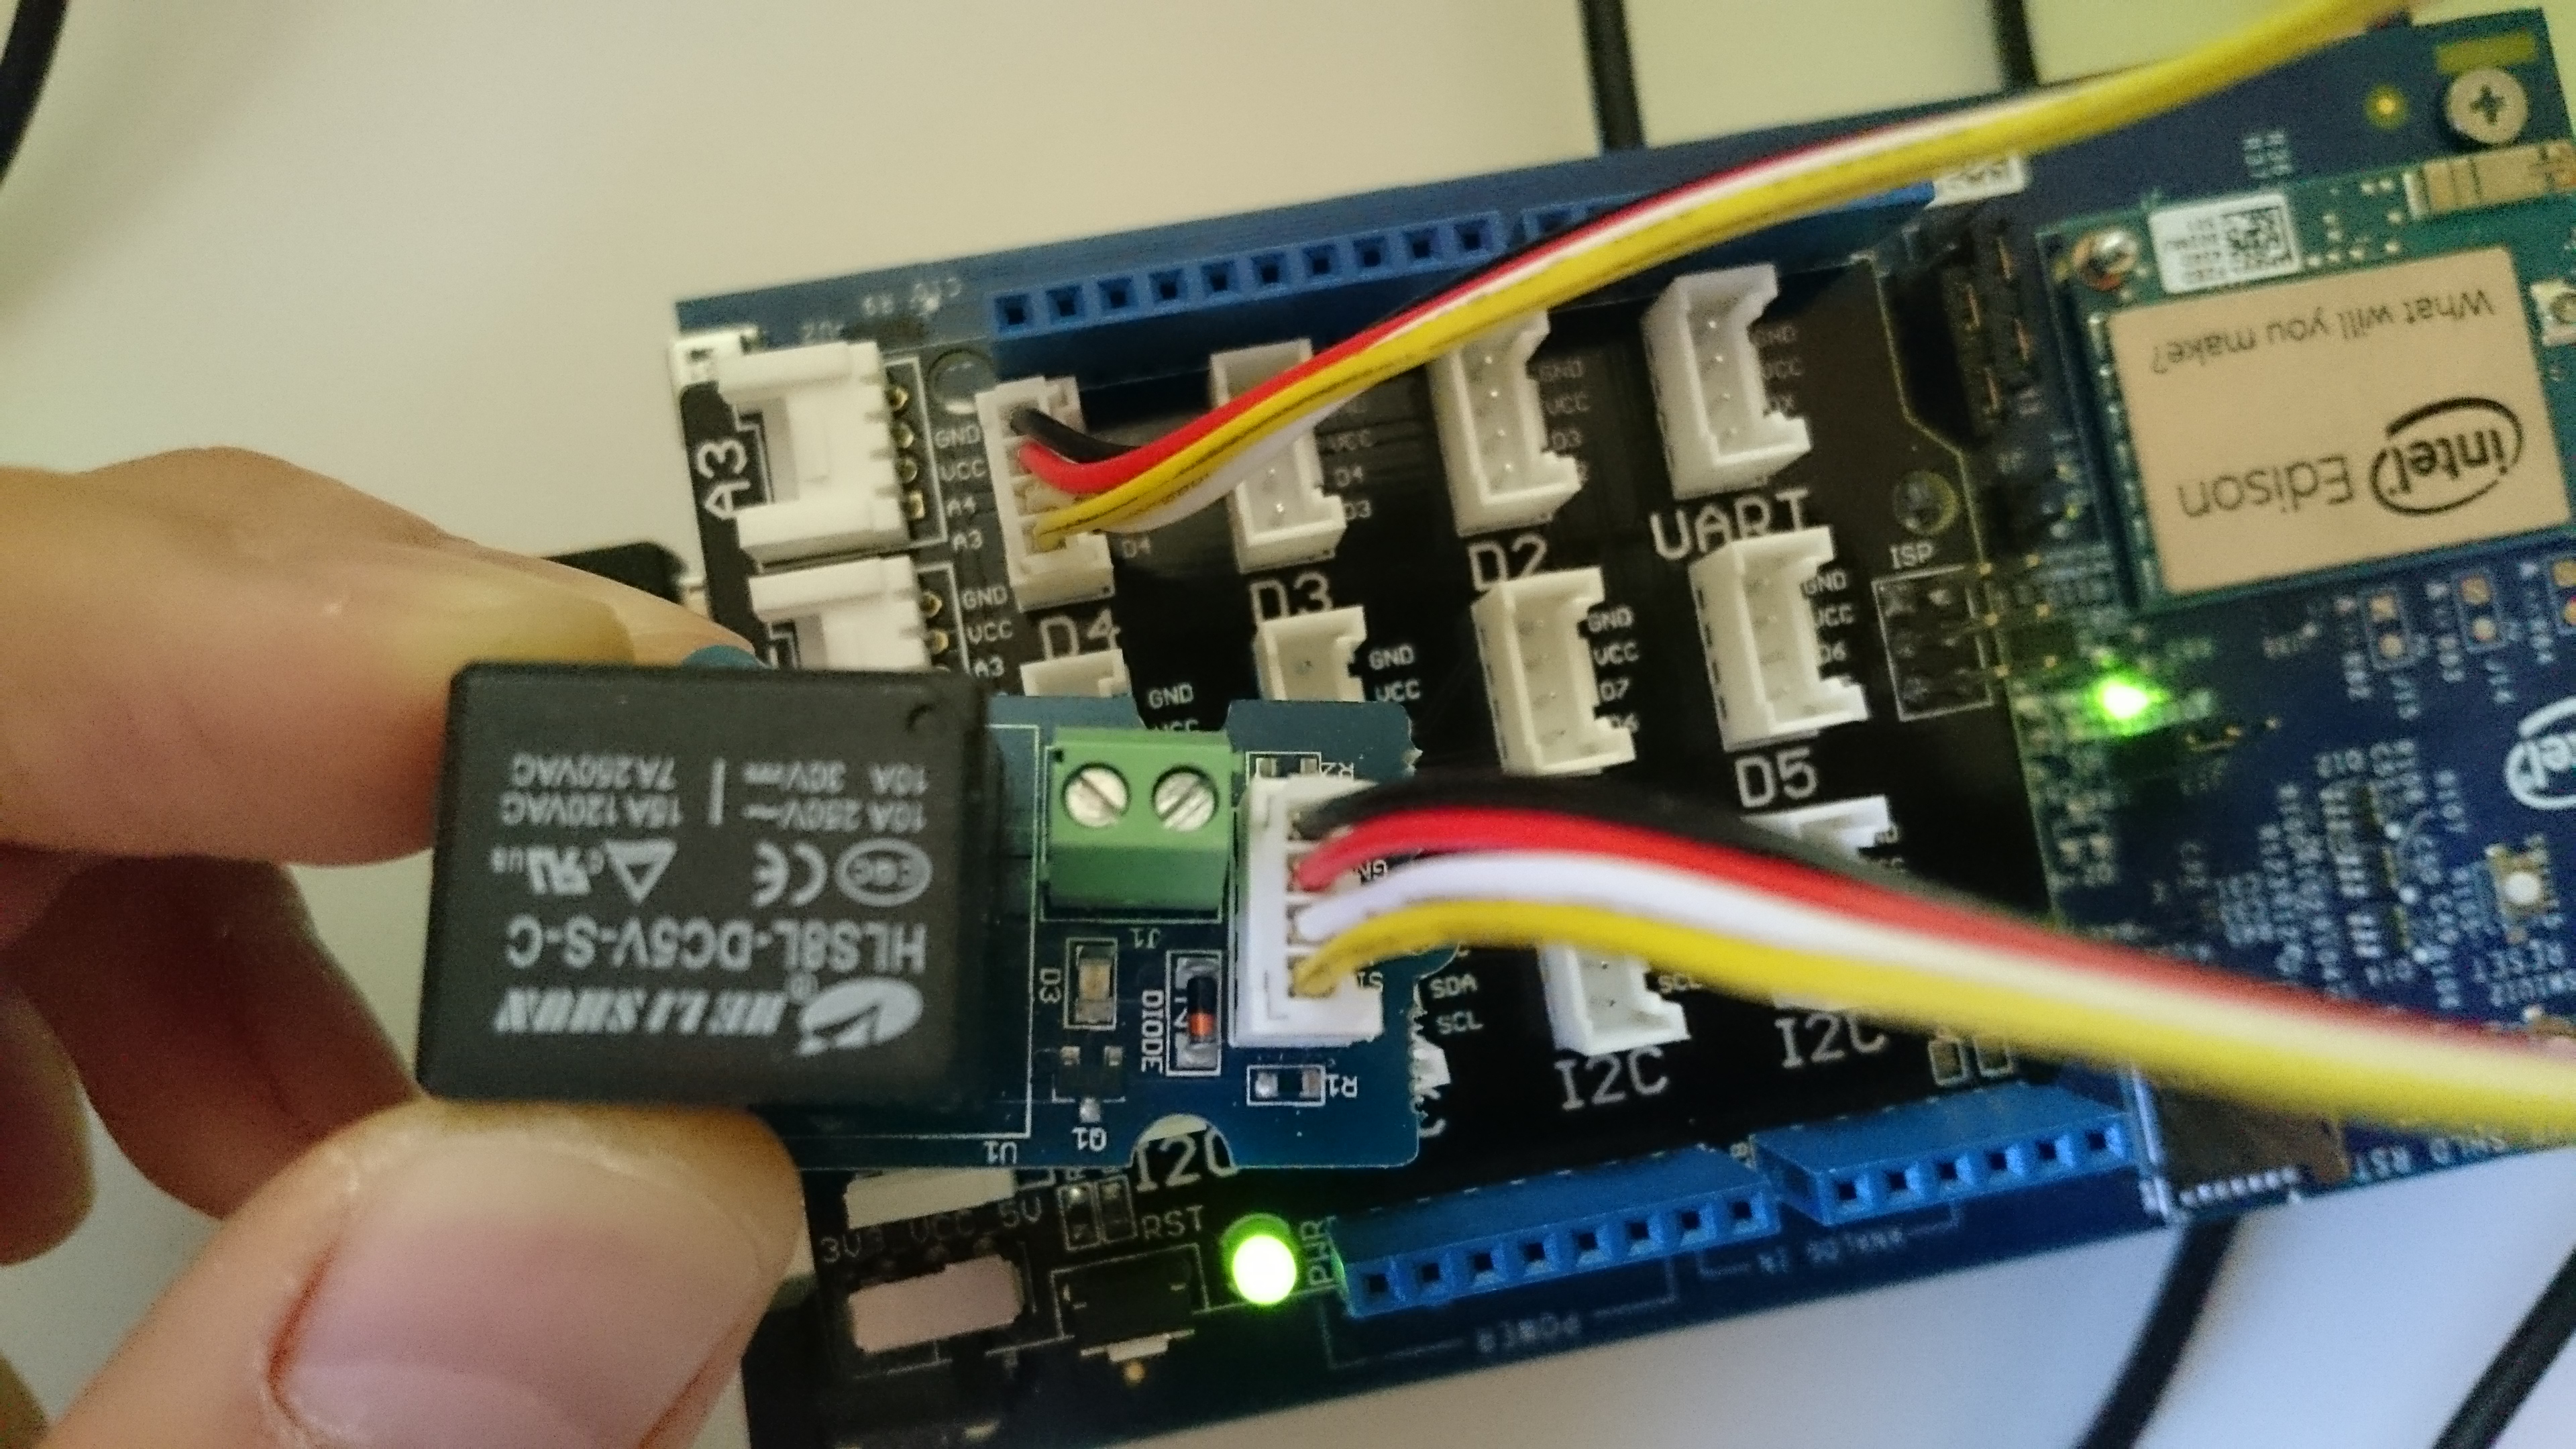
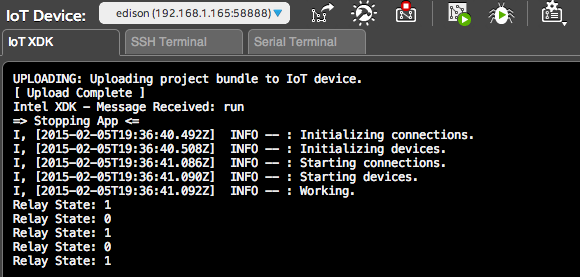
Plug the Relay into Pin 4 (D4) on the shield. Remember to change the target in package.json to the file relay.js
You can view the source code here: relay.js