Instructions for swapping the front panel - sci-bots/dropbot-v3 GitHub Wiki
Warning! Make sure that you unplug the USB and power cables from the DropBot before opening the case.
| Required tools |
|---|
| #2 Phillips head screw driver (with at least a 2 1/4" shaft) |
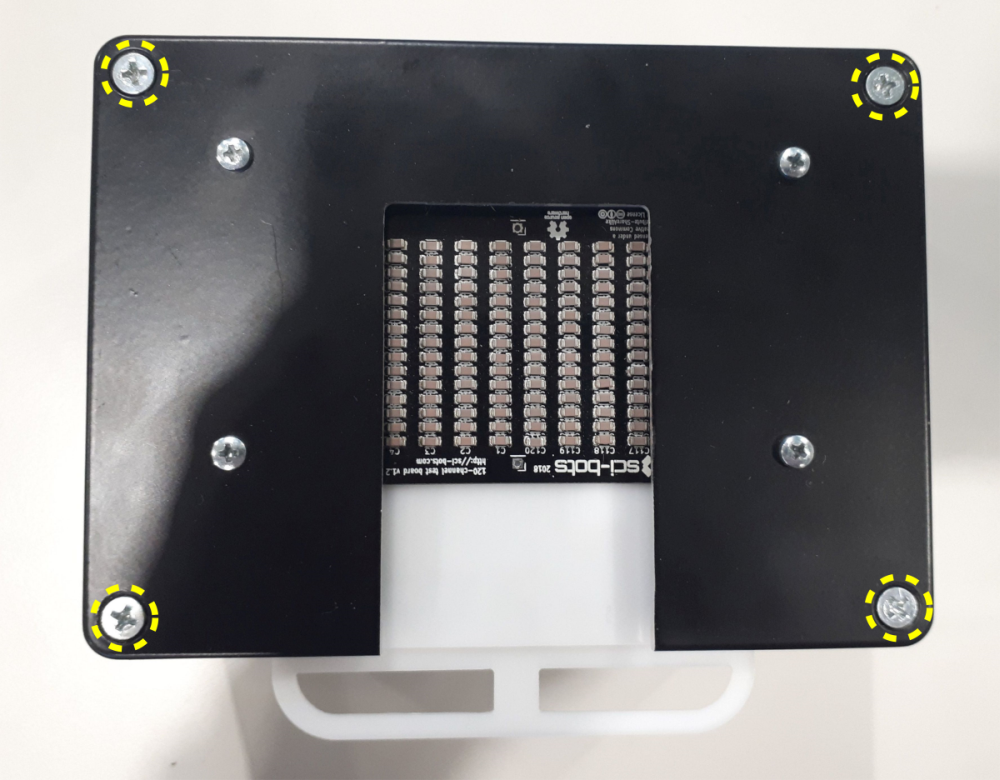
- Remove the 4 screws in the corners of the lid and detach the lid from the case.
- Remove the 3 screws holding the DropBot electronics in place. Note that you don't have to remove the screws completely—just loosen them to the point that they are no longer gripping the metal case.
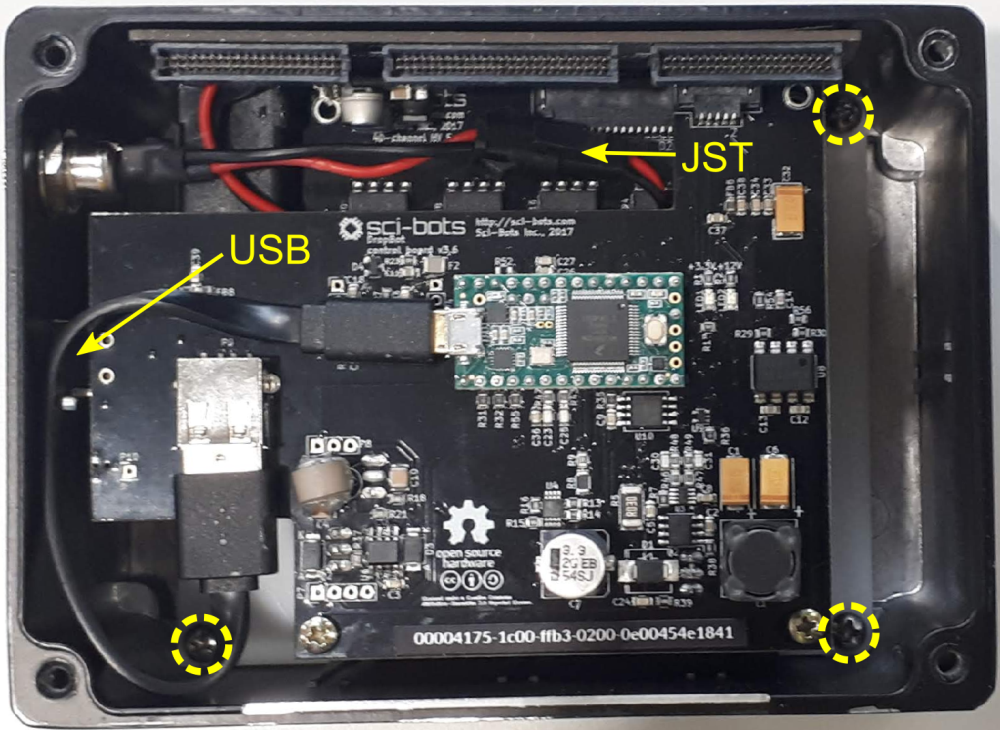
- Disconnect the JST power connector.
- Carefully remove the DropBot electronics from the case. Note that the USB connector can sometime get caught on the case.


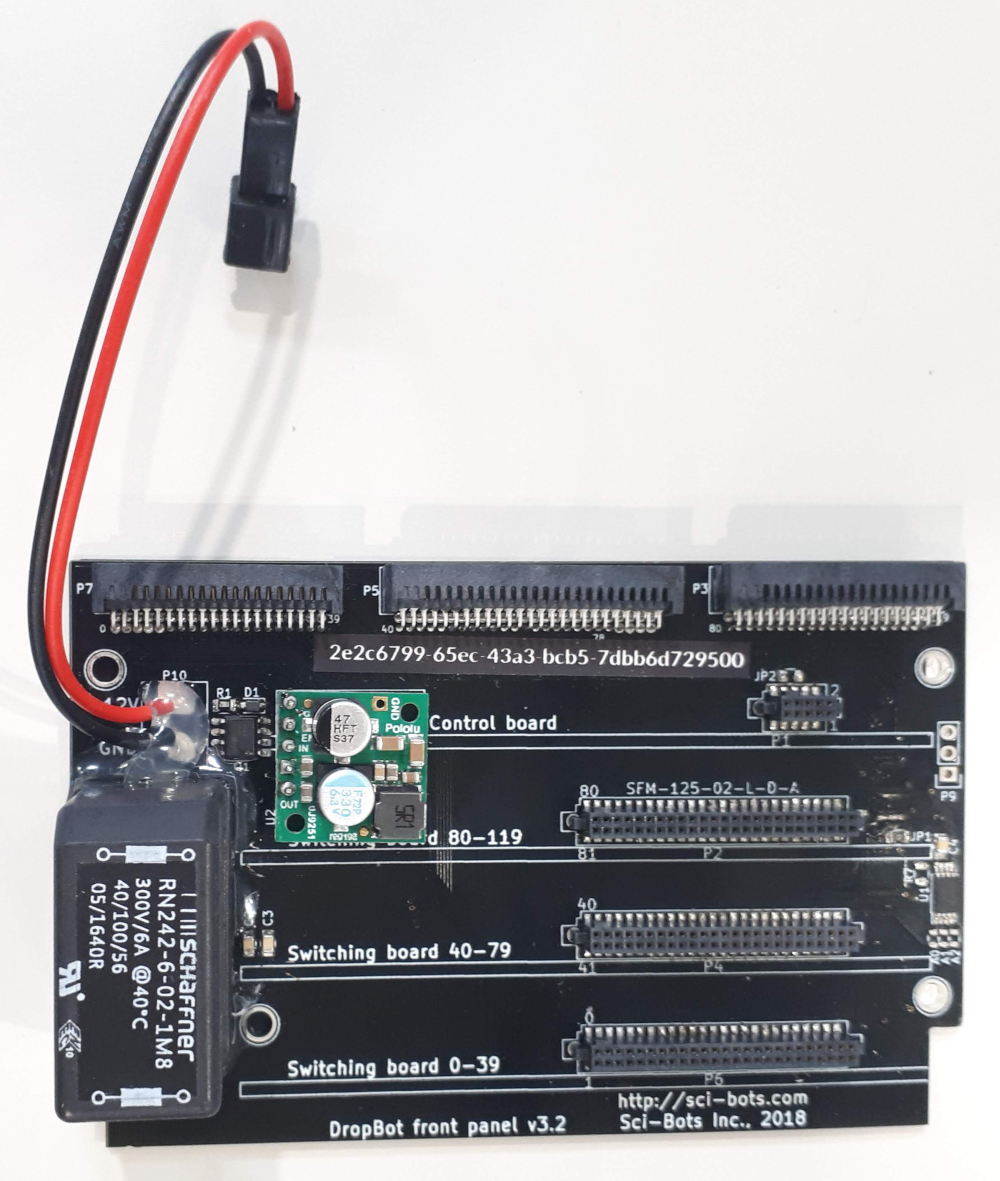
- Gently remove the old front panel board from the rest of the electronics. Visually inspect the pins on all of the connectors to make sure that none of the pins are bent. Attach the new front panel board to the rest of the electronics.

- Put the DropBot electronics back in the case.
- Re-attach the JST power connector.
- Tighten the 3 screws from Step 2.
- Re-attach the case lid and replace the 4 screws from Step 1.
- Try running the on-board hardware diagnostics.