Adding KOLs - rikai-network/docs GitHub Wiki
Setup Customer Service Plugin
Note: We have added the plug in for you. You can skip this section
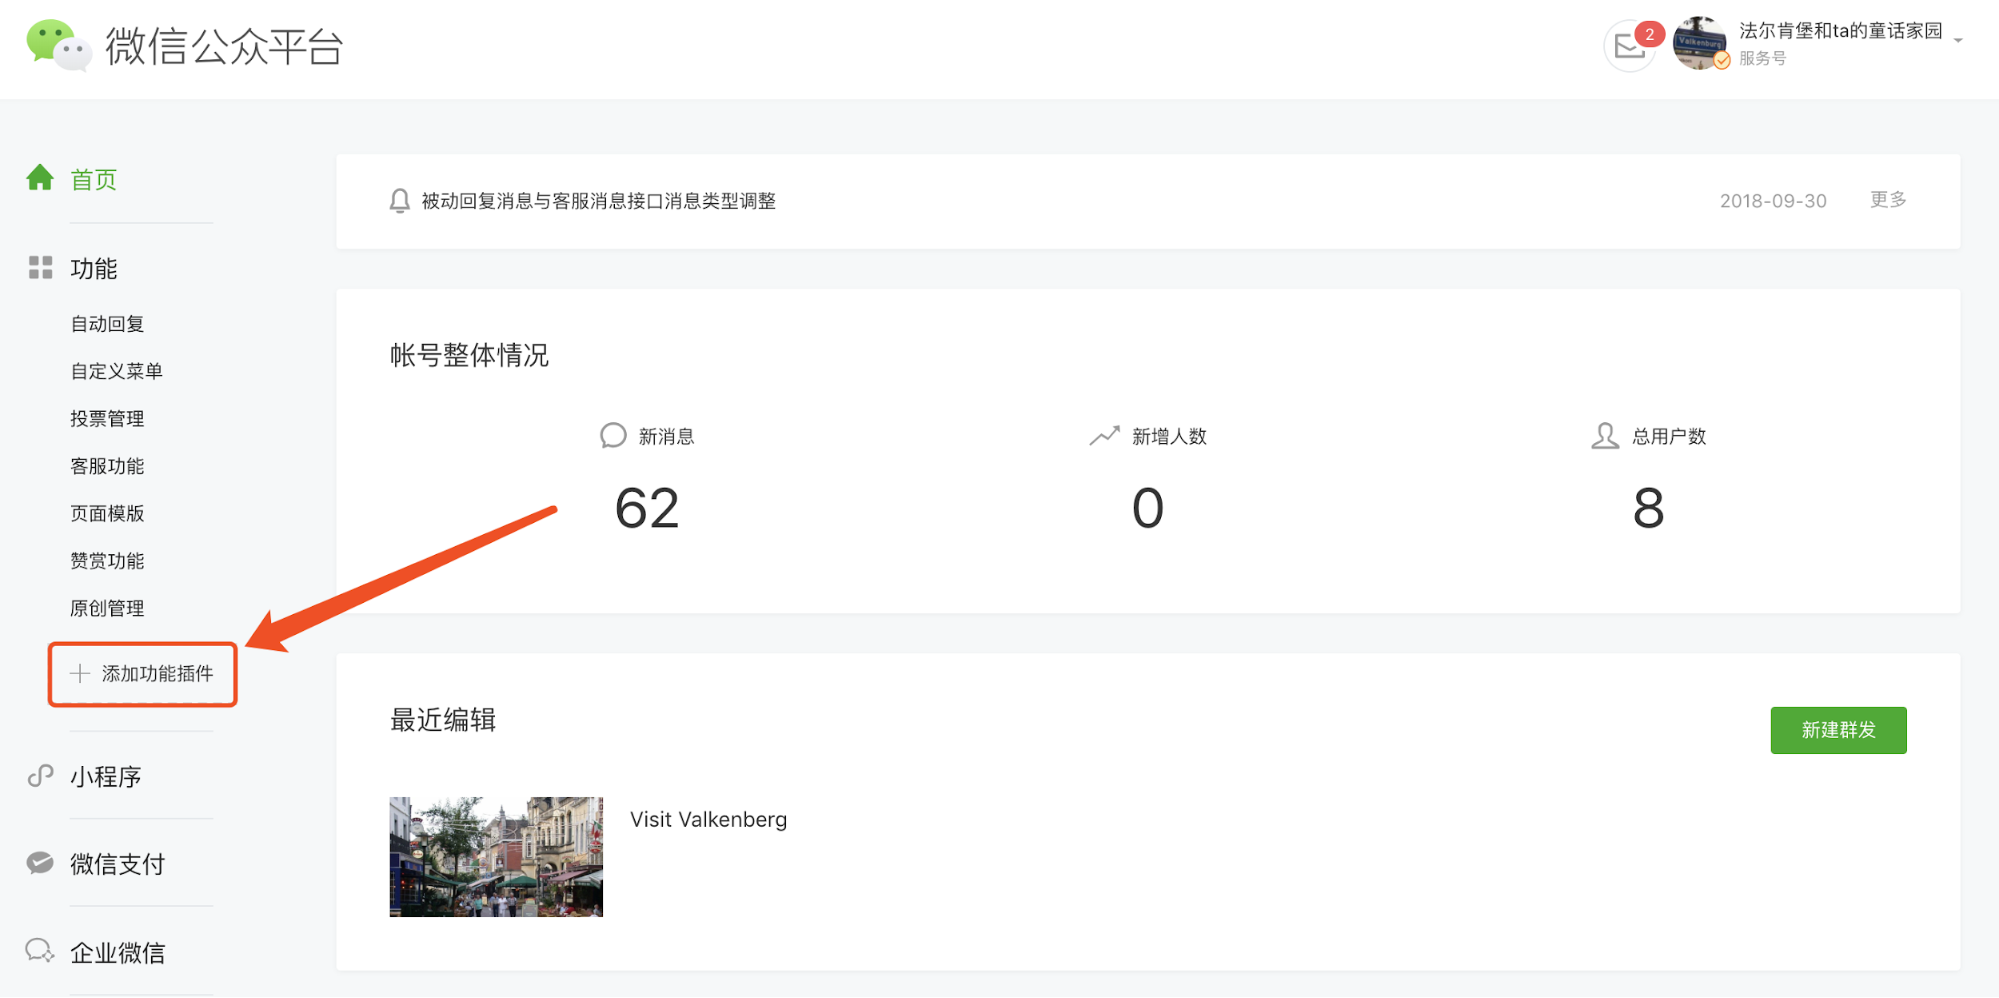
- Sign in to 微信公众平台.
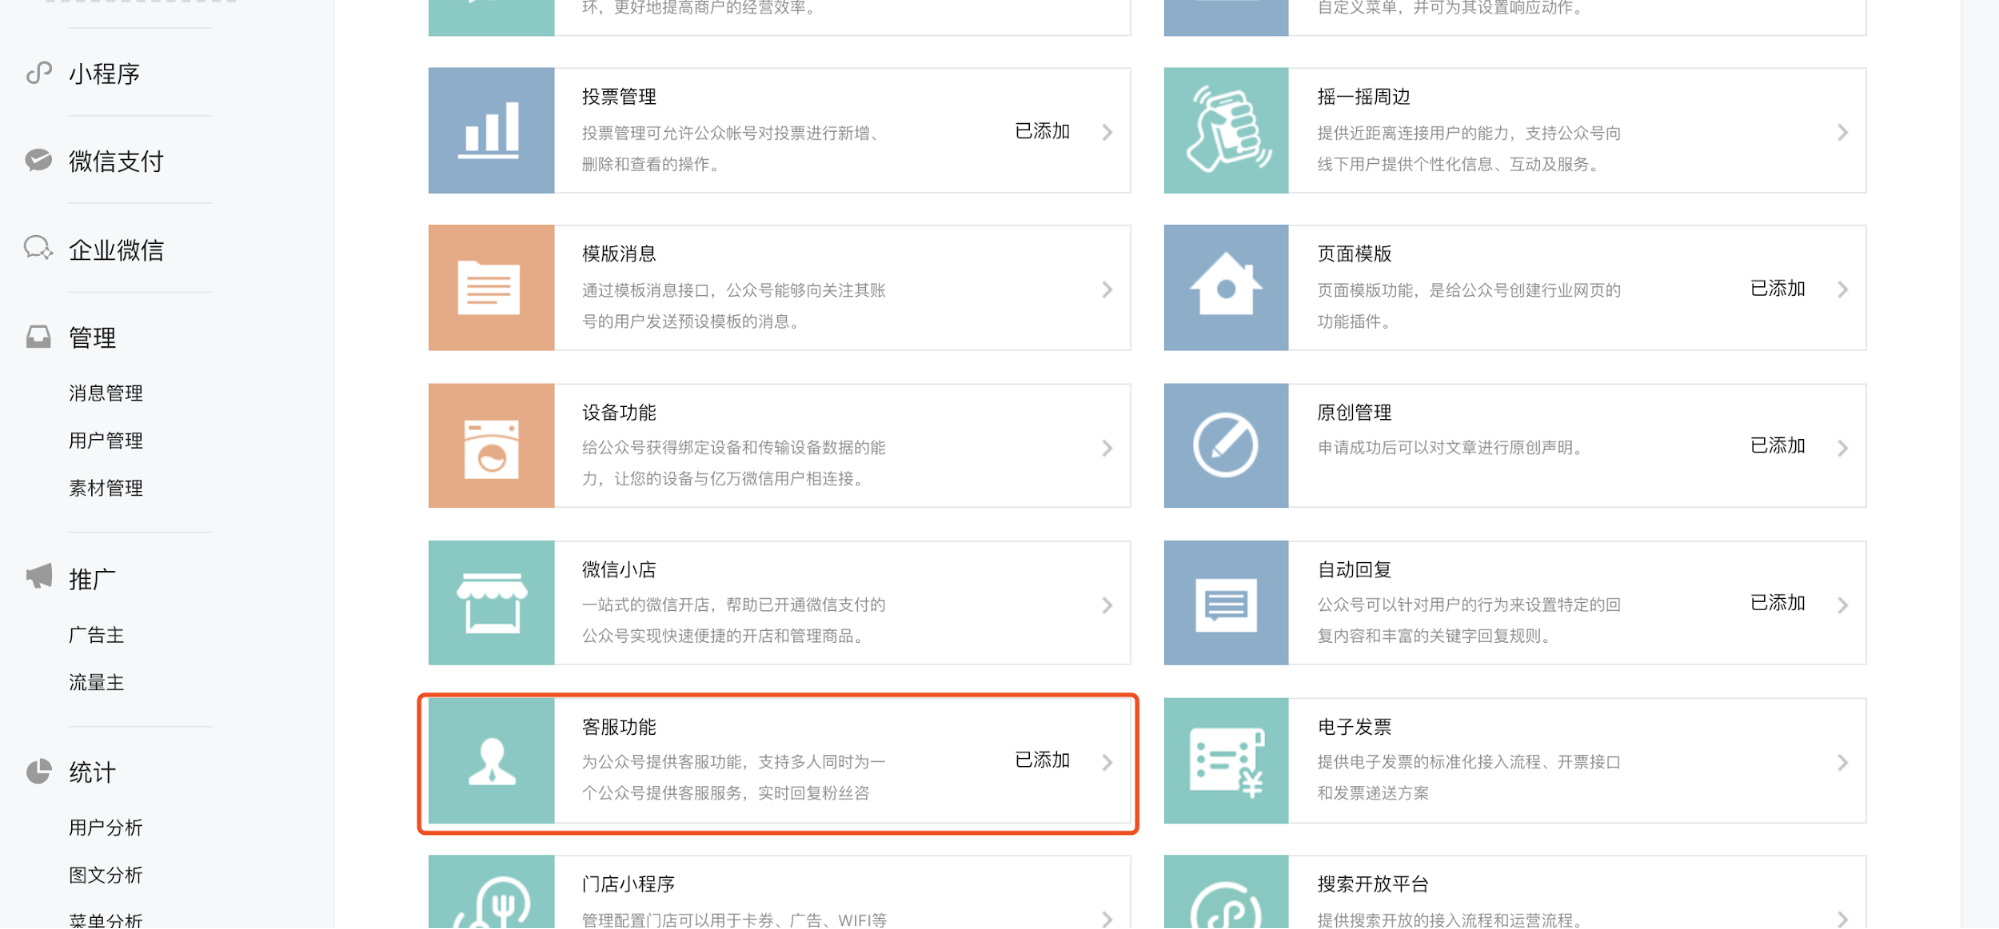
- For the first time using the platform, you need to add a customer service plug in
功能 > 添加新功能插件 > 客服功能.
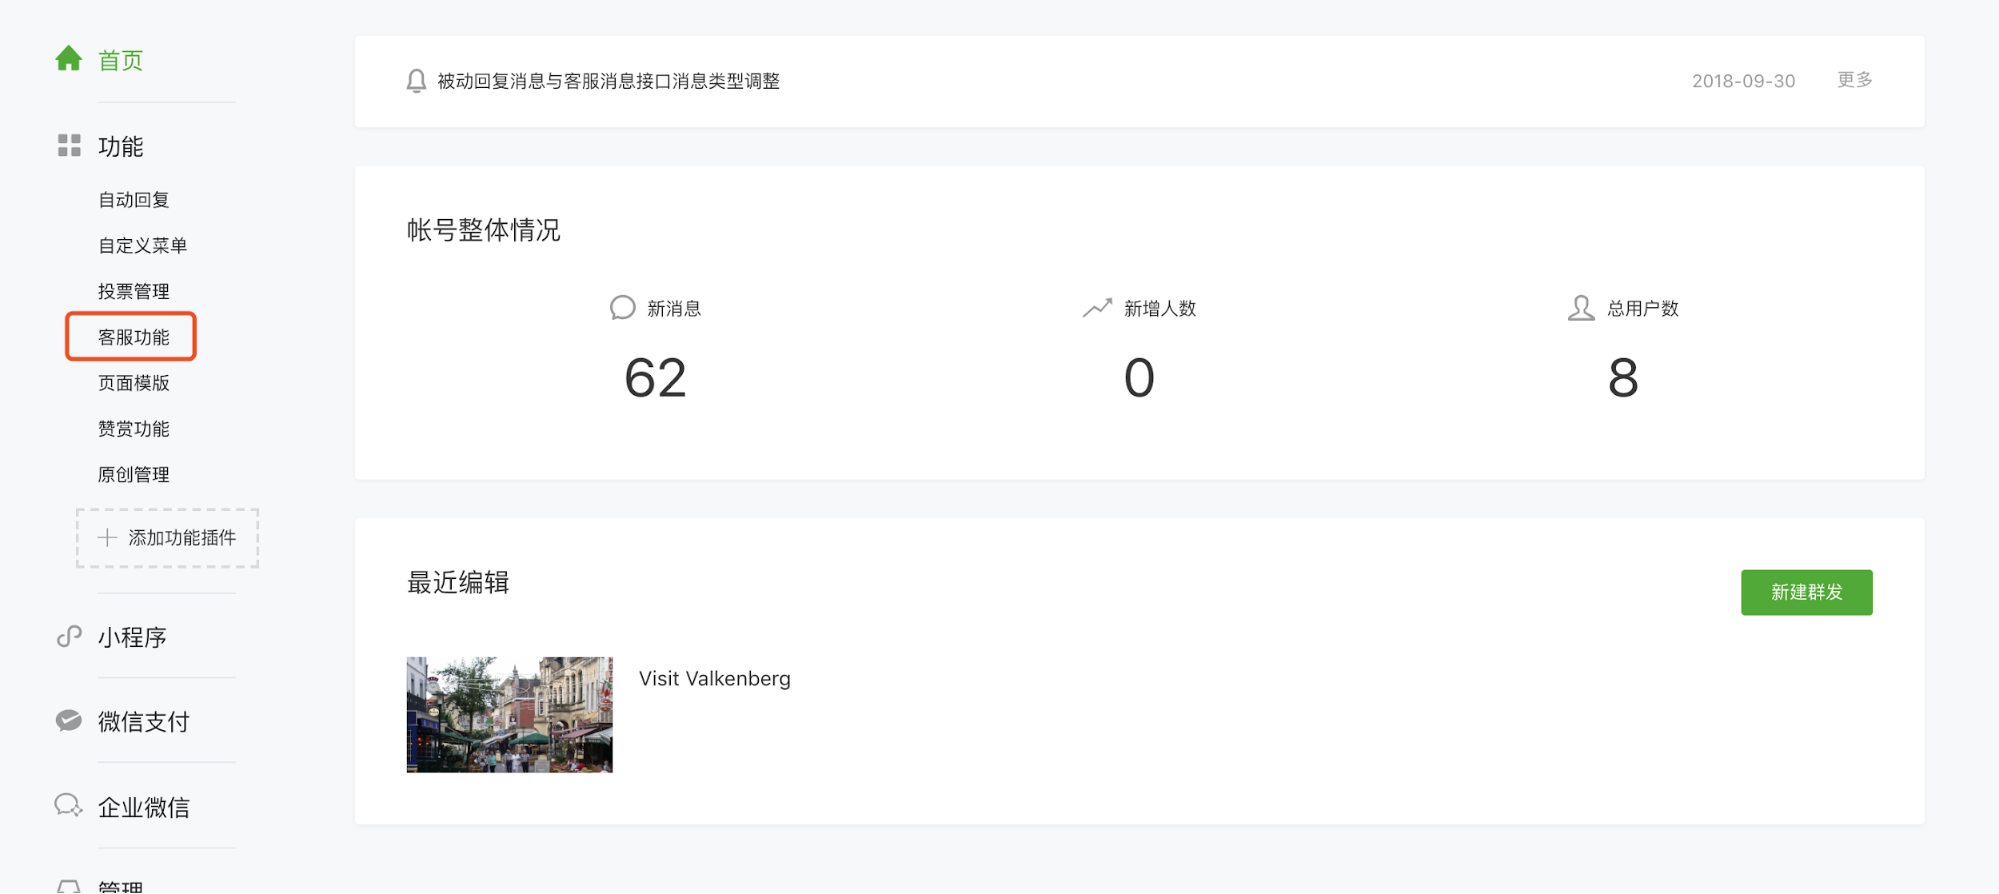
- Subsequently, 客服功能 can be seen under the 功能 menu.
Adding New Accounts
To use a custom icon for chats you need to add a “Customer Service” (CS) account for each icon. This needs to be linked with an actual WeChat account. However, no messages will be sent to that account. So it doesn’t matter what account it links to - it doesn’t have to be the real KOLs’ account. This is how to add a new CS account.
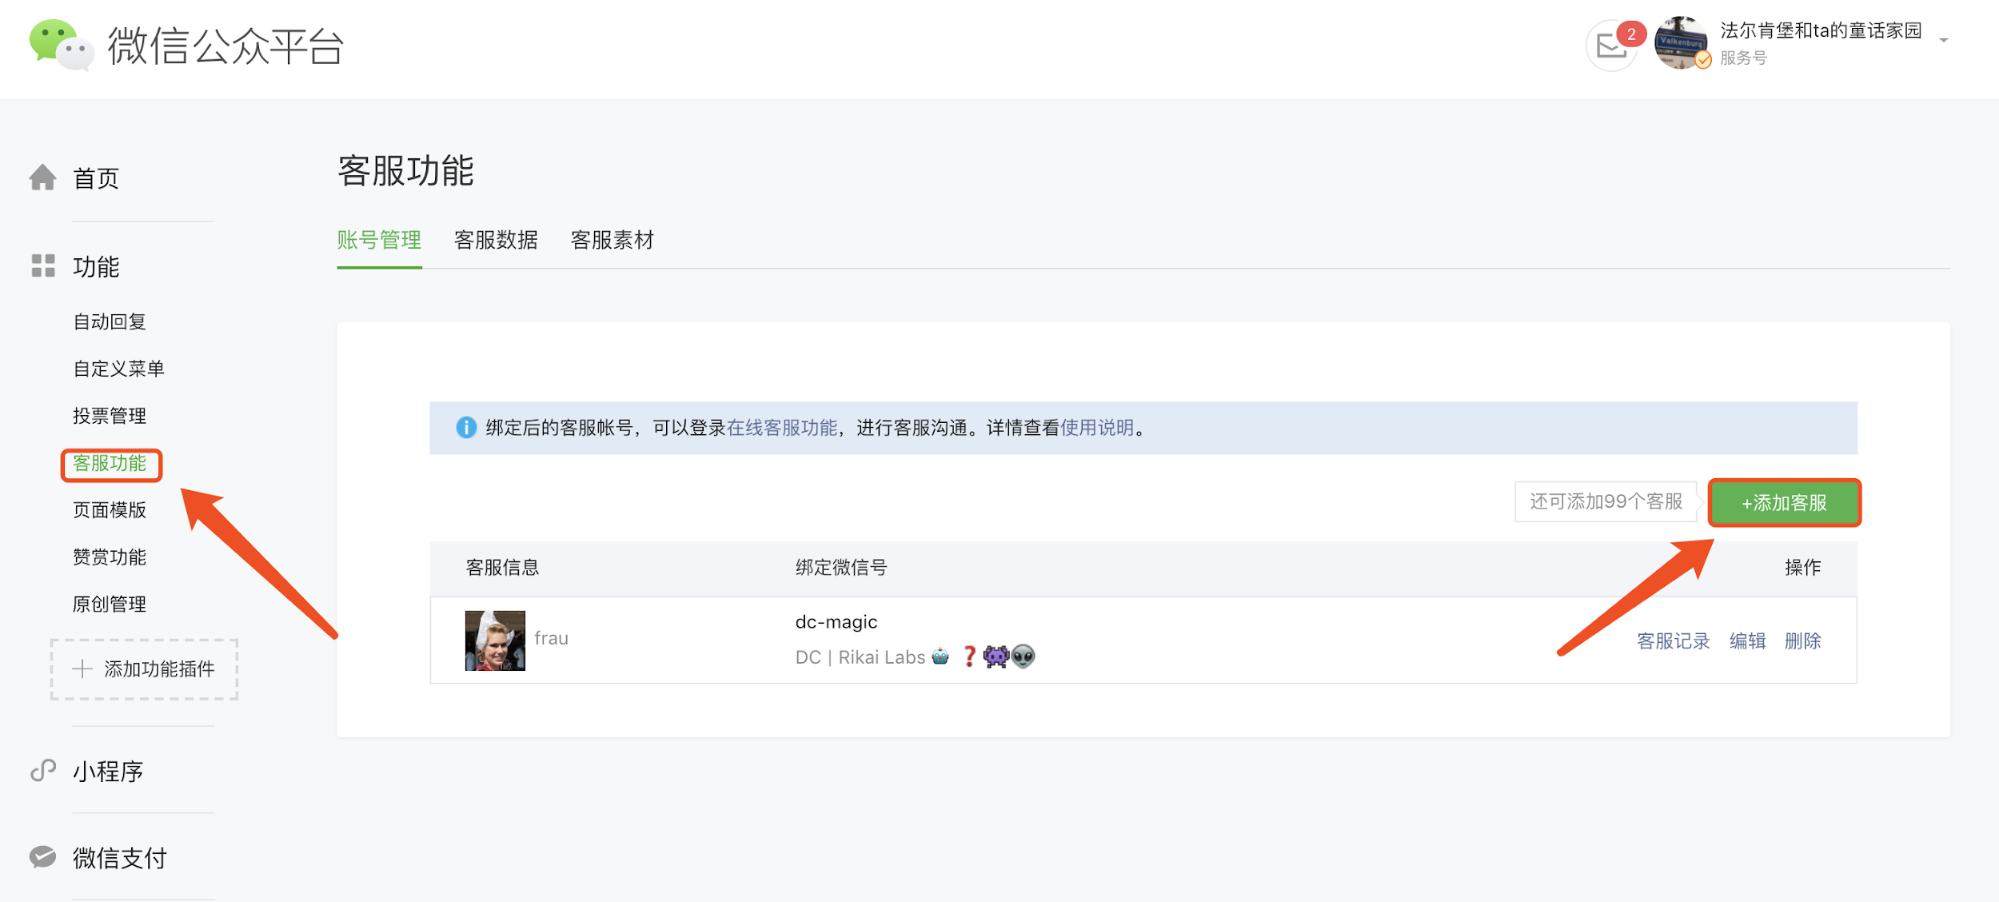
- On the 微信公众平台 select 客服功能 > 添加客服.
- A window will pop up. Fill in the name of KOL and upload a picture of KOL.

- Click 下一步.
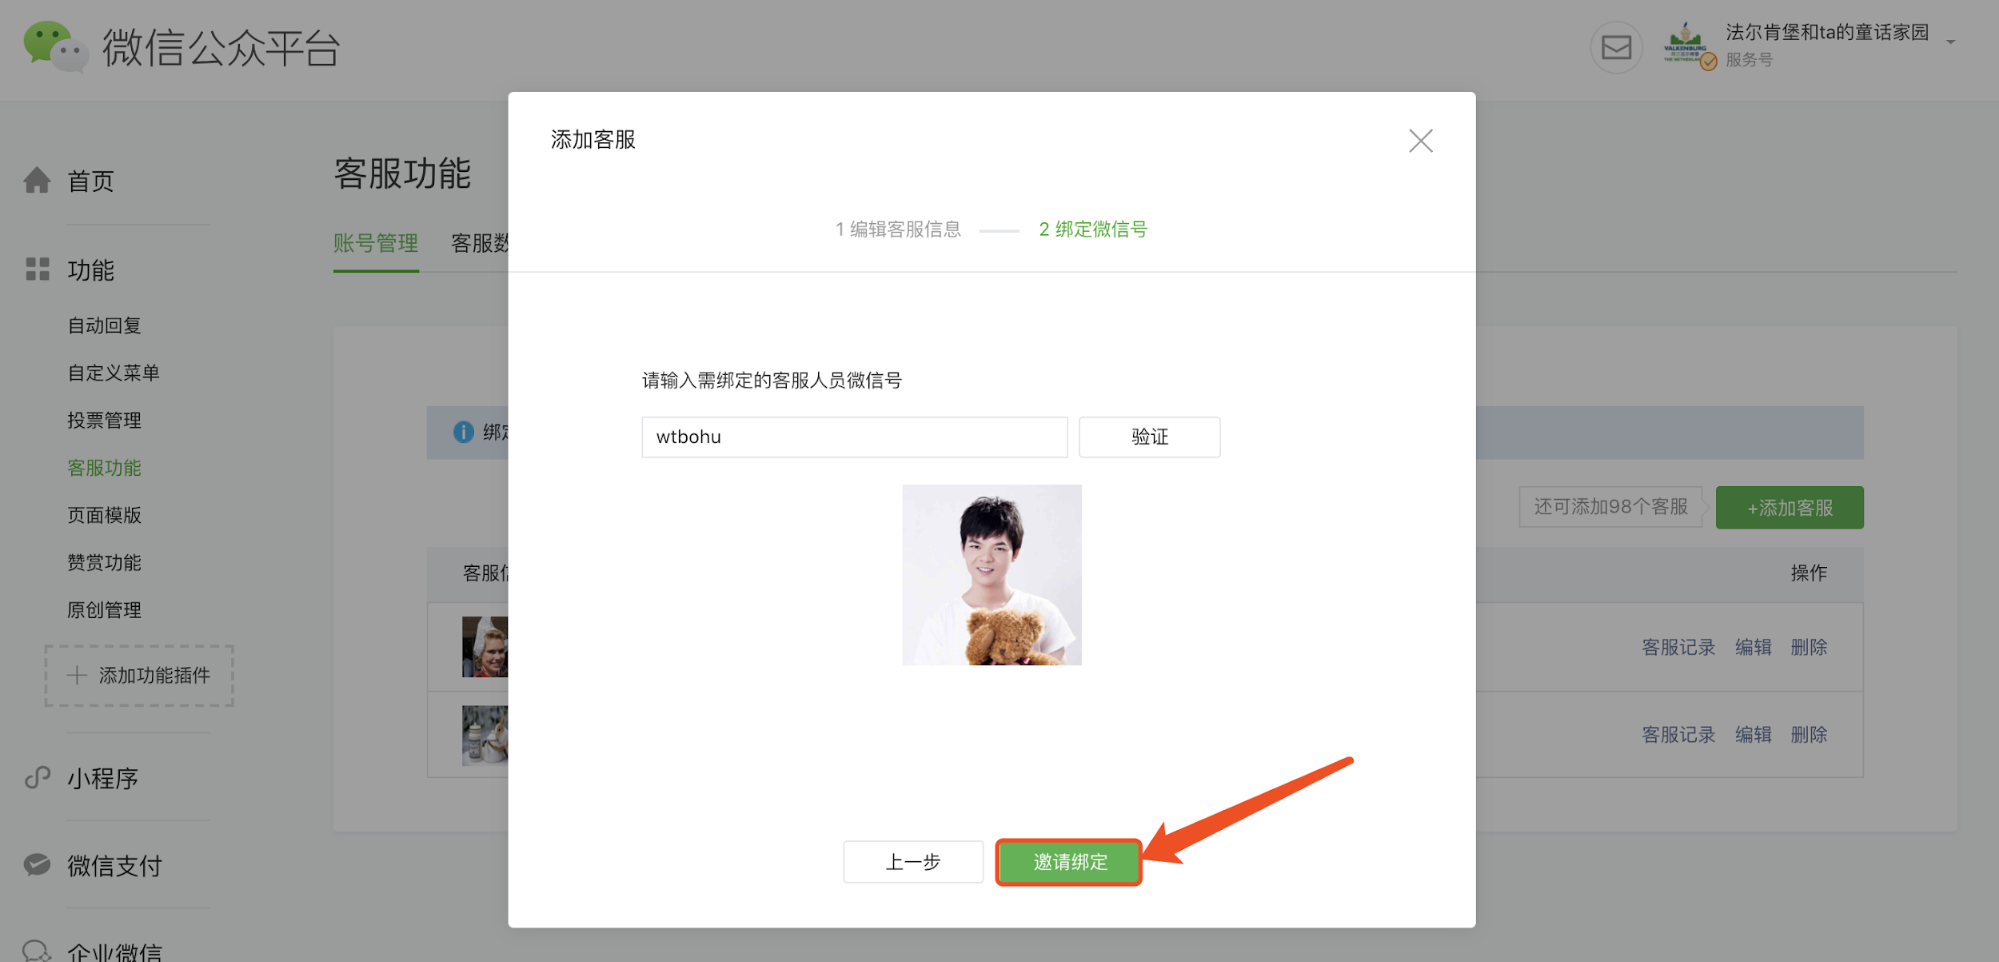
- Enter WeChat ID of KOL into the field and click 验证. KOL’s own WeChat display picture should appear. Note: File size should not exceed 5M
- Click 邀请绑定.
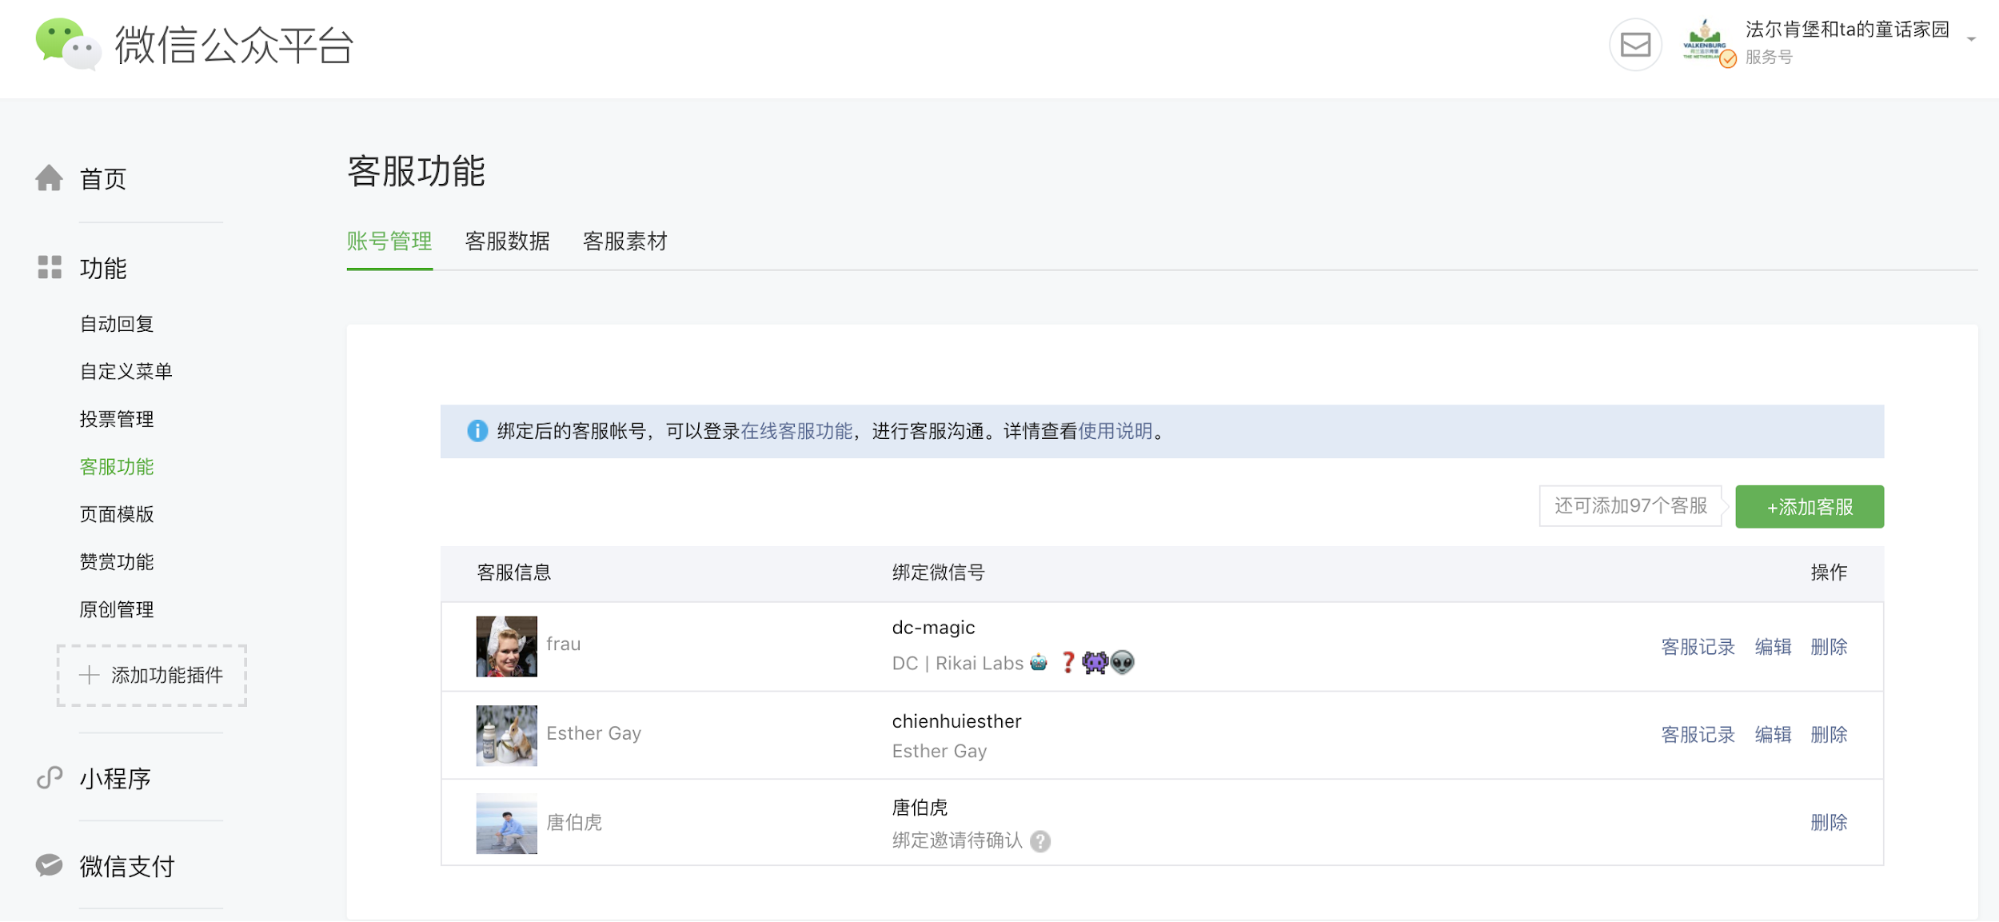
- You will see the window below with the newly added KOL.
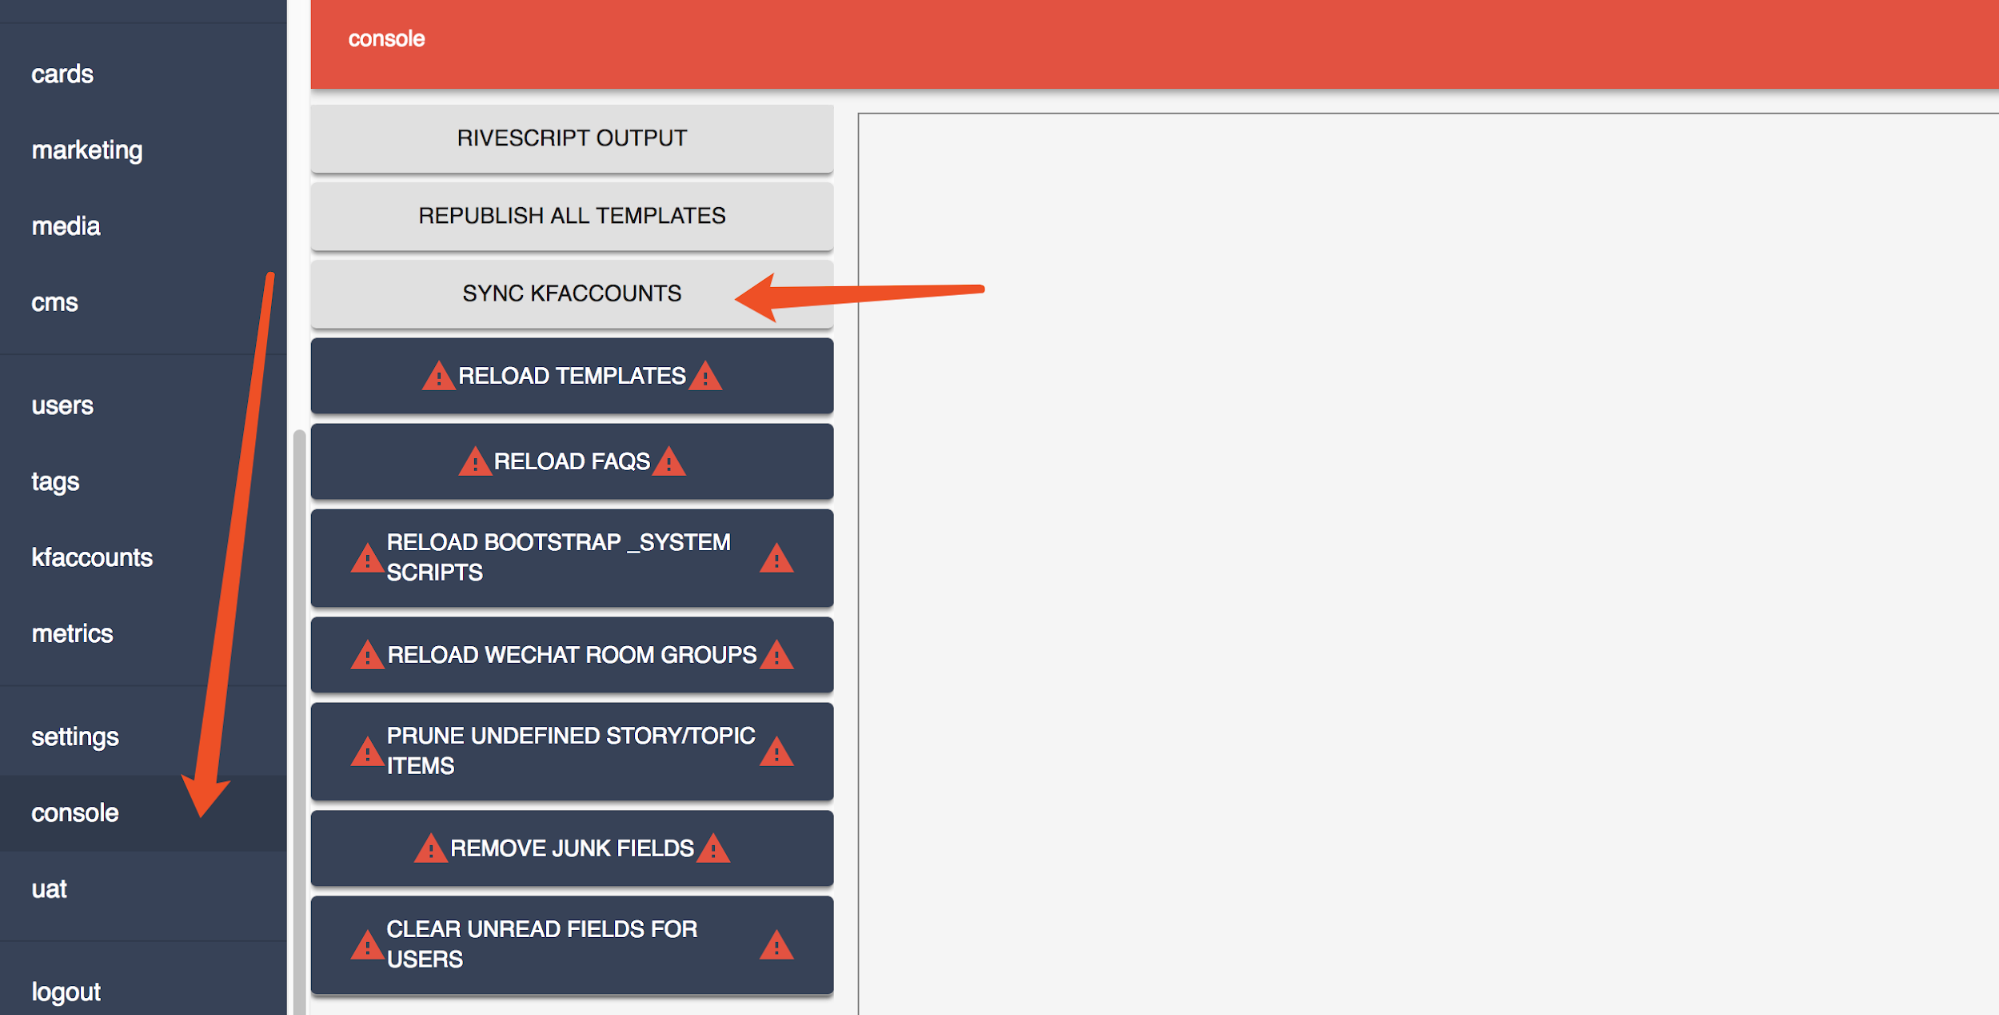
- After adding KOL on 微信公众平台 go to Rikai Dashboard http://valk.rikai-bots.com/#/
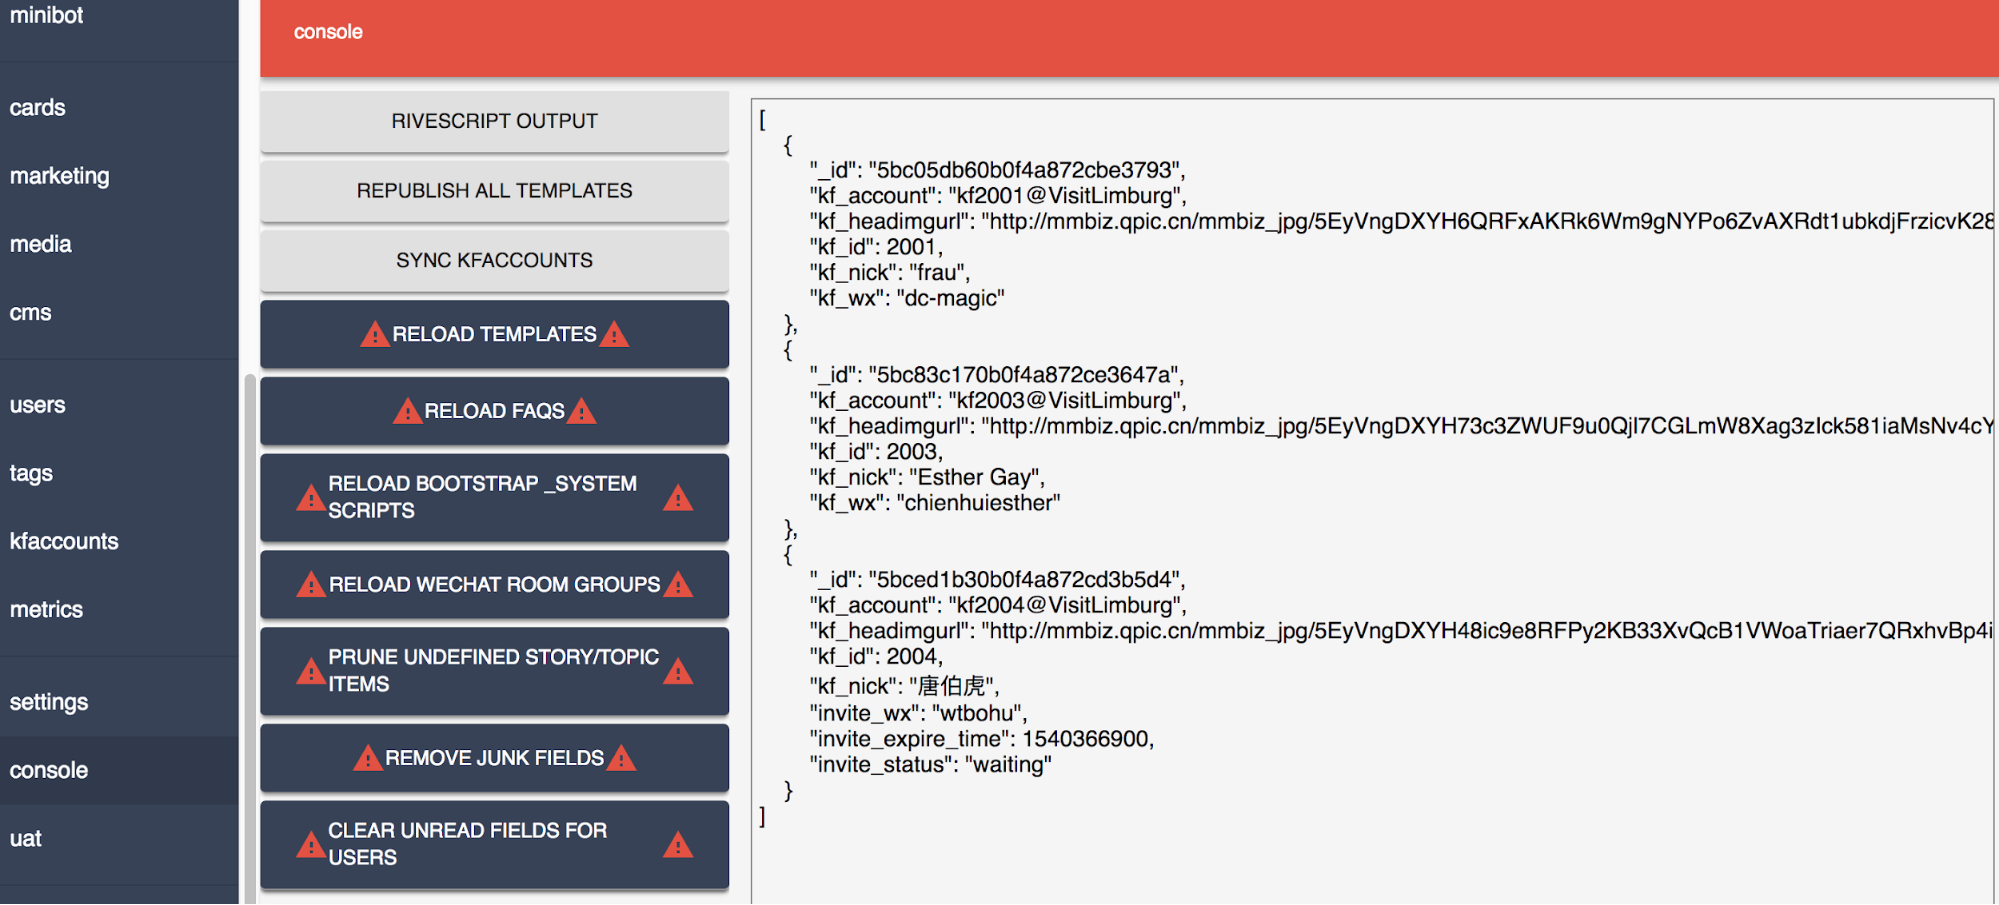
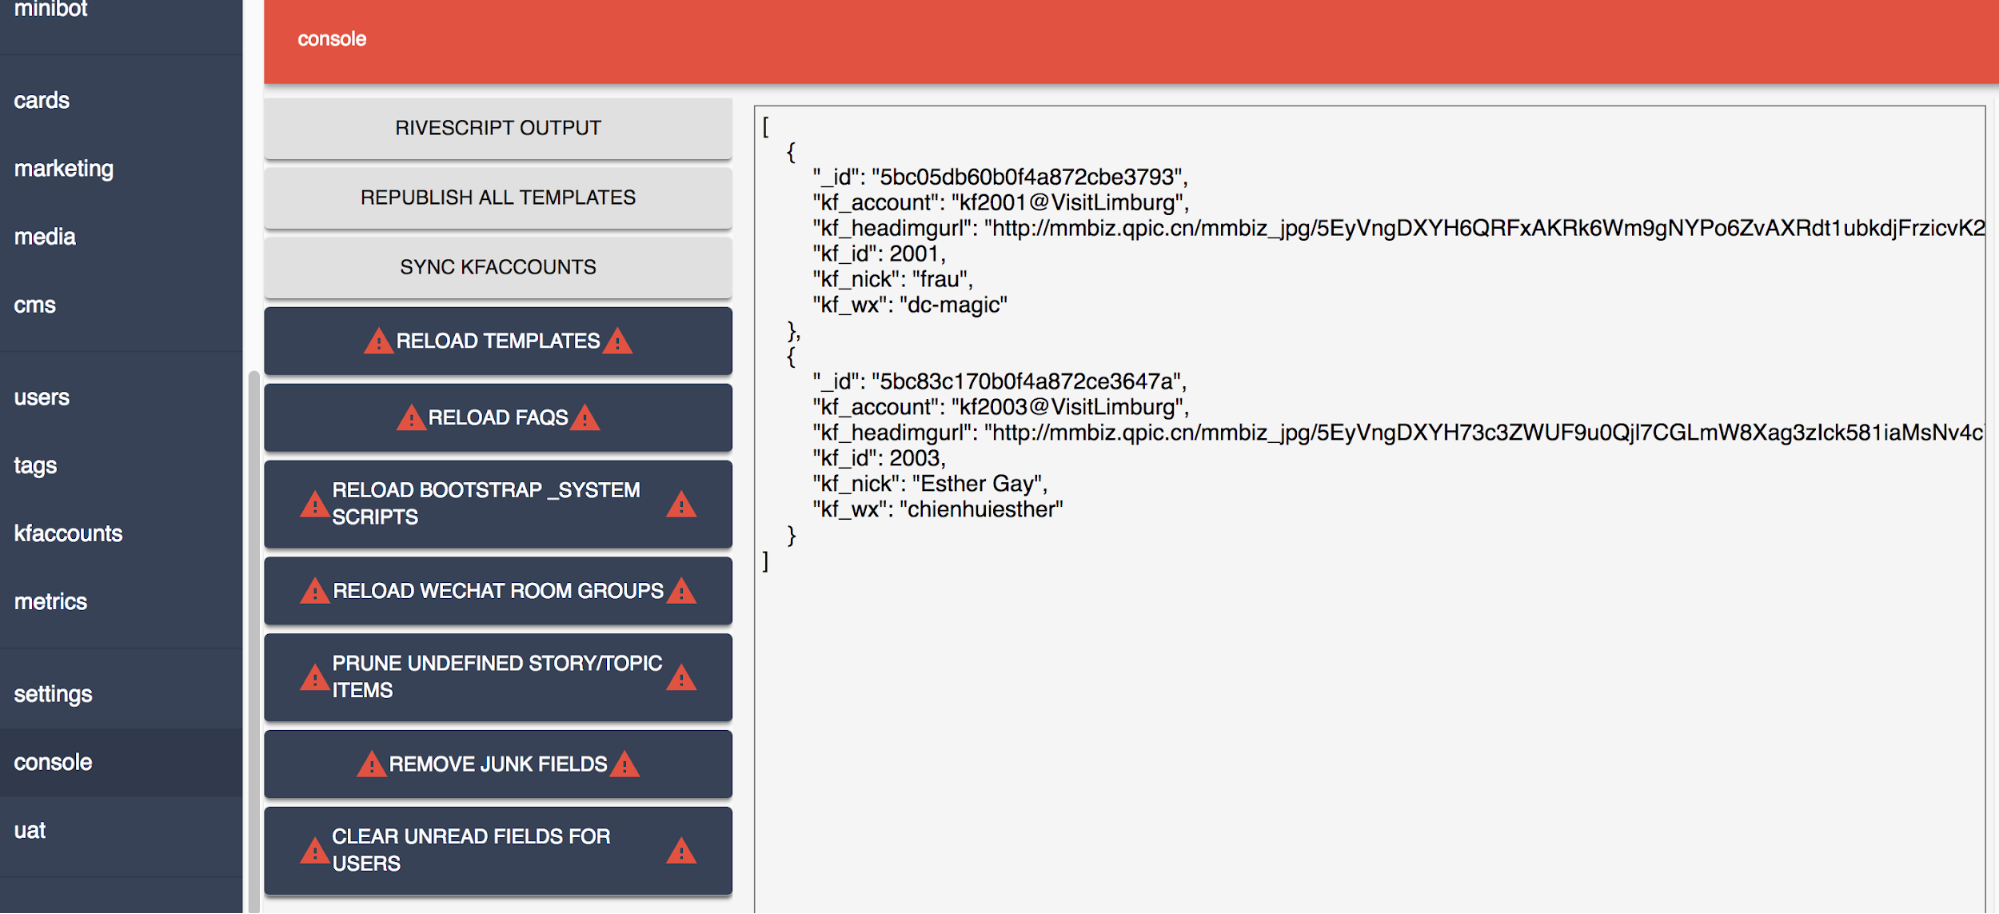
- Navigate to Console and click SYNC KFACCOUNTS.
- Click OK.
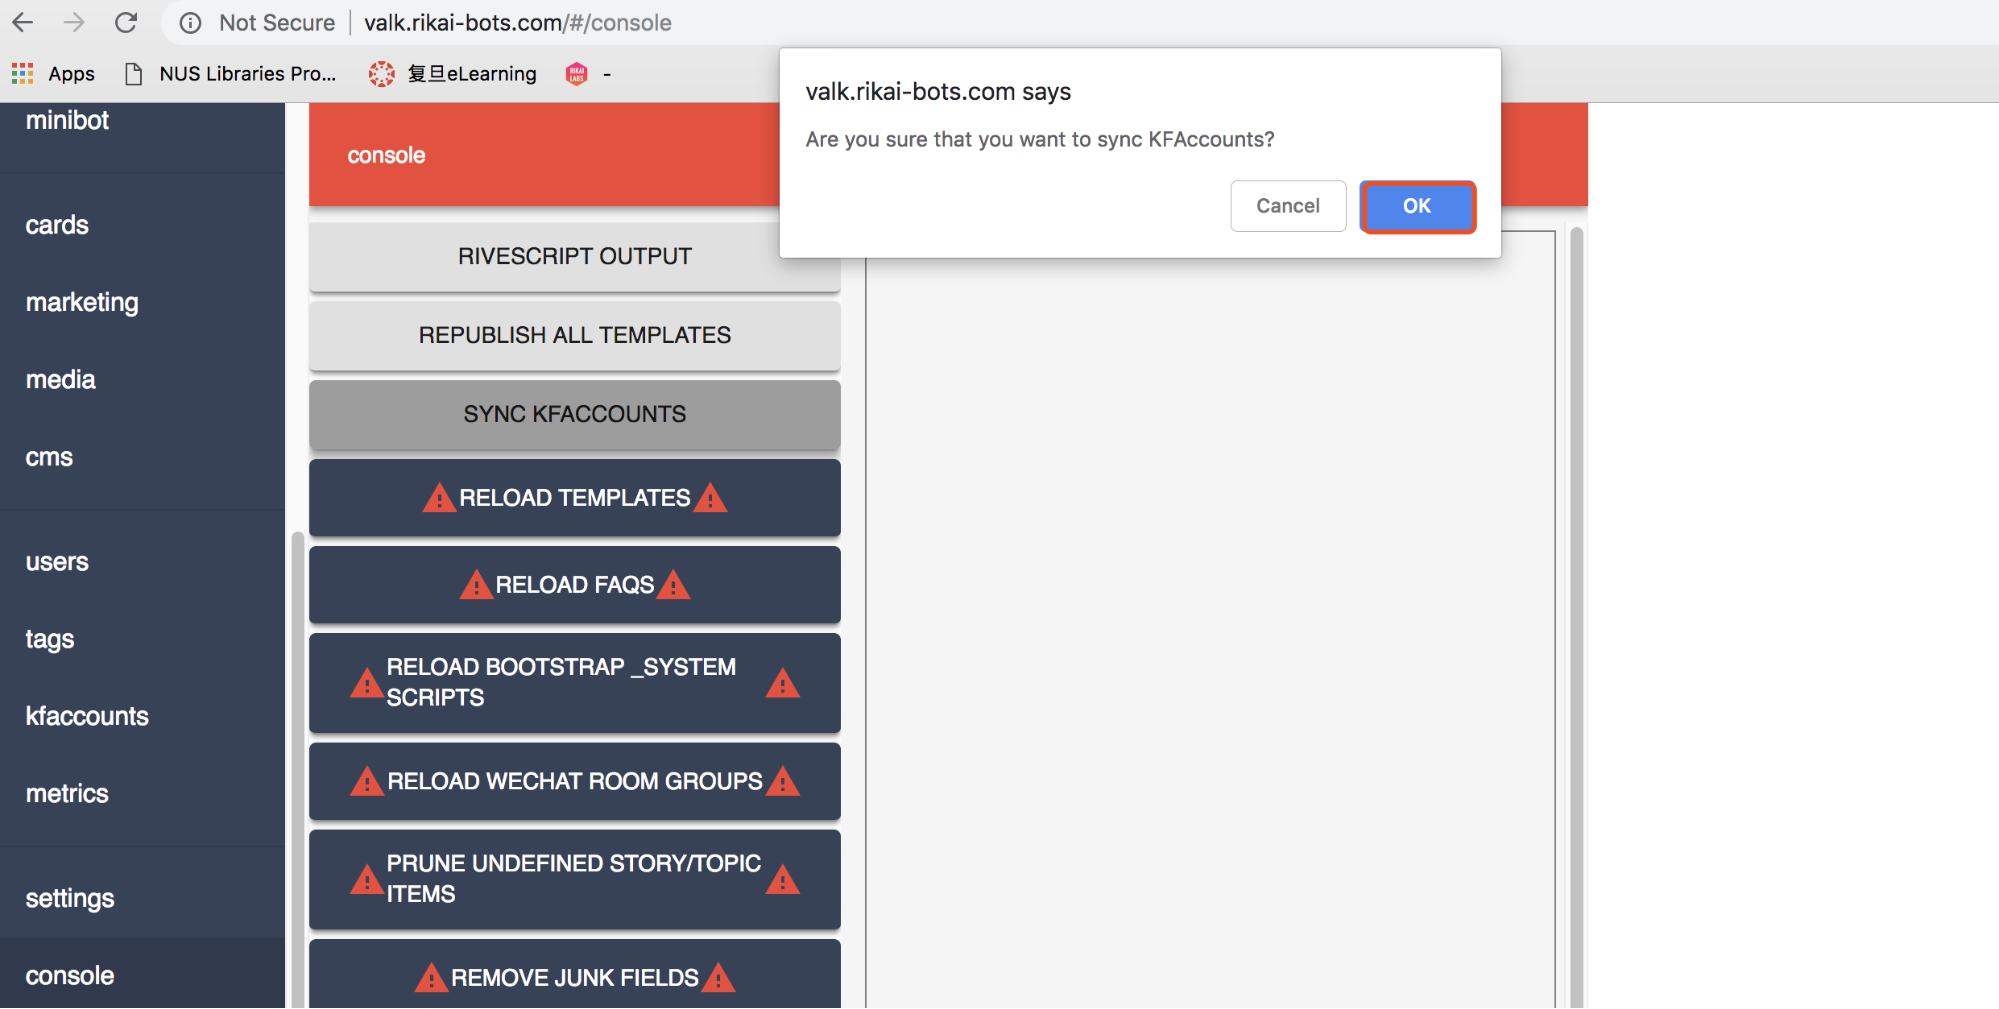
- You will see the window below. You have successfully added a new CS account.
Up next: Adding Media