Walkthrough: Mesh Creation - rg2/jhmr-v2 GitHub Wiki
Surface Mesh Creation
The following examples demonstrate how to use the xreg-create-mesh program to create surface meshes of anatomy from an input volume, which may either be a label map or an image of intensities.
Example 1
This example uses the pelvis.nii.gz volume created as part of the volume cropping example.
The following command will create a surface mesh of the anatomy by implicitly creating a label map corresponding to voxels with intensities greater than 150 HU:
xreg-create-mesh -i --lower 150 pelvis.nii.gz pelvis_thresh_sur.ply
The output mesh, pelvis_thresh_sur.ply, can be visualized using the xreg-show-mesh, with the following command:
xreg-show-mesh pelvis_thresh_sur.ply
A similar visualization to that below should be obtained after manually adjusting the view:

Note that the bowel and the femoral artery are visible due to contrast agent.
Example 2
This example will use the label map (pelvis_seg.nii.gz) computed as part of the bone segmentation example.
The pelvis, sacrum, and L5 are assigned label 1, the right femur is assigned label 2, and the left femur is assigned label 3.
Therefore, a surface mesh corresponding to the pelvis segmentation may be created with the following command:
xreg-create-mesh pelvis_seg.nii.gz pelvis_sur.ply 1
The following command will display the surface, which is also shown below:
xreg-show-mesh pelvis_sur.ply
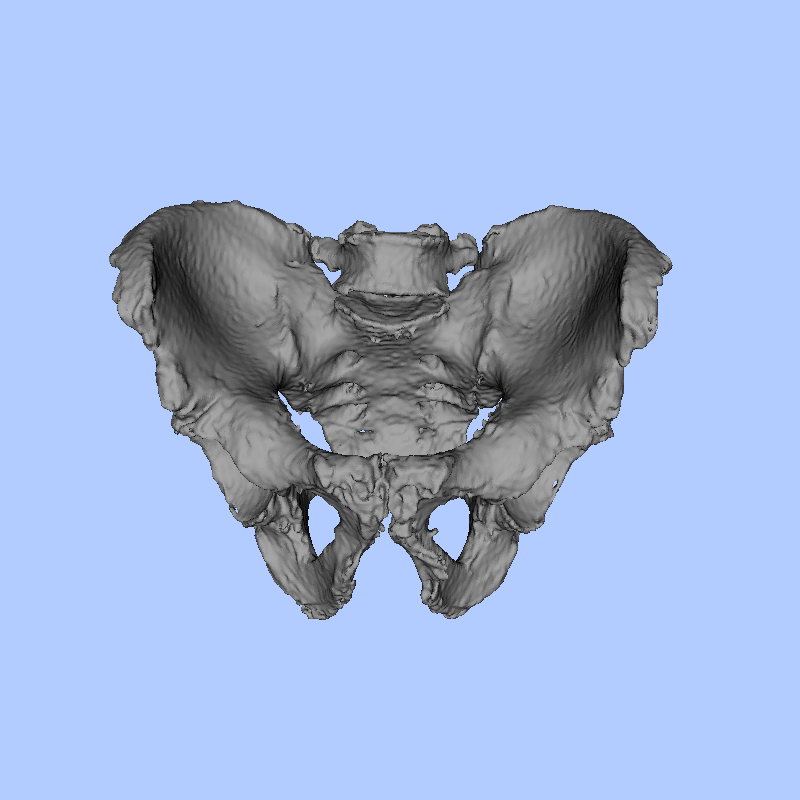
Note that passing a final argument of 2 to xreg-create-mesh would have created a surface of the right femur and an argument of 3 would have created a surface of the left femur.
When a label map is input and no label argument is provided all non-zero labels will be used to create a surface.