Walkthrough: Volume Cropping - rg2/jhmr-v2 GitHub Wiki
Volume Cropping
In many cases the entire extent of a volume is not needed for processing and working with the full dimensions of the original volume may introduce problems such as increased disk usage, unnecessary computations on irrelevant anatomy, and processing difficulty/complexity due to the possibly larger number of anatomical objects (e.g. femurs, vertebra, and tibia when only the pelvis is needed).
A volume is usually cropped according to a region of interest (ROI) in order to avoid these problems.
The xreg-crop-vol tool takes as input a volume and an axis aligned rectangular ROI and outputs a cropped version of the input according to the ROI.
Example
First, create the lymph node CT volume (lymph.nii.gz) as described in the previous walkthrough section on DICOM conversion and resampling.
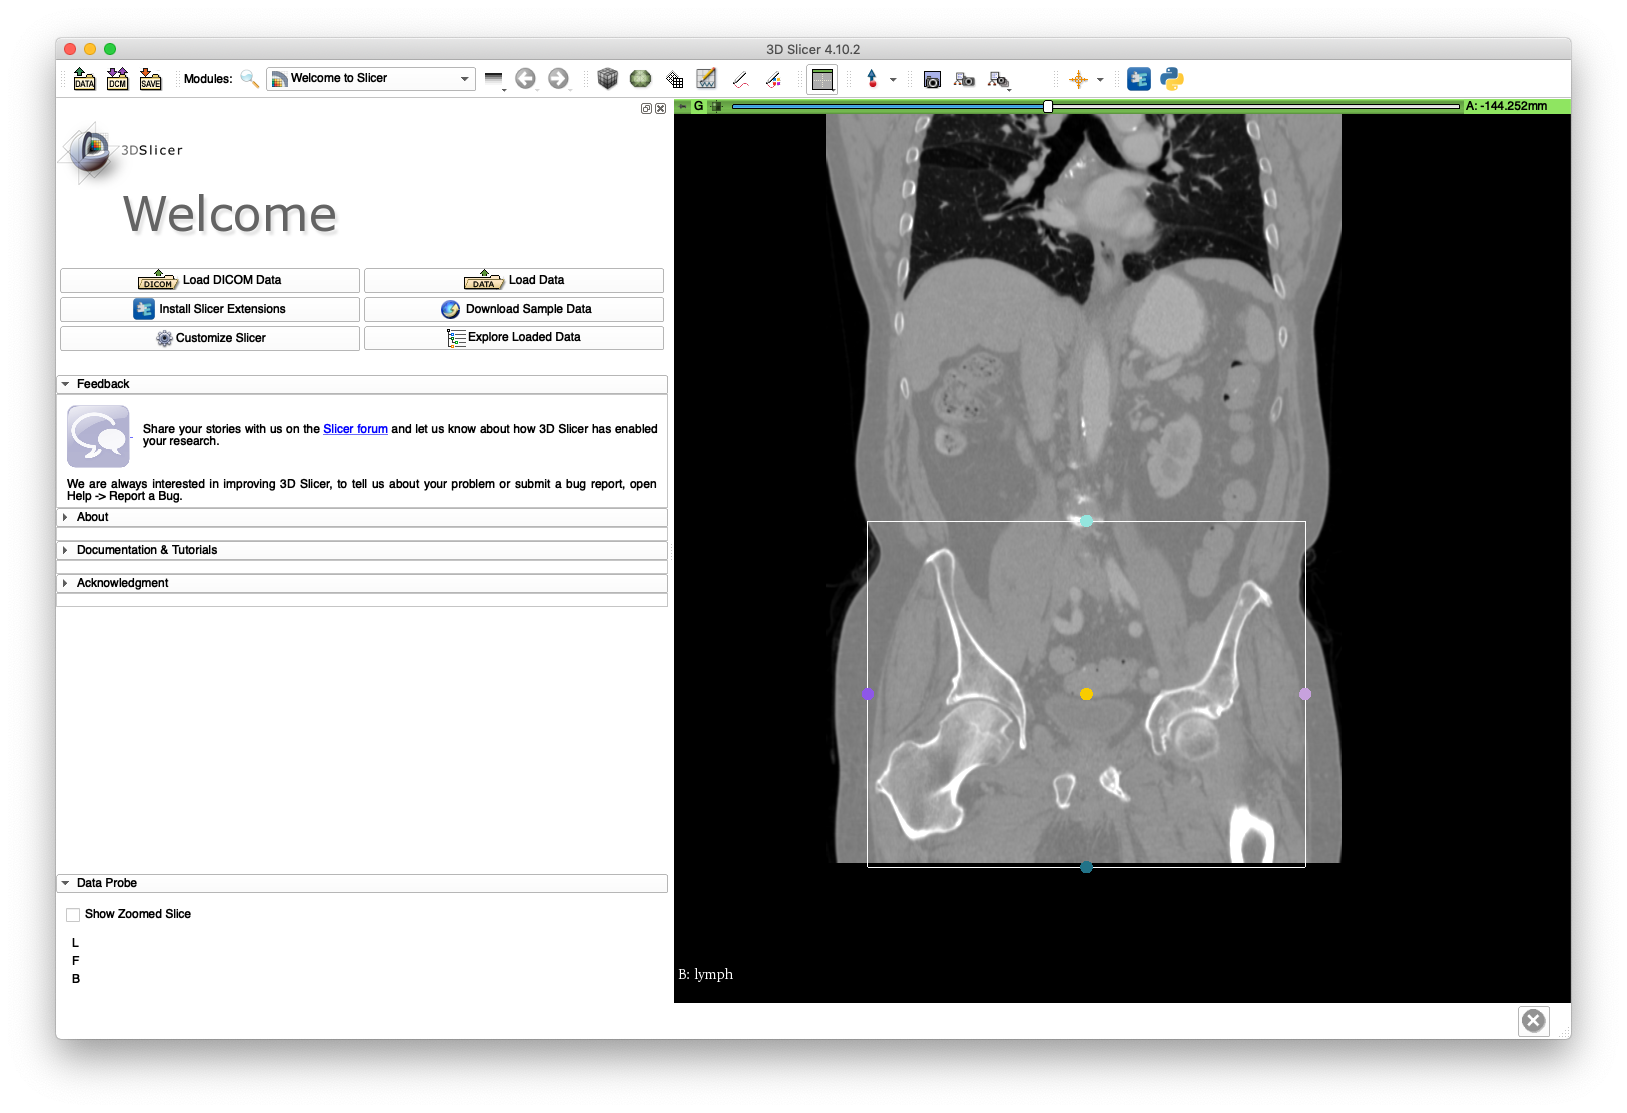
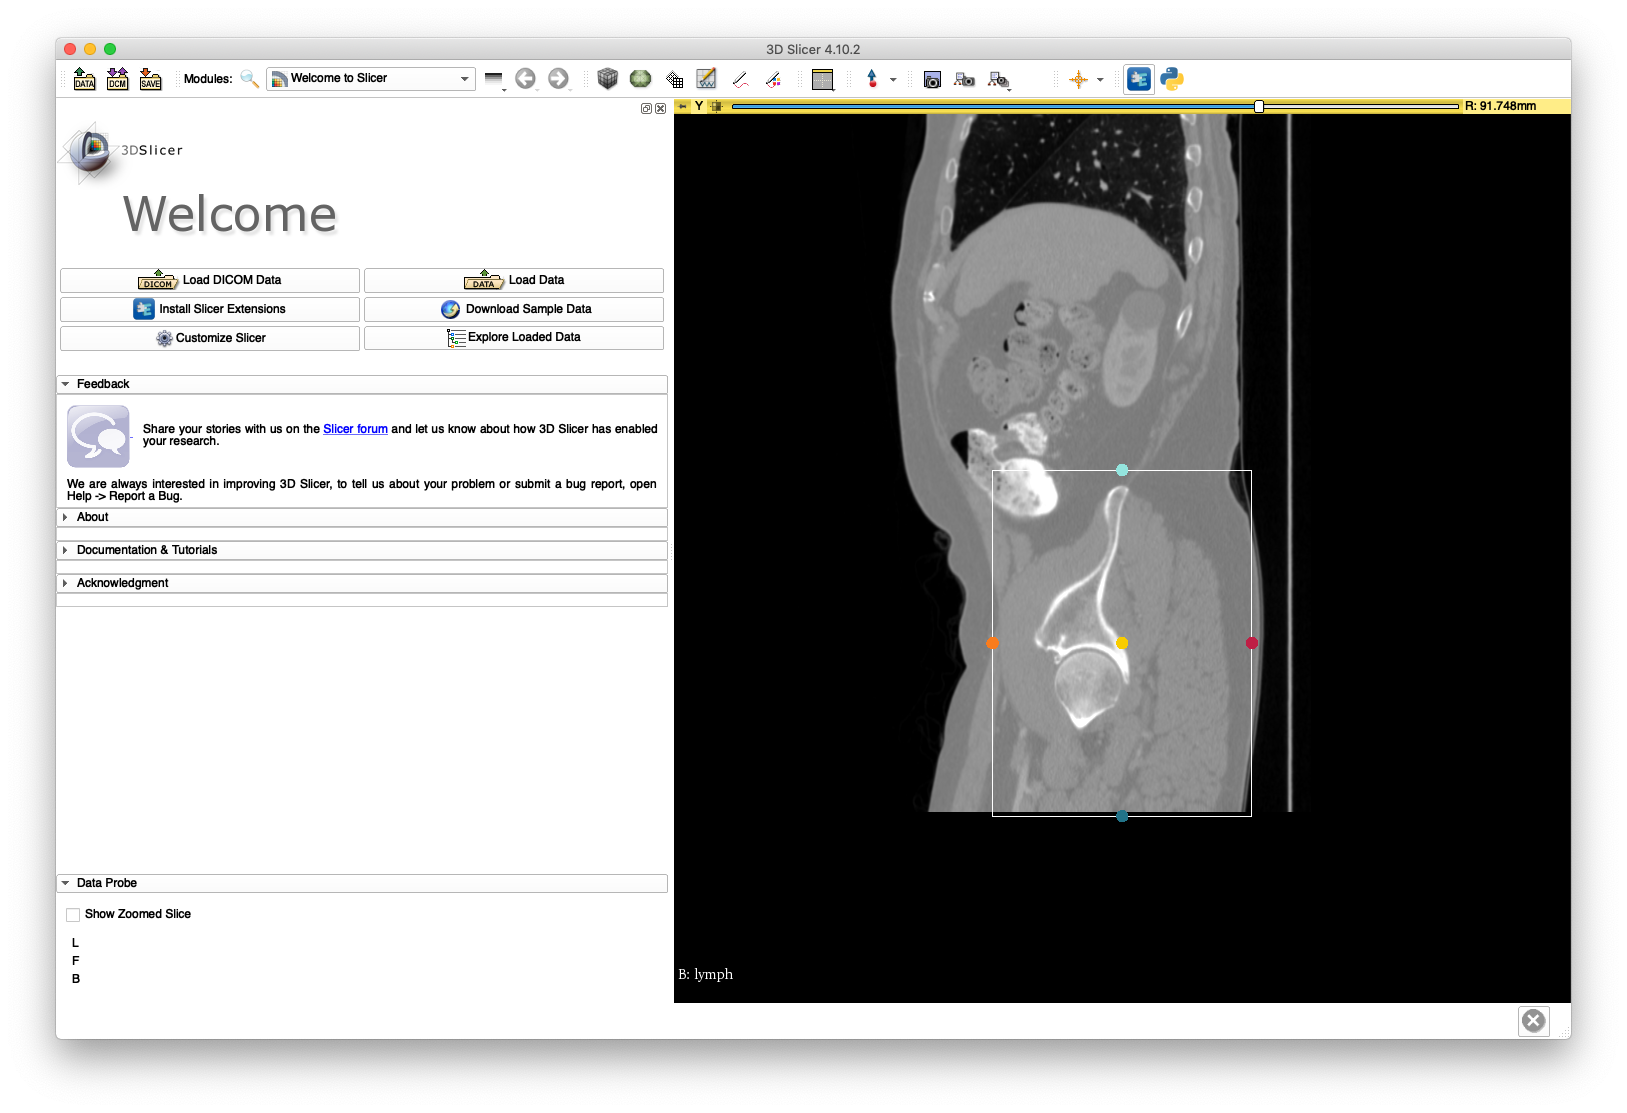
Next, load the volume into 3D Slicer and define a region of interest around the pelvis and femur bone structures. This is illustrated in the following figures:

Save the annotation file to disk - an example is included here. Run the following command to create a cropped volume, named pelvis.nii.gz:
xreg-crop-vol lymph.nii.gz R.acsv pelvis.nii.gz
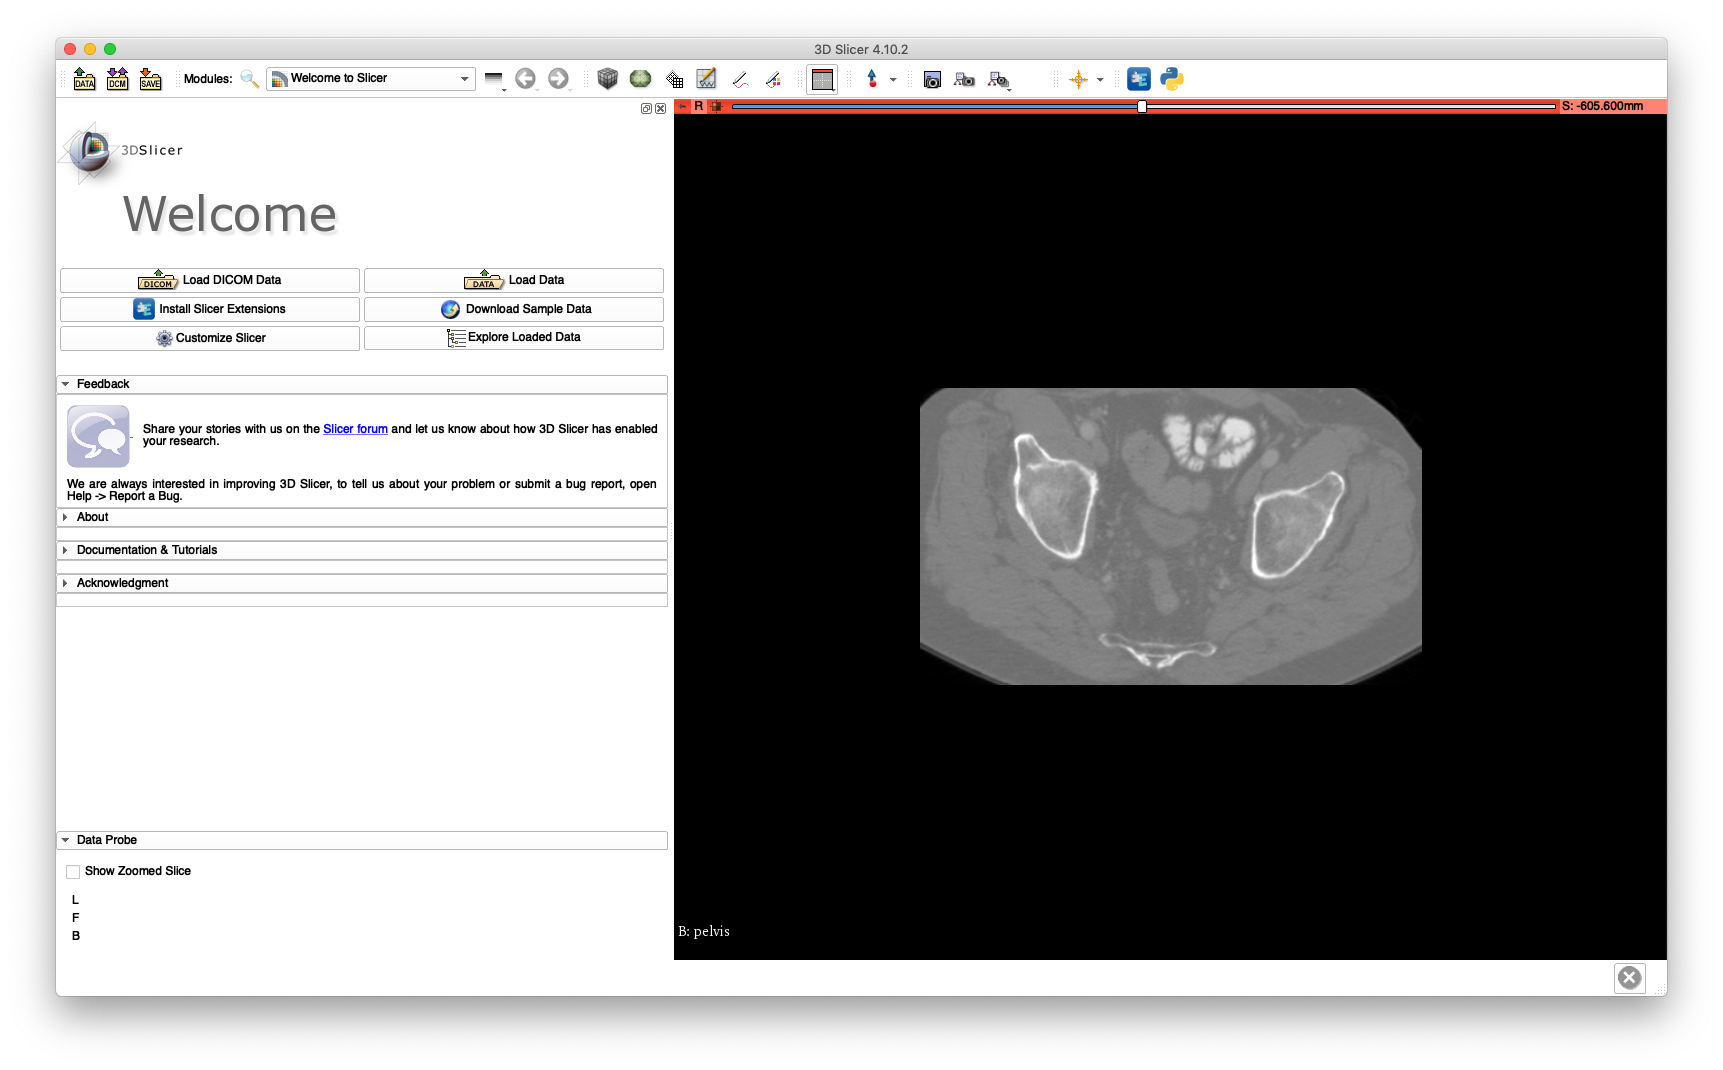
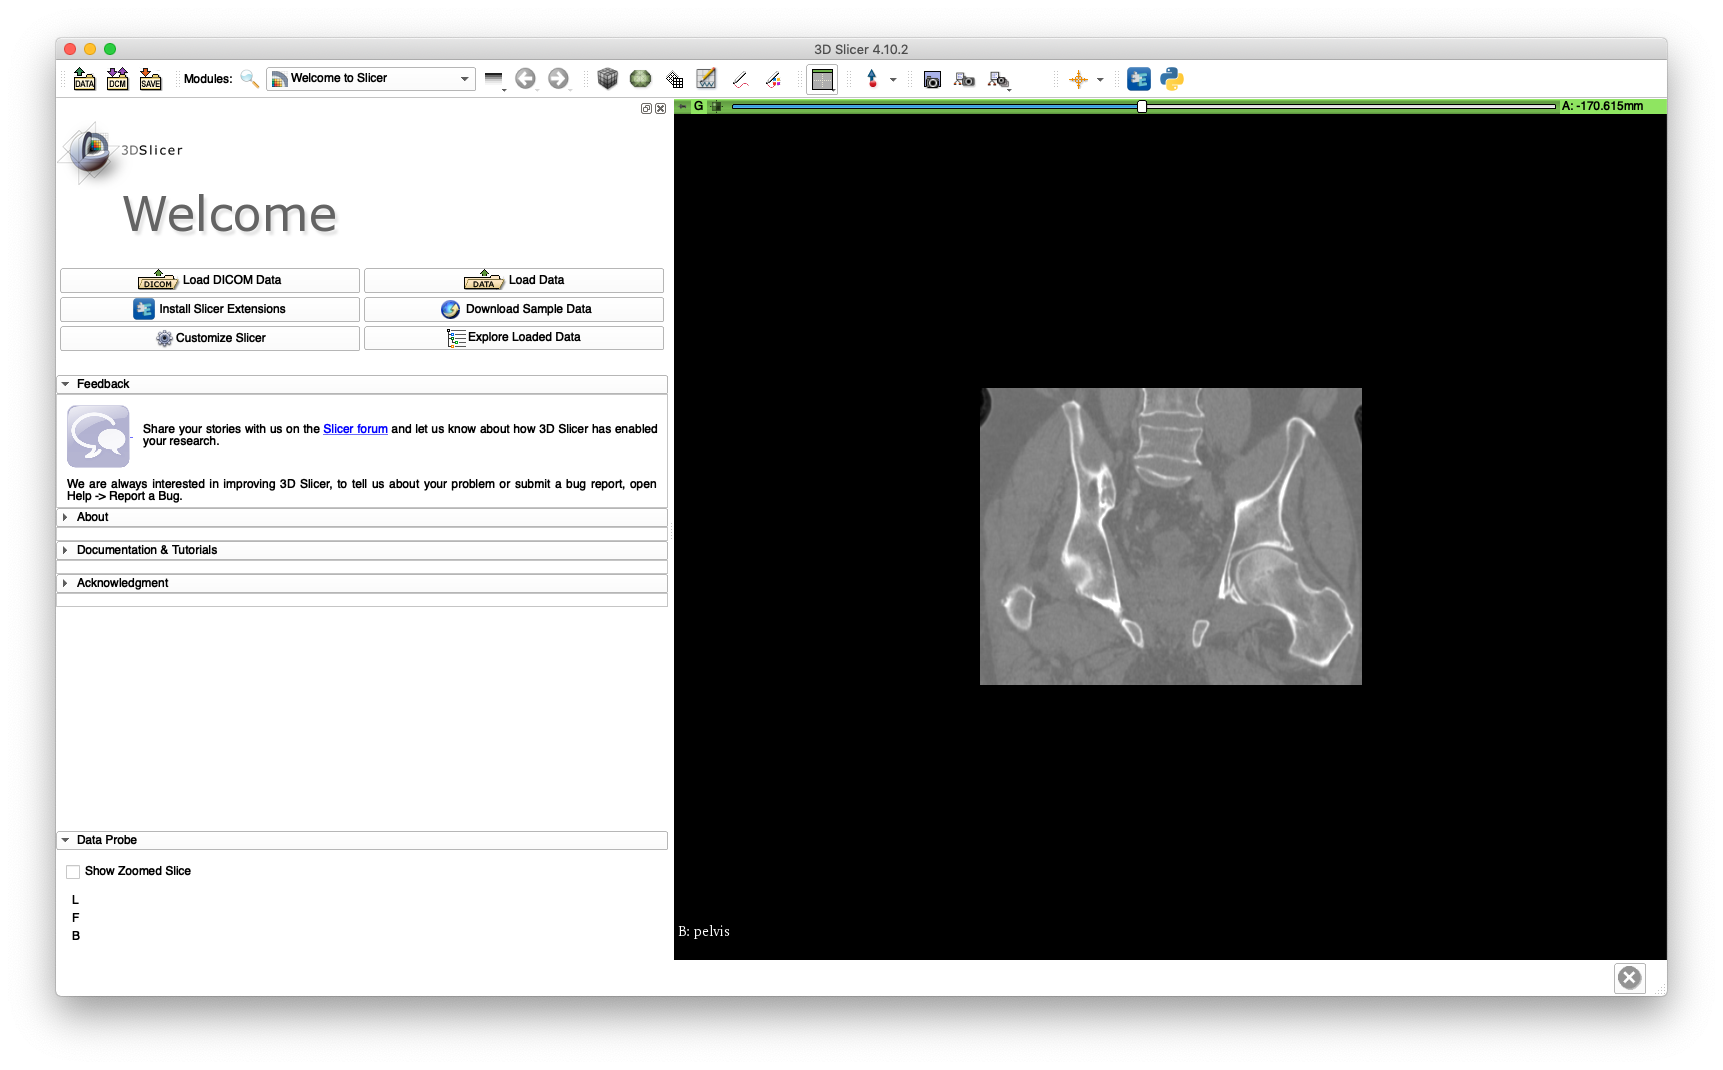
The cropped volume file size is about 42 MB, while the uncropped volume is about 224 MB. The cropping may be verified by loading pelvis.nii.gz into 3D Slicer and is illustrated below:

This cropped volume will be used extensively throughout this walkthrough.