UAV and USV Payload Configurations - osrf/mbzirc GitHub Wiki
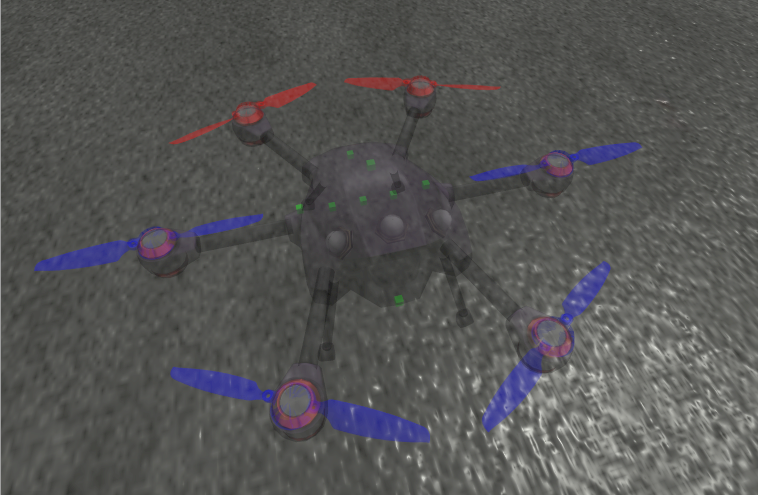
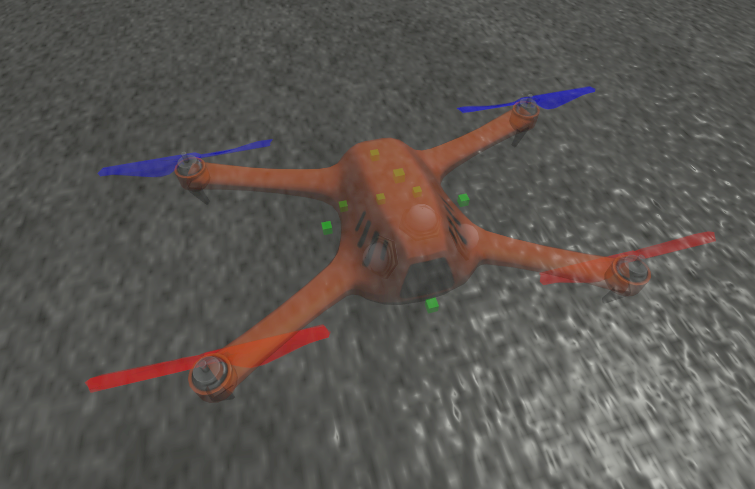
Each UAV platfrom (quadrotor and hexrotor) has eight available payload slots as follows:
-
slot0: front -
slot1: rear -
slot2: top -
slot3: bottom -
slot4: left -
slot5: right -
slot6: bottom left -
slot7: bottom right
In each of these eight slots, various perceptive sensors may be installed.
The available sensors are listed in the repository in the mbzirc_ign/models/sensors directory
To choose a sensor for a payload slot, pass the argument to the spawn launch file:
ros2 launch mbzirc_ign spawn.launch.py name:=quadrotor_1 world:=simple_demo model:=mbzirc_quadrotor type:=uav x:=1 y:=2 z:=0.05 R:=0 P:=0 Y:=0 \
  slot0:=mbzirc_hd_camera \
  slot1:=mbzirc_vga_camera \
  slot3:=mbzirc_planar_lidar
To modify the orientation of the payload sensor, pass the desired mounting position in degrees (note the quotation marks)
ros2 launch mbzirc_ign spawn.launch.py name:=quadrotor_1 world:=simple_demo model:=mbzirc_quadrotor type:=uav x:=1 y:=2 z:=0.05 R:=0 P:=0 Y:=0 \
  slot0:=mbzirc_hd_camera \
  slot0_rpy:="0 -5 0" \
  slot1:=mbzirc_vga_camera \
  slot1_rpy:="0 -90 0" \
  slot3:=mbzirc_planar_lidar \
  slot3_rpy:="0 10 0"
The base platform of each UAV model can be found in the mbzirc_ign/models directory. In each [uav_type]_base model, there is a model.sdf file containing the description of the UAV. Find and uncomment the debug_link links then re-install the workspace. Launch the simulation again to see green box visuals showing the location of the sensors:
The flight time of each UAV can be figured. The flight time is simulated using a battery model that discharges linearly over time. Note that battery only starts draining after the UAV takes off, i.e. a velocity command is received.
To specify the flight time, pass a flightTime argument when spawning the UAV:
ros2 launch mbzirc_ign spawn.launch.py name:=quadrotor_1 world:=simple_demo model:=mbzirc_quadrotor type:=uav flightTime:=5
The USV platform four available payload slots as follows:
-
slot0: front -
slot1: rear -
slot2: left -
slot3: right -
slot4: front left -
slot5: rear left -
slot6: front right -
slot7: rear right
In each of these four slots, various perceptive sensors may be installed.
The available sensors are listed in the repository in the mbzirc_ign/models/sensors directory
To choose a sensor for a payload slot, pass the argument to the spawn launch file:
ros2 launch mbzirc_ign spawn.launch.py name:=usv world:=simple_demo model:=usv type:=usv x:=15 y:=0 z:=0.3 R:=0 P:=0 Y:=0 \
  slot0:=mbzirc_hd_camera \
  slot1:=mbzirc_vga_camera \
  slot3:=mbzirc_planar_lidar
To modify the orientation of the payload sensor, pass the desired mounting position in degrees (note the quotation marks)
ros2 launch mbzirc_ign spawn.launch.py name:=quadrotor_1 world:=simple_demo model:=usv type:=usv x:=15 y:=0 z:=0.3 R:=0 P:=0 Y:=0 \
  slot0:=mbzirc_hd_camera \
  slot0_rpy:="0 -5 0" \
  slot1:=mbzirc_vga_camera \
  slot1_rpy:="0 -90 0" \
  slot3:=mbzirc_planar_lidar \
slot3_rpy:="0 10 0"The base platform of the USV model can be found in the mbzirc_ign/models/mbzirc_usv_base directory. There is a model.sdf file containing the description of the USV. Find and uncomment the debug_link links then re-install the workspace. Launch the simulation again to see green box visuals showing the location of the sensors:
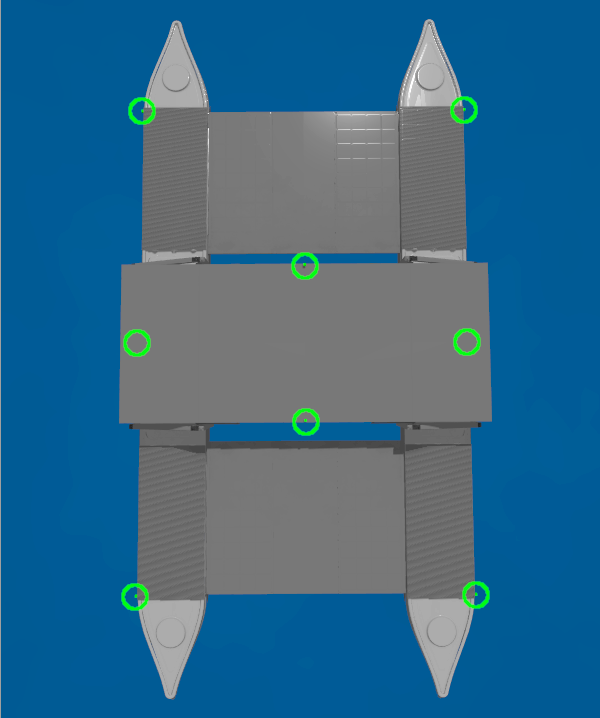
The arm on the USV has one sensor slot on the wrist. To configure the sensor to mount on the arm, specify using the arm_payload_slot0 argument when spawning the USV:
ros2 launch mbzirc_ign spawn.launch.py name:=usv world:=coast model:=usv x:=-1462 y:=-16.5 z:=0.3 R:=0 P:=0 Y:=0 arm:=mbzirc_oberon7_arm arm_payload_slot0:=mbzirc_hd_camera arm_payload_slot0_rpy:='0 -5 0'
In addition to using the spawn.launch.py with command line arguments, it is possible to store vehicle configurations in YAML files. Vehicle configurations may be stored for individual USV or UAV configurations or for groups of vehicles that need to be spawned at the same time.
The same configurations as the command line are exposed, but in YAML format.
An example configuration is described below:
mbzirc_ign/config/coast/quadrotor.yaml
---
# The name of the model once spawned
model_name: 'quadrotor_1'
# The type of model to spawn (eg quadrotor, hexrotor, usv)
model_type: 'mbzirc_quadrotor'
# Battery duration
flight_time: 20
# Starting position in xyz meters and rpy radians
position:
  xyz: [-1500, 2, 4.3]
  rpy: [0, 0, 0]
# Enumerate payloads (slot0, slot1, etc)
payload:
  slot0:
    sensor: 'mbzirc_hd_camera'
    # Note that payload mounting is in degrees
rpy: [0, 0, 0]The same configurations as the command line are exposed, but in YAML format.
An example configuration is described below:
mbzirc_ign/config/coast/usv.yaml
---
# The name of the model once spawned
model_name: 'usv'
# The type of model to spawn (eg quadrotor, hexrotor, usv)
model_type: 'usv'
# Starting position in xyz meters and rpy radians
position:
  xyz: [-1462, -16.5, 0.3]
  rpy: [0, 0, 0]
# Arm to mount to the vessel
arm: mbzirc_oberon7_arm
# Gripper to mount to the arm
gripper: mbzirc_oberon7_gripper
# Mounting location for the arm
arm_slot: 0
payload:
  slot0:
    sensor: 'mbzirc_vga_camera'
    rpy: [0, 0, 0]
  slot1:
    sensor: 'mbzirc_planar_lidar'
    rpy: [0, 0, 0]
An example USV config file with arm sensor payload configuration can be found in mbzirc_ign/config/single_usv_with_arm_gripper_config.yaml.
To specify multiple vehicles, make use of the YAML array syntax:
mbzirc_ign/config/coast/config_team.yaml
---
# Example coast configuration from:
# https://github.com/osrf/mbzirc/wiki/Running-the-coast-environment
- model_name: 'usv'
  model_type: 'usv'
  ... <SNIP>

- model_name: 'quadrotor_1'
  model_type: 'mbzirc_quadrotor'
  ... <SNIP>

- model_name: 'hexrotor_1'
  model_type: 'mbzirc_hexrotor'
... <SNIP>To launch simulation with vehicle YAML configuration, rather than using spawn.launch.py, you can use spawn_config.launch.py:
# Launch coast environment and spawn a USV
ros2 launch mbzirc_ros competition_local.launch.py ign_args:="-v 4 -r coast.sdf"
ros2 launch mbzirc_ign spawn_config.launch.py world:=coast config_file:=`ros2 pkg prefix mbzirc_ign`/share/mbzirc_ign/config/coast/usv.yaml
We also provide a competition.launch.py file that takes care of launching the simulation and spawning the vehicles at the same time:
# Launch coast environment and spawning a Team
ros2 launch mbzirc_ign competition.launch.py world:=coast config_file:=`ros2 pkg prefix mbzirc_ign`/share/mbzirc_ign/config/coast/config_team.yaml