Using 10Gbit Eth‐thunderbolt adapter with Bigfoot NAS - norlab-ulaval/Norlab_wiki GitHub Wiki
This guide explains how to profit from the 10Gbit network card that we have on the Bigfoot Synology NAS.
Configuration
The 10Gbit card is accessible on Bigfoot's side, and the corresponding ethernet interface is named LAN 5.
The interface is configured as a DHCP server, so your computer's IP address gets assigned automatically.
DHCP configuration is located in DHCP Server->Network Interface->LAN 5.
If you click on Edit, you will find a list of all connected clients.

The NAS itself has a static IP address that's assigned in Control Panel->Network->Network Interfaces->LAN 5 and is not listed among the connected clients.
The NAS IP address is: 192.168.1.10.
Connection
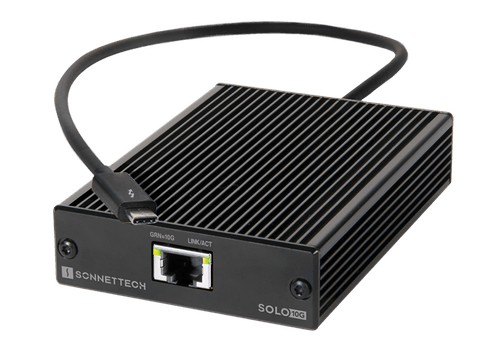
To make use of the 10Gbit connection, you will either need a 10Gbit card on your computer or use the Sonnettech Ethernet-to-USB-C adapter.
In any case, make sure to enable jumbo frames (9000 MTU) on your computer.
Then, you can either access the web interface on this address or use your file browser:
- sftp: [email protected]
- smb (Mac): smb://192.168.1.10
You should see transfer speeds of about 1.2GB/s.
New technique to access FoMo data as a folder in your system
-
Create an ether net config for this adresse: **ip adresses: **192.168.1.11 **Netmask adresse: ** 255.255.255.0
-
Connect the adaptor to your pc
-
Select your ethernet configuration
-
Create a folder /mnt/bigfoot
-
Install
nfs-commonif not already on your computer
sudo apt install nfs-common
- Then in your terminal, mount the folder that was define as a share folder:
sudo mount -t nfs 192.168.1.10:/volume1/FoMo /mnt/bigfoot
PS: The command needs to be executed each time your connecting. To make it automatically boot when you power on your computer you need to modify the file /etc/fstab and add the following line:
192.168.1.10:/volume1/FoMo /mnt/bigfoot nfs defaults 0 0
How to add an ip adresse to a share folder
This section aims at explaining how to add an ipadresse to a share folder on the nas so that you can connect to it using the sudo mount technic.
- Connect your computer to the newtork of the nas
- Connect you to the nas using this link
- Open a control panel and go to SharedFolder
- Right-click -> edit on the share folder -> Nfs permission
- Add the Ip adresse
- Save
You can then use that ipadresse in your ethernet configuration.