Hello World Example - ianharrigan/haxeui GitHub Wiki
Once you have installed and included HaxeUI the next step is to show something!
For the sake of simplicity the following example will create a single button in code and position it on the screen. The steps that most applications will take are:
Clean up the Main class (optional)
Though not required, its is recommended for readability to clean up the main entry point of the application. Depending on your IDE/template you may want to remove all the generated code and simply replace it with the following:
class Main {
    public static function main() {
    }
}
Note that the main class doesnt need to extend from anything, a simple static entry point is enough to start using HaxeUI. This isnt a requirement, however.
Add themes (optional)
HaxeUI comes with a few themes ready to use, these can be added before the toolkit is initialized with:
Toolkit.theme = new GradientTheme();
This step is optional. If no themes are added then a default theme will be used. Of course you could also write your own styles and themes (covered later).
Initialize the toolkit
Initializing the toolkit is performed with a single line:
Toolkit.init();
This takes care of registering the various classes used by HaxeUI.
Create a root
The root is the main component that a HaxeUI application uses to draw its UI components to, in most applications there will be a single, fullscreen root. However, HaxeUI is not limited to this. You can have multiple, non fullscreen roots if desired. This is ideal for using HaxeUI for interface components as an overlay to another application (eg: a level editor) - see Using Multiple Roots for more information. Since root creation is asynchronous in nature you must supply a callback that will get invoked once the root has been initialized and setup correctly. The signature of this callback is simply:
function (root:Root) {
}
So to create a fullscreen root simply use the following:
Toolkit.openFullscreen(function(root:Root) {
    // add to root here
});
Once the callback is invoked the HaxeUI applications root is ready to have UI components added to it. There are various ways to add components to a root (covered in later sections), but we will use the the simplest method which is just to add them in code.
Add UI components
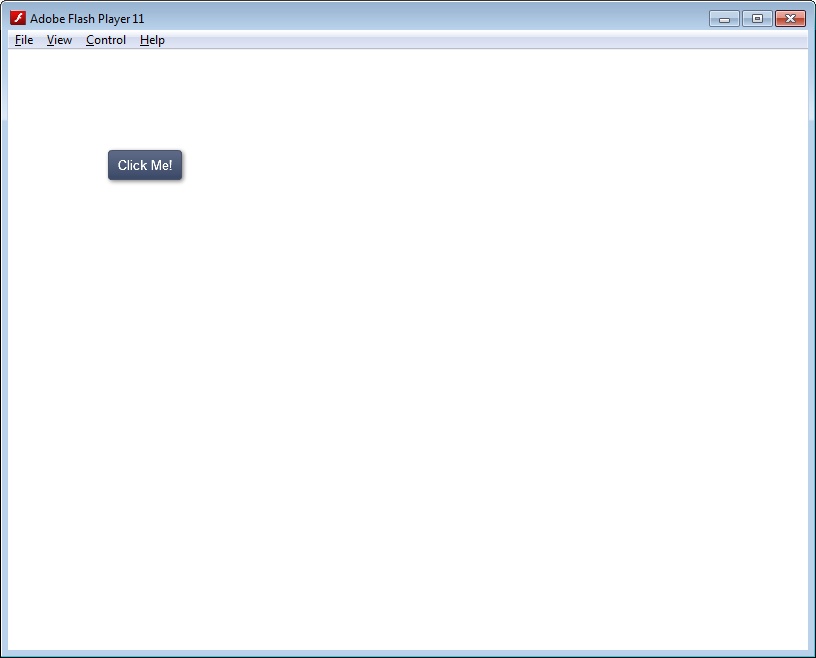
The most straight forward method to add UI components to a HaxeUI root is by simply creating them in code and adding them via "addChild". This next snippet creates a button, assigns a label and an event handler, positions the component absolutely and adds it to the root:
var button:Button = new Button();
button.text = "Click Me!";
button.x = 100;
button.y = 100;
button.addEventListener(UIEvent.CLICK, function(e:UIEvent) {
   e.component.text = "You clicked me!";
});
root.addChild(button);
Note that we used the UIEvent.CLICK to add the listener, MouseEvent.CLICK would have also been fine, however, UIEvent also includes the target as a component making it easier to perform operations on it.
Full Example
For completeness the full working example of is included below:
import haxe.ui.toolkit.core.Toolkit;
import haxe.ui.toolkit.core.Root;
import haxe.ui.toolkit.controls.Button;
import haxe.ui.toolkit.events.UIEvent;
import haxe.ui.toolkit.themes.GradientTheme;

class Main {
    public static function main() {
        Toolkit.theme = new GradientTheme();
        Toolkit.init();
        Toolkit.openFullscreen(function(root:Root) {
            var button:Button = new Button();
            button.text = "Click Me!";
            button.x = 100;
            button.y = 100;
            button.addEventListener(UIEvent.CLICK, function(e:UIEvent) {
                e.component.text = "You clicked me!";
            });
            root.addChild(button);
       });
    }
}
