Step‐down converter guide - fochica/fochica-wiki GitHub Wiki
Our Arduino Uno needs 5V DC power source to operate. There are other Arduino variants but they can also be powered by 5V. The car battery of a typical car provides 7 to 15 volts DC though some standards mention that 40V spikes are possible in the car's electrical system. The Arduino has a built in voltage regulator but it is best for voltages below 12V and it regulates the voltage to 5V by converting any excess to heat, which is not efficient.
For an efficient conversion of the car voltage to 5V we will use a "buck converter" which is a type of a "switching power supply". A buck converter "steps down" the voltage to a pre-defined value. We will use a converter that can handle from 7V and up to, at least, 24V on input and will output fixed 5V on output.
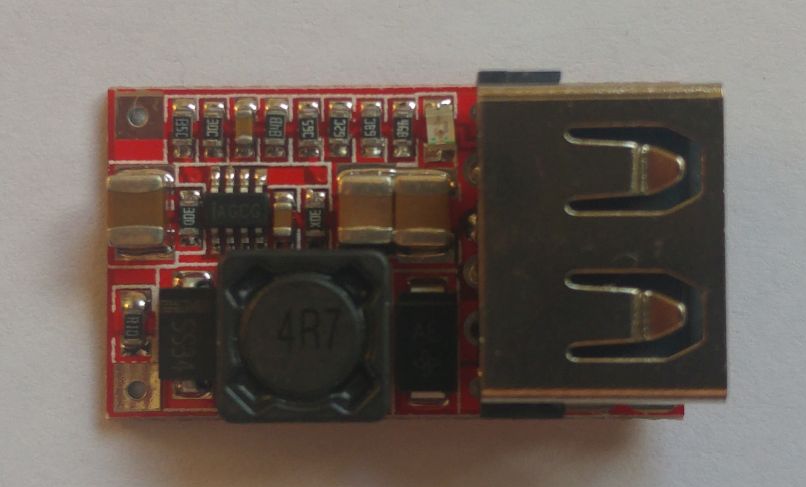
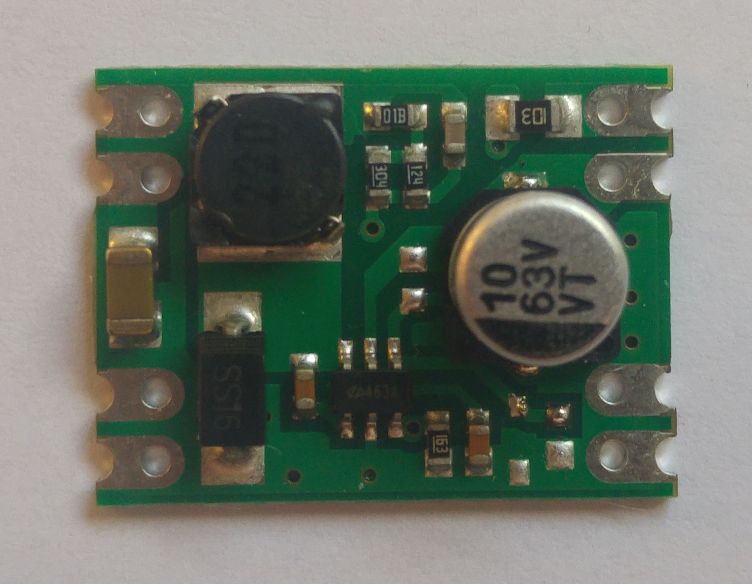
Suitable modules often have either a female USB port or two solder pads as the output connector. There are also modules with screw terminals for output but they will probably be more expensive and should have no advantages over the other options.
If you are building your build on a breadboard, it will be easier for you to use a module with an USB output connector. If you are building your own circuit on a prefboard/protoboard or a protoshield, then it might be more sense to get a module with solder pads and solder the module directly on your board with an addition of a few male headers.
Search for "DC Step Down module to 5V". Sort by price and look for the form factor that will match your requirements. Make sure that the module can accept up to, at least, 24V on input.
Few popular modules come with a LM2596 chip. It is a chip with 5 pins on one side. It is best not to get a module with a LM2596 because it less efficient at low power use cases. Also, it is older design and there are many lower quality clones of it out there. Look for the chip in the photos, the title might mention a LM2596 even if one is not used on the board and vice versa.
Some sellers will list a module as a "step-down buck converter" where in reality the module is just a regulator. A buck converter will have an inductor and at least a couple of large capacitors, make sure you see those on the photos.
Unless you specifically want one, avoid adjustable converters. Those can output voltages other than 5V and typically have either several separate pads for different voltages or an adjustable potentiometer that sets the voltage on output. Adjustable modules need to be configured, there is chance of damage if the configuration changes (can happen accidentally) and the efficiency might be lower compared to fixed modules.


Connect the input of the module to the constant power source and the output to Arduino Uno. If your module has an USB output connector, just use a USB cable to Arduino Uno USB port. If your module has solder pads, either make a short cable with a USB plug (safer) or connect the positive to 5V Arduino Uno pin and negative to Gnd. Make sure polarity and voltage is correct, otherwise you can damage your Arduino board.
It makes sense to position the module close to the Arduino due to these two considerations. First, in the preferred build, the Arduino senses the voltage of the car battery so the raw 12V input also needs to get to the device. Second, you may want to have an optional discharge protection circuit which should be placed between the battery and the step-down for best power savings. If you don't care about those considerations, you can step-down at the socket, or somewhere else and then pass 3 wires from the step-down to the device; 12V, 5V and ground.