Johnny Five and Intel IoTDevKit Example Sketches - dtex/johnny-five GitHub Wiki
This guide was forked from Mashery's Intel IoTDevKit Example Sketches
Galileo-IO/Edison-IO will install a version of libmraa that is known to be stable and well tested.
The purpose of this guide is to provide a working Intel XDK IoT Edition project with snippets to help you use 10 of the useful sensors which are packaged by default in the Seeed Studios IoT DevKit.
Index
- Sensor: Blink LED Example
- Sensor: Light Sensor Example
- Sensor: Sound Sensor Example
- Sensor: Buzzer Example
- Sensor: Rotary Angle Example
- Sensor: Temperature Sensor Example
- Sensor: LCD Example
- Sensor: Button(s) Example
- Sensor: Servo Example
- Sensor: Relay Example
- Sensor: Accelerometer Example
Getting Started
- Plug in and flash your Intel Edison
- Make sure both your Intel Edison and computer running Intel XDK IoT Edition are on the same network
- Download and install Intel XDK IoT Edition
- git clone the Johnny-Five example from this location
- Follow the instructions to get your Edison online
- Add your computer to Intel Edison's whitelist
- Open settings and ensure that NPM install is run automatically on your Intel Edison
- Run "build," then run "start" to begin the blink sketch
Running The Examples
Before running each example with Intel IoT XDK Edition, you must modify the "package.json" file to set the target script. The default is "blink.js."
All sketches may be found here
Blink Sketch

Take out the LED sensor and plug in an LED, make sure the "long" wire goes in the outer slot marked "+."

Plug the LED sensor into "pin 4." Change the "blink.js" script from pin 13 to pin 4 then upload and run to make the LED blink.
You can view the source code here: blink.js
Light Sensor Sketch

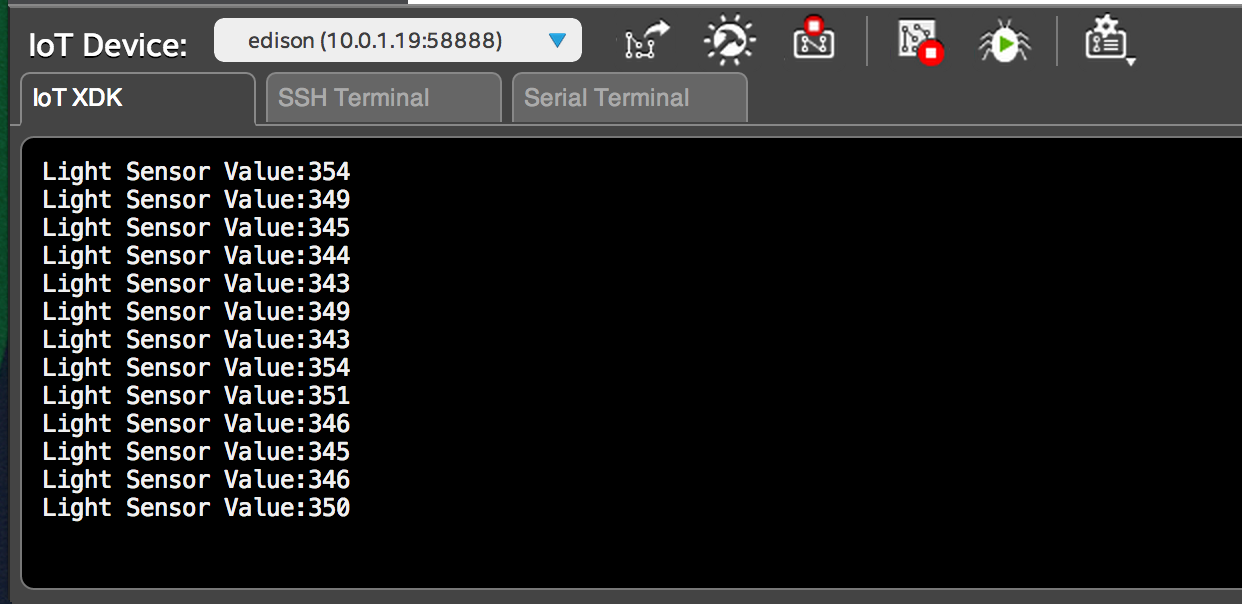
Plug the light sensor into Analog slot 0. Modify the package.json to make the target file "light.js."
You can view the source code here: light.js
Sound Sensor Sketch
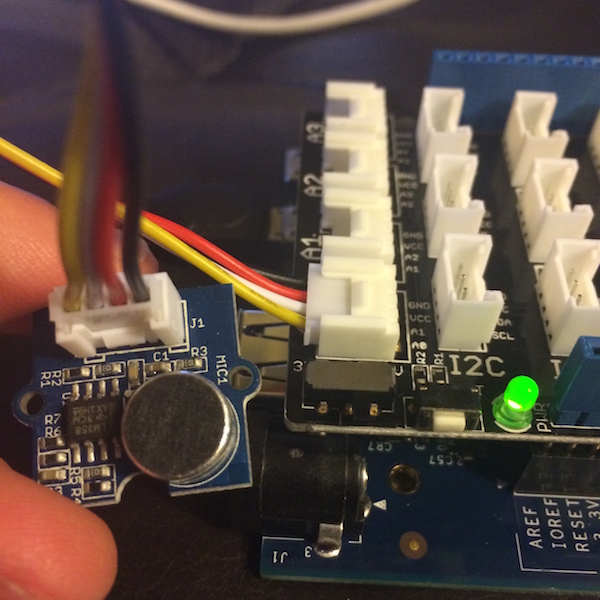
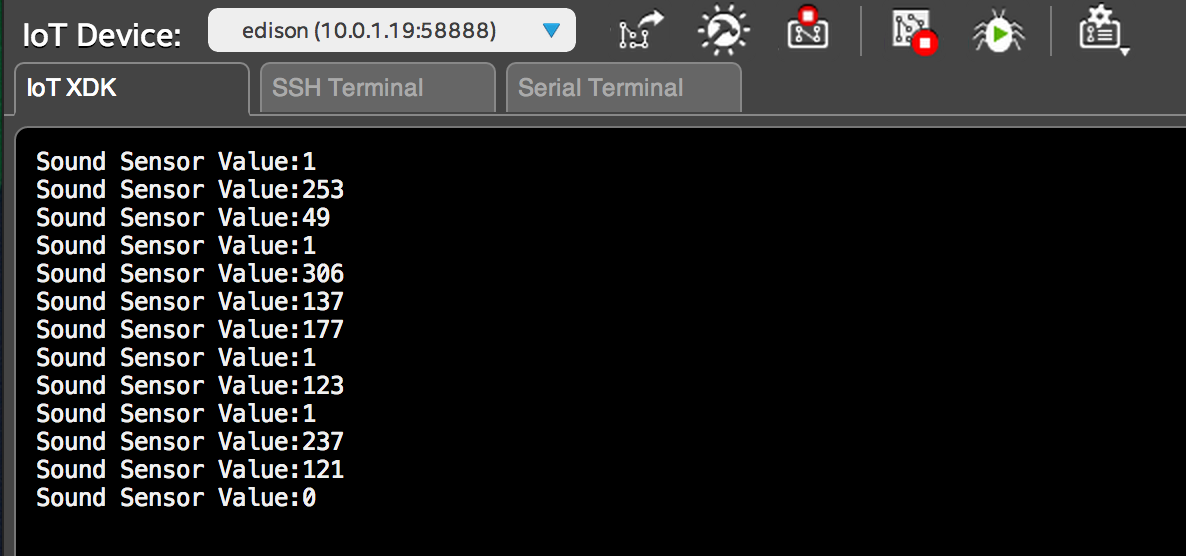
Plug the sound sensor into Analog slot 0. Modify the package.json to make the target file "sound.js."
NOTE: This example also uses an Led component plugged into the D4 slot. This version is no shown in the photos above, but corresponds to the Johnny-Five version of the example.
You can view the source code here: sound.js
Buzzer

Plug the Buzzer into pin 4. Modify the package.json to make the target file "buzzer.js."
NOTE: This example requires the j5-songs module, which is installed by executing npm install j5-songs
You can view the source code here: buzzer.js
Rotary Angle Sensor
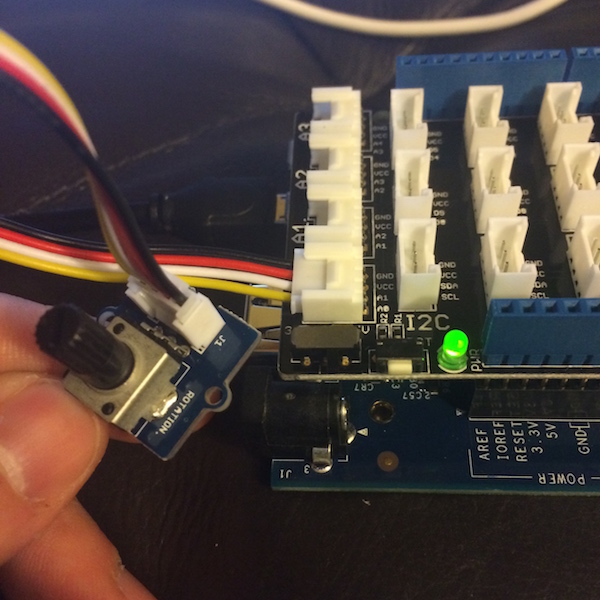

Plug the rotary sensor into Analog slot 0. Modify the package.json to make the target file "rotary.js."
You can view the source code here: rotary.js
Temperature Sensor


Plug the temperature sensor into Analog slot 0. Modify the package.json to make the target file "temperature.js."
You can view the source code here: temperature.js
LCD

Plug the LCD sensor into the I2C slot shown in the image. Modify the package.json to make the target file "lcd-screen.js."
You can view the source code here: lcd-screen.js
Buttons
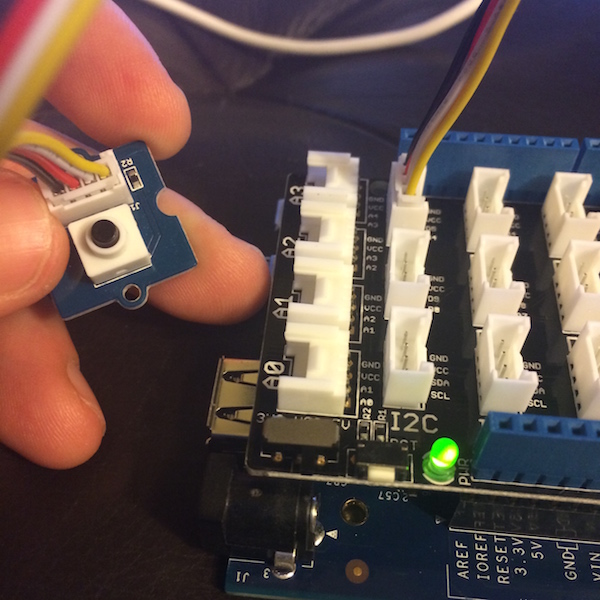
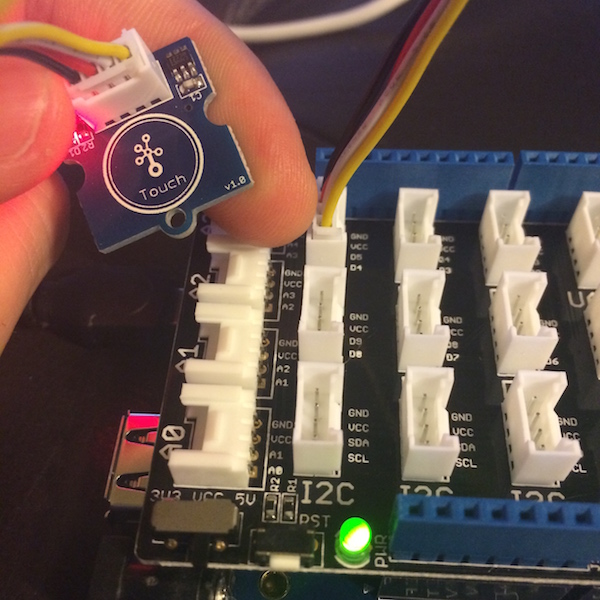
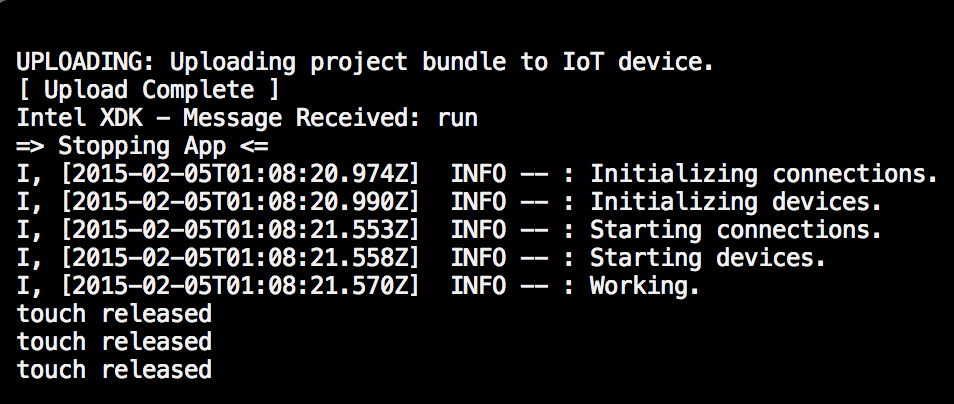
Plug the button (either the touch or black tipped button) into pin 4. Modify the package.json to make the target file "button.js."
You can view the source code here: button.js
Servo
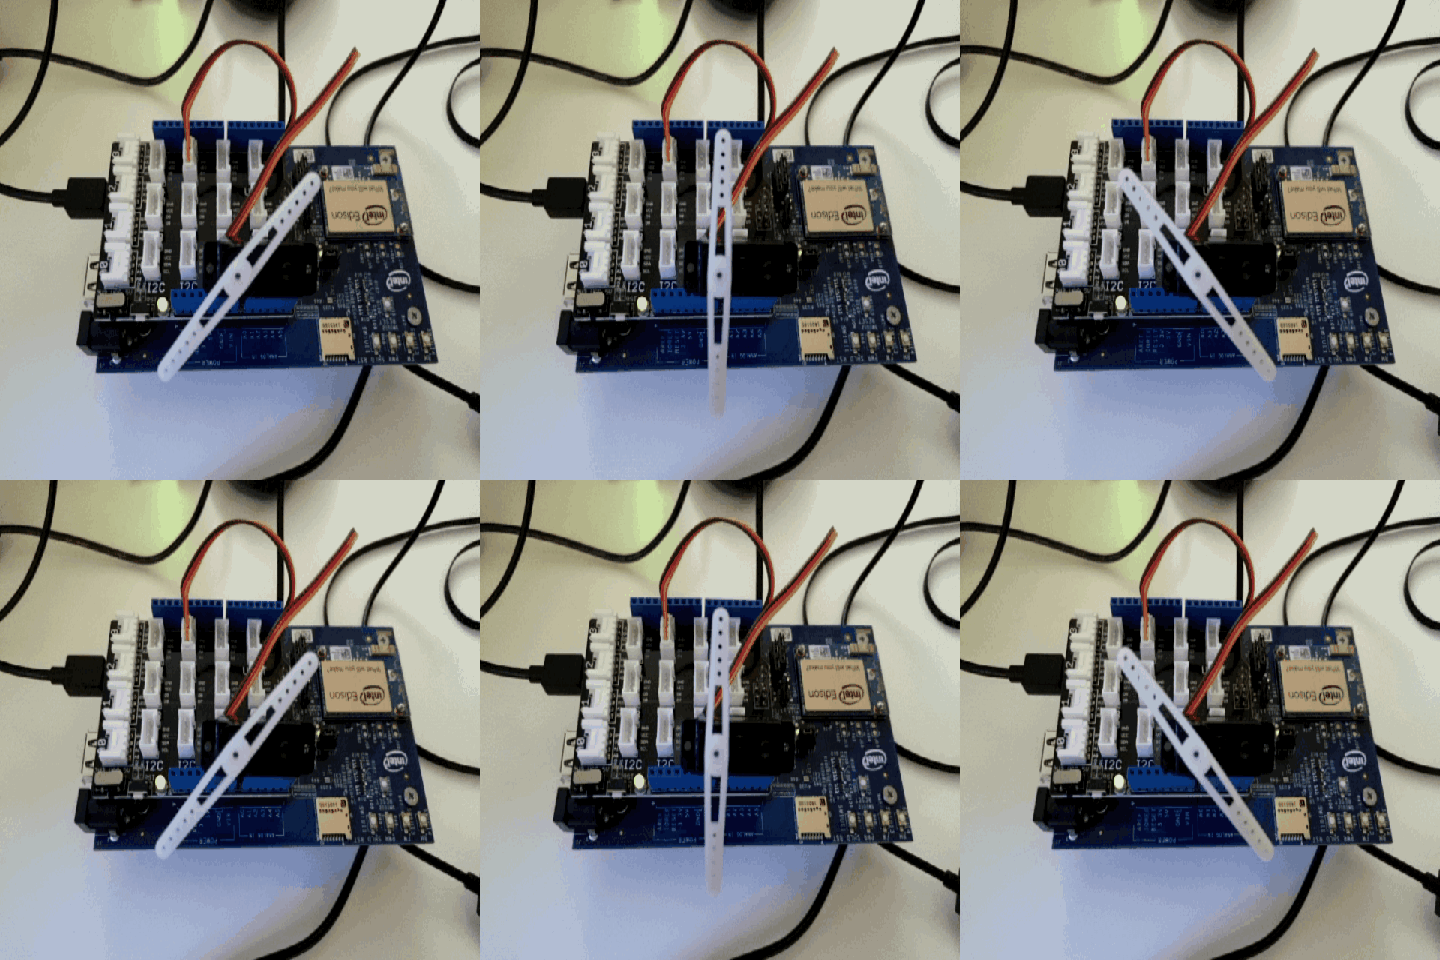
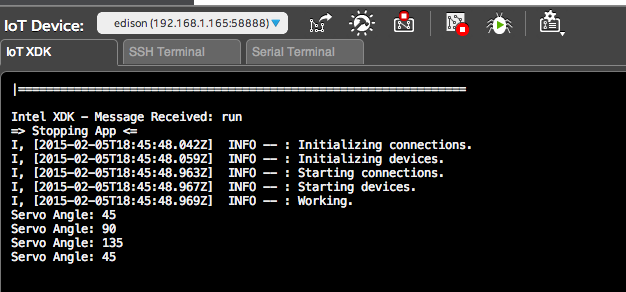
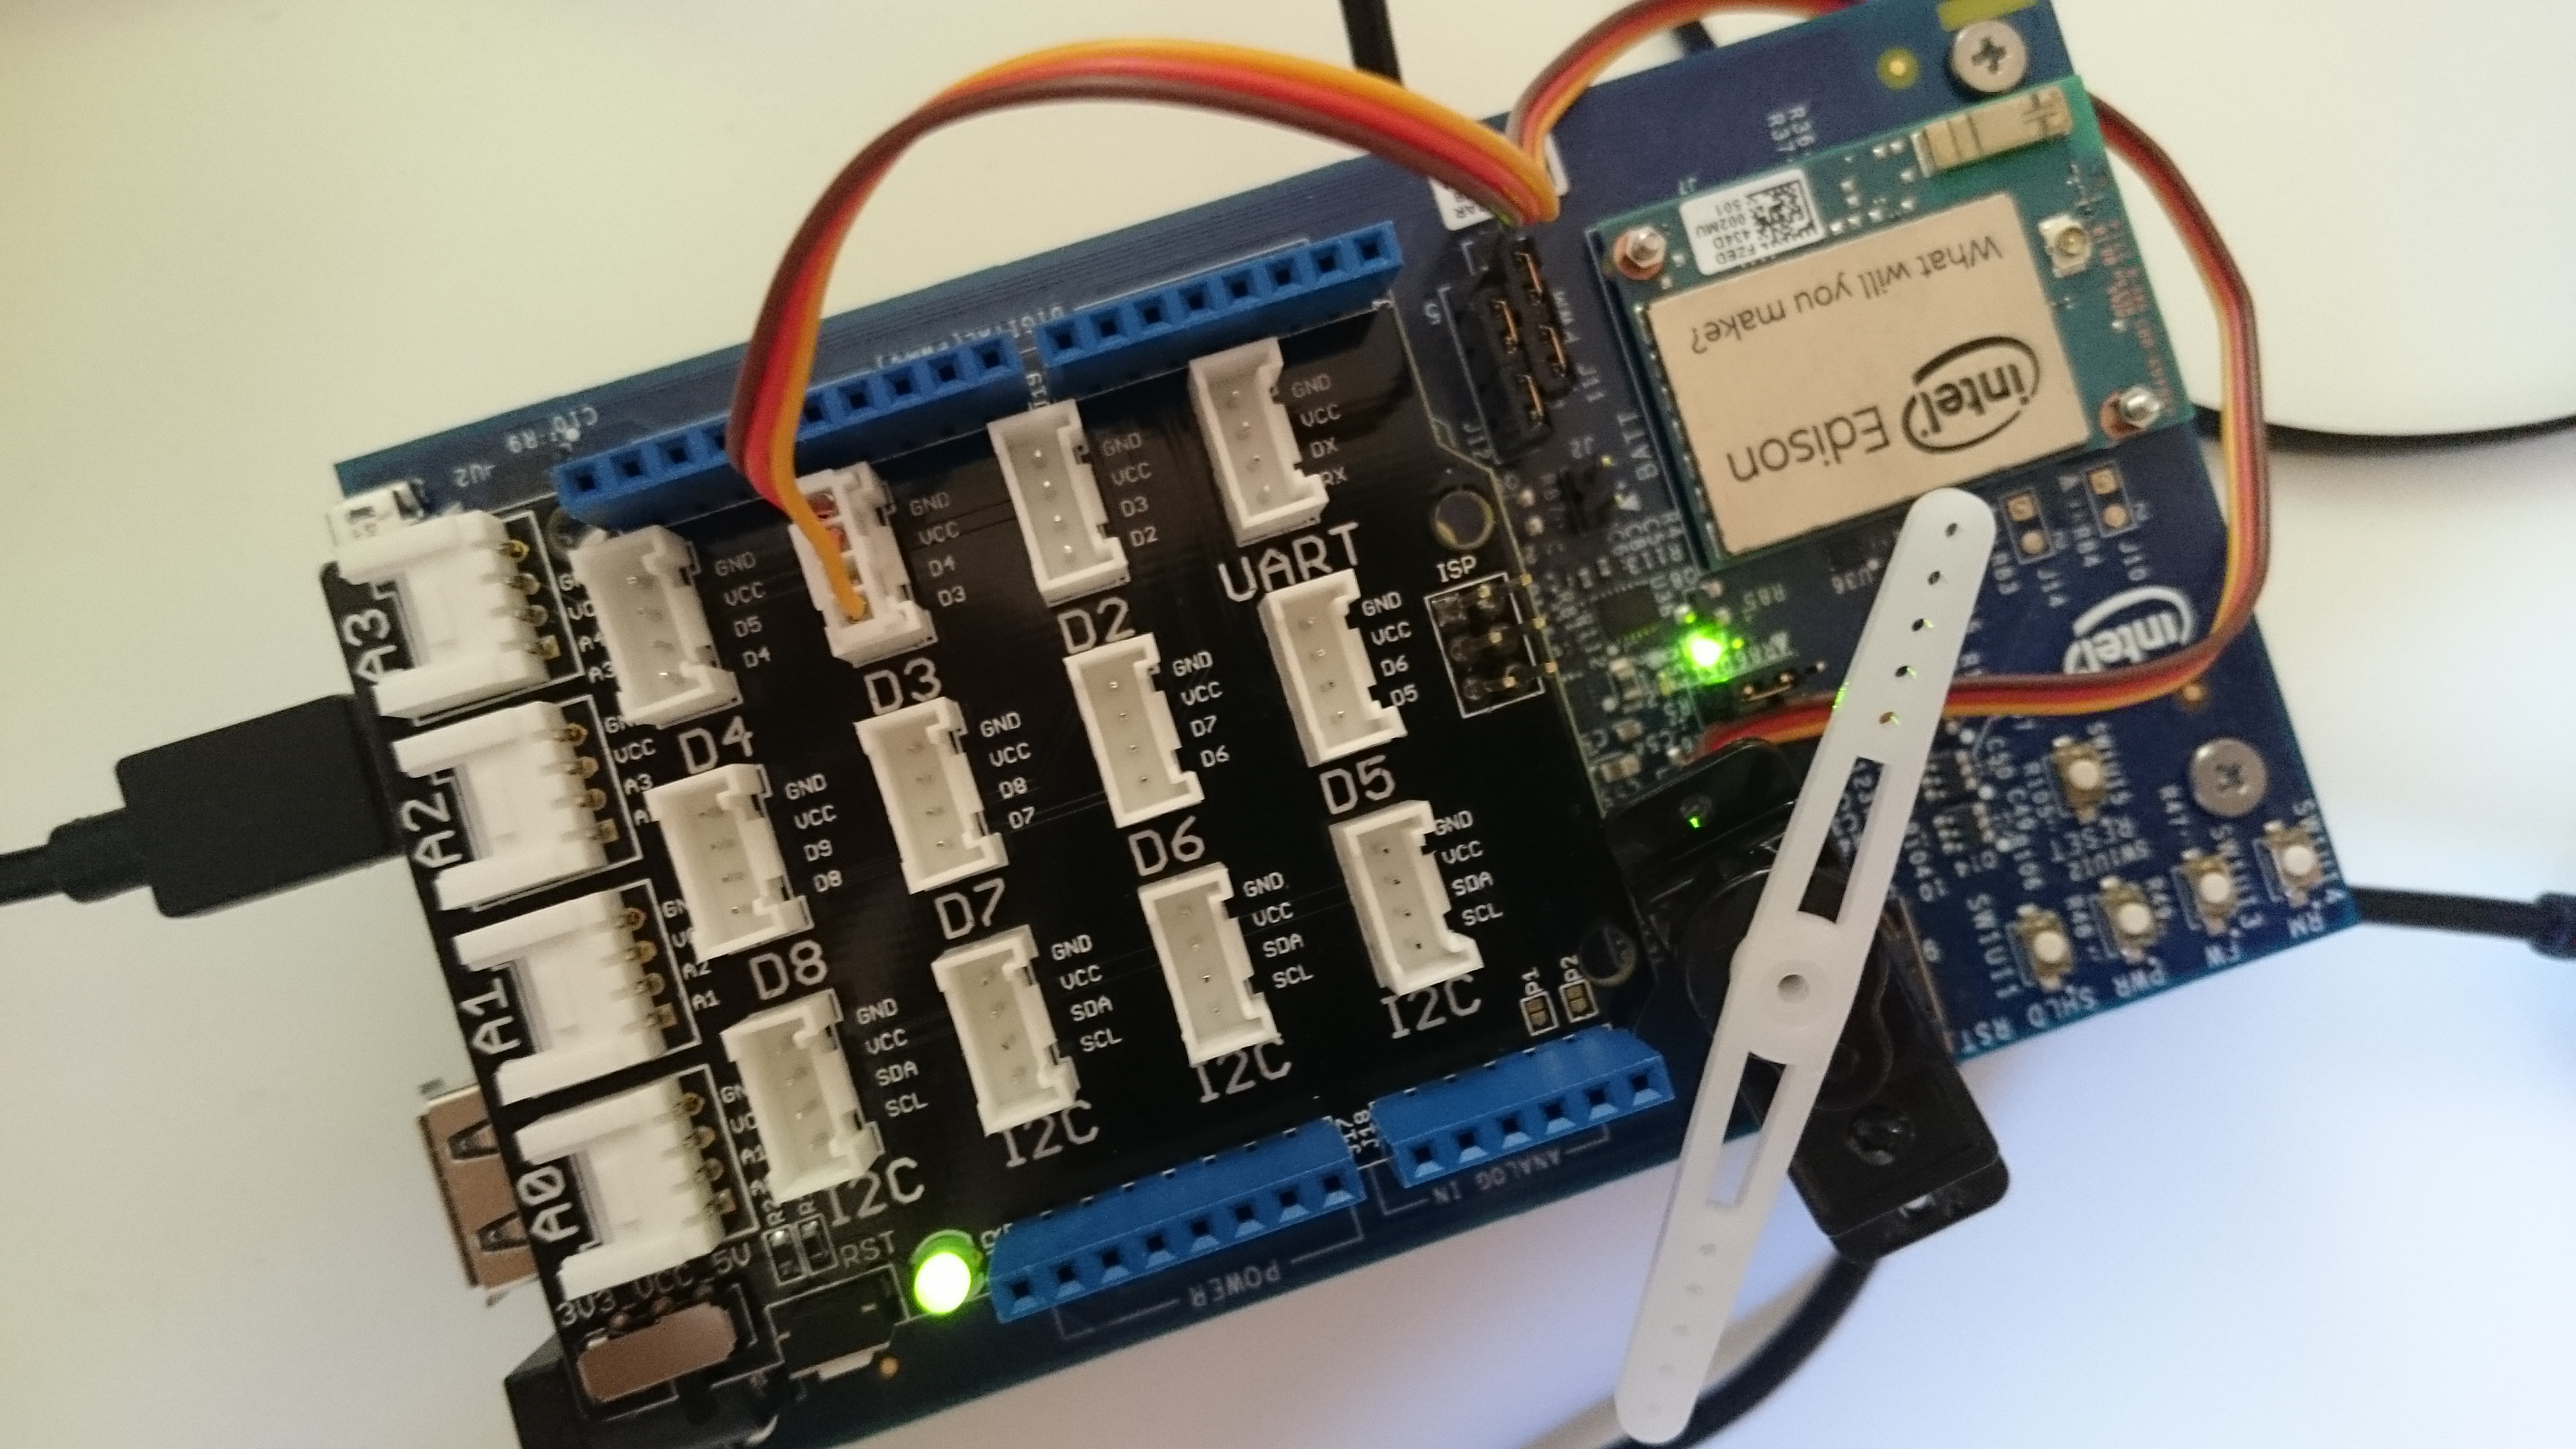
Plug the Servo into Pin 3 (D3) on the shield. Remember to change the target in package.json to the file servo.js
You can view the source code here: servo.js
Relay
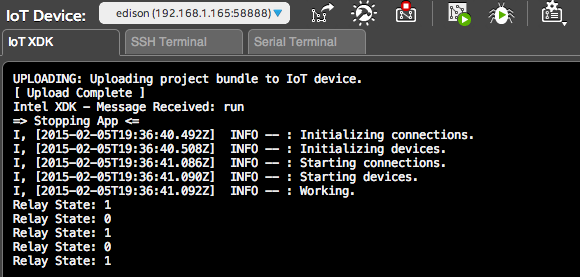
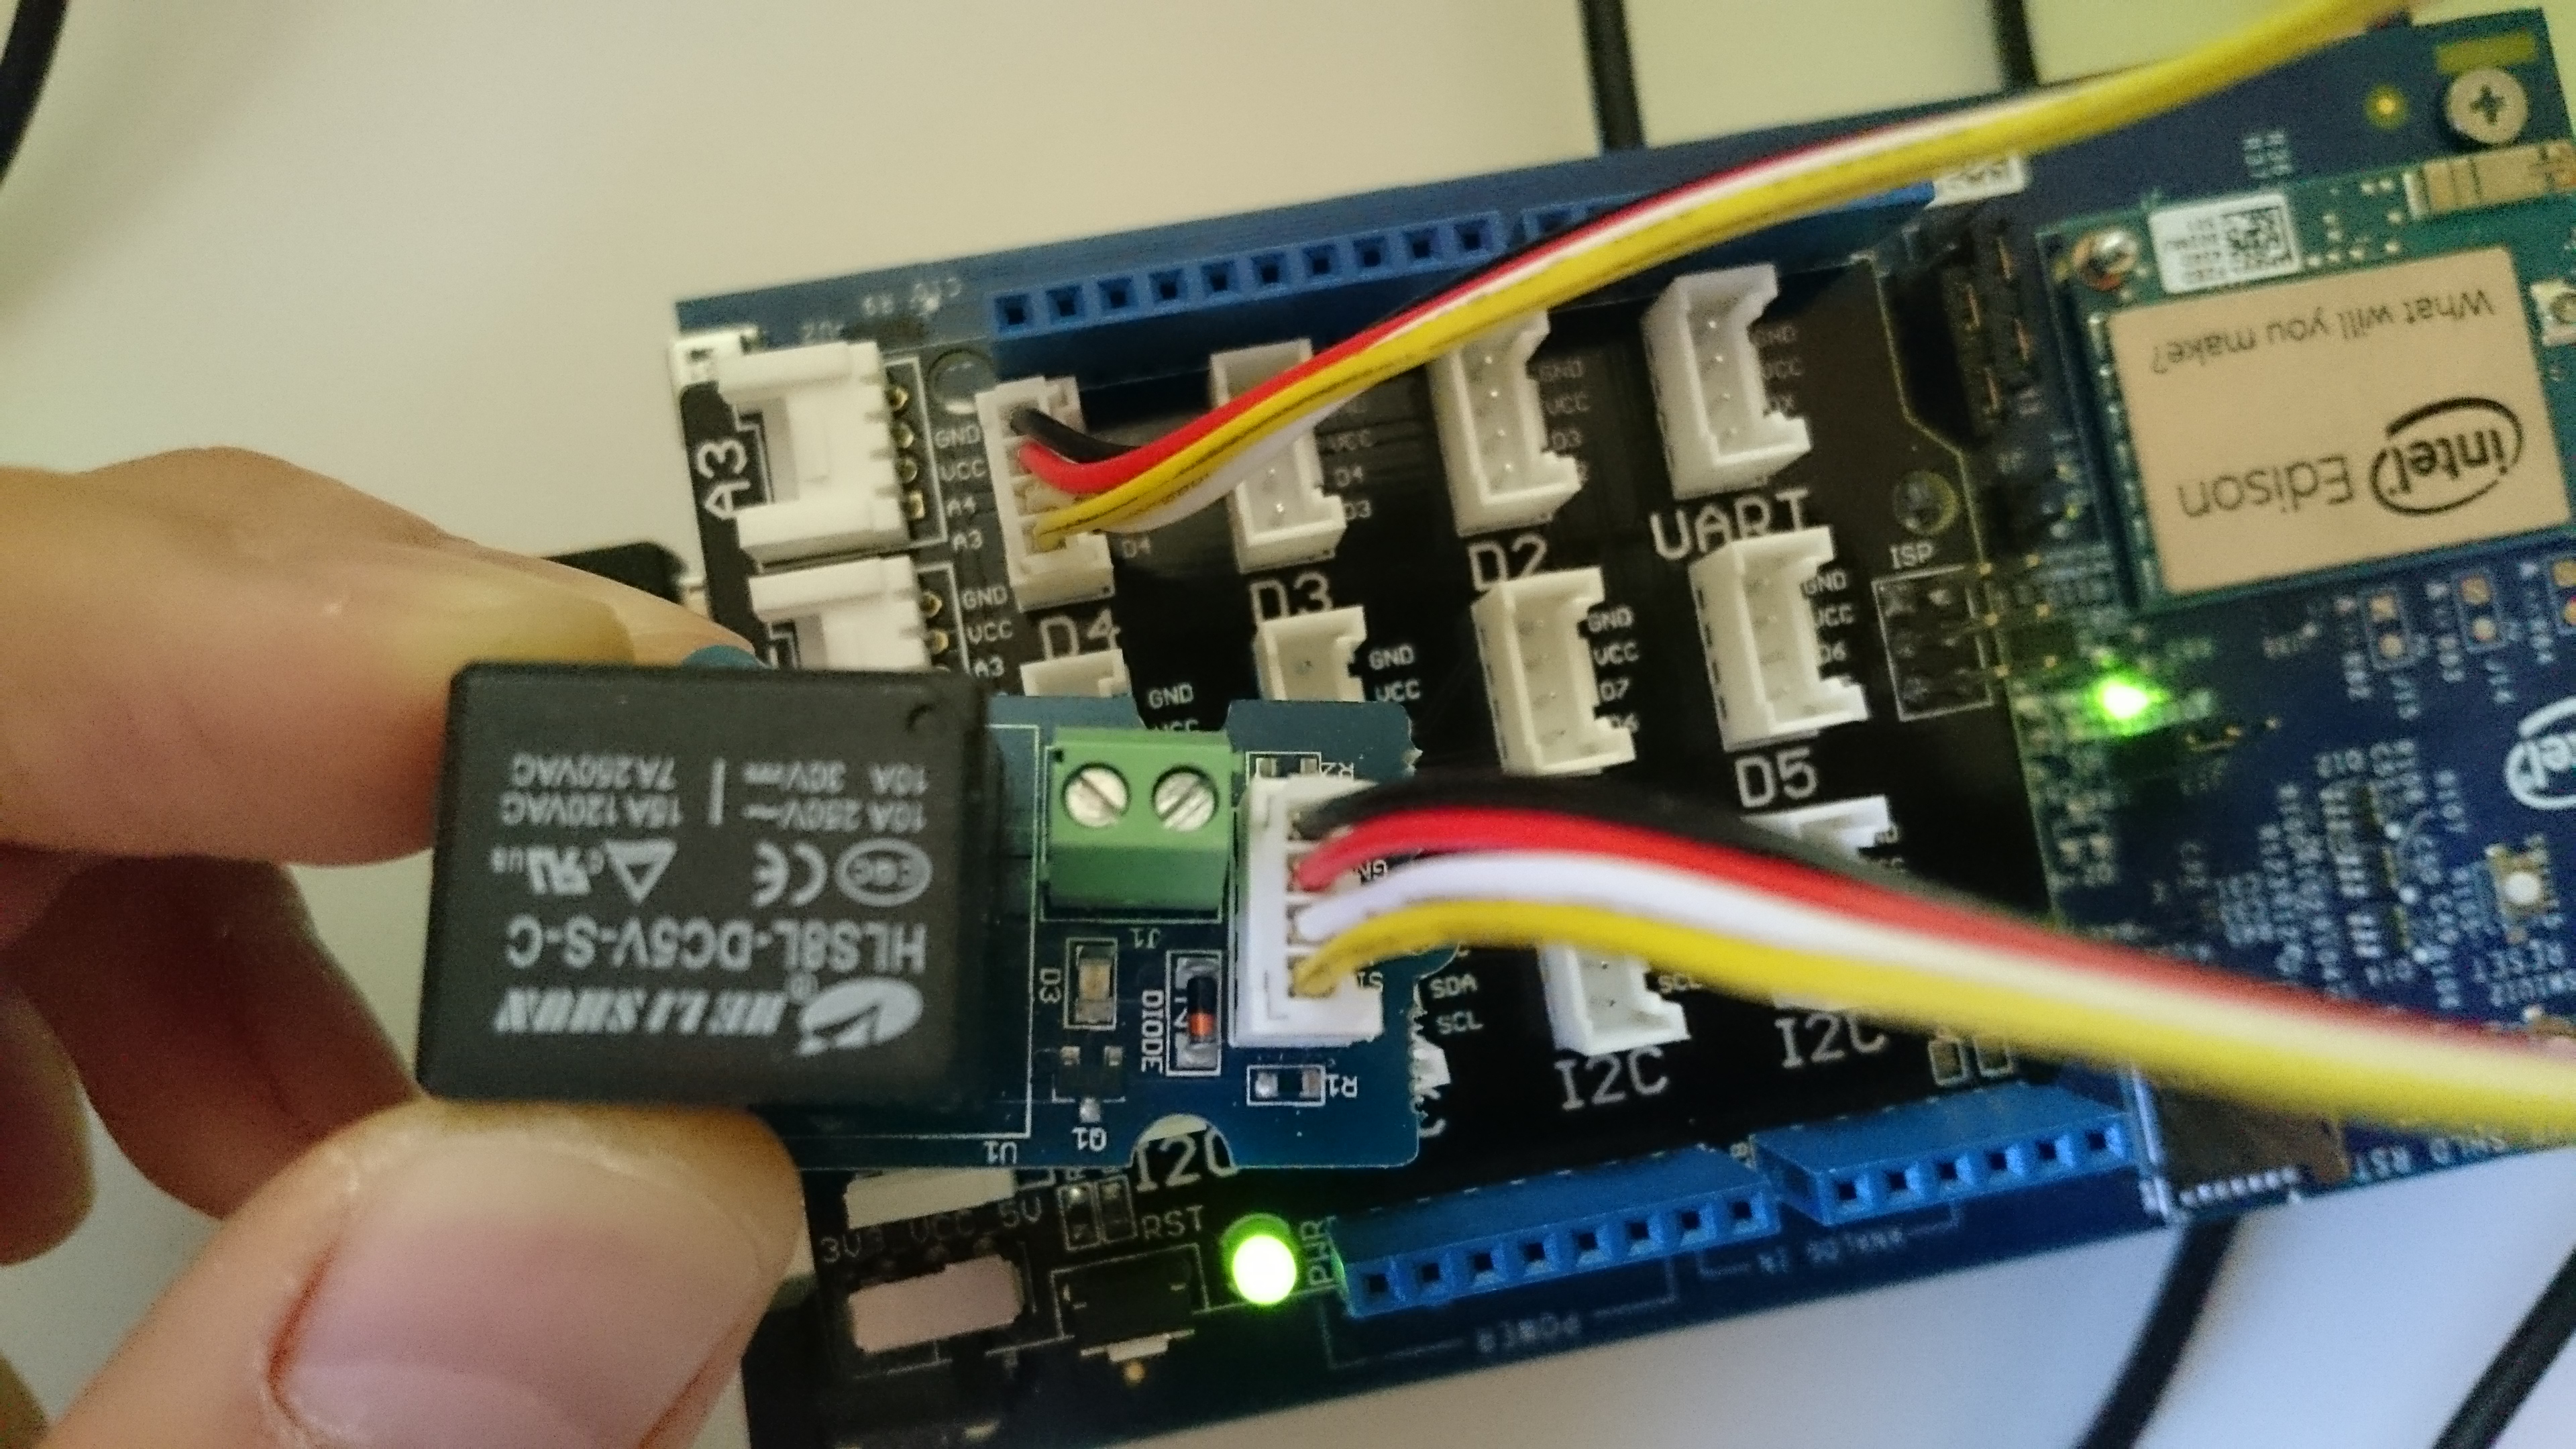
Plug the Relay into Pin 4 (D4) on the shield. Remember to change the target in package.json to the file relay.js
You can view the source code here: relay.js
Accelerometer
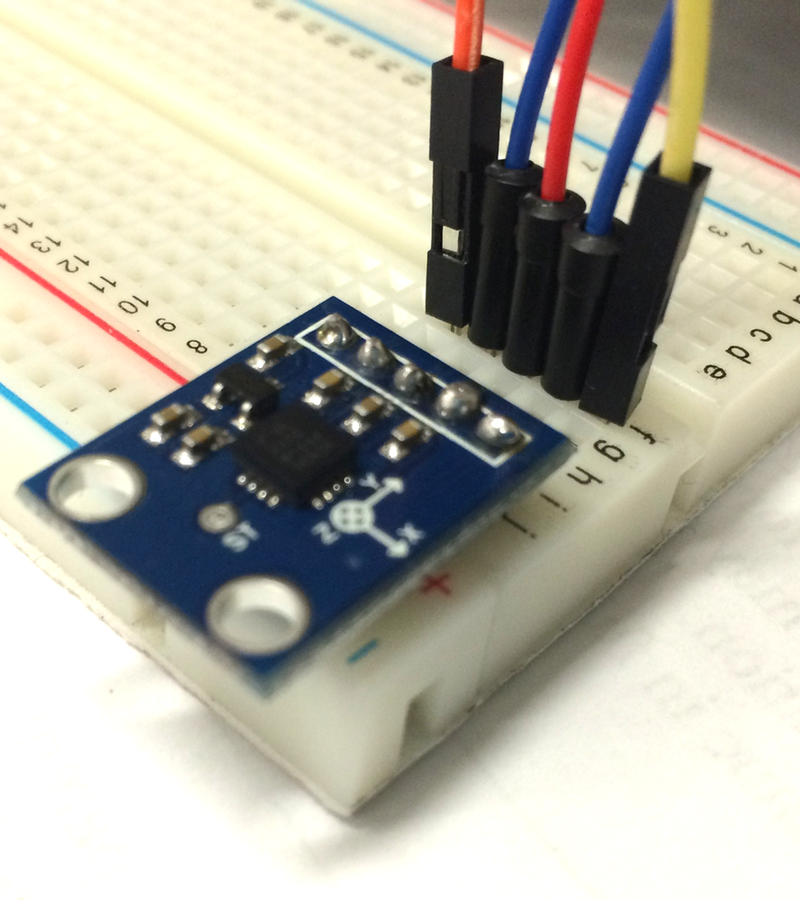
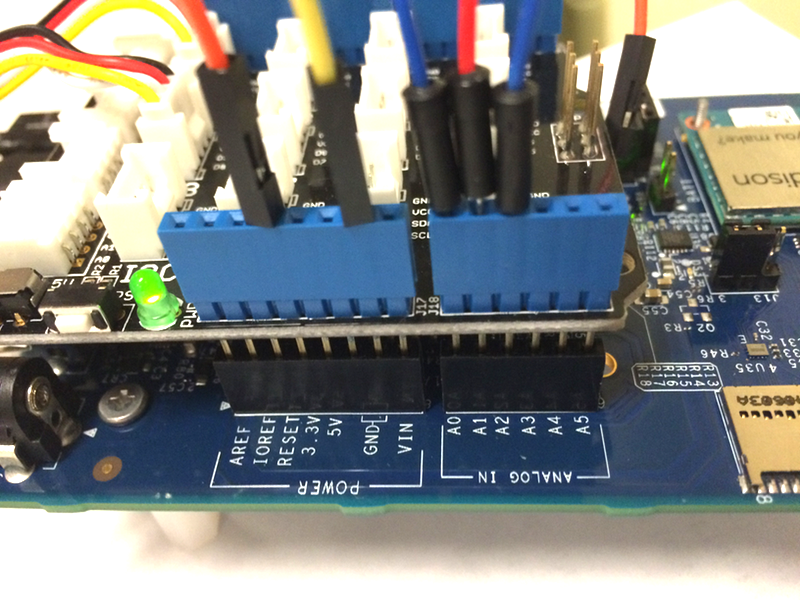
This is a guide for using the Grove ADXL335 3-axis accelerometer. Plug the 3.3v and ground into the illustrated configuration and three analog pins as shown.
You can view the source code here: accelerometer.js
