How to generate a gcode preview - classicrocker883/MriscocProUI GitHub Wiki
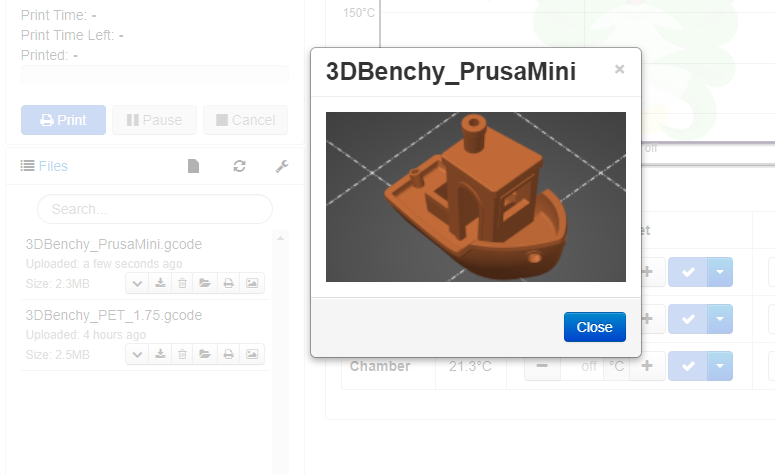
This firmware allows to show a preview of G-code that have a jpeg thumbnail (maximum of 20kbytes) coded in base64 and automatically embedded using a script by the slicer.
(DACAI screens may need a firmware upgrade)
[!WARNING]You should use
200x200for thumbnail size!
- Ignore any other value and use 200x200 instead.
- For the TJC display insert 180x180.
[!IMPORTANT]Requirements In order to see the thumbnail preview, these requirements must be met:
- The slicer must embed the thumbnail data in the G-code file using the provided
.pyscript.- The printer firmware must support thumbnail.
("G-code Preview" must be enabled in "Advanced Settings" andHAS_GCODE_PREVIEWmust be enabled in source code).
Warning
If you send the G-code file to the SD card using Octoprint, the thumbnail and any additional information could be stripped.
Transfers by Marlin BFT are untouched.
[!CAUTION]Use standard characters
Your G-code file name must have only standard characters, do not use Chinese, Russian or other special characters.

To be able to generate G-code with a thumbnail, it is necessary to install Python 3 and a script/plugin in your slicer.
For Windows, Python can be installed through the Microsoft Store.
Remember to update your PATH!
Orca/Prusa/Super Slicer also requires Python's PIP Pillow. library.
The scripts are only tested with the latest stable slicer version.
There is no guarantee of support for unstable versions (Alpha, Beta, etc.)
First download the correct script/plugin:
Use right-click and select "save link as...".
Enter your Python path.
Then take that information and enter it into the slicer like so:

Save the downloaded script in a known location
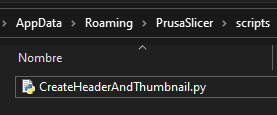
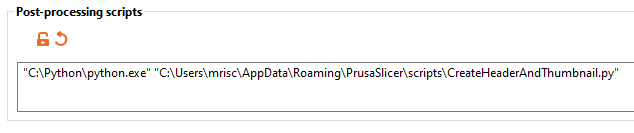
Write the location of your Python installation and script on the slicer.
Print settings > Output options > Post-processing scripts
For Orca the location of the Post-processing-Scripts box is at Prepare > Process > Others, you may need to enable the Advanced switch:
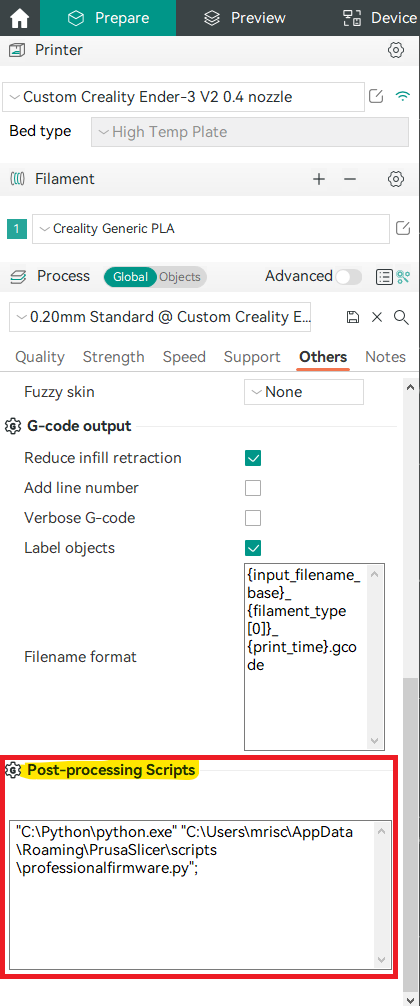
Requires expert mode to be enabled in the upper right corner of the program to see the setting.
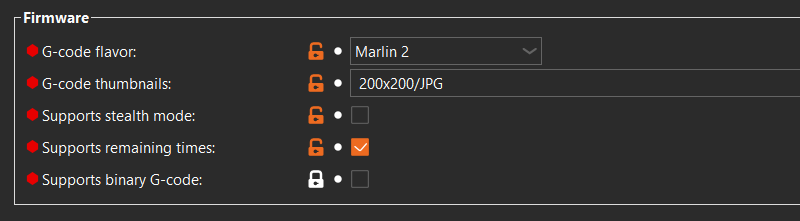
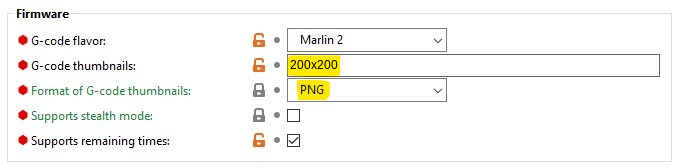
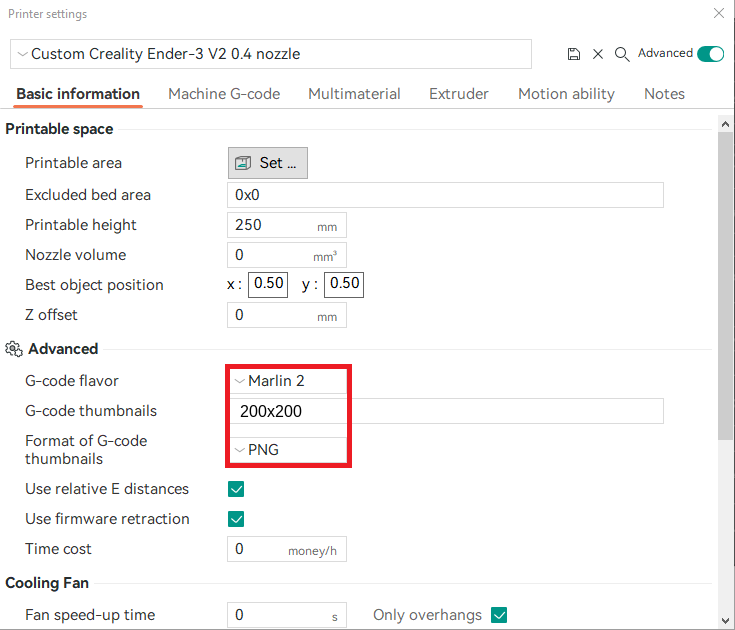
In Printers > General > Firmware, write 200x200/JPG (180x180 for TJC display) for the G-code thumbnails.
For Prusa Slicer v2.4+
For Prusa Slicer v2.5+
For Orca Slicer
Most MAC come with python2 installed from factory, install and verify that you have python.
You might need to open a Mac terminal and type which python. This will output the python path, for example:
/Library/Frameworks/Python.framework/Versions/3.9/bin/python
This path will then need to be copied into the Post-processing scripts section of PrusaSlicer, followed by a space, then the path to the python script.
All in one line, like this:
/Library/Frameworks/Python.framework/Versions/3.11/bin/python /Users/<User>/Desktop/GCodePreview/PrusaSlicer_JPEG_Preview.py;Go to the Help menu on Cura and select Show Configuration Folder in Windows you will get an explorer opened in the path inside of your user profile folder: C:\Users\<User>\AppData\Roaming\cura\..., Close Cura and save the downloaded script in the scripts folder:
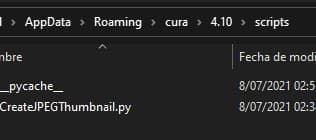
Open Cura, go to menu Extensions > Post Processing > Modify G-Code and press Add a script, then select the script from the Post Processing Plugin popup:
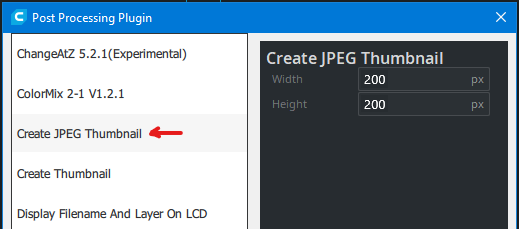
Pay attention to the name of the selected script Create JPEG Thumbnail.
You may need to add the value 200 like so:

Because the printer does not have the preview data if you print from Octoprint, it is not possible to show in the printer display, if you want to see the generated thumbnail in Octoprint, you must to install the plugin Slicer Thumbnails
Open your script file with a text editor and compare with the posted file maybe it is corrupt.
Check if the extension of the file is .py
#!/usr/bin/env python3

# ------------------------------------------------------------------------------
# Orca / Prusa / Super Slicer post-processor script for the Professional Firmware
# URL: https://github.com/mriscoc/Ender3V2S1
# Miguel A. Risco-Castillo
# version: 2.2
# date: 2023/12/10
#
# Contains code from the jpg re-encoder thumbnail post processor script:
# github.com/alexqzd/Marlin/blob/Gcode-preview/Display%20firmware/gcode_thumb_to_jpg.py
# ------------------------------------------------------------------------------#------------------------------------------------------------------------------
# Cura JPEG Thumbnail creator post processing script
# MRiscoCProUI firmware
# Miguel A. Risco-Castillo
# ClassicRocker883
# version: 2.2
# date: 2024-05-25
#
# Contains thumbnail code from:
# https://github.com/Ultimaker/Cura/blob/master/plugins/PostProcessingPlugin/scripts/CreateThumbnail.py
#------------------------------------------------------------------------------Some systems come with python2 installed from factory, which does not incorporate pip.
Install pip using:
python -m ensurepip --upgrade-OR-
python get-pip.pyPillow library could be missing, to install it use:
pip install --upgrade PillowYou may also add python -m as prefix before pip to suppress any warnings.
>pip list Pillow
Package Version
------- -------
Pillow 9.1.1 <-- Pillow must be on the list!Try removing the pycache folder from the path where you saved the script.
In Windows, open a terminal to check where Python is installed with these commands:
>python -V
Python 3.10.4 <-- Could be other 3.1.X version (V is in uppercase)>where python
-OR-
>which python
C:\Python\python.exe <-- It is an example and depends on your Python installationThe current Ender-3 S1 and some new Ender-3 V2 that have a DACAI screens may need a firmware upgrade.
- Download this firmware from display assets.
- Put the firmware.zlib file in the root of your micro SD card and install it in the screen unit.

Get the latest firmware ![]()
Use the Firmware Selector
-
Generate a G-code image preview
- Slicer post processing scripts -
Update LCD Display ICON's
- How to install the DWIN_SET - How to install the firmware
- https://teachingtechyt.github.io/calibration.html - Great for all around calibrations
- https://ellis3dp.com/Print-Tuning-Guide/ - Secondary guide for extra references
- https://youtu.be/xzQjtWhg9VE - Video guide for E-steps and Flow calibration
Some the pages and images in this Wiki were copied from https://github.com/mriscoc/Ender3V2S1/wiki