SHA1 digest (Electron) - chung-leong/zigar GitHub Wiki
In this example we're going to create an app that calculates SHA-1 digests of files, using a built-in function of Zig's standard library.
First, we'll create the basic skeleton:
npm init electron-app@latest sha1
cd sha1
mkdir zig
npm install --save node-zigar
We tinker with the HTML page slightly, bringing in a script file for the renderer:
<!DOCTYPE html>
<html>
  <head>
    <meta charset="UTF-8" />
    <meta http-equiv="Content-Security-Policy" content="default-src 'self'; script-src 'self'" />
    <title>SHA-1 digest</title>
    <link rel="stylesheet" href="index.css" />
  </head>
  <body>
    <h2 id="heading">Use file menu to open a file</h2>
  </body>
  <script src="./renderer.js"></script>
</html>
renderer.js exposes a function that update the text of the heading element:
const heading = document.getElementById('heading')

window.electronAPI.onShowHash((value) => {
  heading.textContent = value;
});
We then add the following bridging code to preload.js so the function is accessible from
the app's main process:
const { contextBridge, ipcRenderer } = require('electron')

contextBridge.exposeInMainWorld('electronAPI', {
  onShowHash: (callback) => ipcRenderer.on('show-hash', (_event, value) => callback(value)),
});
Consult Electron's documentation if you're unfamiliar with its process model.
At the top of index.js, we add dialog and Menu to the require statement:
const { app, dialog, BrowserWindow, Menu } = require('electron');Further down, we add the following code at end of the function createWindow:
  // Open the DevTools.
  // mainWindow.webContents.openDevTools();

  const onOpenClick = async () => {
    const { canceled, filePaths } = await dialog.showOpenDialog({ properties: [ 'openFile' ]});
    if (!canceled) {
      const [ path ] = filePaths;
      mainWindow.webContents.send('show-hash', path);
    }
  };
  const isMac = process.platform === 'darwin'
  const menuTemplate = [
    (isMac) ? {
      label: app.name,
      submenu: [
        { role: 'quit' }
      ]
    } : null,
    {
      label: '&File',
      submenu: [
        { label: '&Open', click: onOpenClick },
        { type: 'separator' },
        isMac ? { role: 'close' } : { role: 'quit' }
      ]
    },
  ].filter(Boolean);
  const menu = Menu.buildFromTemplate(menuTemplate)
  Menu.setApplicationMenu(menu);
Initially, our UI code merely display the path to the selected file. After verifying that it works
as expected, we add our Zig code, sha1.zig:
const std = @import("std");

pub fn sha1(bytes: []const u8) [std.crypto.hash.Sha1.digest_length * 2]u8 {
    var digest: [std.crypto.hash.Sha1.digest_length]u8 = undefined;
    std.crypto.hash.Sha1.hash(bytes, &digest, .{});
    return std.fmt.bytesToHex(digest, .lower);
}
At the top of index.js, we add require statements that activate Zig support and import the
function:
require('node-zigar/cjs');
const { sha1 } = require('../src/sha1.zig');
We also need a function for reading the contents of a file:
const { readFile } = require('fs/promises');We then modify onOpenClick so it performs the intended function:
  const onOpenlick = async () => {
    const { canceled, filePaths } = await dialog.showOpenDialog({ properties: [ 'openFile' ]});
    if (!canceled) {
      const [ path ] = filePaths;
      const data = await readFile(path);
      const hash = sha1(data).string;
      mainWindow.webContents.send('show-hash', hash);
    }
};In the example, sha1() returns an array of u8. On the JavaScript side it's represented by a
object. To get a string, you need to access its string property.
Zigar lets you to flag certain functions as returning strings. To do so, you declare a struct
type with a particular name at the root level:
const module_ns = @This();
pub const @"meta(zigar)" = struct {
    pub fn isDeclString(comptime T: type, comptime name: std.meta.DeclEnum(T)) bool {
        return switch (T) {
            module_ns => switch (name) {
                .sha1 => true,
                else => false,
            },
            else => false,
        };
    }
};
During export, isDeclString() is invoked when a function's return value is something that can be
interpreted as a text string (e.g. []const u8). With the above declaration in place, we can
simplify our JavaScript:
const hash = sha1(data);You can use the following to threat all occurences of u8 and u16 as text:
pub const @"meta(zigar)" = struct {
    pub fn isDeclString(comptime T: type, comptime _: std.meta.DeclEnum(T)) bool {
        return true;
    }

    pub fn isFieldString(comptime T: type, comptime _: std.meta.FieldEnum(T)) bool {
        return true;
    }
};We're going to follow the same steps as described in the hello world tutorial. First, we'll alter the require statement so it references a node-zigar module instead of a Zig file:
const { sha1 } = require('../lib/sha1.zigar');Then we add node-zigar.config.json to the app's root directory:
{
  "optimize": "ReleaseSmall",
  "modules": {
    "lib/sha1.zigar": {
      "source": "zig/sha1.zig"
    }
  },
  "targets": [
    { "platform": "win32", "arch": "x64" },
    { "platform": "win32", "arch": "arm64" },
    { "platform": "win32", "arch": "ia32" },
    { "platform": "linux", "arch": "x64" },
    { "platform": "linux", "arch": "arm64" },
    { "platform": "darwin", "arch": "x64" },
    { "platform": "darwin", "arch": "arm64" }
  ]
}
We build the library files:
npx zigar buildAnd make necessary changes to forge.config.js:
const { FusesPlugin } = require('@electron-forge/plugin-fuses');
const { FuseV1Options, FuseVersion } = require('@electron/fuses');

module.exports = {
  packagerConfig: {
    asar: {
      unpack: '*.{dll,dylib,so}',
    },
    ignore: [
      /\/(zig|\.?zig-cache|\.?zigar-cache)(\/|$)/,
      /\/node-zigar\.config\.json$/,
    ],
  },
  rebuildConfig: {},
  makers: [
    {
      name: '@electron-forge/maker-squirrel',
      config: {},
    },
    {
      name: '@electron-forge/maker-zip',
      platforms: ['darwin'],
    },
    {
      name: '@electron-forge/maker-deb',
      config: {},
    },
    {
      name: '@electron-forge/maker-rpm',
      config: {},
    },
  ],
  plugins: [
    {
      name: '@electron-forge/plugin-auto-unpack-natives',
      config: {},
    },
    // Fuses are used to enable/disable various Electron functionality
    // at package time, before code signing the application
    new FusesPlugin({
      version: FuseVersion.V1,
      [FuseV1Options.RunAsNode]: false,
      [FuseV1Options.EnableCookieEncryption]: true,
      [FuseV1Options.EnableNodeOptionsEnvironmentVariable]: false,
      [FuseV1Options.EnableNodeCliInspectArguments]: false,
      [FuseV1Options.EnableEmbeddedAsarIntegrityValidation]: true,
      [FuseV1Options.OnlyLoadAppFromAsar]: true,
    }),
  ],
};
We're now ready to create the installation packages:
npm run make -- --platform linux --arch x64,arm64
npm run make -- --platform win32 --arch x64,ia32,arm64
npm run make -- --platform darwin --arch x64,arm64
The packages will be in the out/make directory:
📁 out
  📁 make
    📁 deb
      📁 arm64
        📦 sha1_1.0.0_arm64.deb
      📁 x64
        📦 sha1_1.0.0_amd64.deb
    📁 rpm
      📁 arm64
        📦 sha1-1.0.0-1.arm64.rpm
      📁 x64
        📦 sha1-1.0.0-1.x86_64.rpm
    📁 squirrel.windows
      📁 arm64
        📦 sha1-1.0.0-full.nupkg
        📦 sha1-1.0.0 Setup.exe
        📄 RELEASES
      📁 ia32
        📦 sha1-1.0.0-full.nupkg
        📦 sha1-1.0.0 Setup.exe
        📄 RELEASES
      📁 x64
        📦 sha1-1.0.0-full.nupkg
        📦 sha1-1.0.0 Setup.exe
        📄 RELEASES
    📁 zip
      📁 darwin
        📁 arm64
          📦 sha1-darwin-arm64-1.0.0.zip
        📁 x64
          📦 sha1-darwin-x64-1.0.0.zip
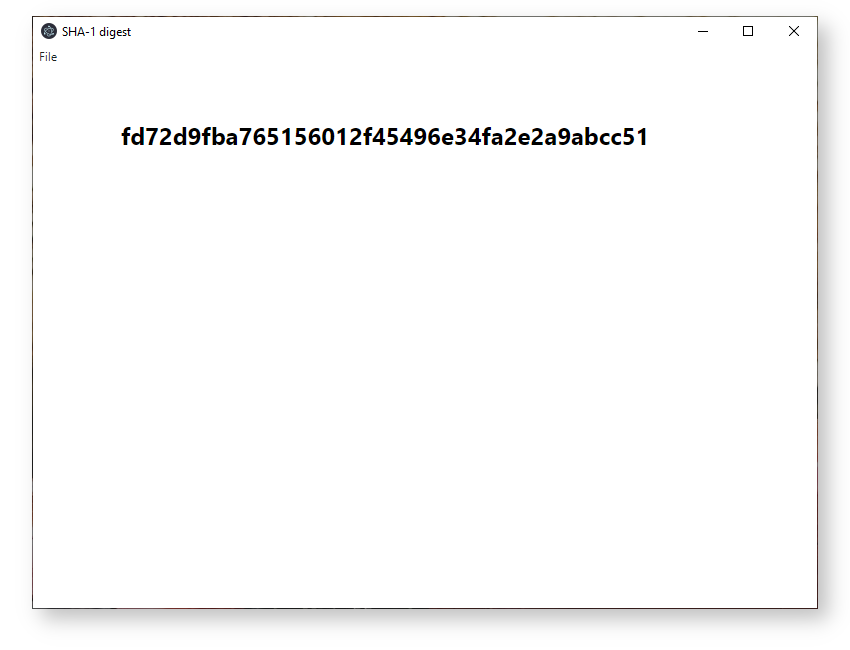
The app running in Windows 10:
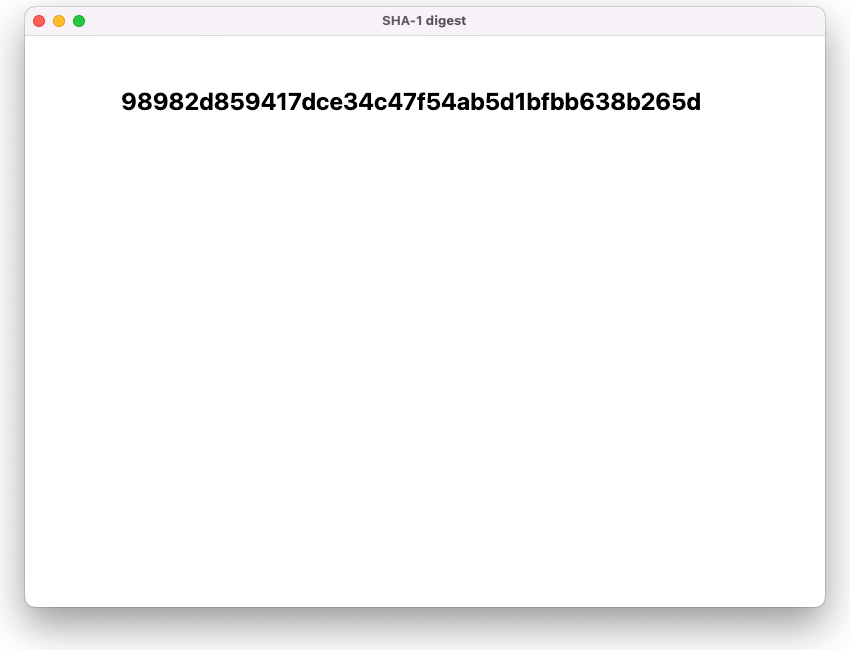
In MacOS:
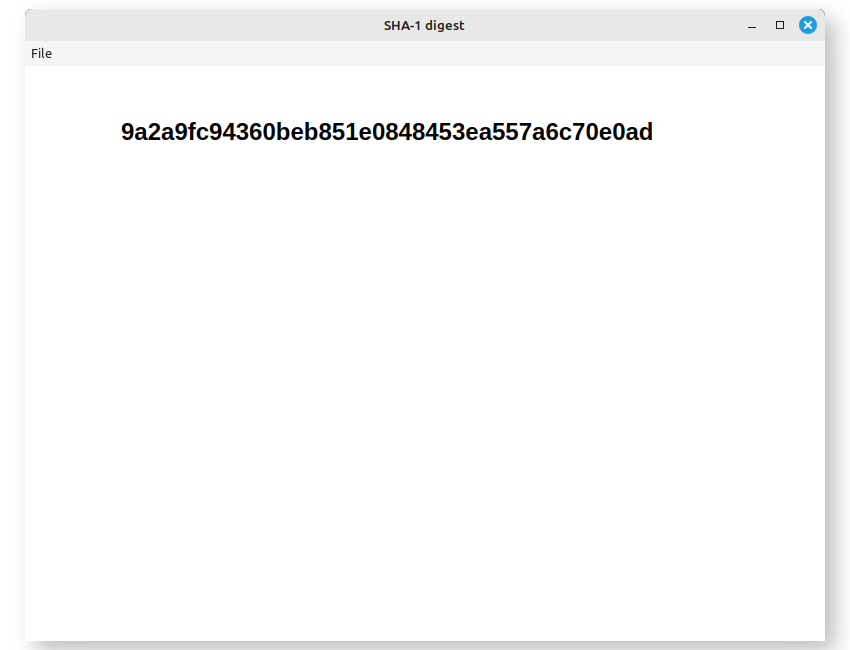
In Mint Linux:
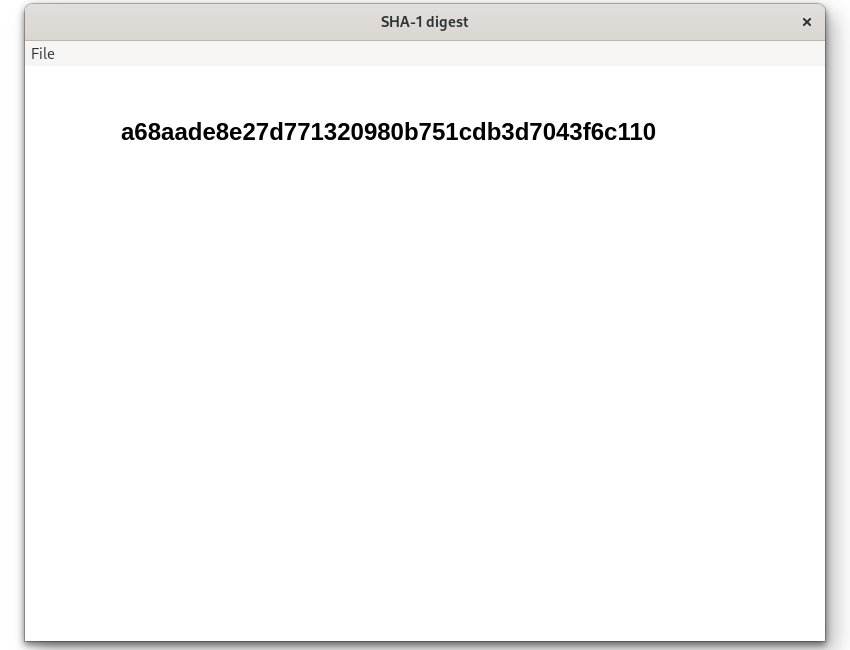
In Fedora:
You can find the complete source code for this example here.
Finally, we have an app that does something that you can see! You learned how to create menus, open files, and work on their contents. This example is still relatively simple. All we're doing is calling a function. It accepts an uncomplicated argument and returns an uncomplicated value. In the next example, the function involved will take more complicated arguments and return something complicated as well.