Sample process with Aperte Modeler - bluesoft-rnd/aperte-workflow-core GitHub Wiki
The goal of this article is to sum up all required steps for creating and deploying Aperte Workflow process with Aperte Modeler. Everything here was split into consistent, logical chunks with a short preface. That way each time a section is completed, something new and meaningful is added to the process diagram.
To keep the tutorial clear we decided on using a very, very simple and short business process definition. On one hand, this is enough to bring up essential features of the Aperte Modeler, and on another allows to keep the focus on the tool itself. Diving deep into business case and its requirements is not in scope of this article.
Scenario
We want to provide Liferay Users ability to submit their favorite quote, along with its author, and allow Liferay Administrators to review those submissions before deciding on further processing. If the quote is accepted is going to be displayed in the process log. If it's rejected the creator is going to have to provide necessary changes and submit it again.
Prerequisites
This tutorial assumes that one have already installed and configured Aperte Workflow runtime environment with Aperte Modeler. At least two different users account are going to be necessary. One should be a simple User and second one should have Administrator credentials. All this can be easily achieved by downloading preconfigured DEMO bundle, as described in quick start guide and in fact this article was prepared by using that kind of bundle.
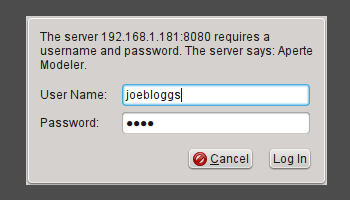
Authenticating
- Navigate to the Aperte Modeler webpage, e.g. http://localhost:8080/apertemodeler.
- If asked for credentials, provide them from the underlying Liferay Portal installation, e.g.
- User Name: joebloggs
- Password: test
Setting up workspace
To keep the modeler workspace organized one should use folders. This article assumes that a separate folder is going to be created to store entire work performed later.
- From the Explorer menu select
New > Folder.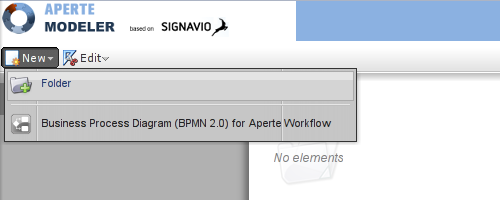
- When asked about the directory name, type in
my-modeler-sampleand pressOK. - Navigate to the folder by either using the tree on the left or double clicking its icon.
Creating new BPMN 2.0 process diagram
This section addresses creating the process diagram and preserving it under the workspace. Actual development is going to happen later. Before you begin, make sure that in Explorer you are inside the directory created in the previous step or otherwise your diagram is not going to be saved there.
- From the Explorer menu select
New > Business Process Diagram (BPMN 2.0) for Aperte Workflow. - Now new tab or window with process Editor is going to be opened. This may vary depending on your web browser type and settings. If it didn't happen, please make sure that your web browser is not blocking popup windows.
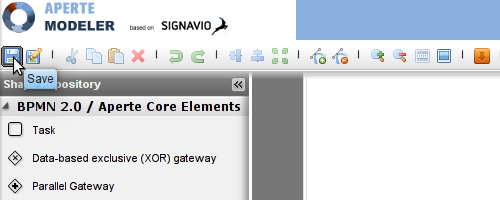
- Although the diagram is still fresh and empty save it by clicking the save icon from the Editor top menu.
- Provide the process diagram name
my-process-diagramand suitable description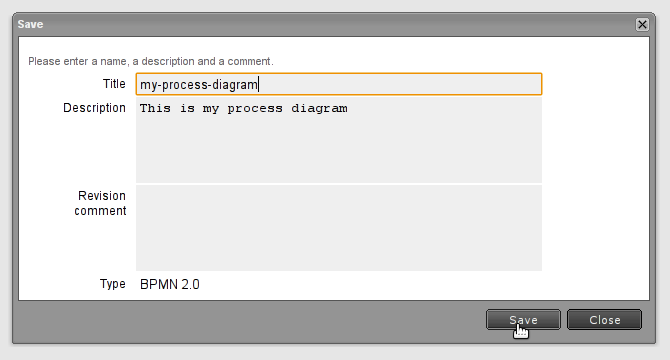
Warning: Process title should not contains any special characters like: @#$%^&, newline or any whitespaces!
- Go back to Explorer window and navigate to
my-modeler-samplefolder. You should see a new file entitledmy-process-diagram. If during that you are asked by a popup to refresh the view, confirm. Otherwise manual refresh may be required to see your changes.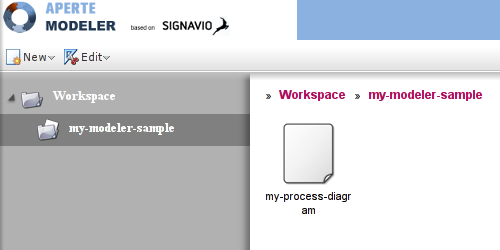
Creating basic process structure
This part shows how to set up simple process model using the BPMN 2.0 notation. The example is pretty easy and consist only of few basic elements and does not introduce any Aperte Workflow specific settings, which are going to be addressed later.
- From the Editor Shape Repository palette drag and drop
Start Eventelement. - Name it
start. This can be done either by double-clicking the element or by editing element attributes. - Using newly created start event element shortcut menu create new
Task. Name itinput-data.
Warning: Task name should not contains any special characters like: @#$%^&, newline or any whitespaces! If one of them occure, modeler automaticly will remove it or, if it is whitespace, will change it to: "_"! Additionally every name must be unique.
-
Name the
Sequence Flowbetween those two elementsto input. Your process diagram should look like that now: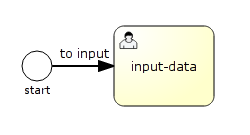
-
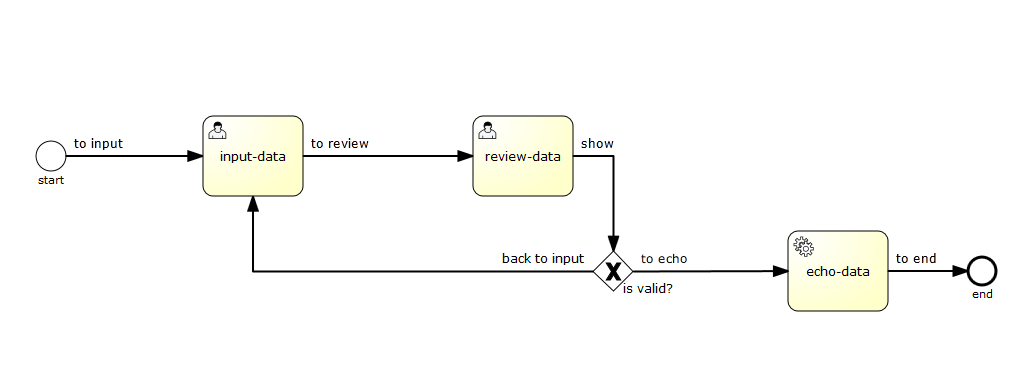
Add additional elements and connect them together to create the following model. Make sure that every used
Sequence Flowis named. If you need to change its shape use dockers.
Taskwith namereview-dataTaskwith nameecho-dataEnd Eventwith nameend
-
Make sure to save the process diagram.
Defining task assignment
The input-data task, as starting point in the process, is something naturally assigned to its creator. For the review-data task however, we are going to use a task queue which allows users in particular role to claim and solve tasks.
- Open the Aperte Process Editor from the top menu by clicking its icon.
- Switch to the
Process Queuestab.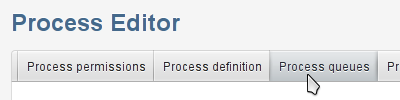
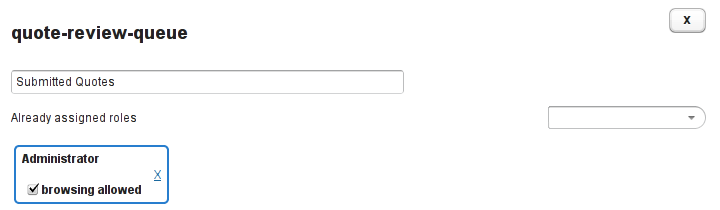
- Create new queue with name
quote-review-queue. - Provide meaningful description for the queue, e.g. Submitted Quotes.
- Assign only the Administrator role with browsing allowed option selected.
- The queue definition should now look like that that.
- Save your work by pressing the
Savebutton. That also closes the Aperte Process Editor. - Open the Aperte Step Editor on the
input-datatask. - Switch to
Assignmenttab. - In the
Assigneeparameter type the value#{initiator}. This will assign the task to its creator. - Save your work by pressing the
Savebutton. That also closes the Aperte Step Editor. - Open the Aperte Step Editor on the
review-datatask.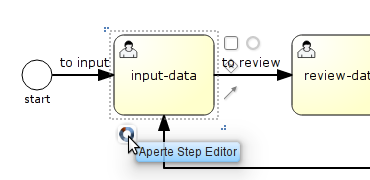
- Switch to
Assignmenttab. - In the
Candidate-groupparameter type the valuequote-review-queue. That is the name of the queue that was created in step 3. - Save your work by pressing the
Savebutton. That also closes the Aperte Step Editor. - Make sure to save the process diagram.
Defining the user interface for the human tasks
User tasks require GUI to allow necessary human interaction. This section explains how to construct the GUI with the Aperte Step Editor. Customizing actions with the Aperte Action Editor is going to be explained in next section.
- Open the Aperte Step Editor on the
input-datatask. - If not selected by default, switch to
User Interface Definitiontab. - Drag new
Vertical Layoutwidget to the widget hierarchy tree. - Drag new
Process Data BlockandProcess Commentswidgets to theVertical Layoutadded before to create tree structure. The widget hierarchy in the step should now look like that: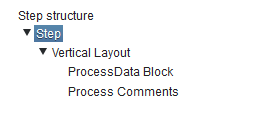
- Click on the
Advanced Data Blockwidget and navigate to theAttributestab.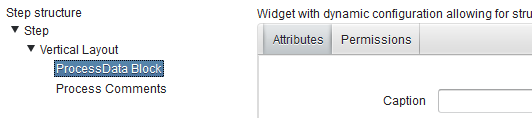
- Provide value for the following attributes:
- Caption: Provide Quote
- Comment: Enter quote content and it's author below.
Definition of the widgetattribute is created with theHierarchy Editortab. The process requires a simple input form when user can type both his first and last name.- Drag
FormWidgetElementto the hierarchy tree. Then dragTextAreaWidgetElemenandInputWidgetElementinside it. The result is shown below: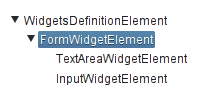
- For the
FormWidgetElementedit the following attributes. Remember to pressCommitbutton below the attributes when done.- Is full size: selected
- Spacing: selected
- Visible: selected
- For the
TextAreaWidgetElementedit the following attributes. Remember to pressCommitbutton below the attributes when done.- Bind: quote
- Caption: Quote
- Max Length: 400
- Is required: selected
- Is rich text: selected
- Visible: selected
- Visible lines: 4
- Width: 100%
- For the
InputWidgetElementedit the following attributes. Remember to pressCommitbutton below the attributes when done.- Bind: author
- Caption: Author
- Max Length: 120
- Is required: selected
- Visible: selected
- Width: 100%
- Switch to
Permissionstab in theProcess Data Blockwidget.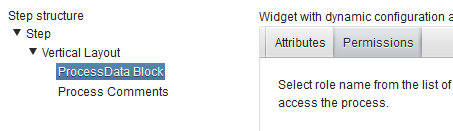
- For all the permissions select the
.*role name, granting all the users ability to interact with the widget. - Now when done with
Process Data Blockwidget, click on theProcess Commentswidget and navigate to theAttributestab. - Provide value for the following attributes:
- Caption: Process Comments
- Comment: This is a place when one can insert own comments.
- Switch to
Permissionstab forProcess Commentswidget. - For all the permissions select the
.*role name, granting all the users ability to interact with the widget. - You are done with the widgets now, however there is still one more thing to do.
- Switch to
State definitiontab and provide following values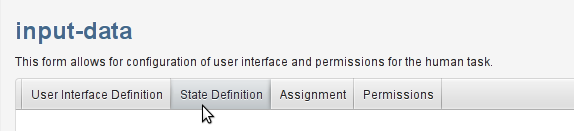
- Description: Submit Quote
- Commentary: Provide your personal favorite quote.
- Save your work by pressing the editor
Savebutton. You work is done for theinput-datatask GUI definition.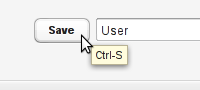
- Open the Aperte Step Editor on the
review-datatask. - Defining exactly the same GUI as earlier in
input-datauser task. In this step only minor modifications are going to be introduced:- In both
TextAreaWidgetElementnadInputWidgetElementsinsideAdvanced Data Blockwidget make sure thatIs read onlyattribute is selected. - For every used widget on the
Permissiontab select only theAdministratorrole.
- In both
- Switch to
State definitiontab and provide following values- Description: Review submitted quotes
- Commentary: Provide the review for the user submitted quotes
- Save your work by pressing the editor
Savebutton. You work is done for thereview-datatask GUI definition. - Make sure to save the process diagram.
Finishing the user interface with actions
As you may noticed some sequence flows start in user tasks. One needs to provide additional parameters with Aperte Action Editor to make the GUI definition complete.
- Open Aperte Action Editor on the
to reviewsequence flow.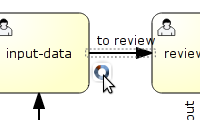
- If not selected by default, switch to the
Defaultbutton type.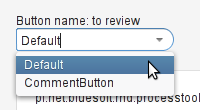
- For the selected button type provide following attributes:
- Description: Move to review
- Label: Submit
- Priority: 10
- You work is done for the
to reviewsequence flow. Save it by pressing the editorSavebutton. - Open Aperte Action Editor on the
to echosequence flow. - If not selected by default, switch to the
Defaultbutton type. - For the selected button type provide following attributes:
- Description: Move to echo
- Label: Accept data
- Priority: 10
- You work is done for the
to echosequence flow. Save it by pressing the editorSavebutton. - Open Aperte Action Editor on the
back to inputsequence flow. - Switch button type to
CommentButton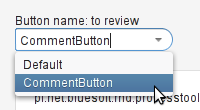
- For the selected button type provide following attributes:
- Description: Move back to data input
- Label: Reject data
- Priority: 20
- You work is done for the
back to inputsequence flow. Save it by pressing the editorSavebutton. - Make sure to save the process diagram.
Defining automatic task
So far the process contains only human tasks. This is rarely seen in real world as great amount of work is handled by automated systems. To introduce that kind of automation we are going to use the Log Step plugin which is going to allow to display the submitted quote in the logs.
- Click on the
echo-datastep to select it. - Using attribute palette change the
Tasktypeattribute toLogStep.
- Open the Aperte Step Editor on the
echo-datastep. - Provide
Messagewhich will display process attributes. Remember thebindattributes inAdvanced Data Blockyou have supplied when creating the user interface? We are going to use them here, enclosed with${and}.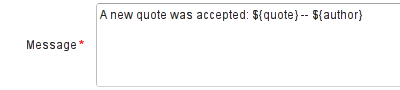
- Message: A new quote was accepted: ${quote} -- ${author}
- You work is done for the
echo-datasequence flow. Save it by pressing the editorSavebutton. - Make sure to save the process diagram.
Defining process attributes
The modeling work is actually done at that point. What's left are some finishing touches, needed to make the process distinguishable in Aperte Workflow environment.
-
If any element is currently selected on the diagram, click somewhere at the white, empty area. This ensures that the attribute palette is displaying process diagram attributes.
-
Open the attribute palette and provide following attributes:
- Name: FavoriteQuoteProcess
- Aperte process filename: favoritequoteprocess
- Manifest: Bundle-Name: favoritequoteprocess
- Manifest: Bundle-Description: This is a sample quote submission process, developed with Aperte Modeler and described on the wiki
- Manifest: ProcessTool-Process-Deployment: org.aperteworkflow.process.favorite.quote
-
Open the Aperte Process Editor.
-
Switch to
Process Permissionstab. -
For all the permissions select the
.*role name, granting all the users ability to interact with the process. -
Switch to
Process Definitiontab. -
Provide values for
DescriptionandCommentary.- Description: Favorite Quote Submissions
- Commentary: Favorite quote submission process, Aperte Modeler sample
-
Save your work by pressing the
Savebutton. Your work with Aperte Process Editor is done. -
Make sure to save the process diagram.
Deploying the process
By this point the process should be fully developed and thus ready for deploying. Let's give it a try.
- The finished process should look like shown below.
- Press the
Deploybutton in Editor top menu.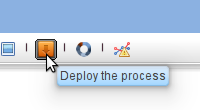
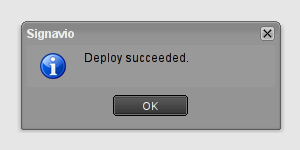
- Wait for the confirmation to appear.
Testing the process
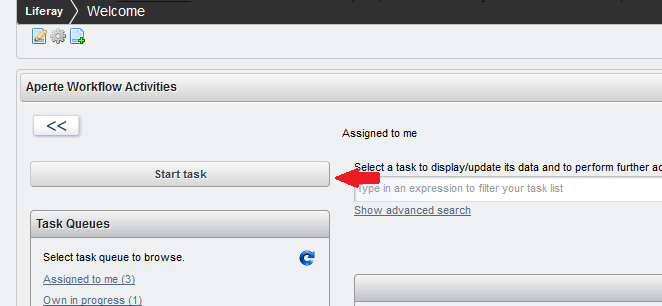
To test the process you will need to navigate to Aperte Workflow runtime environment and display Aperte Workflow Activities portlet.
- Start new process press: Start Task.
- Select the process FavoriteQuoteProcess and select the link "Begin task"

- Fill in the quote and it's author. You may also provide comments by pressing the
Add commentbutton. PressSubmitwhen done. - You should see that new task has appeared in
Submitted Quotes. Click on the queue name and claim the task. Do note that you need Liferay Administrator role for that. If you have submitted the quote from normal Liferay User account, you may need to switch accounts and login again. We configured that intentionally in defining task assignment section.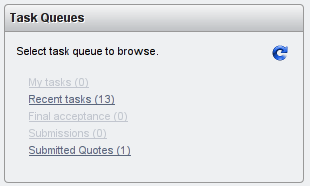
- If you decide to accept the quote, by pressing the
Accept data, open your web server logs (if you use our bundles open the /tomcat-6.0.29/logs/catalina.out file) and search for it there. - If you decide to reject the quote you are going to be asked to provide short comment after pressing
Reject databutton. The process is going to be redirected toinput-datatask and assigned to the user who created it.
Epilogue
We hope that now, after completing this tutorial, you are more familiar with Aperte Modeler. We encourage you to experiment with this tool by creating more sophisticated user interface and employing provided automatic steps to integrate [Drools](Drools Step plugin) or [Mule ESB](Mule ESB plugin).