msa restore - ajtruckle/meeting-schedule-assistant-support GitHub Wiki
Restoring a backup lets you return your entire Meeting Schedule Assistant environment to a previously saved state. This is helpful after a computer issue, data loss, or when passing the assignment to another brother.
The Restore window displays your available backups in descending date order, so the most recent one always appears first.
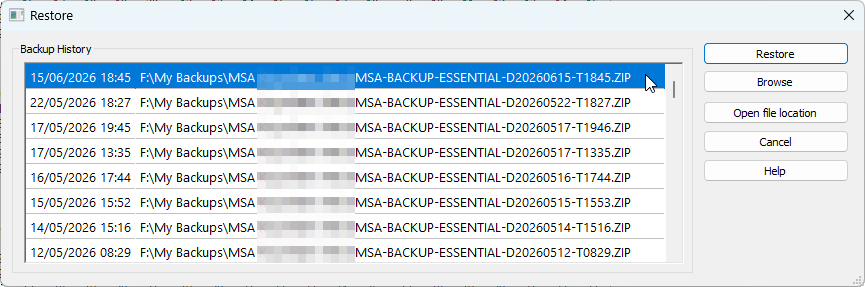
Figure 20. The Restore window showing the list of available backups.
You can access this feature from:
- File — Restore
- Toolbar — Restore
Select the backup file you want to restore, then click Restore.
The application performs the following steps:
- Verifies that the backup file still exists.
- Asks for confirmation, since the restore process cannot be undone.
- Restores all data from the selected backup.
During the restore process, a progress bar is displayed:

Figure 21. The progress bar shows the current status of the restore.
If the backup you want to restore is not shown in the history list, click Browse.
You can then navigate to any ZIP file and restore it manually.
Select any backup in the list and click Open File Location to open File Explorer with the selected ZIP file highlighted.
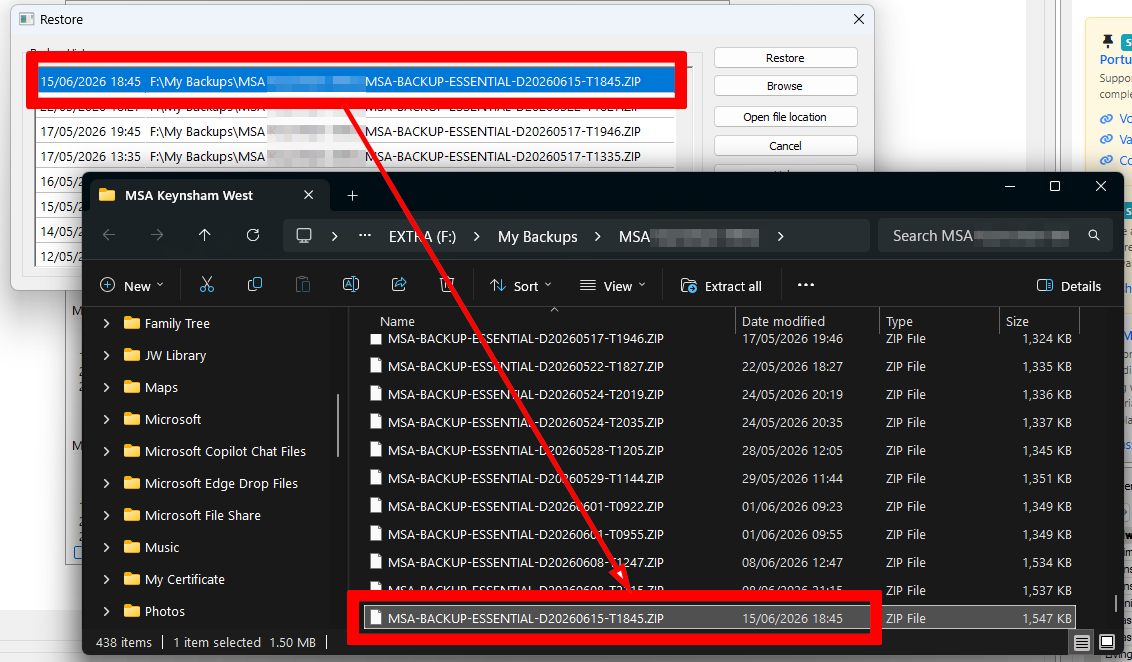
Figure 22. Example of using the Open File Location tool.
(Note: This video tutorial is based on an older version of the software.)
Watch the video tutorial on YouTube.
- Parent topic: File Menu
- Previous topic: Backup
- Next topic: Install S-89 Assignment Slip Templates