Overseerr Setup Guide - ajgillis04/GillisDockerDepot GitHub Wiki
Overseerr Setup Guide
Introduction
Overseerr is a request management and media discovery tool that works with your existing Plex server. It allows users to request movies and TV shows, which are then automatically downloaded and added to your library.
Prerequisites
- Docker installed
- Overseerr container running in your Docker stack
Recommended Pre-Setup
Before setting up Overseer, consider deploying the following containers first to simplify integration and avoid jumping between configuration steps:
Configuration Steps
Step 1: Accessing the Overseerr UI
- Open your browser and navigate to
http://<your-ip-address>:5055. - Login with your plex credentials
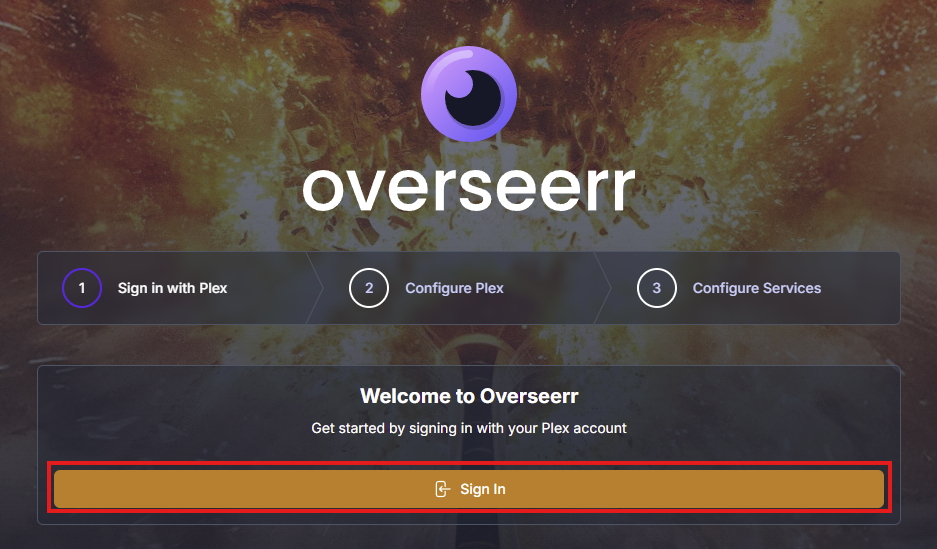
Step 2: Initial Setup Wizard
- Follow the initial setup wizard to configure plex connection
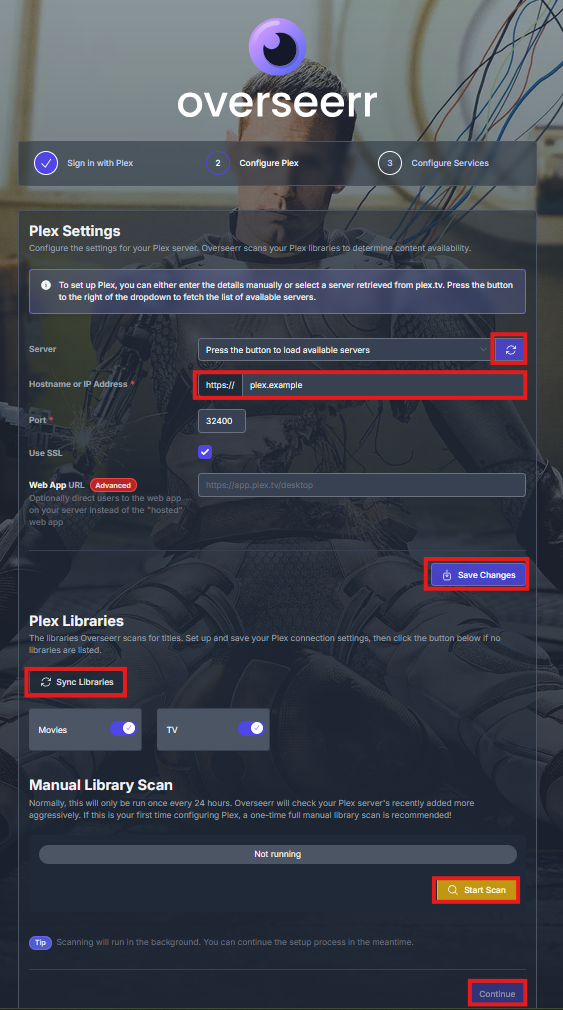
- Go to the Server section and see if overseer automatically picked up your plex server. It should if they are on the same host. If not type the hostname or IP in manually on
Hostname or IP Address* - Choose Save Changes
- Under Plex Libraries you should now see the Plex Libraries click the slider to turn them. If they are not there you might need to select
Sync Libraries - Select
Start scan - Click
Continue
Step 3: Configuring Services
Radarr
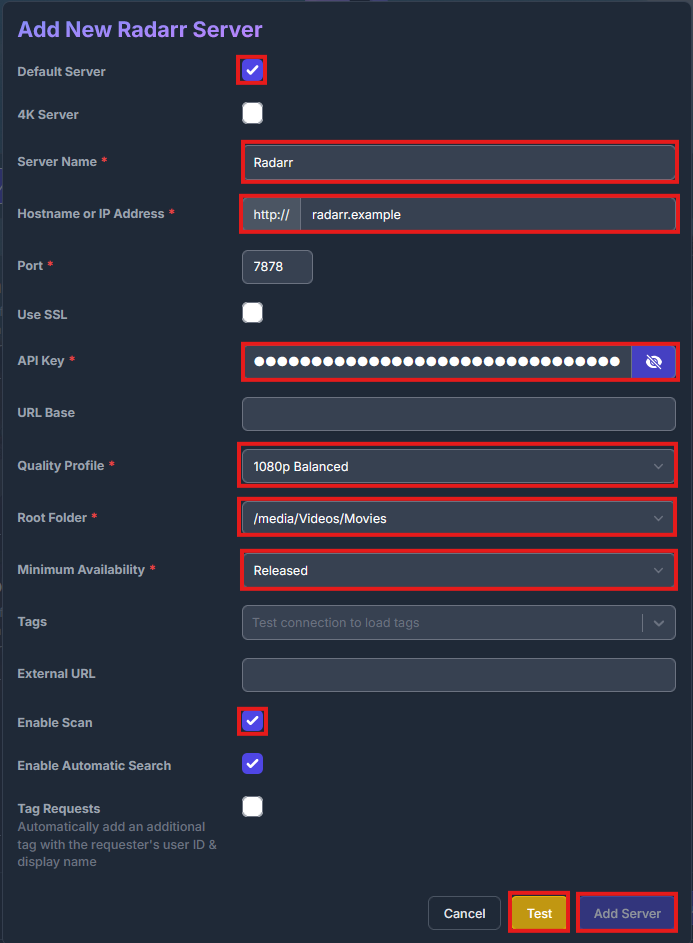
- Add a Radarr Server selecting the
+ Add Radarr Server - Enable
Default Server - Enter the Server Name (e.g. Radarr)
- Fill in the Hostname or IP Address (e.g. radarr.example)
- Paste in the API Key from your .env or Radarr's general settings
- Select
Test - If the test was successful you can now choose the Quality Profile from Radarr.
- Set your Root Folder
- I set Minimum Availability to
Releasedto ensure the movie is only downloaded once it leaves theaters. - Select
Enable Scan - Add Server
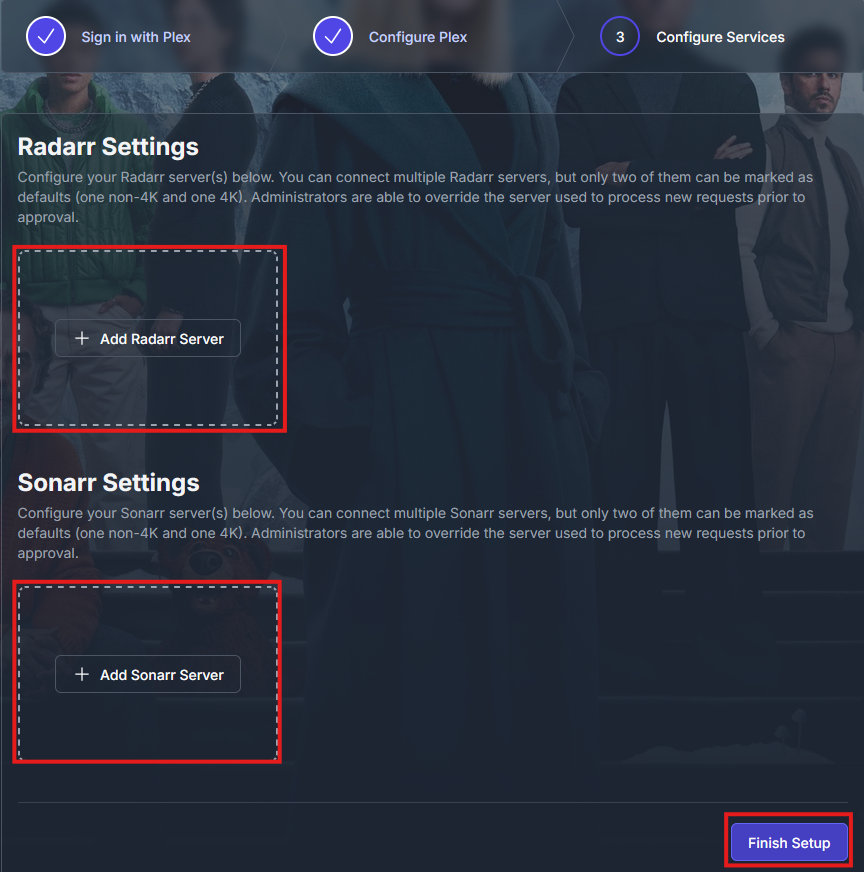
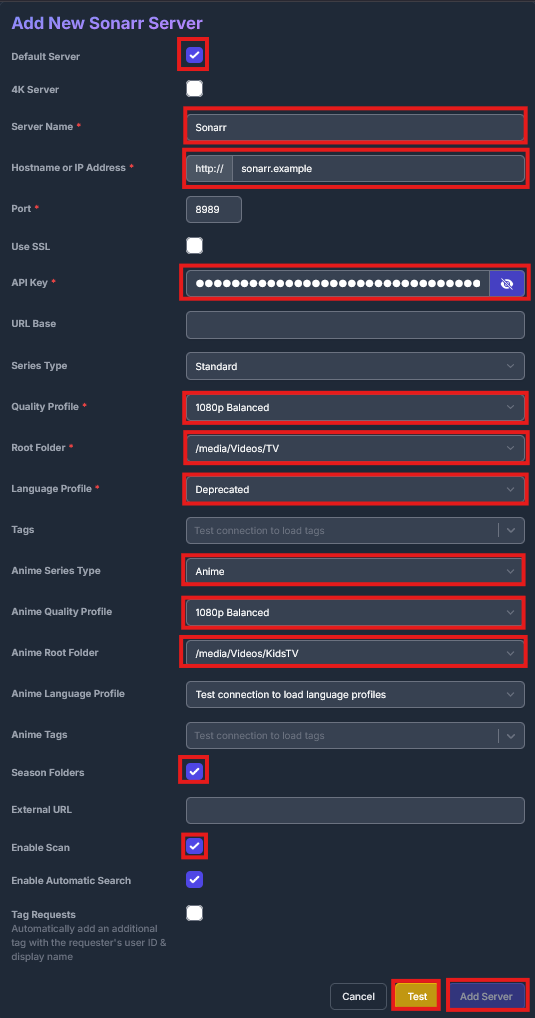
Sonarr
- Add a Sonarr Server selecting the
+ Add Sonarr Server - Enable
Default Server - Enter the Server Name (e.g. Sonarr)
- Fill in the Hostname or IP Address (e.g. sonarr.example)
- Paste in the API Key from your .env or Sonarr's general settings
- Select
Test - If the test was successful you can now choose the Quality Profile from Sonarr.
- Set your Root Folder
- You must set the Language Profile to
Deprecated. My guess this option will be removed soon. - I choose
Animefor me Anime Series Type as they are usually in absolute numbering. - Set the Anime Quality Profile to your default from Sonarr.
- Choose your Anime Root Folder
- Select
Enable Scan - Add Server
- Finish Setup
Step 4: Settings
- Go to the
Settingstab. - Copy the API key to your .env. This will be used later for Homepage
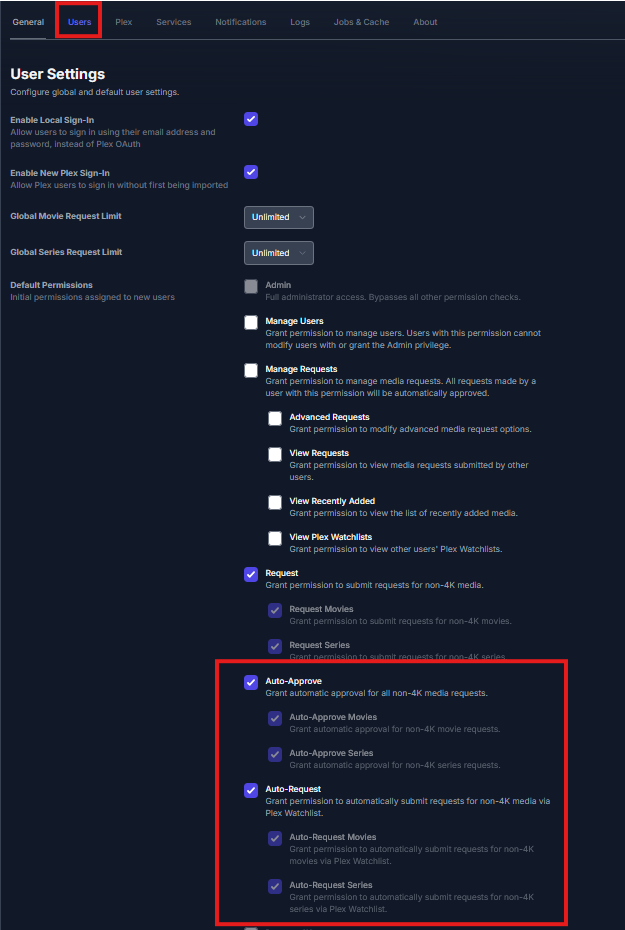
- Go to the users blade and enable
Auto-Approve Movies&Auto-Approve Series - Also enable
Auto-Request Movies&Auto-Request Series - Click
Save Changes.
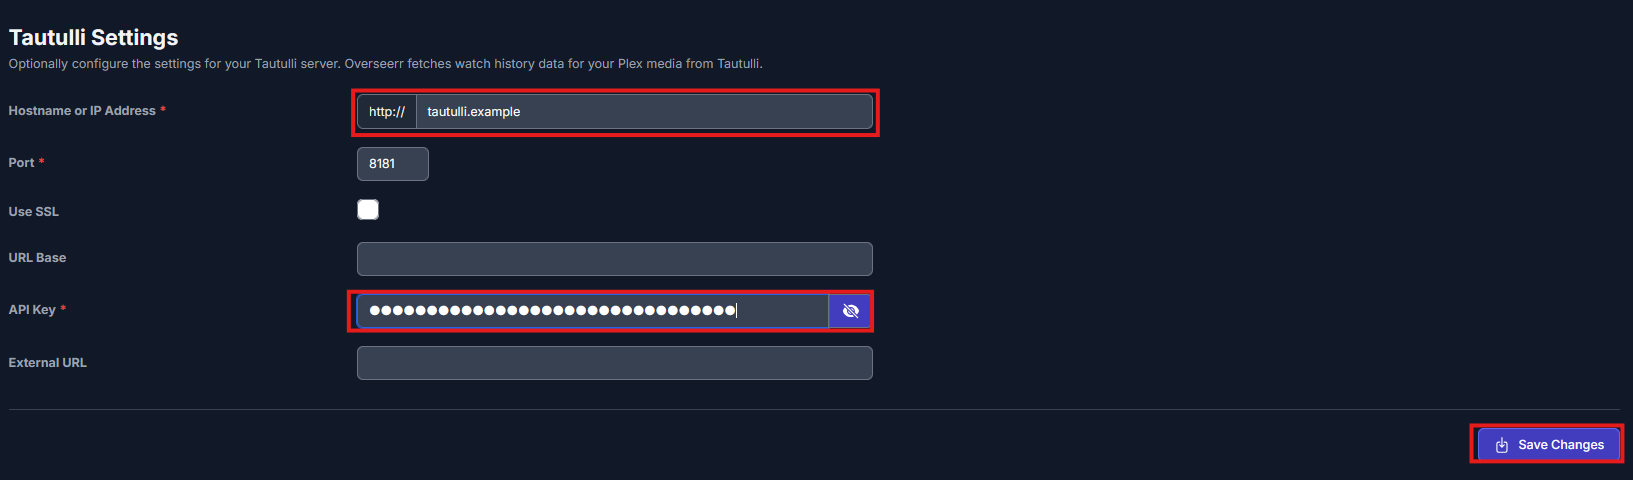
Step 5: Tautulli Settings
- Go to the
Settingstab. - Go to the
Plexblade and scroll to the bottom to findTautulli Settings - Enter your Hostname or IP Address
- Paste in your API Key
Save Changes
Notes
- Ensure all paths and environment variables are updated in the
overseerr.yamlfile. - Regularly backup your
configdirectory to save your settings.
Troubleshooting
- Common Issues: List common issues and solutions.
- Logs: Check Overseerr logs for error messages.
- Support: Link to the Overseerr community and support resources.