HOW TO Configure CoreTemp - SilverAzide/Gadgets GitHub Wiki
HOW TO: Configure CoreTemp
Using CoreTemp with Rainmeter skins requires installing and configuring the CoreTemp monitoring application.
Install CoreTemp
- Download CoreTemp here.
- Install the application and run it.
Configure CoreTemp Settings
To configure CoreTemp, do the following:
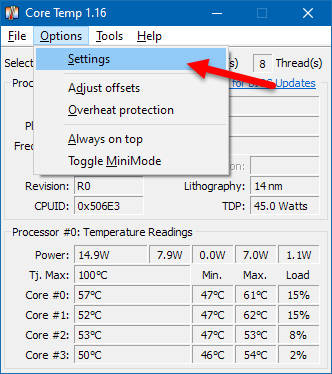
- From the main CoreTemp screen, select Options > Settings.
- On the General tab, ensure the Enable plug-ins option is checked. The Start Core Temp with Windows and Check for updates on startup options can be set per your preferences.

- On the Display tab, if you want temperatures to be shown in Fahrenheit, check the Display temperatures in Fahrenheit option. For the best user experience, check the Start Core Temp minimized and Close Core Temp to the notification area options.

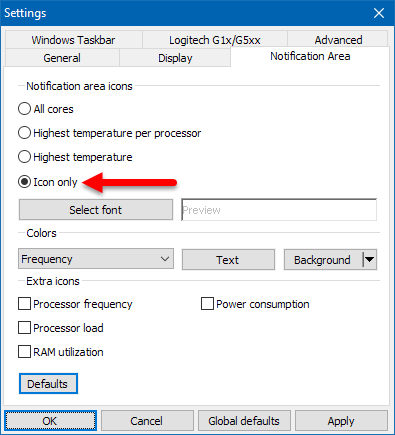
- On the Notification Area tab, select the Icon only option (recommended).
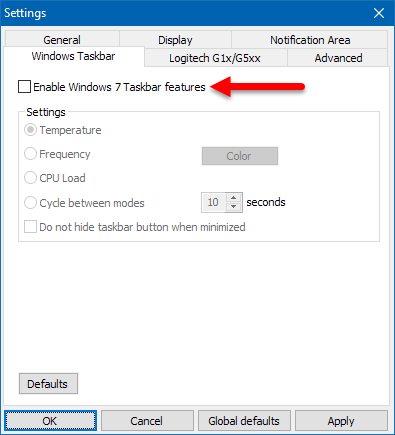
- On the Windows Taskbar tab, uncheck the Enable Windows 7 Taskbar features option (recommended).
- Click Apply and/or OK buttons to save your changes, then minimize the CoreTemp window.
OK, What's Next?
The configuration of CoreTemp is complete at this point. The final step is to configure your All CPU Meter Gadget.
For more information on the Rainmeter plug-in for CoreTemp, see the CoreTemp documentation.