Manual Projects - ShadobaDev/Platemaker-qt GitHub Wiki
Projects
A project is one chapter or episode. It holds the input images, the profiles it uses, and where its output goes.
Creating a project
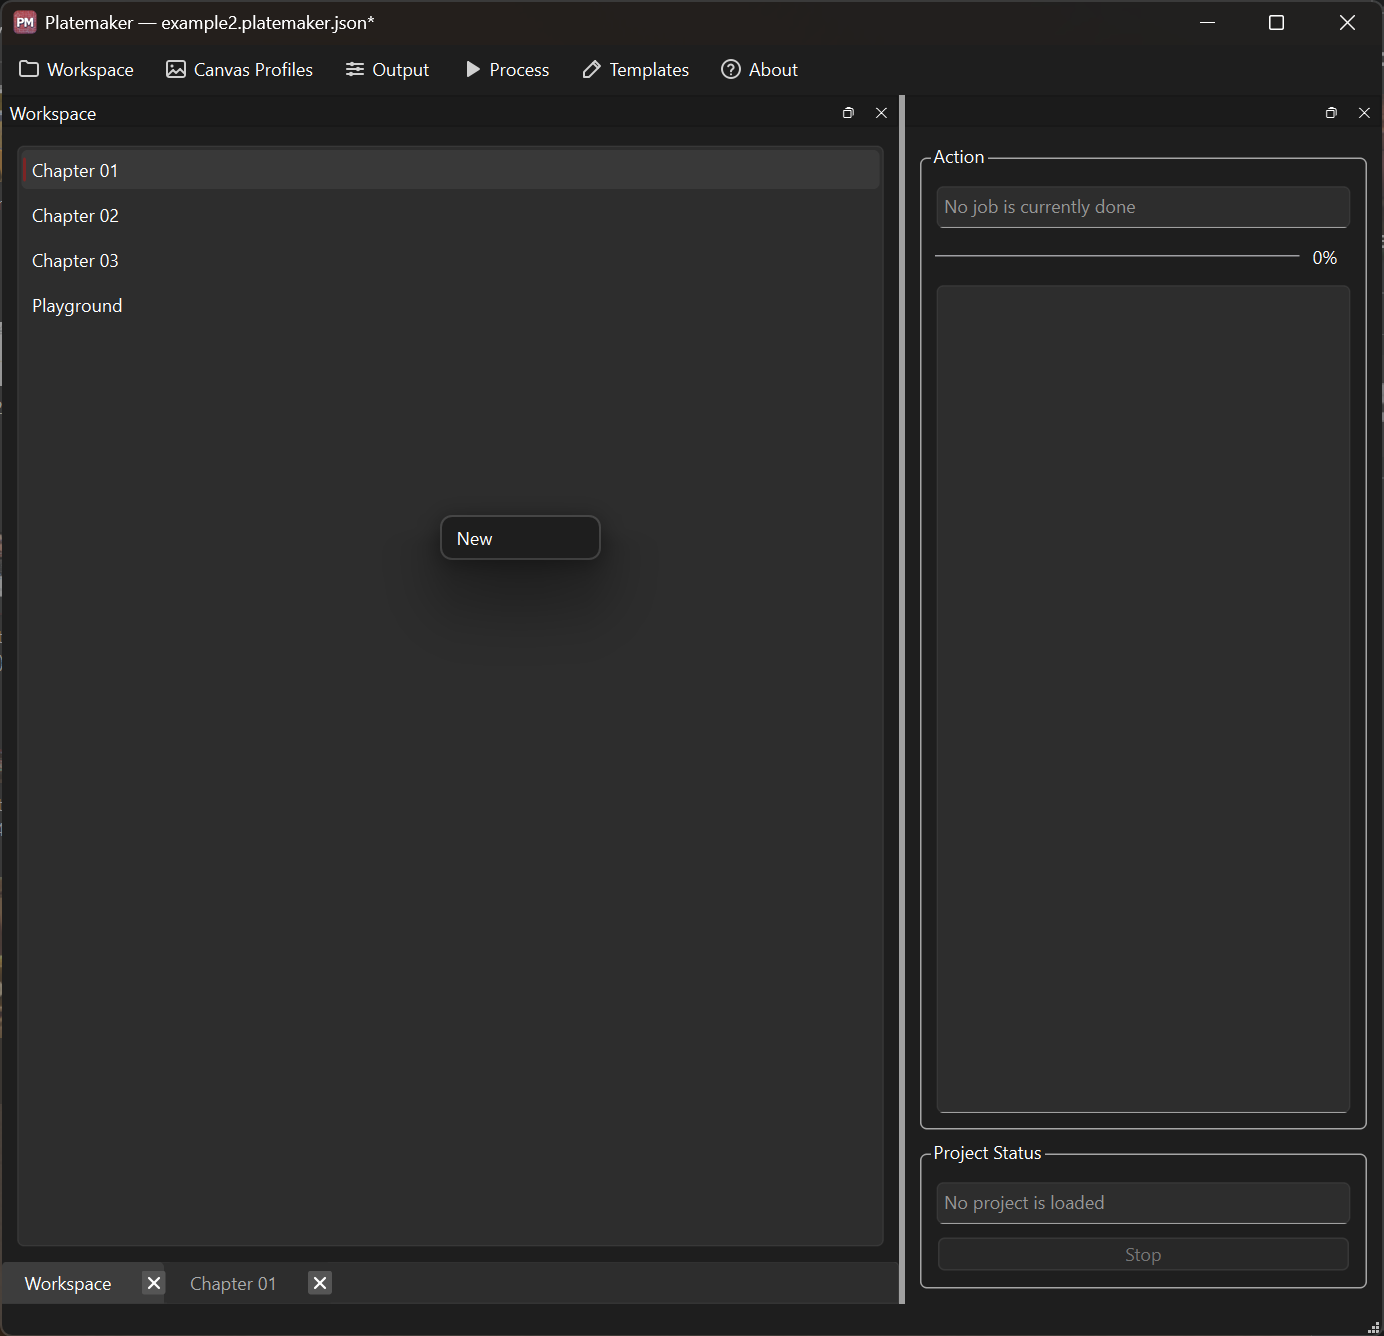
Projects are created from the Workspace panel, not the menu bar. Right-click an empty part of the project list and choose New.
The project name is purely a label. It does not affect output filenames, folder names or anything else downstream, so name chapters however helps you find them.
Renaming and deleting
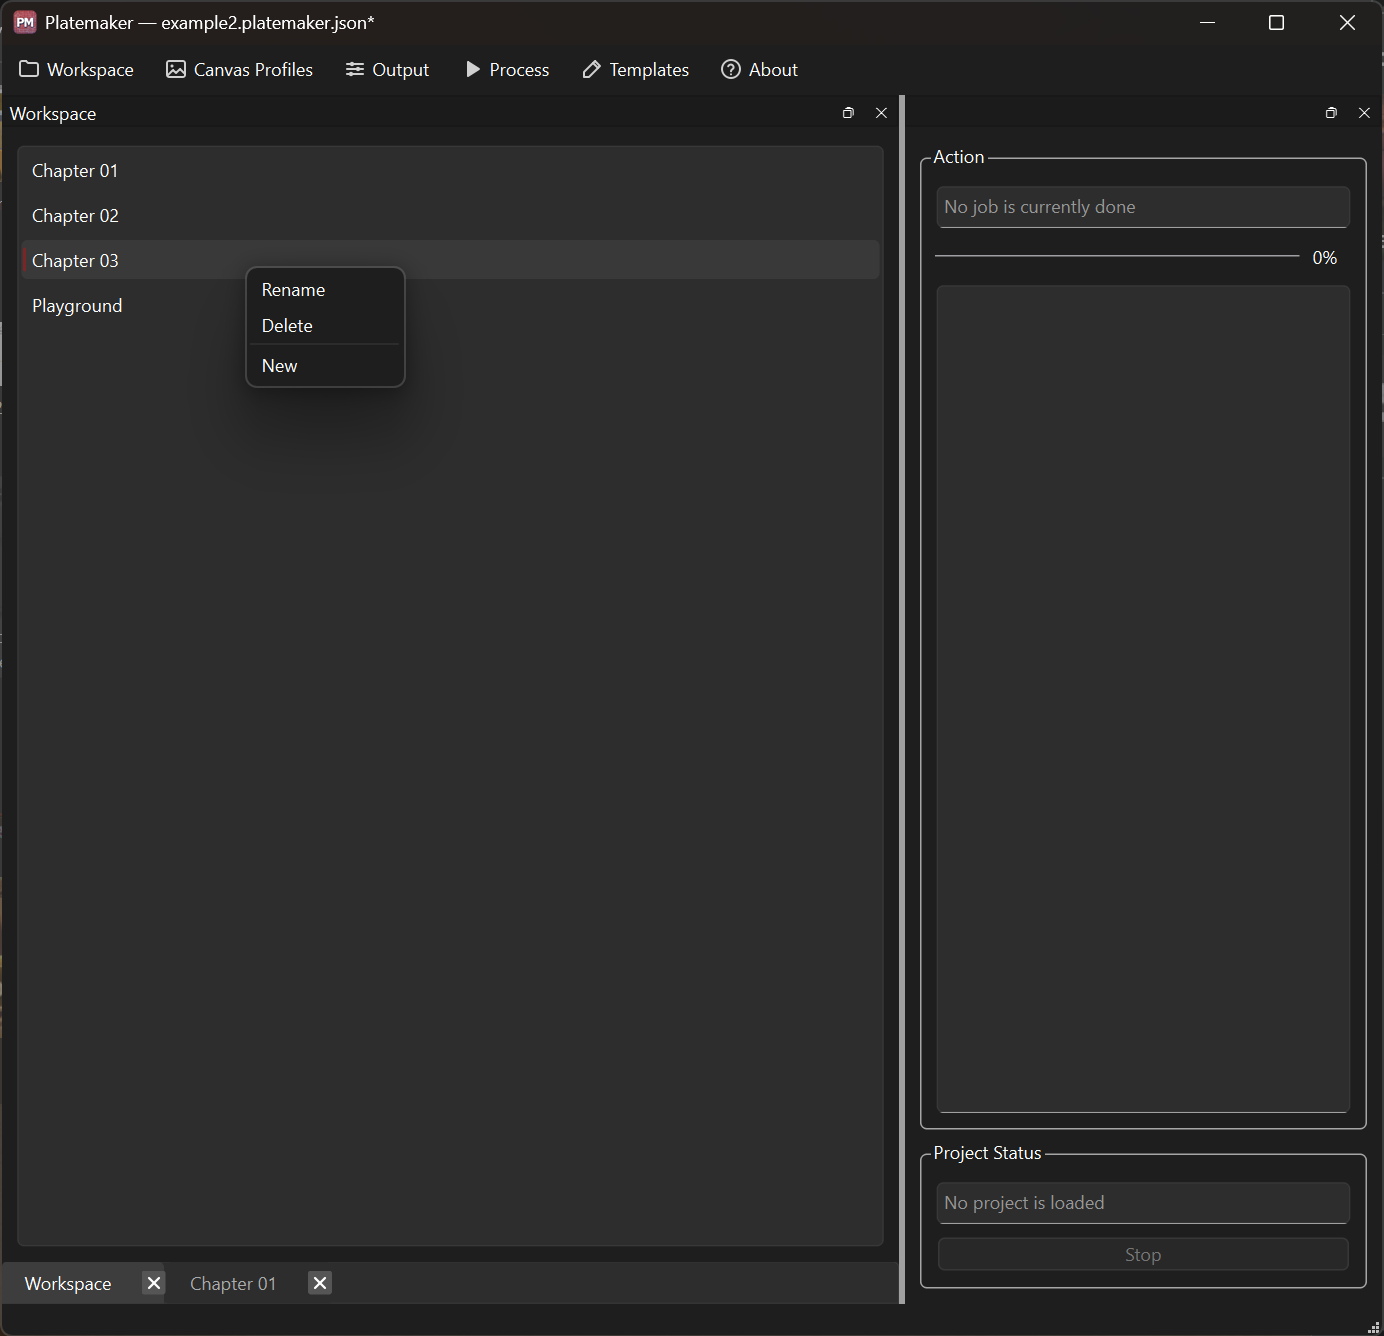
Right-click an existing project in the Workspace panel. The menu offers Rename, Delete and New from this… for the project you clicked, plus New.
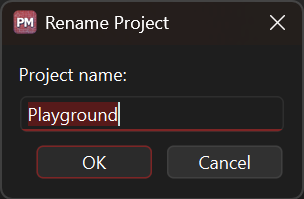
Rename opens a small dialog with the current name filled in. Type the new one and press OK.
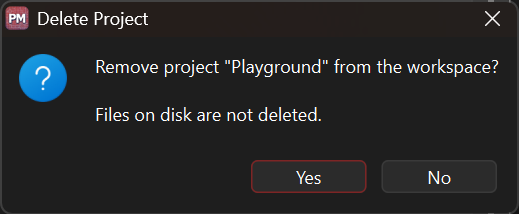
Delete asks you to confirm, then drops the project from the workspace only — nothing on disk is removed. Your input images and any rendered output stay where they are.
New from this… — duplicating a project
New in 1.4.0. New from this… seeds a fresh project from the one you right-clicked, copying its input files and profile links (canvas profiles + the selected output profile) — but not its rendered output, output directory, or render state. The copy starts clean: its inputs are Pending and it renders into a directory you set for it.
It prompts for the new project's name, then creates the copy.
It exists for the multi-publisher case: two projects over the same pages that differ only in their output profile — one Webtoon Standard, one Tapas, say. See Comic production and Output profiles.
The Input tab
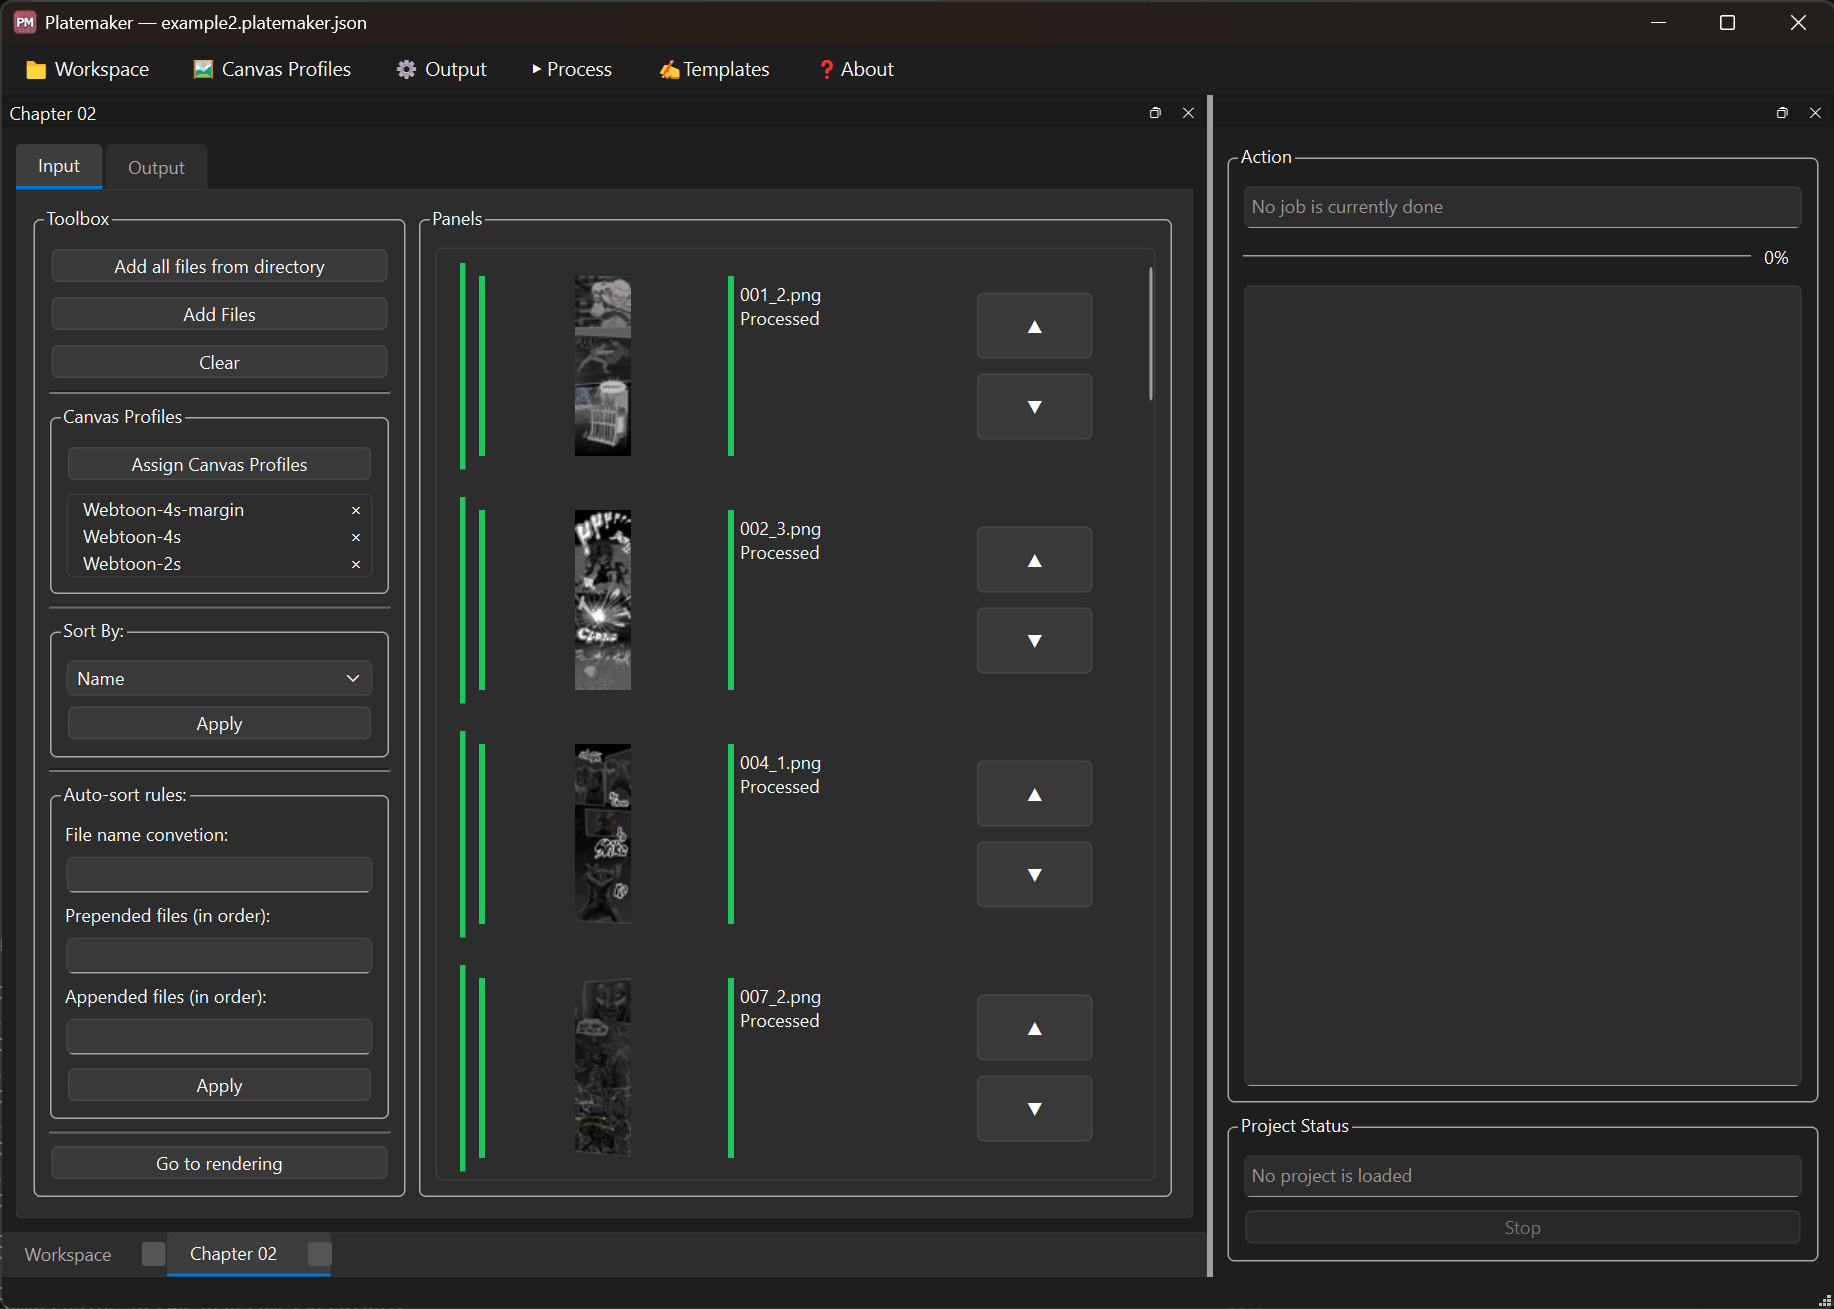
The Input tab is where a chapter's pages live. The Panels list in the centre shows one tile per input image — thumbnail, filename and status badge — displayed top to bottom in strip order, which is the order they will be joined and sliced. The Toolbox on the left adds, sorts and clears them.
Adding input files
| Button | Does |
|---|---|
| Add all files from directory | Adds every supported image in a chosen folder |
| Add Files | Adds only the files you pick |
Supported formats: .jpg, .jpeg, .png, .webp, .tif, .tiff.
Adding is additive and de-duplicating. Re-adding a folder after exporting a few more pages keeps the pages you already have — with their statuses intact — and appends only the new ones. You do not need to clear the list first, and duplicates are ignored (path matching is case-insensitive on Windows).
Since 1.2.0, Add all files from directory re-opens at the folder you last scanned, so re-scanning or adding a sibling file no longer means navigating the tree from scratch.
Since 1.3.0 you can also drag files, or a whole folder, onto the project — and since 1.4.1
anywhere on the panel counts, not just the tile list. A dropped folder is scanned the same way as
Add all files from directory (top level, image files only). Dropping is additive and
de-duplicating like the buttons, and counts as one undoable step (Undo is Ctrl+Z, in the
Workspace menu — see Menu reference).
Ordering
Order is the most consequential thing on this tab and the least visible. Each page carries an explicit position. Adding pages appends them; sorting rewrites the order in one shot; dragging or the tile arrows rewrite it by hand. The last thing you did wins — sorting does not lock anything.
Order feeds straight into the render: the strip is built in this sequence, so changing it changes where every later slice falls. A reorder therefore marks the affected output out of sync, and that survives a save and reopen — see File statuses.
Sorting
The Sort By control offers Name, Date created and Date modified; Apply
rewrites the order to match. Name sorting is numeric-aware, so page2 comes before page10.
Sorting is a one-shot helper, not a rule. Once applied, dragging still overrides it.
Auto-sort rules
The Toolbox also has an Auto-sort rules box — a file-name convention, plus prepended and appended file lists. It is not implemented yet and, since 1.3.0, is greyed out with a "Coming soon" label so it no longer looks usable. Order your pages with Sort By and drag-and-drop for now.
Reordering by hand
Two ways, both live since 1.2.0:
- Drag a tile up or down in the Panels list.
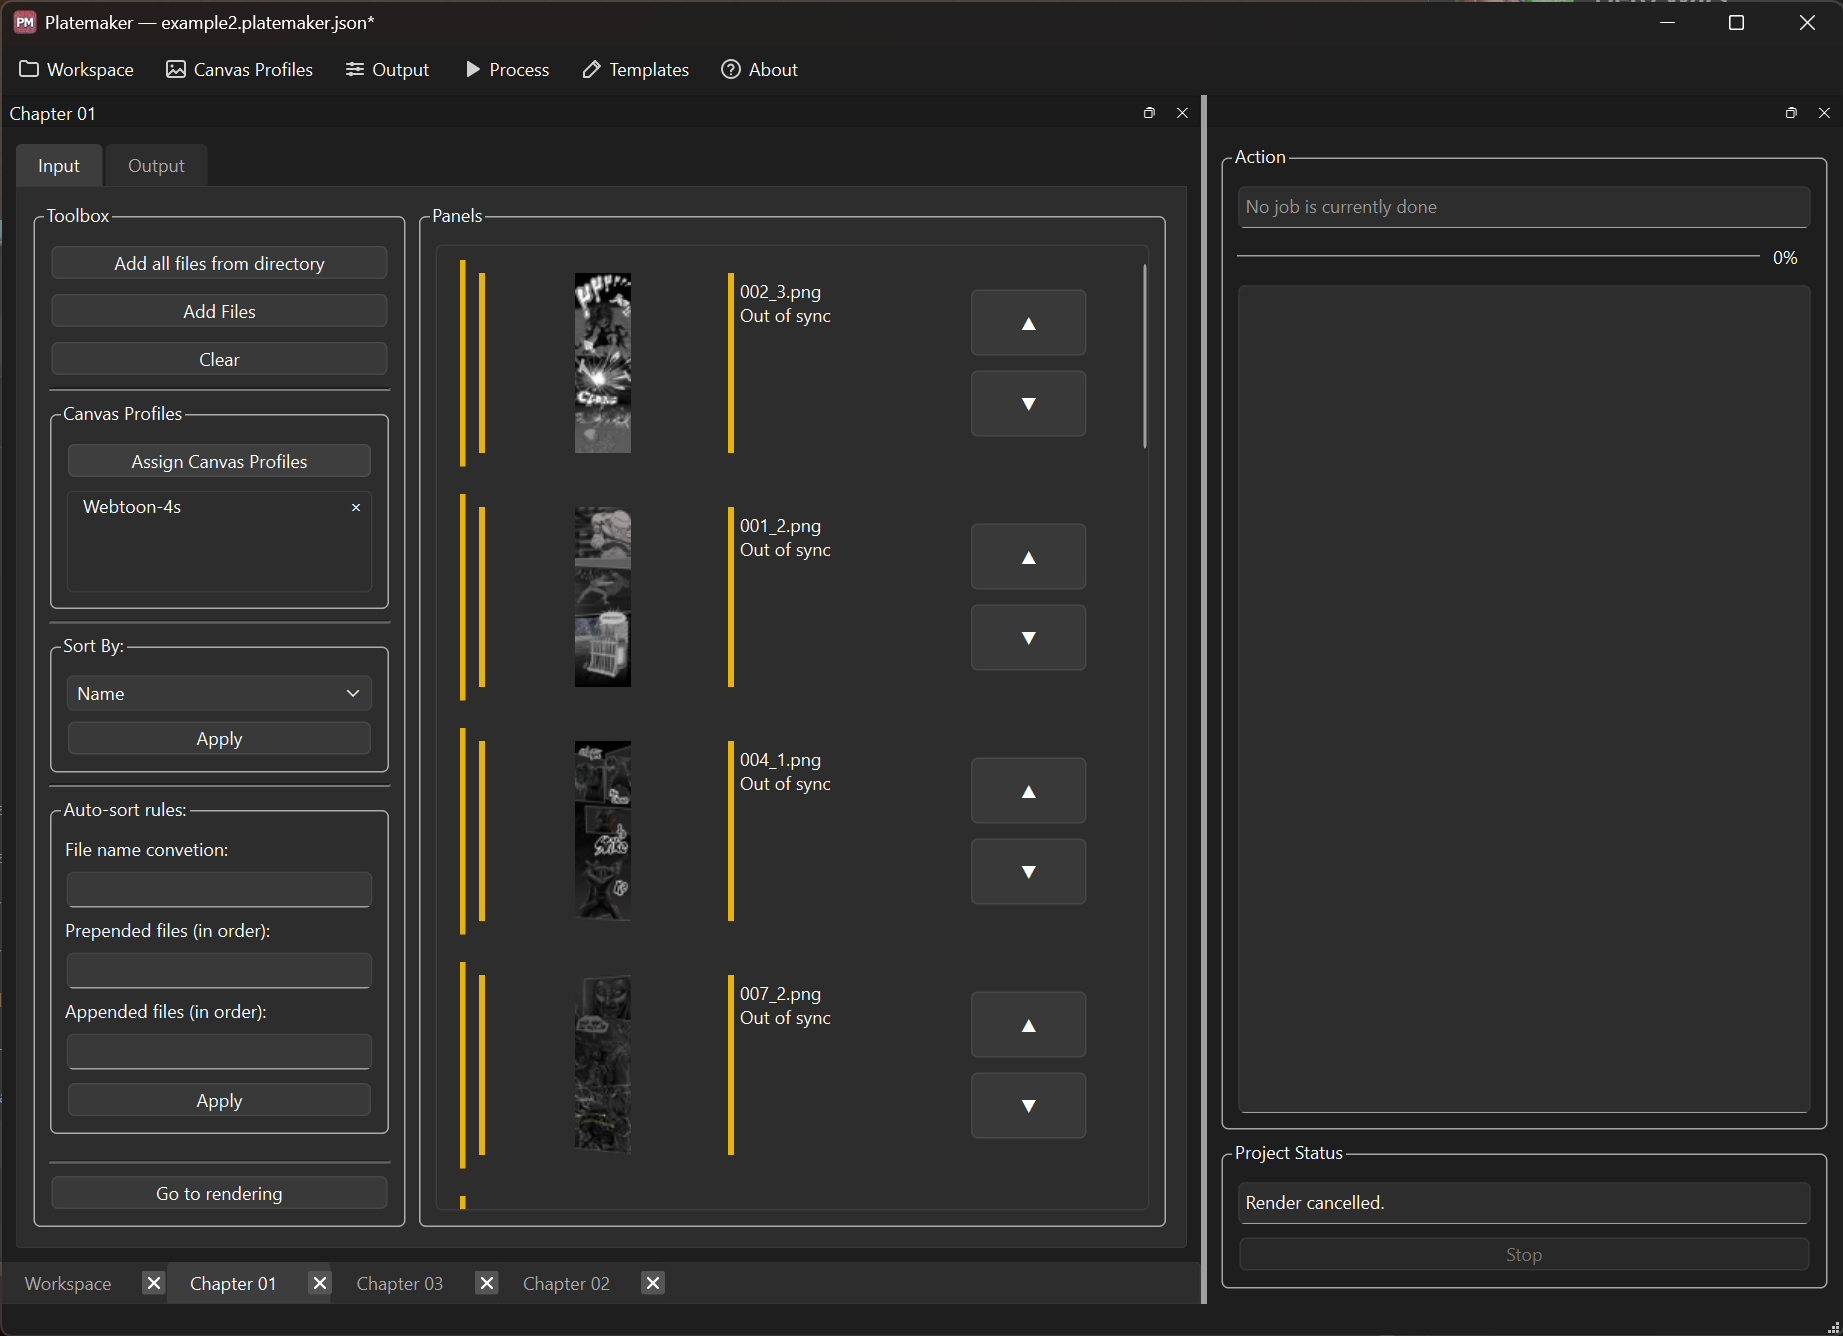
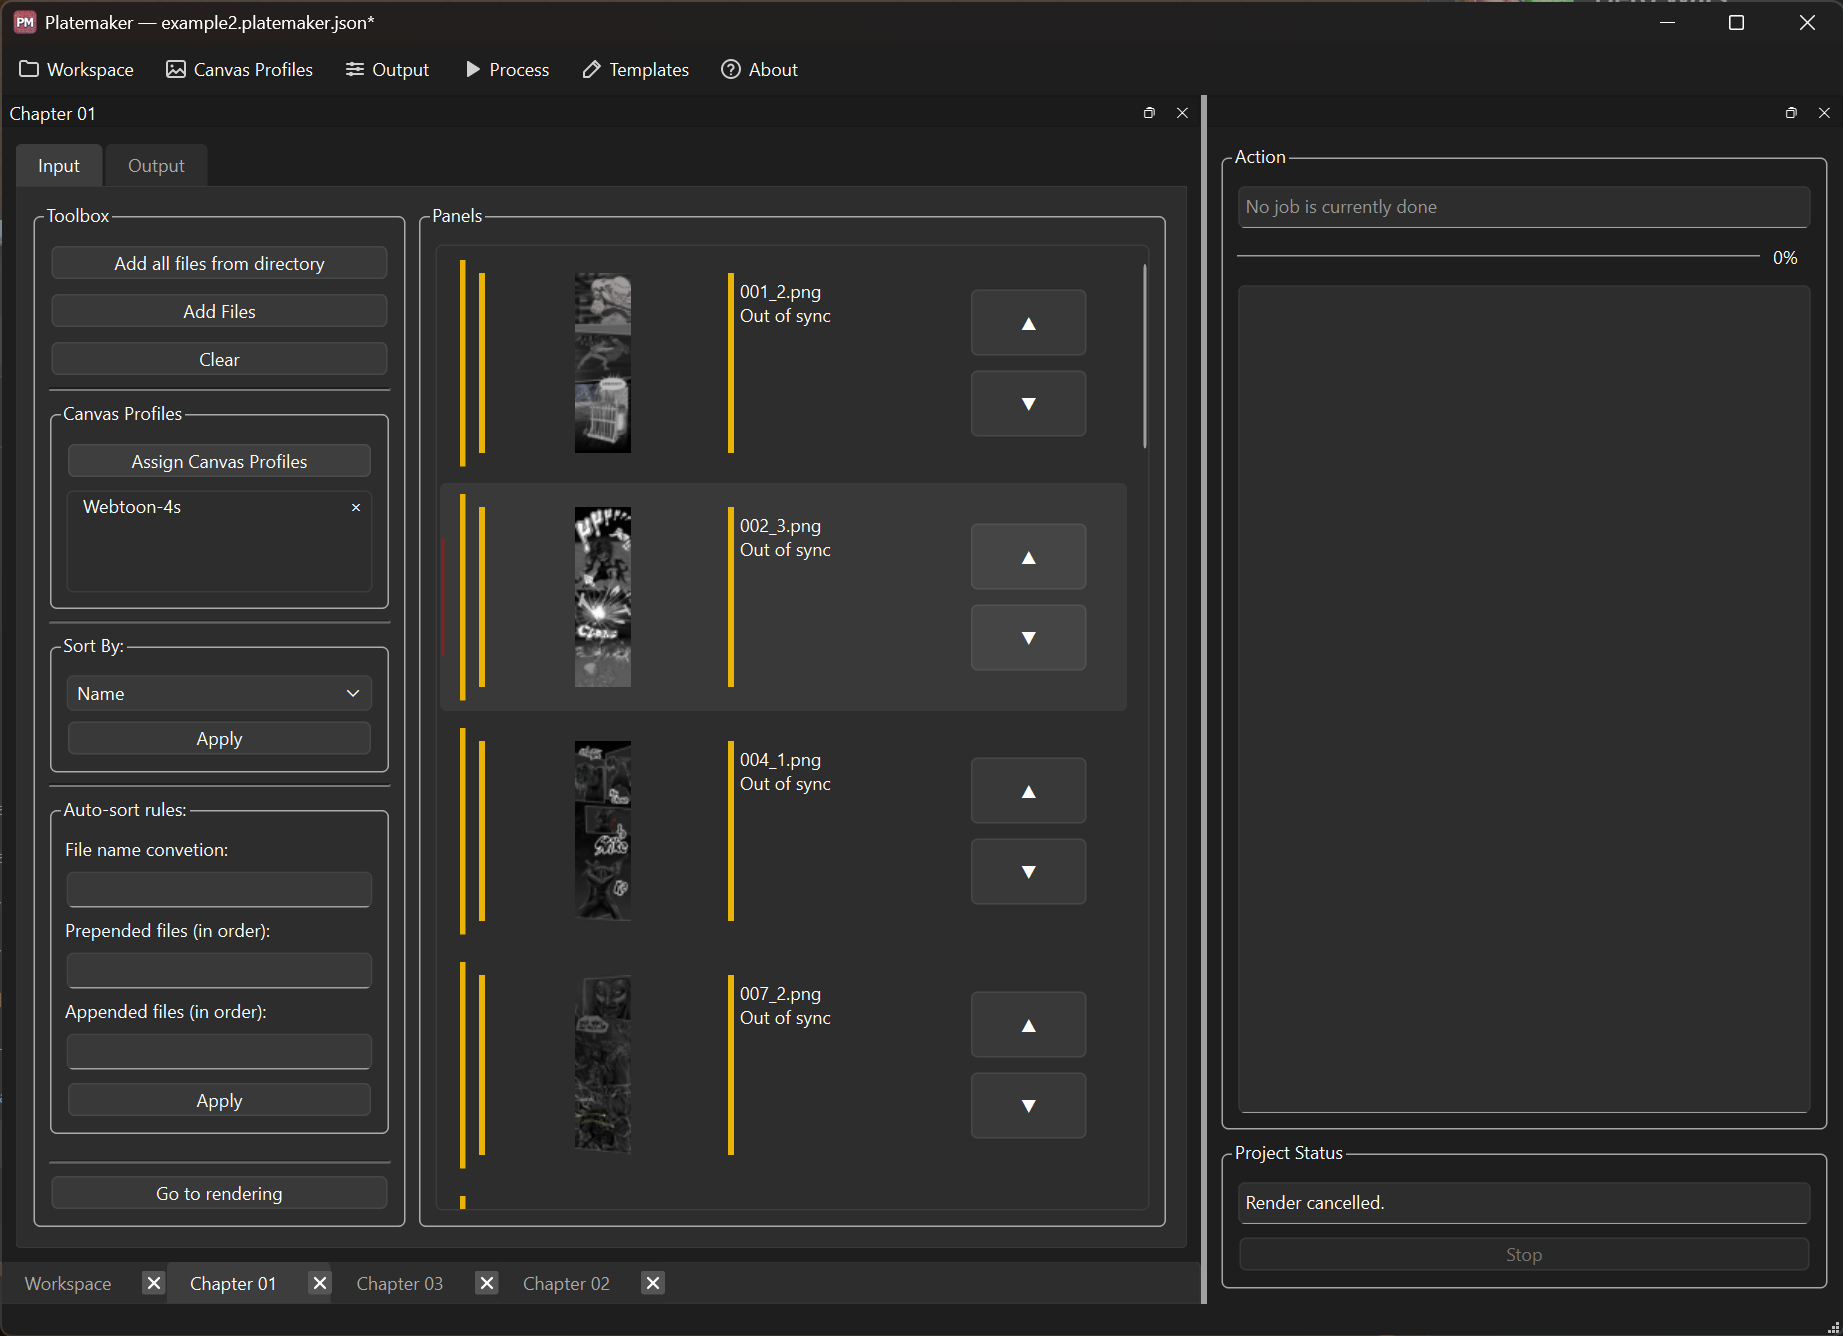
- The ▲ / ▼ buttons on a tile move it one step.
Below, 002_3.png sat before 001_2.png; moving 001_2.png above it fixes the sequence:
Removing pages
Right-click a tile. If it is not already selected, right-clicking selects it first. The menu offers Remove N file(s) from list; after a confirmation, the selected pages are dropped from the project. Files on disk are untouched — only the list changes, and existing output becomes out of sync.
Clearing inputs
The Clear button empties the whole list after a confirmation. As with removing, nothing on disk is deleted and existing output goes out of sync.
Refresh files
The Refresh files button lives on the Output tab. It re-scans the project against disk and repaints the status badges — use it after editing images outside the app, or after changing output settings.
It does not mark the workspace as modified, and — unlike Refresh all projects (F6) — it
does not render anything.
Today this button is on the Output tab and is aimed at output statuses; there is no separate refresh on the Input tab yet.
→ File statuses, Output profiles, Rendering
Moving between the tabs
Two buttons cross between the project's tabs:
- Go to rendering — at the bottom of the Input Toolbox, switches to the Output tab.
- Go to input settings — at the bottom of the Output Toolbox, switches back to Input.
See Output profiles and Rendering.
See also: Concepts · Canvas profiles · Rendering · File statuses