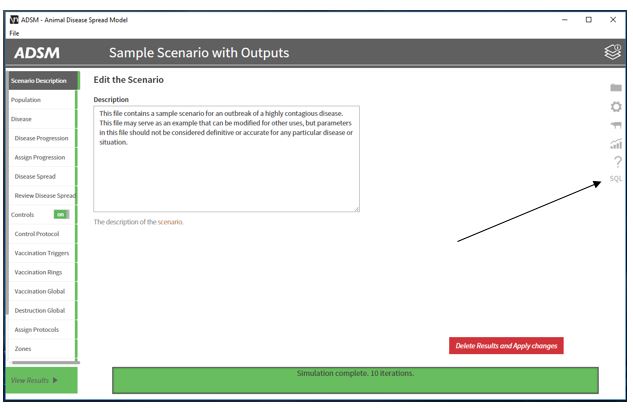
Access the full results dataset using SQL Explorer panel - NAVADMC/ADSM GitHub Wiki
ADSM uses a SQLite relational database management system to store both the input parameter data and the outputs that are created as raw results data. Each scenario creates a distinct database instance (file). The data is stored in tables in the underlying database. The SQL Explorer tool has been added into ADSM panel in version 3.5 to make accessing the raw data simpler.
ADSM is using the concept of a managed file system to store and organize files. The saved files go into a pre-determined directory, called ADSM Workspace. Users may use their file explorer to move files out of (or in to) the ADSM Workspace directory. The application does not allow users to save in other locations on their file systems. Managing files in this fashion facilitates an easy transition in moving the model to cloud computing. SQL Explorer
Use the SQL Explorer panel to open the SQL editor. It will connect to the database for the scenario that is currently open. To open another database raw data, you must open that scenario in ADSM.
SQL Explorer Menu
- ADSM – returns to the ADSM application
- SQL Explorer – home page for SQL Explorer
- New Query – opens a query window that allows for saving query code and exporting results. More details will be provided on this function later in this document.
- Playground – opens a query window that allows ad-hoc queries that cannot be saved, but results can be exported.
- Logs – provides a history of queries details that have been run and allows access to previously executed SQL code. Clicking the History button from within the New Query window will also take you to Logs.

Things to be aware of when querying a relational database, like SQLite.
SQL (structured query language) is not most researcher’s main skill. In order to assist with learning SQL, queries have been provided in the Example Database Queries directory in the ADSM Workspace. Open the text file, and cut and paste code into the SQL window. These queries demonstrate how to select a subset of fields, put those fields into a desired order, join additional tables if needed, add a WHERE clause to limit the dataset, and use ORDER BY to sort the data.
ADSM data has some complexities. In the Results_Daily_X tables, there is a record for every day of the simulation. In tables with Production Type in the name, there is a record for each production type and a record with a NULL value in production_type_id. This NULL record represents all the production types combined. In tables with Zone in the name, there is a record for each zone and a record with a NULL value in zone_id. This NULL record represents the background zone.
The data is loaded into the database in the order that the simulation generates it. For example, iteration 3 may finish before iteration 1. Don’t assume the order of data is logical. Use an ORDER BY clause on your query to force the order that is logical to your question.
Column order within each table is not logical when you view the table structure in the Schema. For example, when you query the Results_DailybyProductionType, the first field is exmcU (exam cumulative units). Table Results_DailybyProductionType has 233 fields, there are many possibilities for what you might want to see. Use your SQL statement to list each field that you wish to see in order.
Shortcut that really isn’t short
You can just write the simplest query (SELECT * from tablename), return all results, and dump into a CSV. However, there can be a great time savings in learning a few simple SQL commands that limit results, order fields and sort outputs.
New Query
The New Query functionality is where most users will start. A title is required, and a description can be entered. The SQL window is where the SQL query is written. Toggle the Schema window on to assist with field names. When you have completed your SQL statement, use the Save and Run button to execute the query.
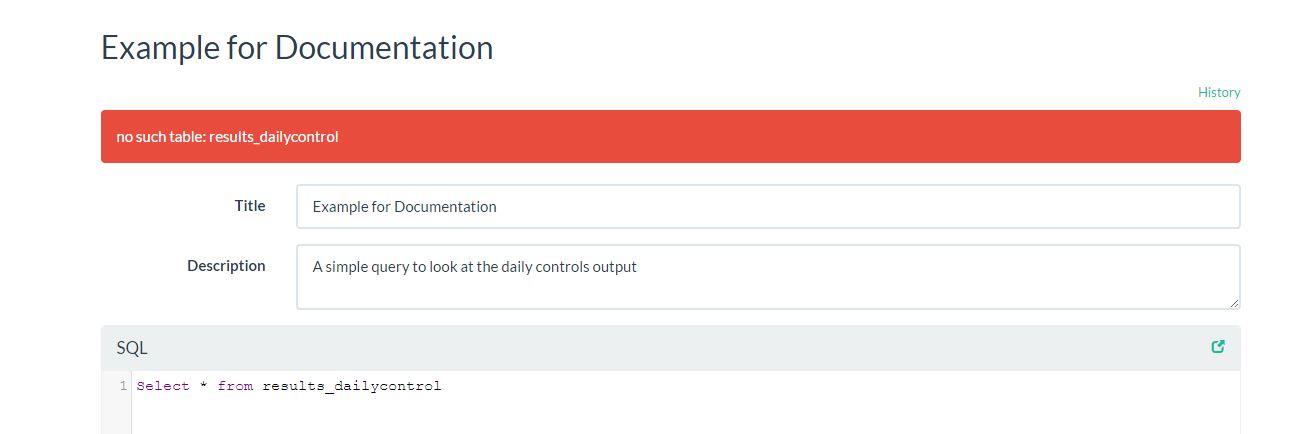
If your SQL statement is incorrect, you will get an error as shown in the image where the typo "Results_Dailycontrol" was entered instead of "Results_Dailycontrols" . If your SQL statement is successful, the data will appear at the bottom on the screen. It may be necessary to scroll down to see results window. A large database may have a slower reaction, so be patient. Column names are listed at the top and can be sorted. If a column has the mortar board symbol, click to see descriptive statistics.
To export results, use the pull down on the Save and Run bottom, select an output type, such as CSV (comma separated value). A navigation window will open, allowing you to save the file to your desired location. The appropriate directory in the ADSM Workspace would be one place to keep all your query results organized. A message will confirm the successful export.
Understanding the Schema
Tables holding output results are prefixed with “Results_“ while parameter inputs have the prefix of “ScenarioCreator”. Modifying the data in the “ScenarioCreator” tables is not recommended, as this modifies parameters used to create the given set of results. It can be handy to join to a ScenarioCreator_ table to pull in a parameter name, like the Production Type name or the Zone name. Both of these examples are included in the appropriate query in Example Database Queries.
Why would I use the SQL Explorer tool?
Results from ADSM simulations are presented in 3 ways. For details see Results Interpretation.
Results can be visualized in ADSM. This option may give a quick view of what happened in your scenario, but is not adequate if you want to do more complex analytics.
Results can be accessed from the SQLite database. This options allows you to view and manipulate the data for analytical purposed. Tools like SQL Explorer, SQLite Studio and Microsoft Access can be used to connect to this data. A command line option is also available for SQLite, but really, who wants to write command line code?
Finally, Supplemental Output Files have additional results. These results are by iteration, by day, by farm and can be very large. They are output into separate files. R code can be used to combine those files if needed.
What is SQLite Studio and why is there training material for it?
SQLite Studio is a tool that was used before SQL Explorer became available. SQLite Studio gives an administrative level of access to all the database files, which is both powerful and dangerous if you don’t know what you are doing. If you need to act against the database directly, then this is the tool. It also allows connections from multiple scenario databases, which can be both handy and overwhelming. The ADSM Development Team uses SQLite Studio to test and validate raw data.
SQL Explorer is the tool django-sql-explorer and is used under the terms put forth by Grove Collaborative.