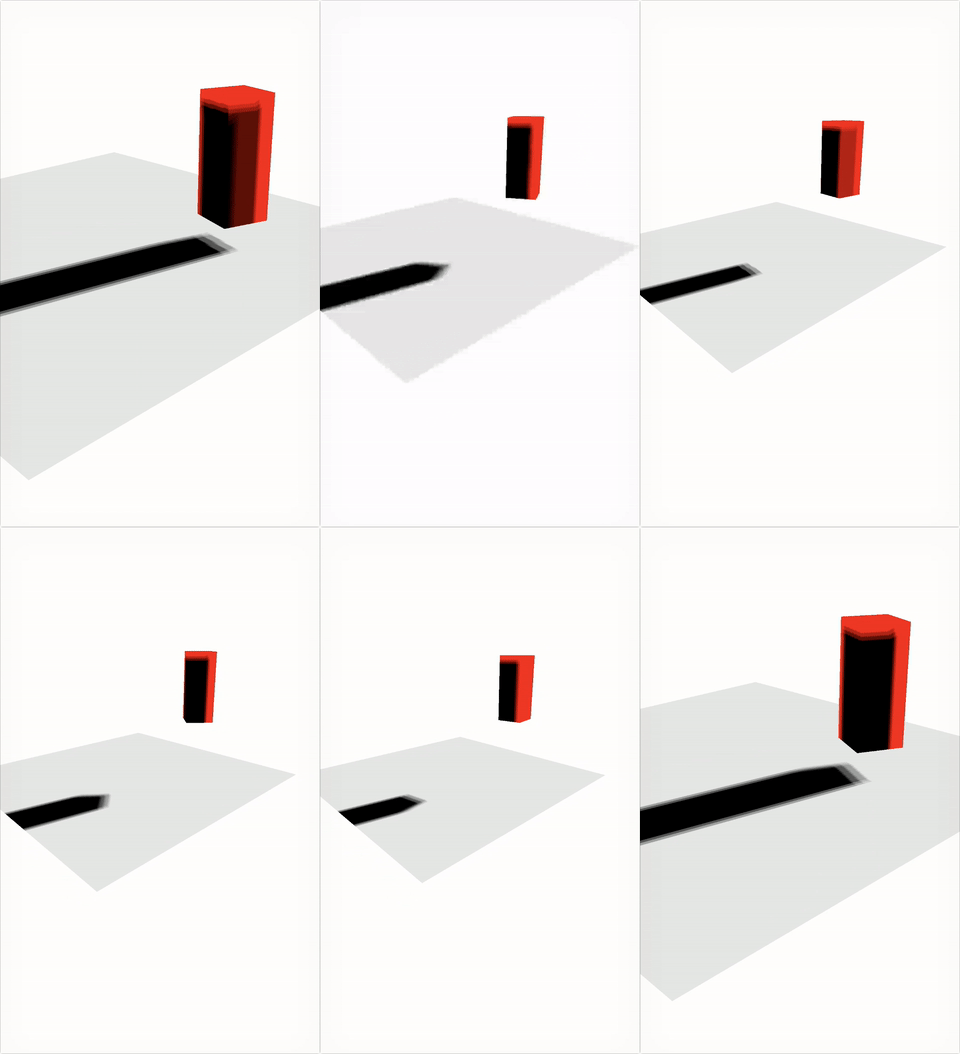
阴影贴图和图像内核:ShadowMapping & Kernel - MartinRGB/GLES30_ProgrammingGuide_NDK GitHub Wiki
阴影贴图

通过使用深度纹理,以两遍算法渲染阴影。
1.第一遍渲染中,从光源角度出发渲染场景,将片段深度值记录在 纹理 FBO 中。
2.第二遍渲染中,从眼睛位置出发渲染场景,在 Frag 中通过 textureProj-采样深度纹理 执行 深度测试,确定片段是否在阴影中
整体使用渐进过滤方式采样深度纹理,形成软件阴影。
首先解释正交投影和透视投影的区别
Ortho:

Perspective:

其次了解图片内核(kernel in image processing)的概念
Image Kernels Explained Visually
Kernel 图像合成的一些规则

3x3 PCF 采样的原理


一、光源渲染记录深度值
1.从光源建立 MVP 矩阵
   // Generate an orthographic projection matrix for the shadow map rendering
   esMatrixLoadIdentity ( &ortho );
   // 这样投影就和物体平行了
   esOrtho ( &ortho, -10, 10, -10, 10, -30, 30 );

   // ### GROUND
   // Generate a model view matrix to rotate/translate the ground
   esMatrixLoadIdentity ( &model );

   // Center the ground
   esTranslate ( &model, -2.0f, -2.0f, 0.0f );
   esScale ( &model, 10.0f, 10.0f, 10.0f );
   esRotate ( &model, 90.f, 1.0f, 0.0f, 0.0f );

   // create view matrix transformation from the eye position
   esMatrixLookAt ( &view,
                    userData->eyePosition[0], userData->eyePosition[1], userData->eyePosition[2],
                    0.0f, 0.0f, 0.0f,
                    0.0f, 1.0f, 0.0f );

   esMatrixMultiply ( &modelview, &model, &view );

   // Compute the final ground MVP for the scene rendering by multiplying the
   // modelview and perspective matrices together
   esMatrixMultiply ( &userData->groundMvpMatrix, &modelview, &perspective );

   // create view matrix transformation from the light position
   esMatrixLookAt ( &view,
                    userData->lightPosition[0], userData->lightPosition[1], userData->lightPosition[2],
                    0.0f, 0.0f, 0.0f,
                    0.0f, 1.0f, 0.0f );

   esMatrixMultiply ( &modelview, &model, &view );

   // Compute the final ground MVP for the shadow map rendering by multiplying the
   // modelview and ortho matrices together
   esMatrixMultiply ( &userData->groundMvpLightMatrix, &modelview, &ortho );

   //Cube Matrix Code Here
   ...
2.创建深度纹理,并连接到 FBO
当深度纹理和 sampler2Dshadow 一起使用,就得到了基于迎接的百分比渐进过滤,硬件将一次执行 4个深度比较
   UserData *userData = esContext->userData;
   GLenum none = GL_NONE;
   GLint defaultFramebuffer = 0;

   // use 1K by 1K texture for shadow map
   userData->shadowMapTextureWidth = userData->shadowMapTextureHeight = 1024;

   glGenTextures ( 1, &userData->shadowMapTextureId );
   glBindTexture ( GL_TEXTURE_2D, userData->shadowMapTextureId );
   glTexParameteri ( GL_TEXTURE_2D, GL_TEXTURE_MAG_FILTER, GL_LINEAR );
   glTexParameteri ( GL_TEXTURE_2D, GL_TEXTURE_MIN_FILTER, GL_LINEAR );
   glTexParameteri ( GL_TEXTURE_2D, GL_TEXTURE_WRAP_S,     GL_CLAMP_TO_EDGE );
   glTexParameteri ( GL_TEXTURE_2D, GL_TEXTURE_WRAP_T,     GL_CLAMP_TO_EDGE );

   // Setup hardware comparison
   glTexParameteri( GL_TEXTURE_2D, GL_TEXTURE_COMPARE_MODE, GL_COMPARE_REF_TO_TEXTURE );
   glTexParameteri( GL_TEXTURE_2D, GL_TEXTURE_COMPARE_FUNC, GL_LEQUAL );

   glTexImage2D ( GL_TEXTURE_2D, 0, GL_DEPTH_COMPONENT24,
                  userData->shadowMapTextureWidth, userData->shadowMapTextureHeight,
                  0, GL_DEPTH_COMPONENT, GL_UNSIGNED_INT, NULL );

   glBindTexture ( GL_TEXTURE_2D, 0 );

   glGetIntegerv ( GL_FRAMEBUFFER_BINDING, &defaultFramebuffer );

   // setup fbo
   glGenFramebuffers ( 1, &userData->shadowMapBufferId );
   glBindFramebuffer ( GL_FRAMEBUFFER, userData->shadowMapBufferId );

   glDrawBuffers ( 1, &none );

   glFramebufferTexture2D ( GL_FRAMEBUFFER, GL_DEPTH_ATTACHMENT, GL_TEXTURE_2D, userData->shadowMapTextureId, 0 );

   glActiveTexture ( GL_TEXTURE0 );
   glBindTexture ( GL_TEXTURE_2D, userData->shadowMapTextureId );

   if ( GL_FRAMEBUFFER_COMPLETE != glCheckFramebufferStatus ( GL_FRAMEBUFFER ) )
   {
      return FALSE;
   }

   glBindFramebuffer ( GL_FRAMEBUFFER, defaultFramebuffer );

   return TRUE;
3.用 vert 和 frag渲染场景
只需要在阴影贴图纹理中记录片段深度值
   const char vShadowMapShaderStr[] =
      "#version 300 es                                  \n"
      "uniform mat4 u_mvpLightMatrix;                   \n"
      "layout(location = 0) in vec4 a_position;         \n"
      "out vec4 v_color;                                \n"
      "void main()                                      \n"
      "{                                                \n"
      "   gl_Position = u_mvpLightMatrix * a_position;  \n"
      "}                                                \n";

   const char fShadowMapShaderStr[] =
      "#version 300 es                                  \n"
      "precision lowp float;                            \n"
      "void main()                                      \n"
      "{                                                \n"
      "}                                                \n";
在渲染场景之前,要清除深度缓冲区,禁用颜色渲染,开启多边形偏移,加大纹理写入深度
在draw()中
   // clear depth buffer
   glClear( GL_DEPTH_BUFFER_BIT );

   // disable color rendering, only write to depth buffer
   glColorMask ( GL_FALSE, GL_FALSE, GL_FALSE, GL_FALSE );

   // reduce shadow rendering artifact
   glEnable ( GL_POLYGON_OFFSET_FILL );
   glPolygonOffset( 5.0f, 100.0f );

   ....
   // 渲染场景
   DrawScene ( esContext, userData->sceneMvpLoc, userData->sceneMvpLightLoc );
二、从眼睛处使用深度值渲染
1.建立眼睛 MVP 矩阵
使用 esMatrixLookAt 传递眼睛位置,创建视图转换矩阵
   // create view matrix transformation from the eye position
   esMatrixLookAt ( &view,
                    userData->eyePosition[0], userData->eyePosition[1], userData->eyePosition[2],
                    0.0f, 0.0f, 0.0f,
                    0.0f, 1.0f, 0.0f );

   ...

   // create view matrix transformation from the light position
   esMatrixLookAt ( &view,
                    userData->lightPosition[0], userData->lightPosition[1], userData->lightPosition[2],
                    0.0f, 0.0f, 0.0f,
                    0.0f, 1.0f, 0.0f );
2.渲染场景
Shadow Mapping in OpenGL and GLSL
在顶点着色器中,两次顶点变换:
1.使用从眼睛位置创建的 MVP 矩阵,记录在 gl_Position 中

2.使用从光源位置创建的 MVP 矩阵,记录在 v_shadowCoord 中

#version 300 es
uniform mat4 u_mvpMatrix;
uniform mat4 u_mvpLightMatrix;
layout(location = 0) in vec4 a_position;
layout(location = 1) in vec4 a_color;
out vec4 v_color;
out vec4 v_shadowCoord;
void main()
{
   v_color = a_color;
   gl_Position = u_mvpMatrix * a_position;
   v_shadowCoord = u_mvpLightMatrix * a_position;

   // transform from [-1,1] to [0,1];
   v_shadowCoord = v_shadowCoord * 0.5 + 0.5;
}
在片段着色器中,使用 v_shadowCoord 和 textureProj 调用采样阴影贴图来检测片段是否在阴影中。
#version 300 es
precision highp float;
uniform highp sampler2DShadow s_shadowMap;
uniform highp float u_time;
in vec4 v_color;
in vec4 v_shadowCoord;
layout(location = 0) out vec4 outColor;

float lookup ( float x, float y )
{
   float pixelSize = 0.002; // 1/500
   vec4 offset = vec4 ( x * pixelSize * v_shadowCoord.w,
                        y * pixelSize * v_shadowCoord.w,
                        -0.005 * v_shadowCoord.w, 0.0 );
   return textureProj ( s_shadowMap, v_shadowCoord + offset );
}

void main()
{
   // 3x3 kernel with 4 taps per sample, effectively 6x6 PCF
   // 3x3 核心过滤,增加 PCF 效果,然后平均采样结果,如果为0,渲染为黑色
   // 结合上面的 Kernel 只是,我们看到,利用深度检测,x、y 遍历,向 lookup 中添加点,最后平均
   float sum = 0.0;
   float x, y;
   for ( x = -2.0; x <= 2.0; x += 2.0 )
      for ( y = -2.0; y <= 2.0; y += 2.0 )
         sum += lookup ( x, y );

   // divide sum by 9.0
   sum = sum * 0.11;
   outColor = v_color * sum;
}