Pumpy Assembly - HenriquesLab/NanoJ-Fluidics GitHub Wiki
Assembly
This page shows all of the steps required to assemble a single lego pump.
Pump base
First, the base for the pump is made. Please note that the base will be different for multiplexed arrays. See the parts page for more information.

Gear assembly
Separately, we make the gear assembly.
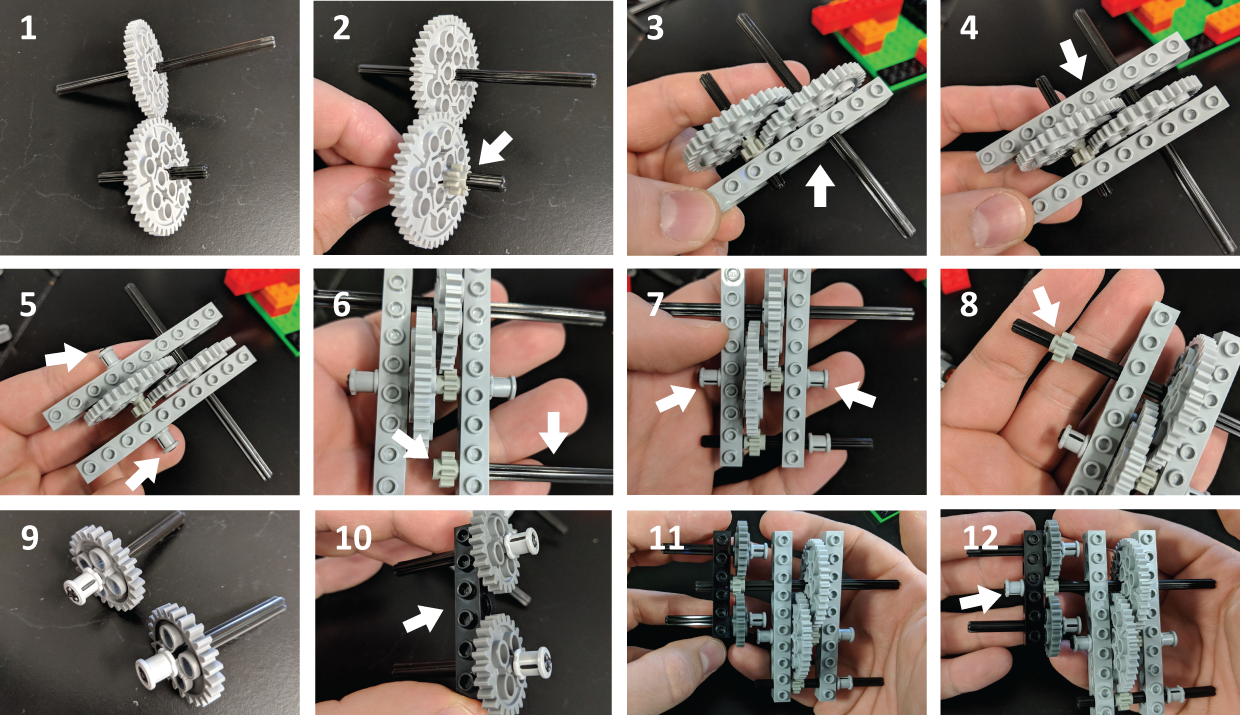
Placing the gears on the base
Once the gears are made, they can be placed on top of the base.
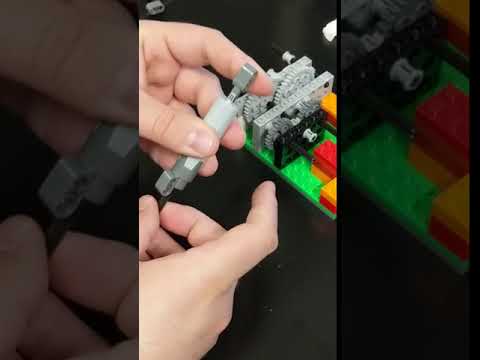
Retracting linear actuators
Before we can attach the linear actuators to the gears, they need to be fully rectracted. This ensures that both actuators are at the same position when assembling the pump. The video below shows how this can be done.
Connecting linear actuators to gears
Once the actuators are fully retracted, they can be attached to the gears as shown below.
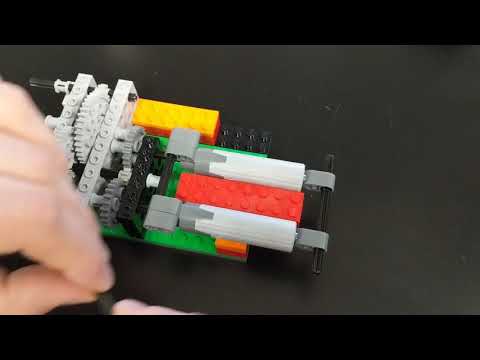
Linking up the linear actuators
The actuators now require supports to connect them both, which will link their motion.
Making clamp for the linear actuators
Finally, we clamp down the actuators with a set of planks.

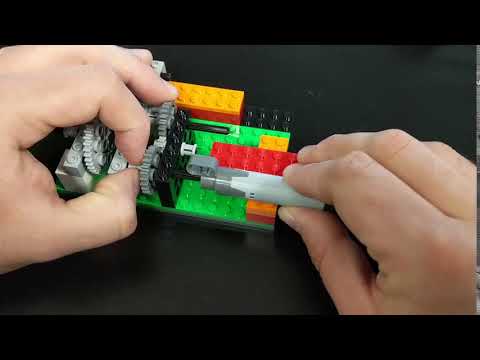
Making syringe stopper
We prevent the syringes from tiping over by using the syringe stopper. This piece is size adjustable and is designed to accomodate syringes of different sizes.

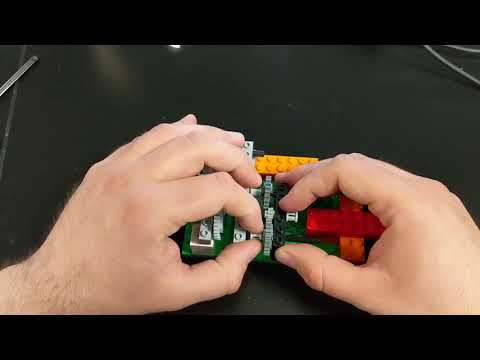
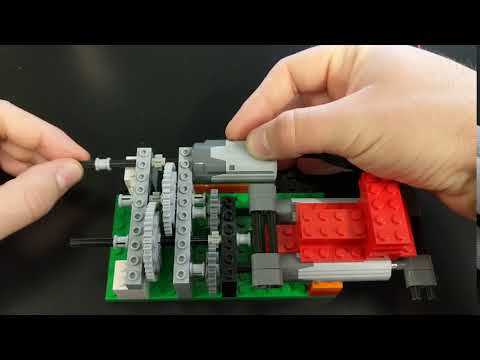
Placing and engaging the motor
Finally, we are ready to place and engage the lego motor with the gears.
Wiring pumps
The last step to finish the pumps is to wire them. This is explained in the hardware section.
Multiplexed pump assemblies
The instructions are the same for multiple pump assemblies. The difference is that the base is different and supports are added to support multiple layers. See the parts page for more information.
Calibration
It's inevitable that there will be some variability between pumps. This means that after assembly, pumps are likely to need to be calibrated