Create a DEA Notebook - GeoscienceAustralia/dea-notebooks GitHub Wiki
This guide will show you how to create a new DEA Notebook and contribute it to the dea-notebooks repository. The DEA Notebooks Template will be the basis of your Notebook. You don't need to install anything to your computer; however, you must have a basic understanding of git and Github.
Create a Notebook
-
Log in or sign up to the DEA Sandbox.
The sandbox will contain the Notebooks from the
stablebranch of thedea-notebooksrepository. Learn more about the DEA Sandbox.:warning: Warning Don't create your Notebook in any of these folders because your changes will not be saved! 
-
If you haven't already done so, complete the Getting started with Git guide to clone the
dea-notebooksrepository into a new folder calleddev. -
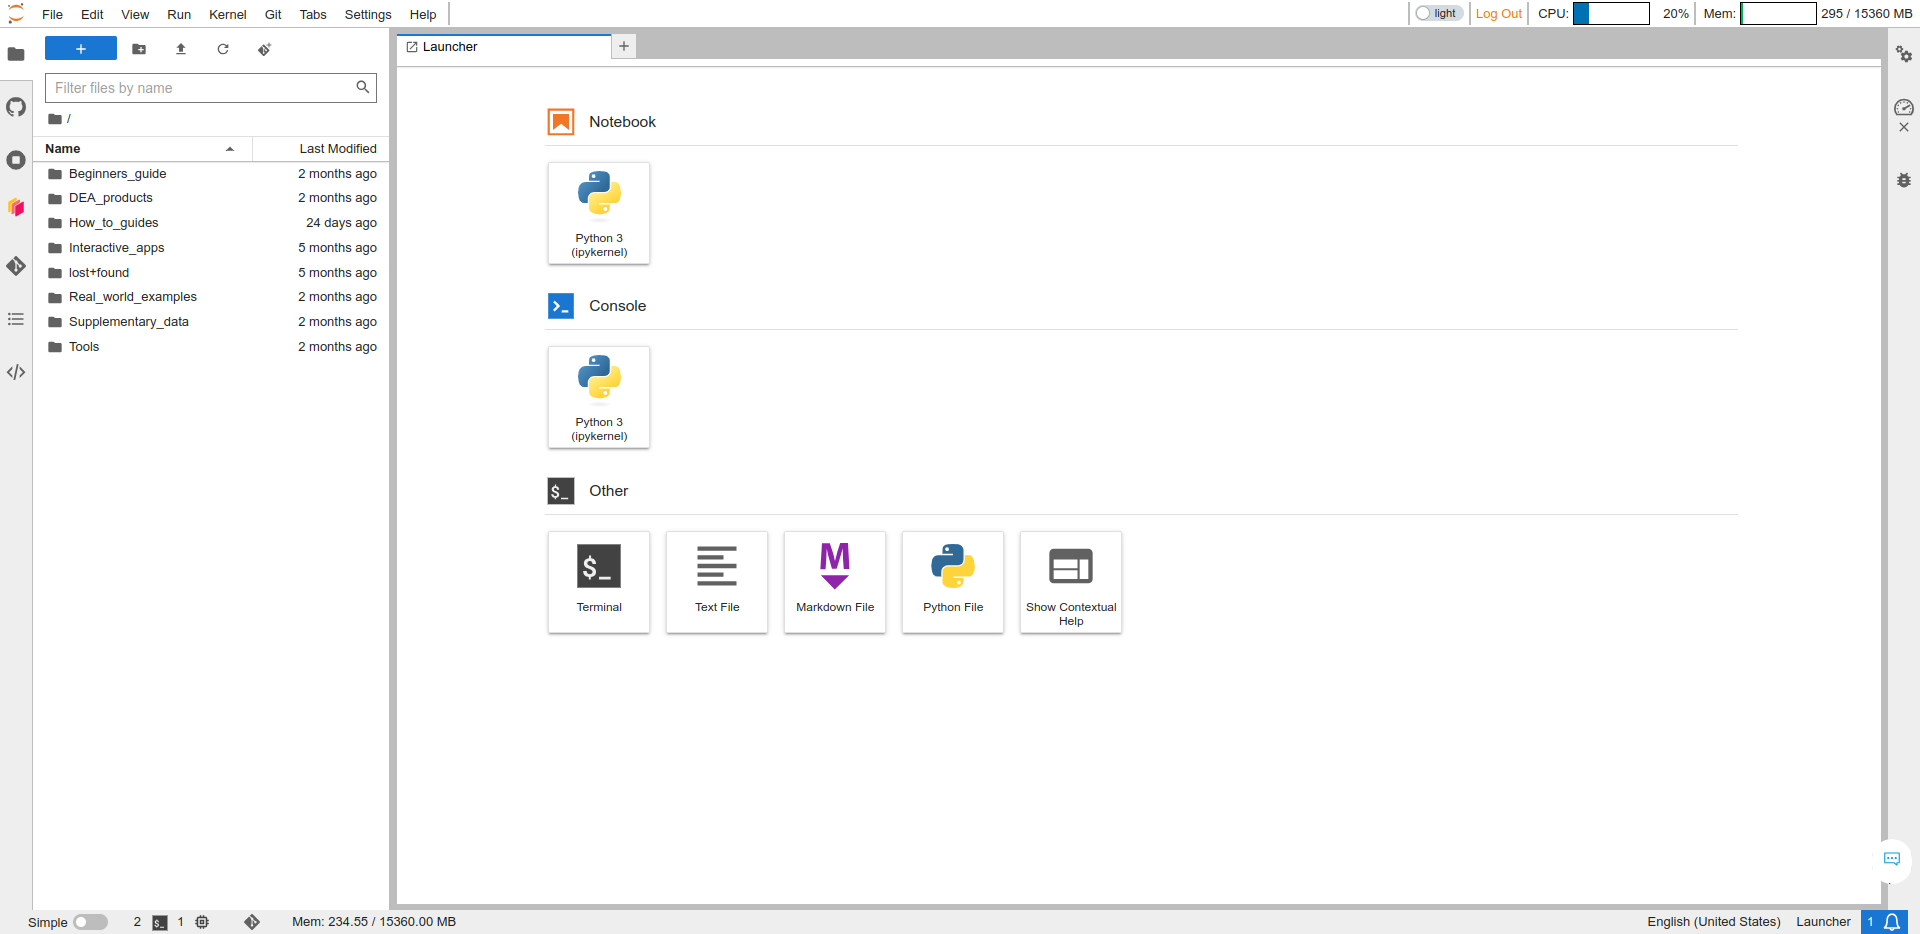
Click the blue "+" (New Launcher) button in the top-left corner to open the Launcher then click to open the Terminal. This is a Linux terminal for your Sandbox environment.
-
Navigate to the home directory then enter your
devfolder.cd ~ cd dev -
It is good practice to always check what branch you are on and whether you have any unsaved ("unstaged" or "uncommitted") changes:
git status -
If you have not already done so, create a new git branch with a name of your choice. Ideally, choose a short descriptive name that describes your changes (e.g.
add_new_notebook).git checkout -b your-branch develop # Change `your-branch` to a relevant branch name -
Enter the folder where you want to put your new Notebook, then copy the DEA Notebooks Template into this folder with a filename of your choice. (The filename will display in the URL of the Notebook, so make sure it is relevant and not too long.)
cd How_to_guides # Enter one of the folders cp ../DEA_notebooks_template.ipynb Your_notebook.ipynb # Change 'Your_notebook' to a relevant filename -
In the sidebar, double-click the new Notebook to open it in a new tab.
-
You can now edit the Notebook in the interactive editor. The template will guide you on how to write each section of the content. You must regularly commit your changes and eventually make a pull request. Learn how to do this in the Edit a DEA Notebook guide.
- Supplementary_data: Supplementary files required for the analyses above (e.g. images, rasters, shapefiles, training data)