Edit a DEA Notebook - GeoscienceAustralia/dea-notebooks GitHub Wiki
This guide will show you the recommended way for editing an existing DEA Notebook and contributing to the dea-notebooks repository. It involves editing the content within the Sandbox which is an interactive online workspace where you can edit and run Jupyter Notebooks. You don't need to install anything to your computer; however, you must have a basic understanding of git and Github.
| 📘 Making a minor edit? |
|---|
| You can save time by instead editing using the Github website. |
-
Log in or sign up to the DEA Sandbox.
The sandbox will contain the Notebooks from the
stablebranch of thedea-notebooksrepository. Learn more about the DEA Sandbox.⚠️ WarningDon't edit these Notebooks directly because your changes will not be saved! 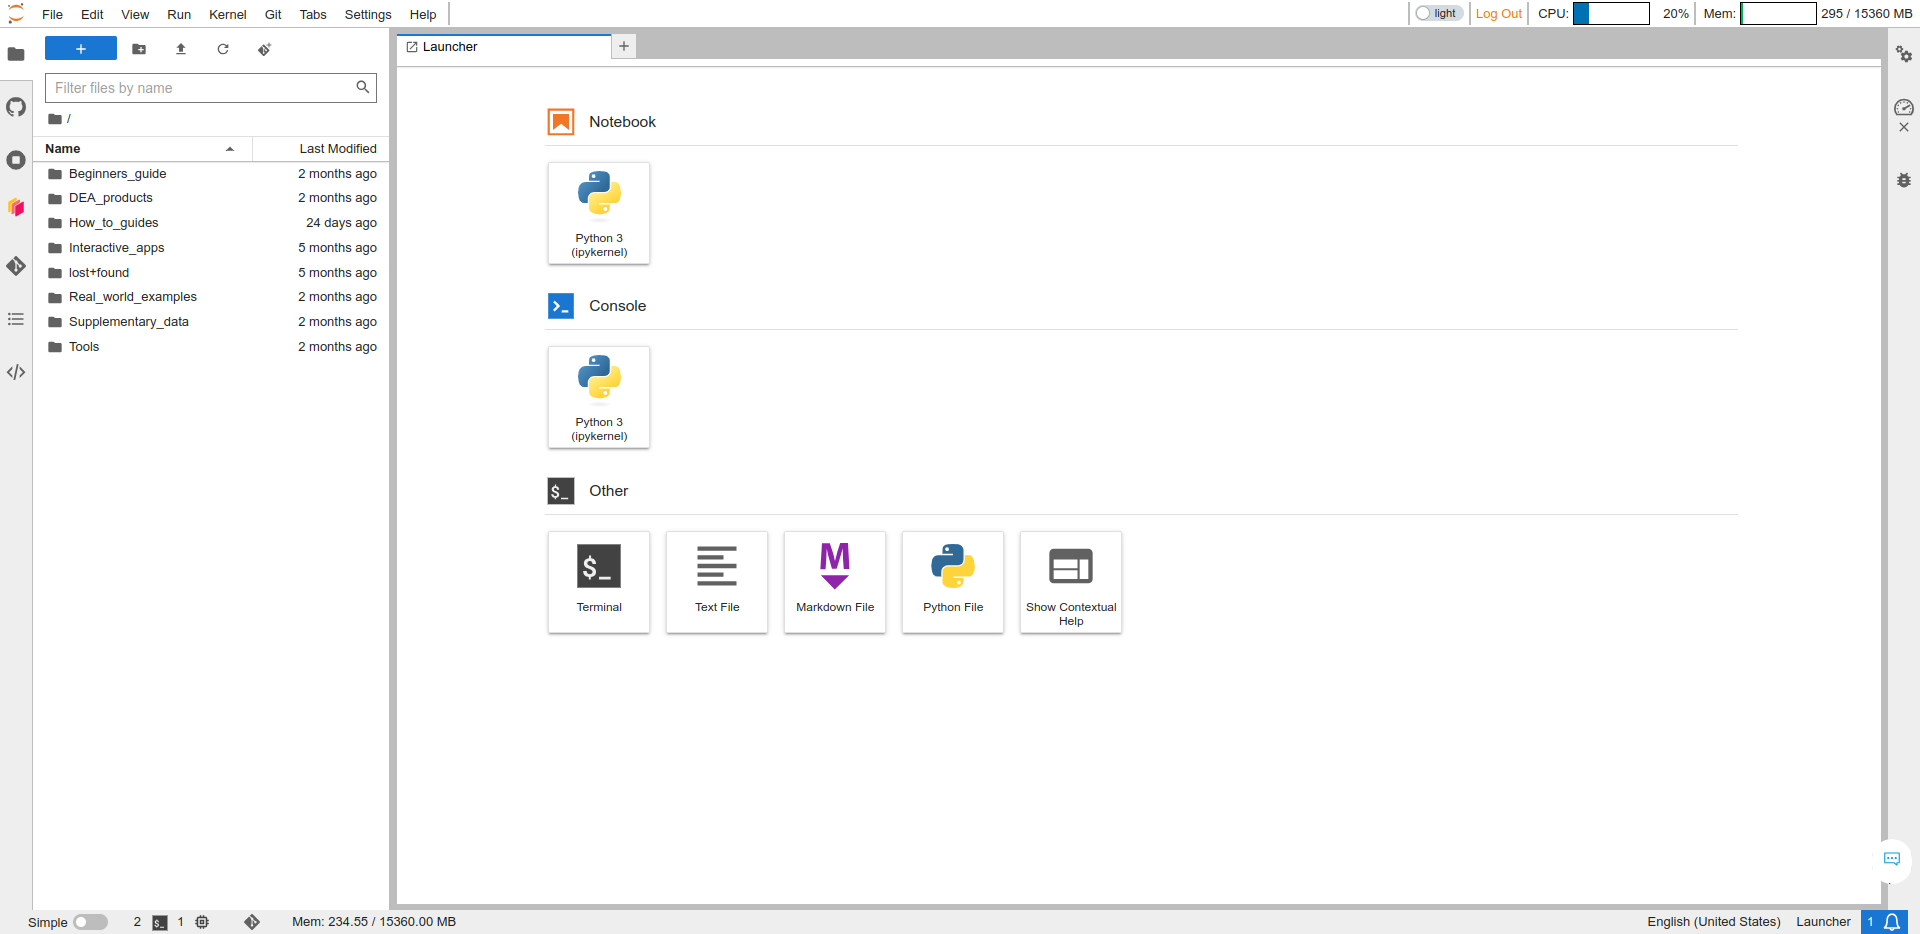
-
If you haven't already done so, complete the Getting started with Git guide to clone the
dea-notebooksrepository into a new folder calleddev. -
Click the blue "+" (New Launcher) button in the top-left corner to open the Launcher then click to open the Terminal. This is a Linux terminal for your Sandbox environment.
-
Navigate to the home directory then enter your
devfolder.cd ~ cd dev
-
It is good practice to always check what branch you are on and whether you have any unsaved ("unstaged" or "uncommitted") changes:
git status
-
If you have not already done so, create a new git branch with a name of your choice. Ideally, choose a short descriptive name that describes your changes (e.g.
update_notebook_x).git checkout -b your-branch develop # Change this to a relevant branch name -
In the sidebar of the sandbox, click to open your dev folder, then open any notebook. For example, click How_to_guides then double-click Analyse_multiple_polygons.ipynb to open it in a new tab.
-
Edit the notebook using the interactive editor. Learn how to edit Jupyter Notebooks in the interactive editor.
-
Once your edits are complete, re-run the entire notebook by clicking
Kernel > Restart Kernel and Run All Cells. This ensures that the notebook contains all the correct outputs. -
Switch back to the Terminal tab then "commit" and "push" the changes to your branch up to the Github website:
git status
git add --all
git commit -m "Edited the notebook: Analyse multiple polygons"  # Change this to a short but descriptive commit message
git push -u origin your-branch  # Change this to your branch name
You will then need to enter your Github username and password. If you do not have a Github account, sign up here.
Troubleshooting: Permission denied
If this is your first time contributing to the 'dea-notebooks' repository, you will probably receive the error:
remote: Permission to GeoscienceAustralia/dea-notebooks.git deniedTo resolve this, an existing member of the 'dea-notebooks' repository will need to send you an invite. They must go to dea-notebooks > Settings > Collaborators and Teams > Search by username ... > Add Collaborator.
Troubleshooting: Invalid username or password
You may encounter the following error.
remote: Invalid username or password.
fatal: Authentication failed for 'https://github.com/GeoscienceAustralia/dea-notebooks.git/'
If so, create a "classic" personal access token with the repo scope. Save the token to a secure location (e.g. on your local PC, not on the Sandbox) then retry pushing to the repo except when it asks for your password, enter the token instead. For example ...
git push -u origin your-branch

Username: your-username
Password: 3i4htrou3fgffgyy45tysiduhg6779yho87rtiouhihrego7wery
-
Continue editing the notebooks and pushing your changes to the branch.
⚠️ Push your changes regularlyIf you don't sign in to your Sandbox for three months, it will be deleted. Therefore, push all changes to prevent them becoming lost. -
Once you are ready to publish your changes, create a pull request to merge your branch into the
developbranch.-
Open the dea-notebooks repository > click Pull requests > click New pull request.
-
Click the second dropdown and select your branch.

-
Click Create pull request then follow the instructions in Github to create the pull request and ensure to complete all checklist items.
-
Post your pull request to our Slack channel for feedback.
Troubleshooting: Can’t automatically merge
This means that you will need to merge the latest
developbranch into your branch and resolve any 'merge conflicts'.-
In the Sandbox's Terminal, run the following commands.
git checkout develop
git pull origin develop
git checkout your-branch
git merge develop
You will be prompted to name the merge commit. Accept the default name by pressing
Escon your keyboard, then type:wqfollowed byEnter. (This prompt uses the Vim editor.) -
Resolve any merge conflicts that occur.
-
Push to your branch.
git push origin your-branch
-
Your pull request should update to say that it is able to be merged.
-
-
A reviewer must review your pull request before approving and merging it. Reviewers can follow this guide to review pull requests. They must ensure that all the checklist items have been satisfied.
-
After your pull request is merged, please wait some time until your changes display in all new Sandboxes and on the Notebooks section of the DEA Knowledge Hub.
![]()
Updating this wiki: If you notice anything incorrect or out of date in this wiki, please feel free to make an edit!
License: All code in this repository is licensed under the Apache License, Version 2.0. Digital Earth Australia data is licensed under the Creative Commons by Attribution 4.0 license.
Contact: If you need assistance with any of the Jupyter Notebooks or Python code in this repository, please post a question on the Open Data Cube Discord chat or on the GIS Stack Exchange using the open-data-cube tag (you can view previously asked questions here). If you would like to report an issue with any notebook, you can file one on Github.