text_rnn_attention代码学习笔记 - yunfanfan/Notes GitHub Wiki
text_rnn_attention代码学习笔记
cjymz886/text_rnn_attention: 嵌入Word2vec词向量的RNN+ATTENTION中文文本分类
-
dropout: 说的简单一点就是:我们在前向传播的时候,让某个神经元的激活值以一定的概率p停止工作,这样可以使模型泛化性更强,因为它不会太依赖某些局部的特征。
-
batch_size和epochs: 比如你有1000个数据,这个数据集可能太大了,全部跑一次再调参很慢,于是可以分成100个为一个数据集,这样有10份。batch_size=100这100个数据组成的数据集叫batch。每跑完一个batch都要更新参数,这个过程叫一个iteration。epoch指的就是跑完这10个batch(10个iteration)的这个过程
-
tf.placeholder(dtype, shape=None, name=None)
placeholder,占位符,在tensorflow中类似于函数参数,运行时必须传入值。
dtype:数据类型。常用的是tf.float32,tf.float64等数值类型。 shape:数据形状。默认是None,就是一维值,也可以是多维,比如[2,3], [None, 3]表示列是3,行不定。 name:名称。
-
tf.contrib.rnn.LSTMCell(rnn_size, state_is_tuple=true)
这个API是一个python class,使用参数初始化后,返回一个LSTM cell instance(Long short-term memory unit (LSTM)
num_units: int, The number of units in the LSTM cell 网络的“宽度” cell_clip:(可选) 一个float类型的值,通常是5.0,如果提供,则在单元输出到激活函数之前通过该值剪辑单元状态。 initializer: (可选)用于权重参数的初始化器。tf.initializer.XXX num_proj: (可选)一个int型的数值,投影矩阵的输出维数。如果没有,则不执行投影。(就是我们平时在rnn输出上加一个全连接网络,这里就是那个全连接网络的维度) state_is_tuple:默认为True,接受状态和返回状态是(c_state,m_state)元组。如果为False,则沿列轴连接它们,只返回一个concate([c_state,m_state],axis=-1)
-
tf.contrib.rnn.MultiRNNCell([basic_rnn_cell(self.config.hidden_dim)
由多个简单的cells组成的RNN cell。用于构建多层循环神经网络。
参数:
- cells:RNNCells的list。
- state_is_tuple:如果为True,接受和返回的states是n-tuples,其中n=len(cells)。如果为False,states是concatenated沿着列轴.后者即将弃用。
-
tf.contrib.rnn.DropoutWrapper(fw_rnn_cell, output_keep_prob=self.keep_prob)
__init__(
    cell,
    input_keep_prob=1.0,
    output_keep_prob=1.0,
    state_keep_prob=1.0,
    variational_recurrent=False,
    input_size=None,
    dtype=None,
    seed=None,
    dropout_state_filter_visitor=None
)
# 主要的参数就是三个,第一个就是输入的循环神经网络的cell,可以设定为BasicLSTMCell等等。第二个参数就是输入数据使用dropout,后面的概率,如果是一,就不会执行dropout。第三个参数是一样的意思。一般这里的dropout是在输入,输出,或者不用的循环层之间使用,或者全连接层,不会在同一层的循环体中使用。
-
Forward RNN Cell 和 Backward RNN Cell 定义方式一样
而cell_fw和cell_bw的定义是完全一样的。如果这两个cell选LSTM cell整个结构就是双向
LSTM了。其实在bidirectional_dynamic_rnn函数的内部(见9),会把反向传播的cell使用array_ops.reverse_sequence的函数将输入的序列逆序排列,使其可以达到反向传播的效果。 在实现的时候,我们只需要传入两个cell作为参数就可以了
-
tf.device('/cpu:0') :
tensorflow中不同的GPU使用/gpu:0和/gpu:1区分,而CPU不区分设备号,统一使用 /cpu:0
ConfigProto() 中参数 *log_device_placement=True* 会打印出执行操作所用的设备
如果安装的是GPU版本的tensorflow,机器上有支持的GPU,也正确安装了显卡驱动、CUDA和cuDNN,默认情况下,Session会在GPU上运行:
-
tf.get_variable()和tf.Variable()的区别
- tf.Variable()
W = tf.Variable(<initial-value>, name=<optional-name>)
# 用于生成一个初始值为initial-value的变量。必须指定初始化值
- tf.get_variable()
W = tf.get_variable(name, shape=None, dtype=tf.float32, initializer=None,
       regularizer=None, trainable=True, collections=None)
# 获取已存在的变量(要求不仅名字,而且初始化方法等各个参数都一样),如果不存在,就新建一个。
# 可以用各种初始化方法,不用明确指定值。
-
区别
推荐使用
tf.get_variable(), 因为:- 初始化更方便 比如用xavier_initializer:
W = tf.get_variable("W", shape=[784, 256],
            initializer=tf.contrib.layers.xavier_initializer())
- 方便共享变量 因为tf.get_variable() 会检查当前命名空间下是否存在同样name的变量,可以方便共享变量。而tf.Variable 每次都会新建一个变量。
需要注意的是tf.get_variable() 要配合reuse和tf.variable_scope() 使用。
-
reference
【tensorflow 学习】tf.get_variable()和tf.Variable()的区别_人工智能_Adrianna的专栏-CSDN博客
-
tf.nn.embedding_lookup(self.embedding, self.input_x): 选取一个张量里面索引对应的元素。
tf.nn.embedding_lookup(tensor, id):tensor就是输入张量,id就是张量对应的索引
import tensorflow as tf;
import numpy as np;

c = np.random.random([10,1])
b = tf.nn.embedding_lookup(c, [1, 3])

with tf.Session() as sess:
	sess.run(tf.initialize_all_variables())
	print sess.run(b)
	print c


'''
输出:
[[ 0.77505197]
 [ 0.20635818]]
[[ 0.23976515]
 [ 0.77505197]
 [ 0.08798201]
 [ 0.20635818]
 [ 0.37183035]
 [ 0.24753178]
 [ 0.17718483]
 [ 0.38533808]
 [ 0.93345168]
 [ 0.02634772]]

分析:输出为张量的第一和第三个元素。
'''
Embedding layer作用:学习词语的distributed representation并将极其稀疏的one-hot编码的词语进行降维。
-
tf.nn.bidirectional_dynamic_rnn(fw_rnn_cell, bw_rnn_cell, inputs=embedding_inputs, sequence_length=self.sequence_lengths, dtype=tf.float32)
def bidirectional_dynamic_rnn(
cell_fw, # 前向RNN
cell_bw, # 后向RNN
inputs, # 输入
sequence_length=None,# 输入序列的实际长度(可选,默认为输入序列的最大长度)
initial_state_fw=None,  # 前向的初始化状态(可选)
initial_state_bw=None,  # 后向的初始化状态(可选)
dtype=None, # 初始化和输出的数据类型(可选)
parallel_iterations=None,
swap_memory=False,
time_major=False,
# 决定了输入输出tensor的格式:如果为true, 向量的形状必须为 `[max_time, batch_size, depth]`.
# 如果为false, tensor的形状必须为`[batch_size, max_time, depth]`.
scope=None
)
outputs为(output_fw, output_bw),是一个包含前向cell输出tensor和后向cell输出tensor组成的二元组。假设 time_major=false, 而且tensor的shape为[batch_size, max_time, depth]。实验中使用tf.concat(outputs, 2)将其拼接。
链接:tensorflow.nn.bidirectional_dynamic_rnn()函数的用法_人工智能_三人行必有我师的博客-CSDN博客
-
Attention Layer
-
tf.truncated_normal([hidden_size, self.config.attention_size], stddev=0.1)
tf.truncated_normal(shape, mean, stddev) :shape表示生成张量的维度,mean是均值,stddev是标准差。这个函数产生正太分布,均值和标准差自己设定。这是一个截断的产生正太分布的函数,就是说产生正太分布的值如果与均值的差值大于两倍的标准差,那就重新生成。和一般的正太分布的产生随机数据比起来,这个函数产生的随机数与均值的差距不会超过两倍的标准差,但是一般的别的函数是可能的。
-
tf.Variable(initializer,name),参数initializer是初始化参数,name是可自定义的变量名称。在TensorFlow的世界里,变量的定义和初始化是分开的,所有关于图变量的赋值和计算都要通过tf.Session的run来进行。想要将所有图变量进行集体初始化时应该使用tf.global_variables_initializer。
-
-
tf.train.AdamOptimizer(self.config.learning_rate)
__init__(learning_rate=0.001, beta1=0.9, beta2=0.999, epsilon=1e-08, use_locking=False, name='Adam')

# 此函数是Adam优化算法:是一个寻找全局最优点的优化算法,引入了二次方梯度校正。相比于基础SGD算法,1.不容易陷于局部优点。2.速度更快。相应参数都有默认值。
-
tf.argmax(self.input_y, 1)
tf.argmax(input, axis=None, name=None, dimension=None) 此函数是对矩阵按行或列计算最大值
参数 input:输入Tensor axis:0表示按列,1表示按行 name:名称 dimension:和axis功能一样,默认axis取值优先。新加的字段 返回:Tensor 一般是行或列的最大值下标向量
def __init__(self,filenames):
    self.filenames= filenames
# filenames: a list of train_filename, test_filename, val_filename

def __iter__(self):
    for filename in self.filenames:
        # codecs.open可以打开由不同编码格式组成的文件
        # with 语句适用于对资源进行访问的场合,确保不管使用过程中是否发生异常都会执行必要的“清理”操作,释放资源
        with codecs.open(filename, 'r', encoding='utf-8') as f:
            # enumerate()将一个可遍历的数据对象组合为一个索引序列,同时列出数据和数据下标
            for _,line in enumerate(f):
                try:
                    # strip()去除首尾空格
                    line=line.strip()
                    # "\t"制表符
                    line=line.split('\t')
                    # 如果不满足就直接返回错误
                    assert len(line)==2
                    blocks=re_han.split(line[1])
                    word=[]
                    for blk in blocks:
                        if re_han.match(blk):
                          # extend() 函数用于在列表末尾一次性追加另一个序列中的多个值(用新列表扩展原来的列表)。
                          # jieba.lut直接返回list
                            word.extend(jieba.lcut(blk))
                    yield word
                    # word:a list of word cut by jieba
                except:
pass-
time.time() 返回当前时间的时间戳(1970纪元后经过的浮点秒数)
-
logging.basicConfig(format='%(asctime)s : %(levelname)s : %(message)s', level=logging.INFO)
-
Word2Vec(sentences, size=100, window=5, min_count=1, workers=6)
size:是每个词的向量维度; window:是词向量训练时的上下文扫描窗口大小,窗口为5就是考虑前5个词和后5个词; min-count:设置最低频率,默认是5,如果一个词语在文档中出现的次数小于5,那么就会丢弃; workers:是训练的进程数,默认是当前运行机器的处理器核数。
-
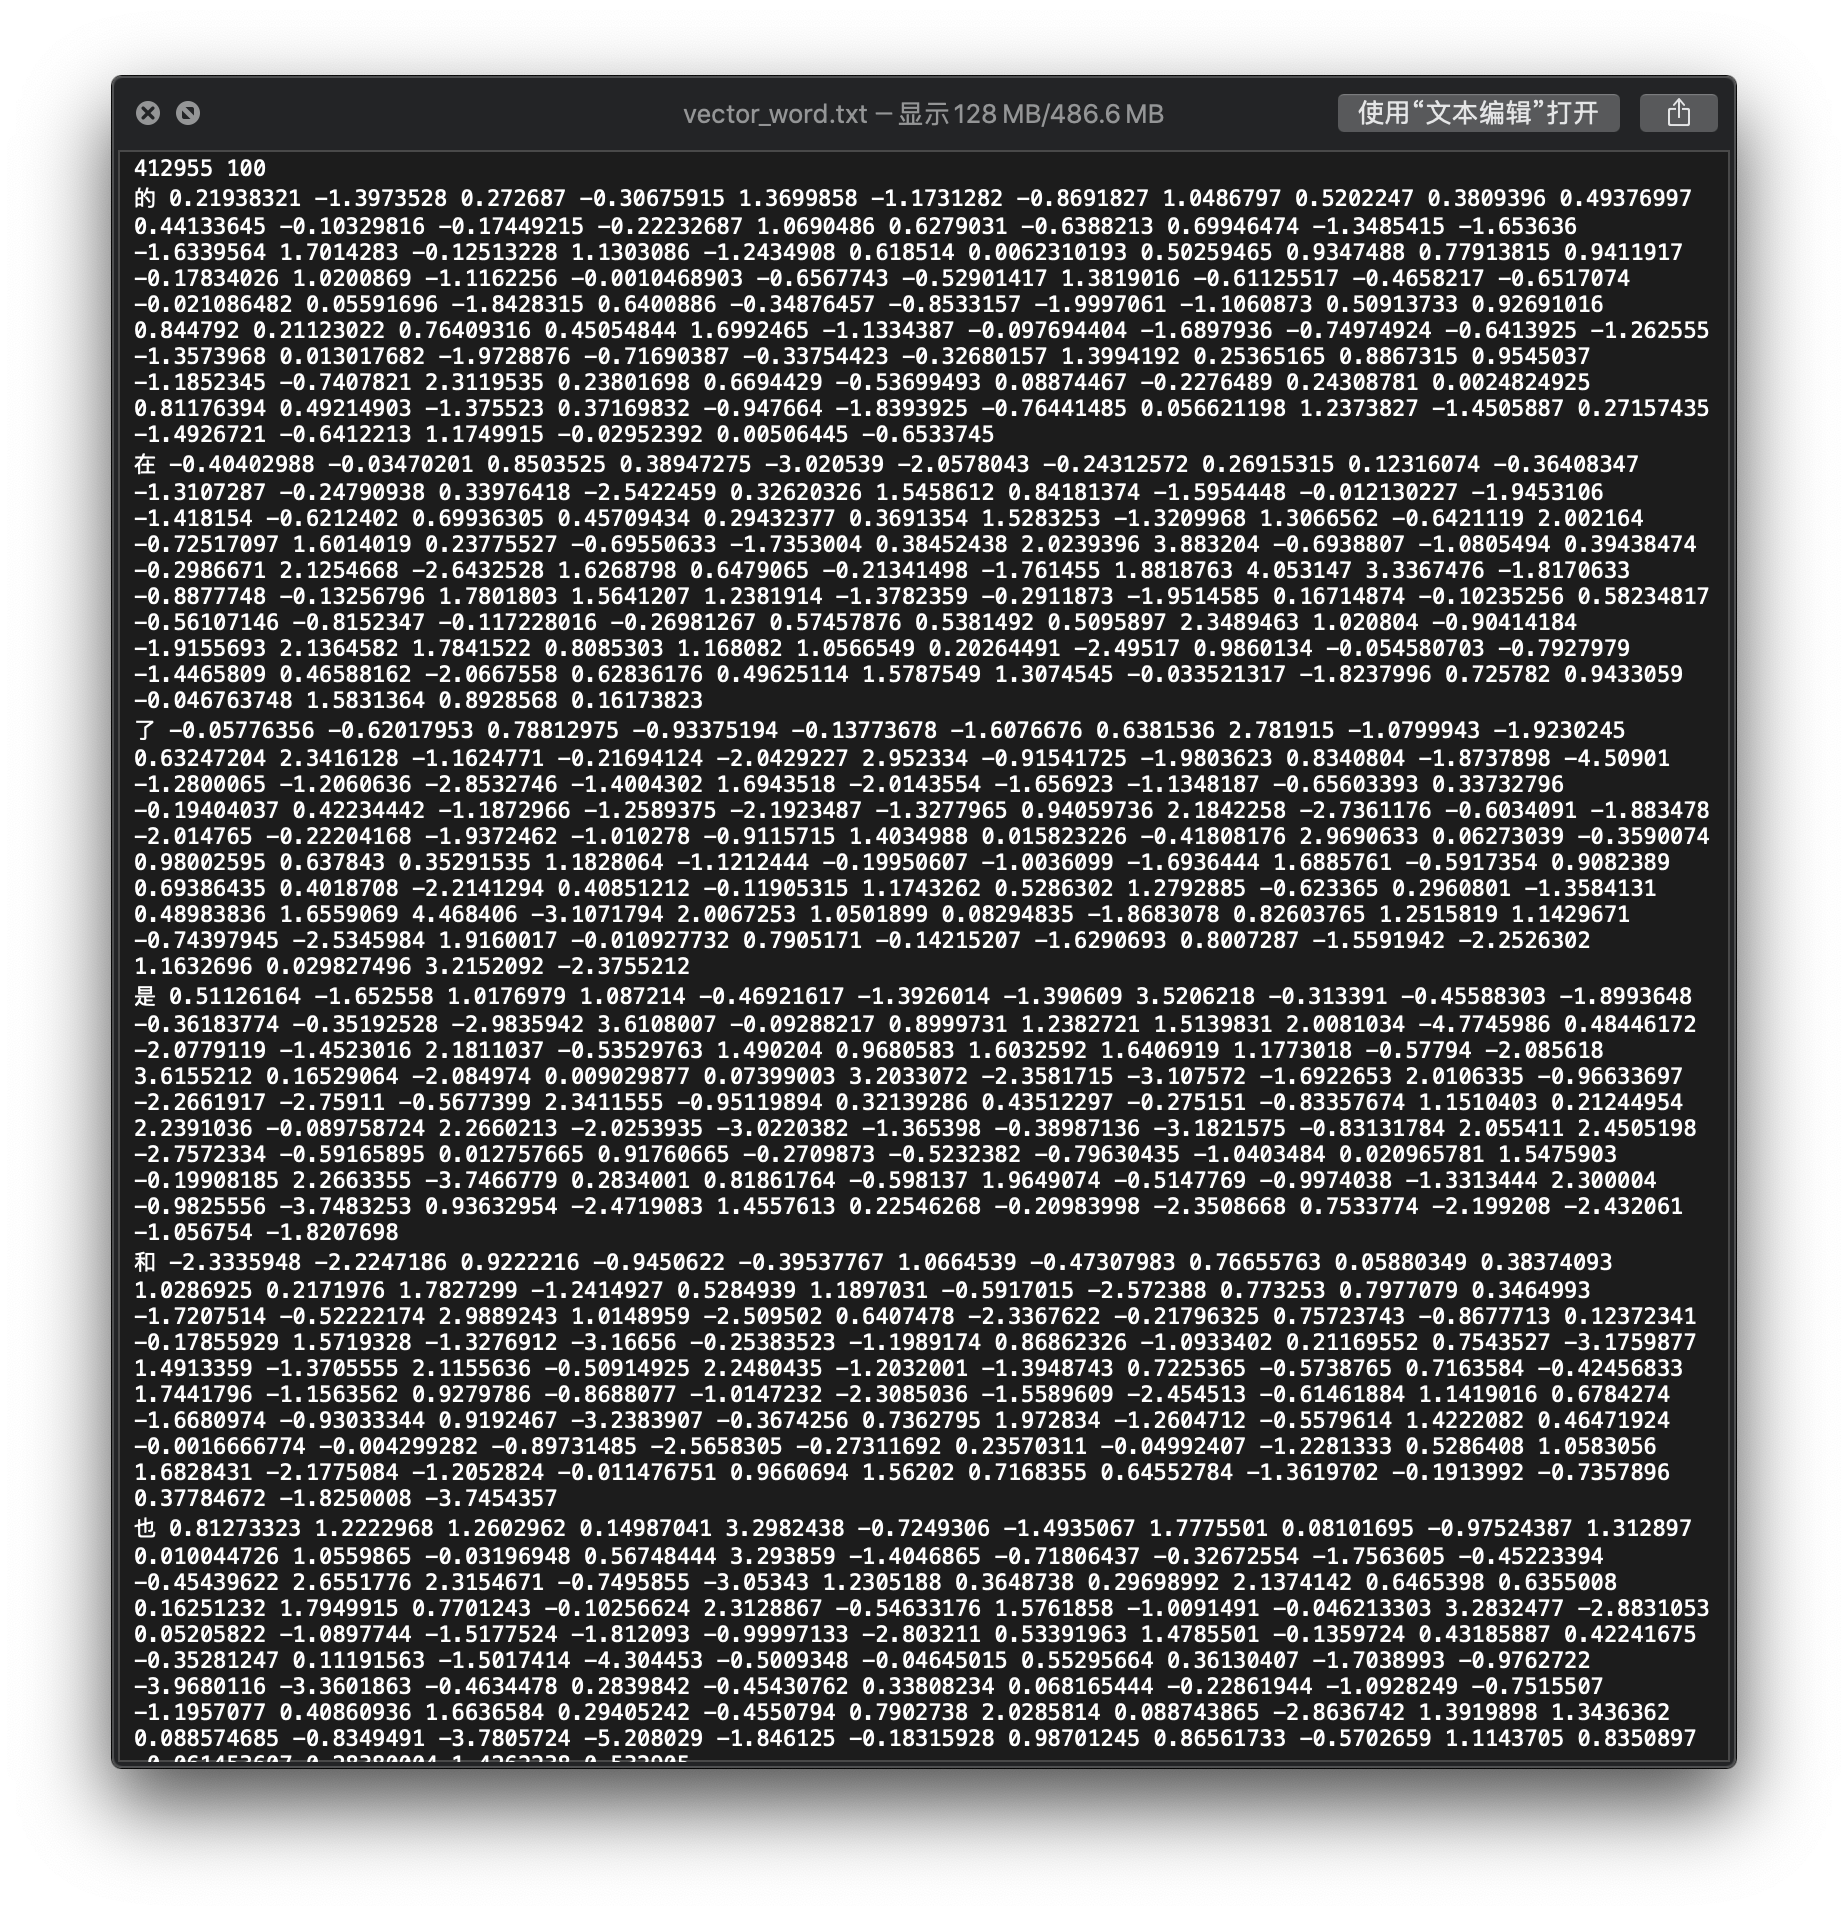
model.wv.save_word2vec_format(config.vector_word_filename, binary=False) 存储训练好的模型
"""
    Args:
        filename:trian_filename,test_filename,val_filename
    Returns:
        two list where the first is lables and the second is contents cut by jieba

    """
    re_han = re.compile(u"([\u4E00-\u9FD5a-zA-Z0-9+#&\._%]+)")  # the method of cutting text by punctuation

		# 读取停用词
    with codecs.open('./data/stopwords.txt','r',encoding='utf-8') as f:
        #列表解析
            stopwords=[line.strip() for line in f.readlines()]

    contents,labels=[],[]
    with codecs.open(filename,'r',encoding='utf-8') as f:
        for line in f:
            try:
                #  rstrip() 删除 string 字符串末尾的指定字符(默认为空格)
                line=line.rstrip()
                assert len(line.split('\t'))==2
                label,content=line.split('\t')
                labels.append(label)
                blocks = re_han.split(content)
                # word[]存的是分词后的内容
                word = []
                for blk in blocks:
                    # re.match 尝试从字符串的起始位置匹配一个模式,如果不是起始位置匹配成功的话,match()就返回none。
                    if re_han.match(blk):
                        # lcut()返回列表,cut()返回迭代器
                        seglist=jieba.lcut(blk)
                        # extend() 函数用于在列表末尾一次性追加另一个序列中的多个值(用新列表扩展原来的列表)
                        # 去掉停用词,并且把jieba分词后的结果给word[]列表
                        word.extend([w for w in seglist if w not in stopwords])
                contents.append(word)
            except:
                pass
return labels,contents"""
Args:
filename:trian_filename,test_filename,val_filename
vocab_dir:path of vocab_filename
vocab_size:number of vocabulary
Returns:
writting vocab to vocab_filename
"""
all_data = []
for filename in filenames:
_,data_train=read_file(filename)
for content in data_train:
all_data.extend(content)
# counter作用就是在一个数组内,遍历所有元素,将元素出现的次数记下来
counter=Counter(all_data)
# Counter(a).most_common(2)可以打印出数组中出现次数最多的元素。
# 参数2表示的含义是:输出几个出现次数最多的元素。
count_pairs=counter.most_common(vocab_size-1)
# *parameter是用来接受任意多个参数并将其放在一个元组中
# 在 Python 3.x 中为了减少内存,zip() 返回的是一个对象。如需展示列表,需手动 list() 转换。
words,_=list(zip(*count_pairs))
words=['<PAD>']+list(words)
with codecs.open(vocab_dir,'w',encoding='utf-8') as f:
# join 返回通过指定字符连接序列中元素后生成的新字符串。
f.write('\n'.join(words)+'\n')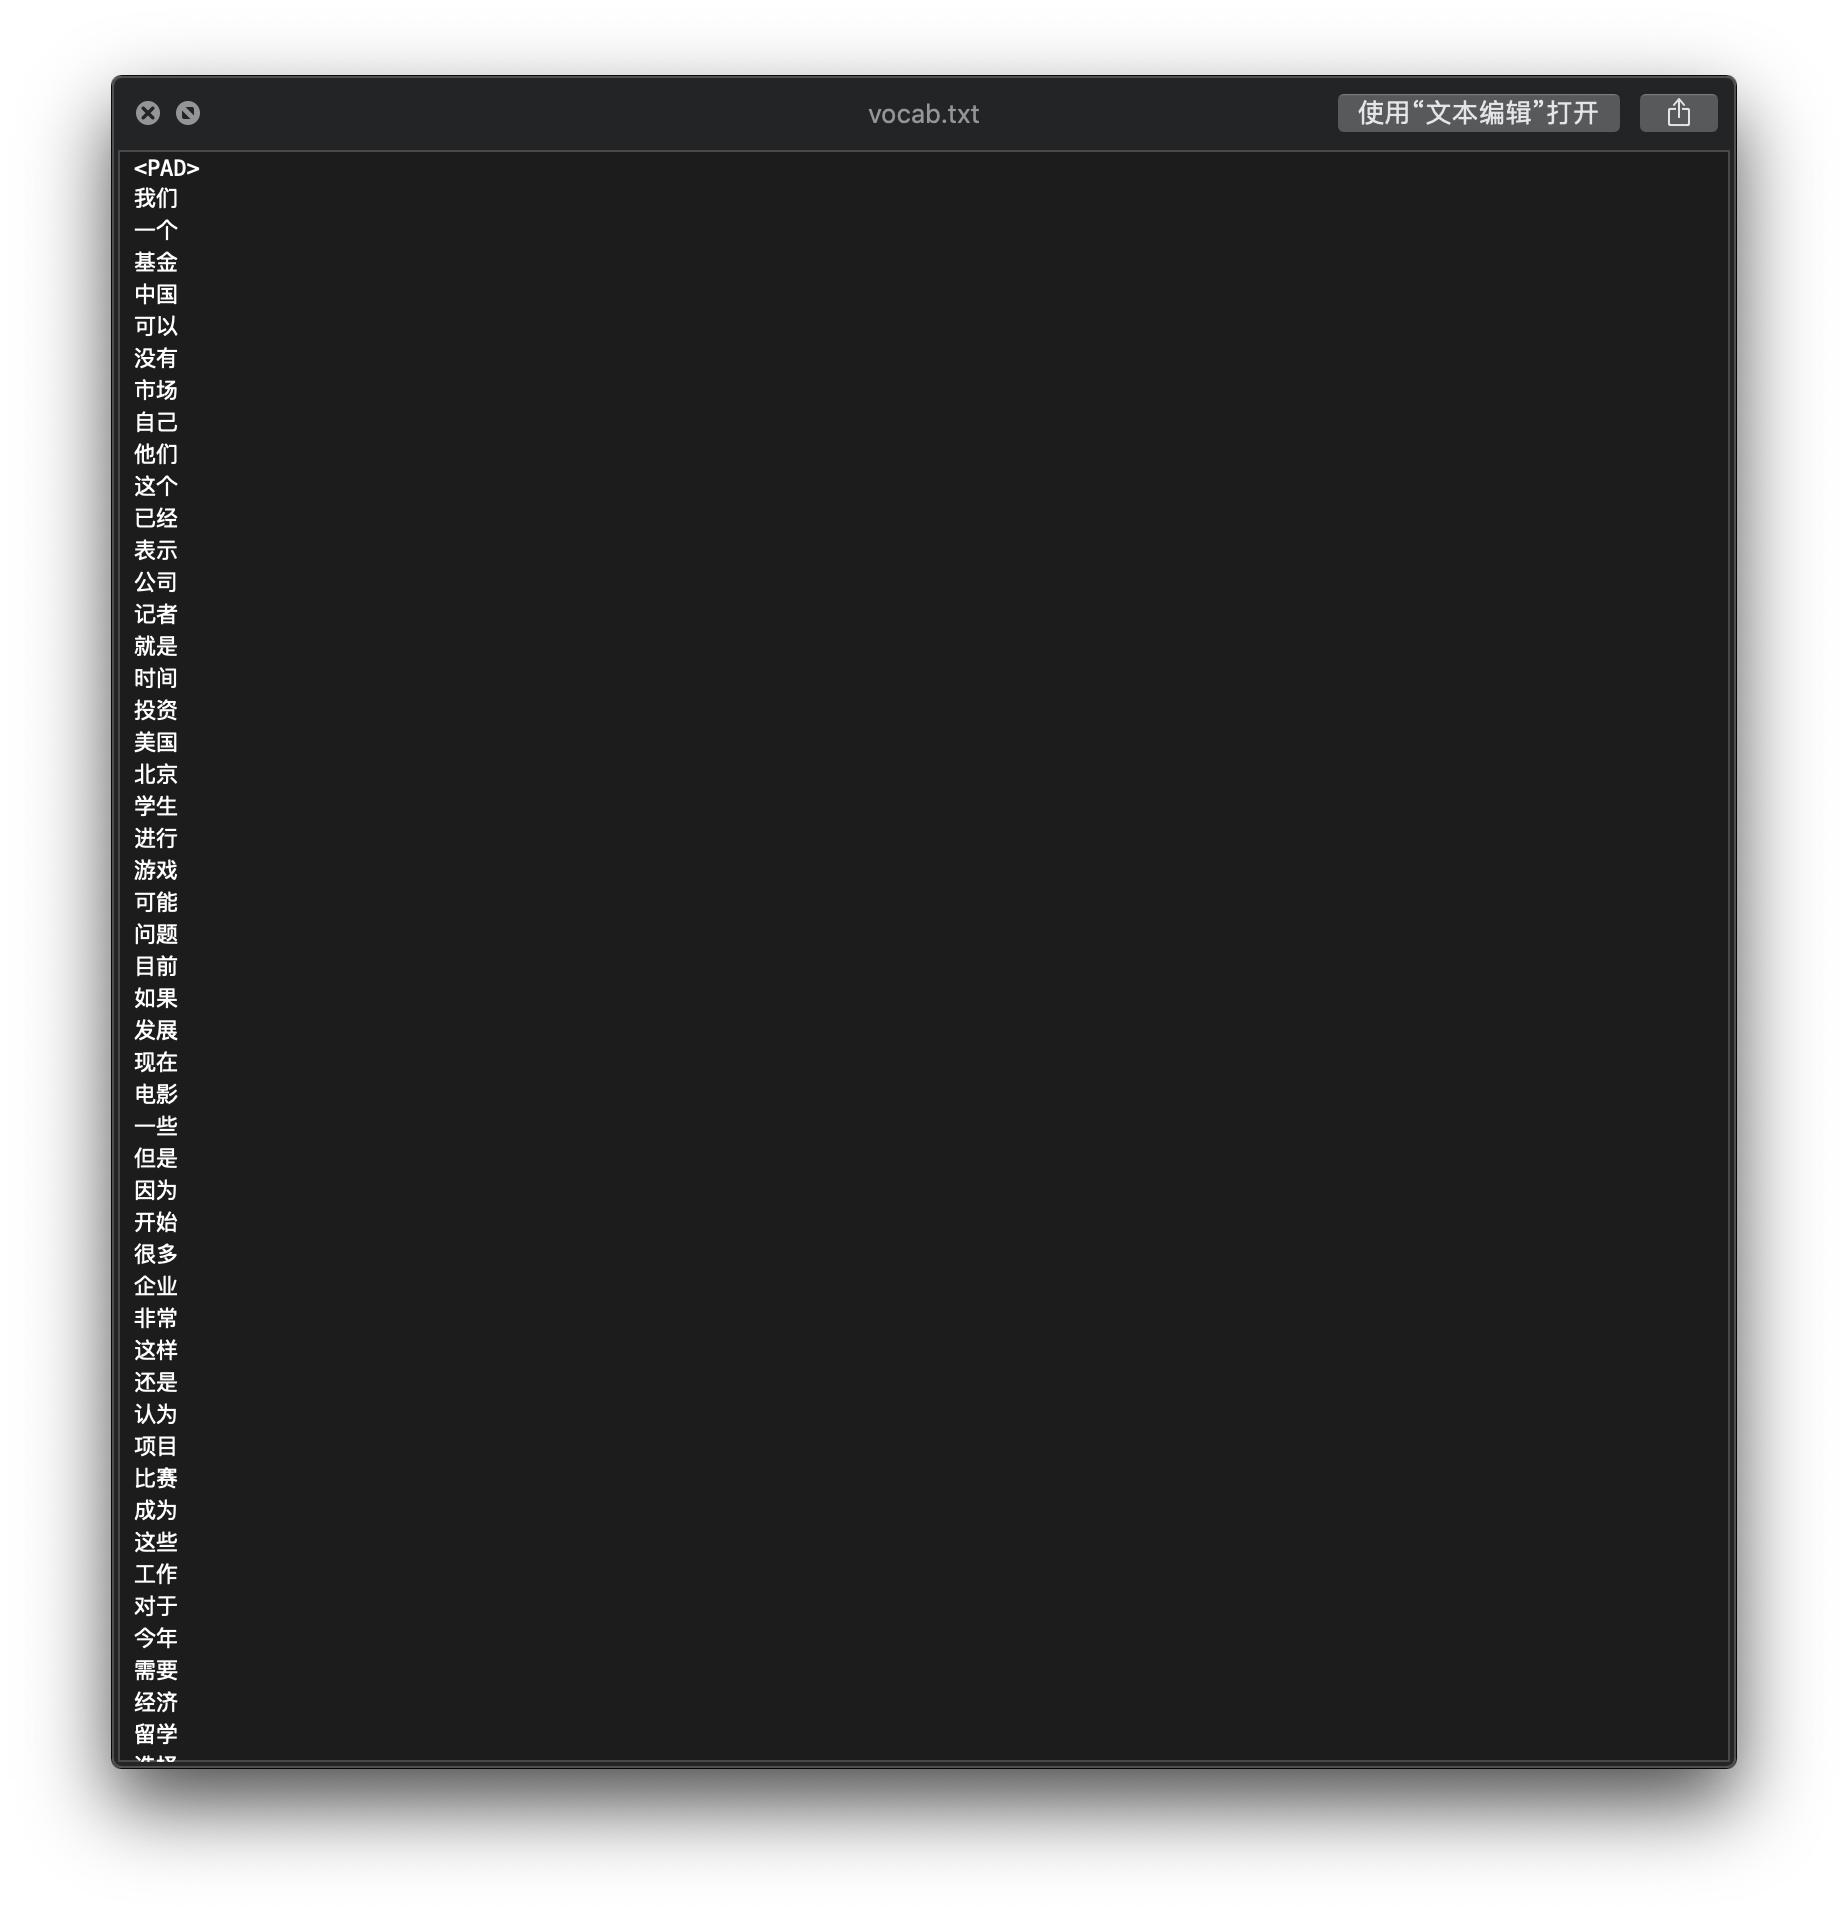
"""
    Args:
        filename:path of vocab_filename
    Returns:
        words: a list of vocab
        word_to_id: a dict of word to id
        给每个词用一个id对应起来
    """
    words=codecs.open(vocab_dir,'r',encoding='utf-8').read().strip().split('\n')
    word_to_id=dict(zip(words,range(len(words))))
return words,word_to_id把vector_word.txt转换成numpy file
"""
    Args:
        vocab: word_to_id
        word2vec_dir:file path of have trained word vector by word2vec
        trimmed_filename:file path of changing word_vector to numpy file
    Returns:
        save vocab_vector to numpy file
    """
    file_r = codecs.open(word2vec_dir, 'r', encoding='utf-8')

    line = file_r.readline() # 读第一行数据"412955 100"
    voc_size, vec_dim = map(int, line.split(' ')) # voc_size = 412955, vec_dim = 100
    embeddings = np.zeros([len(vocab), vec_dim])
    line = file_r.readline()
    while line:
        try:
            items = line.split(' ')
            word = items[0]
            # 将结构数据转化为ndarray,不会占用新的内存
            vec = np.asarray(items[1:], dtype='float32')
            if word in vocab:
                word_idx = vocab[word]
                embeddings[word_idx] = np.asarray(vec)
        except:
            pass
        line = file_r.readline()
    np.savez_compressed(trimmed_filename, embeddings=embeddings)
labels,contents=read_file(filename)
data_id,label_id=[],[]
for i in range(len(contents)):
    # word_to_id词在dic中的id位置
    data_id.append([word_to_id[x] for x in contents[i] if x in word_to_id])
    label_id.append(cat_to_id[labels[i]])
# pad_sequences:将多个序列截断或补齐为相同长度。
x_pad=kr.preprocessing.sequence.pad_sequences(data_id,max_length,padding='post', truncating='post')
# 将整型标签转为onehot
y_pad=kr.utils.to_categorical(label_id)
return x_pad,y_pad