Hardware AI Thinker AI Light - xoseperez/espurna GitHub Wiki
| Property | Value |
|---|---|
| Manufacturer | AI Thinker / Noduino |
| Product page | http://wiki.jackslab.org/Noduino_OpenLight buy it at Aliexpress |
| Wiki page | |
| Build flag | AITHINKER_AI_LIGHT |
| Voltage | 3v3 |
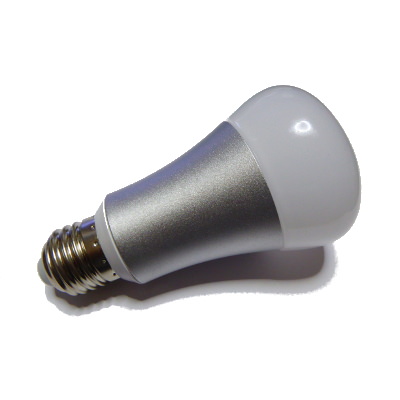
The AI Light is a ESP8255 (?) bulb light with 8 high power white LEDs, 6 red LEDs, 4 green LEDs and 4 blue LEDs driven by an My-Semi MY9291 LED driver. The bulb itself comes unbranded but the user manual (only in Chinese) says clearly "Ai Light" with the AI-Thinker logo. It's the same Noduino OpenLight bulb at JackLabs (Noduino, Maike Labs, ICamGo) designed by Jack Tan (comcat @ GitHub).
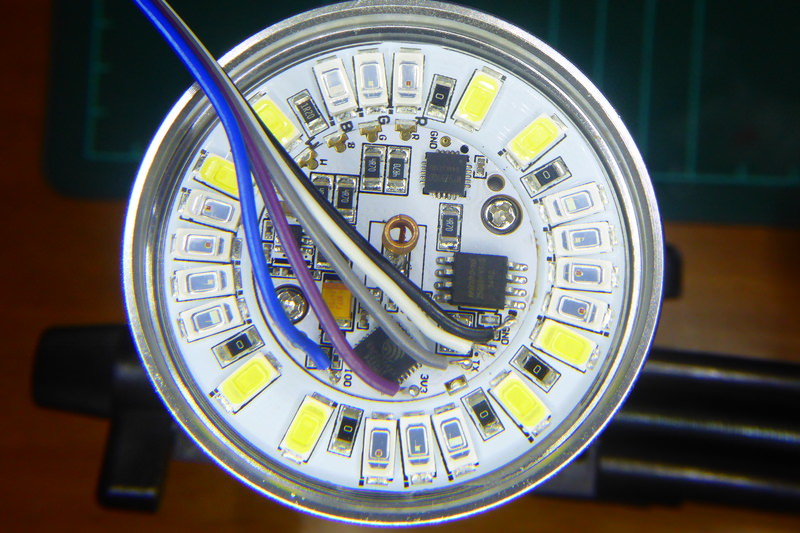
Pop out the bulb head to access the PCB. It's actually 2 PCBs, and outer one with the LEDs and an inner one with the micro-controller and led driver. There are 5 pads labelled with everything you need to flash the ESP on board: 3V3, GND, TX, RX and IO0.
It might seem hard but it's not. Get a 5 wire cable and remove 1-2mm of insulation from the wires, tin them a bit. Apply a hot wire on the pads and leave a small drop of tin on them too. Then just touch each wire with a pad and heat them together for less than a second.
Connect the wires to your FTDI (or alike) board. TX to RX and RX to TX. Connect GND and IO0 to ground and finally 3V3. Once you plug your programmer to the computer the board will boot into flash mode. While you are flashing it you can remove the IO0 connection. Upon reboot it will enter normal mode and you should see the debug messages in the screen.
TODO