Getting started with the Furhat robot - utwente-interaction-lab/interaction-lab GitHub Wiki

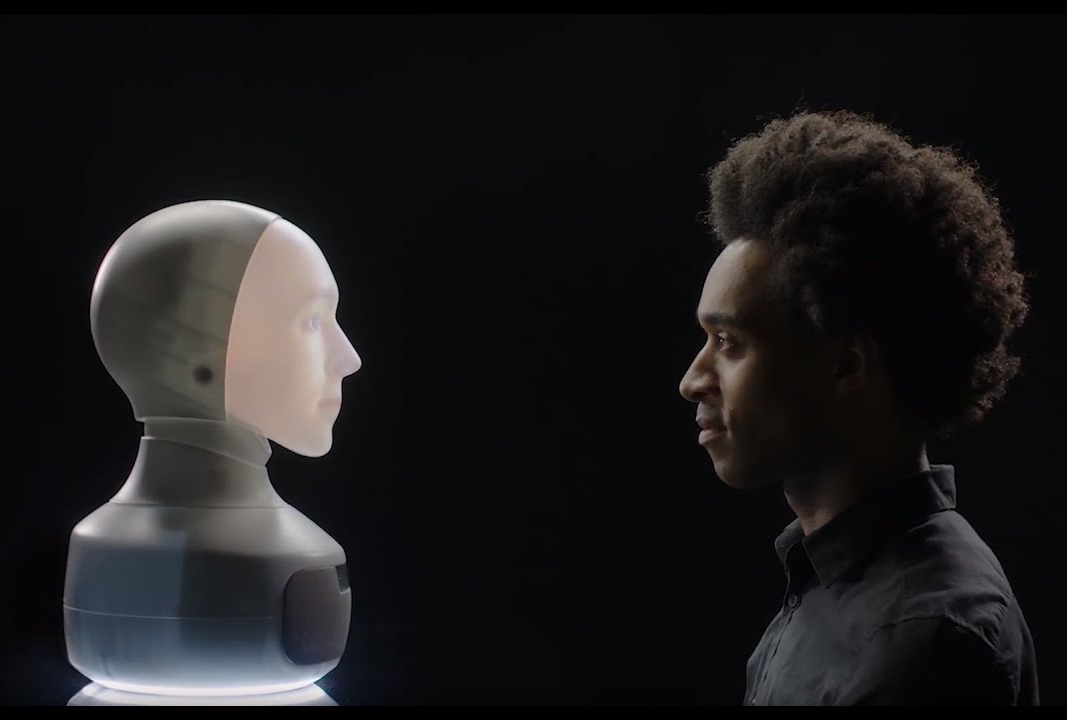
The Furhat robot is a life-size robot head on a fixed base. It uses a small internal projector to display an animated face on the outer shell. This allows quite a realistic human face and very detailed facial expressions. The robot has no body and limbs, so it cannot do animations and gestures. However, it can engage with users through gaze, speech and facial expressions. It is ideal for user studies involving face-to-face conversations.
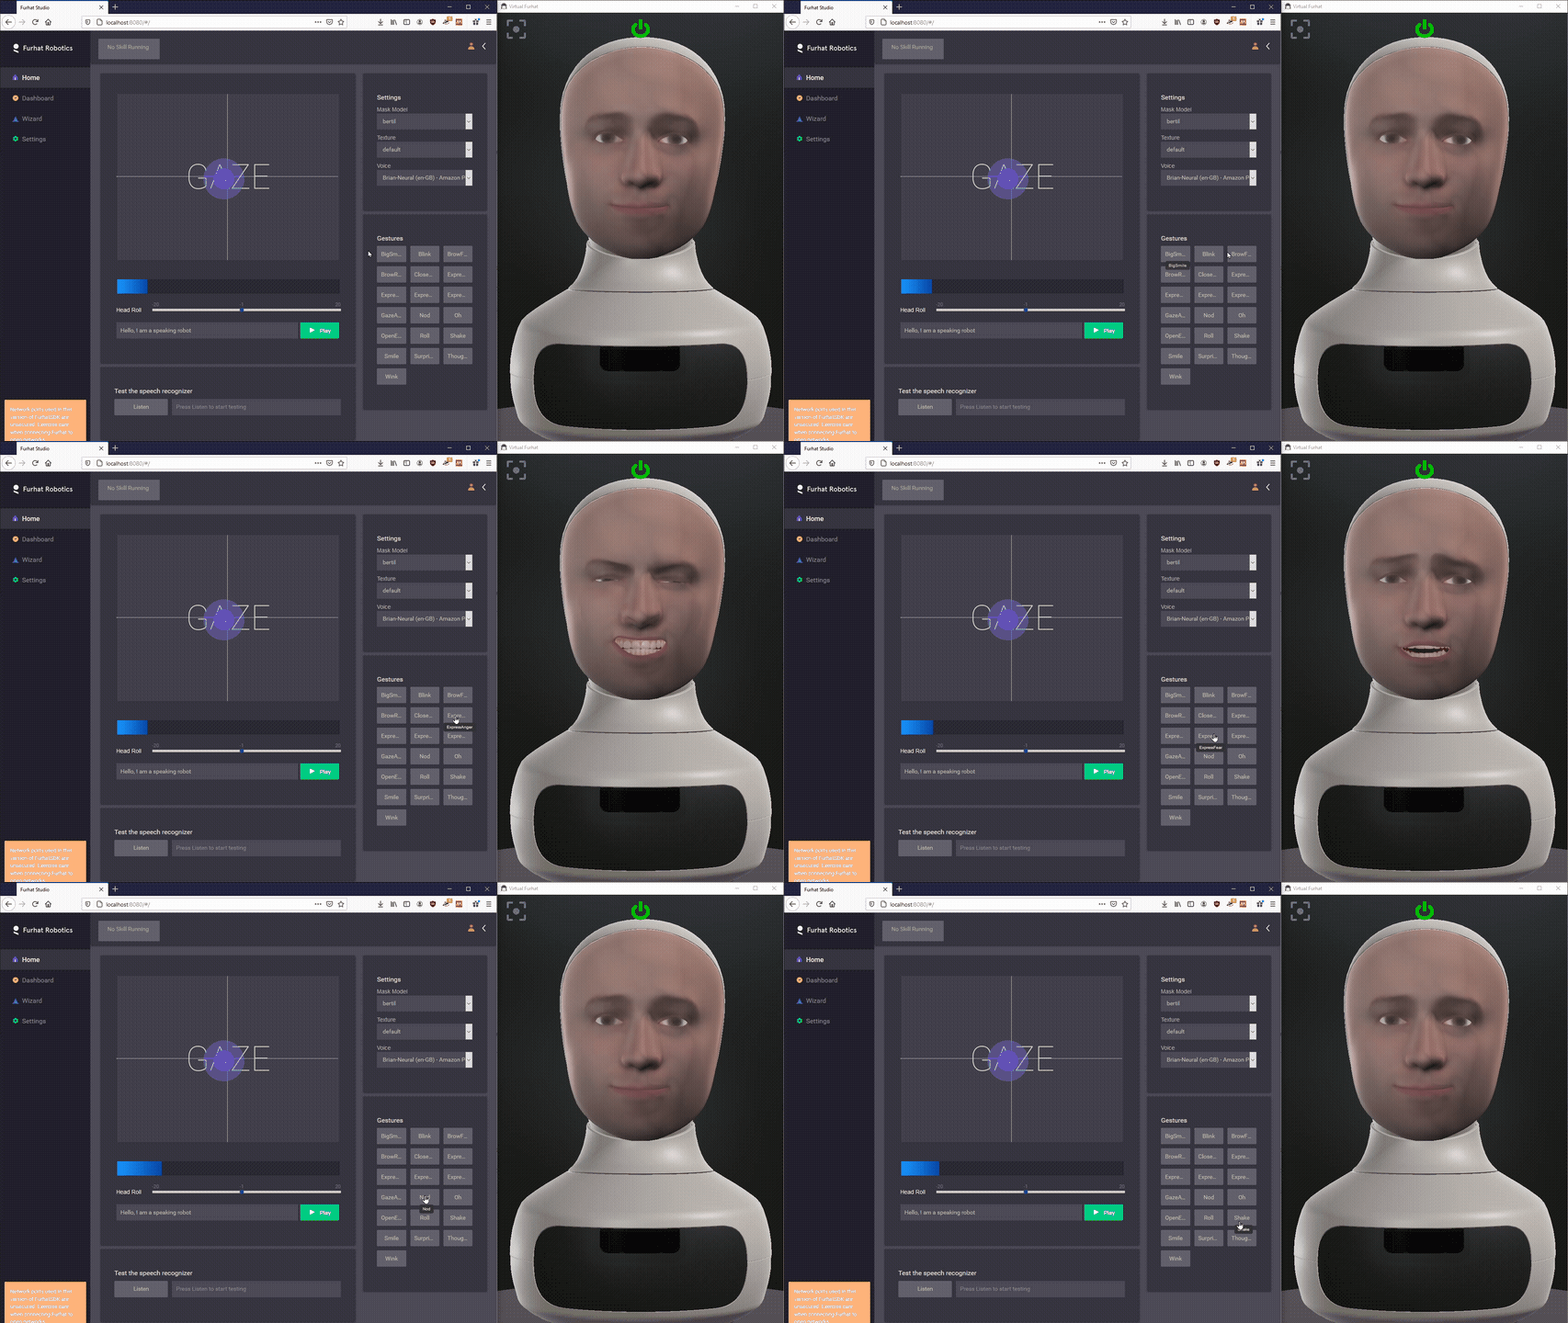
Furhat is programmed through an SDK and API using the Kotlin language and has excellent documentation. It supports speech recognition, natural language processing, dialogue models and text-to-speech synthesis, among other things. The SDK comes equipped with a programmable "wizard of oz" interface for remote controlling aspects of the robot, which is ideal for user studies. The SDK includes a virtual version of the Furhat robot, which supports many of the real robot's features.
Contents:
- Installing dependencies
- Installing the SDK
- Running the SDK
- Connecting to the web interface
- Basic - Remote controlling the robot
- Advanced - Making your first skill
- Troubleshooting
If you are only going to use the remote control functions of the robot, this step is sufficient. Before you can use the SDK, please download and install Java JRE 8. Make sure that you download the correct version for your OS. If you are using Windows, you need the x64 jre-8uXXX-windows-x64.exe version. Note that you need to log in with an Oracle account to download the JRE.

If you are going to create more advanced programs for the robot, you will need to install the Java JDK 8 instead. Make sure that you download the correct version for your OS. If you are using Windows, you will need the x64 jdk-8uXXX-windows-x64.exe version. Note that you need to log in with an Oracle account to download the JDK.

After installing the JDK, make sure you also update your PATH environment variable so that it includes the java and javac executables located in the /bin/ directory of the Java installation.
After installing the JDK, you need to install IntelliJ IDEA, an Integrated Development Environment (IDE) for writing the code. Make sure you download and install the Community version for your OS.

After launching IntelliJ for the first time, it shows a Welcome screen. You are now ready to create your first skill for the robot.

Follow the installation process outlined in the official documentation. We highlight some important steps below.
You must first create a developer account and request access to the SDK. Mention that you are from the University of Twente and are following a course that uses the Furhat. Do not wait till the last moment as it may take some time for the Furhat team to process your request.

You will then receive an e-mail with an invitiation to register a developer account. Follow the steps on the registration page. When you have created your account, use it to log in and download the latest version of the SDK for your operating system.

Unzip the contents of the file Furhat-SDK-xxx-1.xx.x.zip somewhere to your hard drive, for example in C:/Furhat. Remember the location, we will refer to it as <YOUR-FURHAT-INSTALL-DIRECTORY>. The install directory should look similar to this:

Note: The new Furhat SDK Desktop Launcher will open graphically. In the app you click
launch SDK. If you are using an older version, proceed as described below.
Open a terminal and navigate to the <YOUR-FURHAT-INSTALL-DIRECTORY>.
On Windows, open the start menu, type cmd.exe and press enter. This will open a command prompt. Type cd <YOUR-FURHAT-INSTALL-DIRECTORY> and press enter to change to the Furhat installation directory. For example, if you unzipped the SDK in C:/Furhat you would type cd C:/Furhat in the command window. Then, type dir and press enter to verify that you are in the correct directory (this will print all folders and files).


On Windows launch the SDK server by typing launchSDK.bat and press enter.
On Linux and MacOS type sh launchSDK.sh.
The terminal will now print a lot of information while it attempts to launch the SDK.
(If you encounter an error at this step, see troubleshooting below before you continue)
If all goes well, your terminal window should print something along the lines of [Controller] INFO WebServer: 30 - Web interface available on http://localhost:8080/. If you changed the default port as part of troubleshooting, it should print the new port number (for example, 8081).

It will also automatically open a virtual Furhat window.

Open a browser and navigate to the webpage that was printed in the terminal while launching the SDK. By default, this is http://localhost:8080 (If you modified the default port as part of troubleshooting, you will need to use the new port number instead). You will now see a login window, use password admin to login.

You should now be connected to the robot.

You can use the web interface to remote control the robot's gaze, speech and various facial expressions. For a basic user study this may be sufficient.


You can change the Furhat's default text-to-speech language and voice in the settings. Usually, the Neural variants tend to sound slightly better.


In case you are not be able to work with the physical robot. Instead you can use the virtual robot that is part of the SDK. It supports most of the interaction capabilities of the real robot: interactive gaze, facial expressions, speech recognition, speech synthesis. It does not support camera vision for detecting the user, but you can add virtual users through the SDK web interface instead.
Programs that run on the robot are called skills. Before you continue, make sure you have installed all the requirements first.
There is an excellent tutorial in the official documentation for creating your first skill. There is also more in-depth documentation about skills. Here we highlight some of the important steps to help you get started.
Note: The new Furhat SDK Desktop Launcher makes it easy to create a new skill from within the SDK Launcher. Just click 'Create Skill project', and select a location for your project. Then proceed to the section Importing the skill in IntelliJ
The Furhat SDK includes a command line tool for generating a new empty skill. Open a terminal (on Windows, open a command prompt cmd.exe) and navigate to your SDK installation folder cd <YOUR-FURHAT-INSTALL-DIRECTORY>, then type gradlew createSkill --name=GettingStarted --folder=skills. This will first download and install all dependencies, then it will generate an empty project that you can import in your IntelliJ. The generated project files will be located under <YOUR-FURHAT-INSTALL-DIRECTORY>/skills/GettingStarted.


The first time you use IntelliJ it will show the Welcome screen. From there, select Open or Import. Next time you use IntelliJ you can open a project by using File -> Open from the main menu.
Select the build.gradle that was generated as part of the previous step. For example, this file could be located in C:/Furhat/skills/GettingStarted/build.gradle. Press OK and then select Open as Project.


IntelliJ will now import the project and download additional dependencies. Wait for the process to finish, this may take a while.

After importing your project you should configure your IntelliJ to use Kotlin. Make sure the Kotlin JVM version is used: from the main menu File -> Settings (or Preferences on Mac) -> Build, Execution, Deployment -> Compiler -> Kotlin Compiler and set the Target JVM version field to 1.8.

Also configure the Kotlin working directory for the default run configuration template: from the main menu Run -> Edit Configurations -> Templates -> Kotlin and enter $MODULE_DIR$ in the Working Directory field.

First, make sure the Furhat SDK is running.
The source code for the skill is located in the IntelliJ Project Explorer: GettingStarted/src/main/kotlin/furhatos.app.gettingstarted. Double click the main.kt file to open it in your editor.

Running for the first time: press the Run button (the green triangle) next to the main function and select Run 'MainKt'. This generates a run configuration based on the Kotlin template that was configured above. (If the Run arrow is not there, or if you encounter errors, check troubleshooting below)


After doing this once, you can run the script using the generic Run button at the top of the screen.

The Kotlin source code is first compiled, and then it will upload the skill to the robot. You can view the progress in the lower half of the IntelliJ editor.

Now, open the Furhat SDK web interface, which is usually http://localhost:8080. Go to the Dashboard in the left menu. This will show that the current skill is running on the robot.
As you can see, there are two zones around Furhat (shown as grey circles in the situation view). When the user enters the inner zone, it is deemed to enter the interaction, and Furhat will start interacting with the user. To simulate this in the SDK, you can double-click on the situation view somewhere inside Furhat's inner interaction space to add a virtual user. This should trigger the interaction and allow you to test it.


From here, you can inspect how this skill works and you can start creating a more advanced interaction. Also make sure to check out the various example skills.
You may get this error when you run the SDK. This is not something to worry about, you can ignore the error. It has to do with a default character set encoding not being configured correctly in sun.stdout.encoding.

If you get an error like ERROR WebServer: 43 - Unable to host web interface. Port 8080 is already in use. Please release that port or go and change the port in static/ports.properties, then restart that means your computer is already using the SDK's required default port for something else.

To modify the default port, open the file <YOUR-FURHAT-INSTALL-DIRECTORY>/properties/ports.properties in a text editor. For example, you can use Notepad.exe by clicking on the file with right mouse button, and select Open with.... Select the Notepad app in the list and click OK.


Modify the default port value for something else, for example webServerPort=8081 and make sure to save the file (Ctrl + s)

Launch the SDK again, following the steps above. Remember: your web interface will now be available on the updated port number, instead of the default 8080.
If the green Run arrow does not appear next to the fun main(args: Array<String>) line in the main.kt file, you should try to reload the project files with Gradle. Press the vertical Gradle tab at the top right of the IntelliJ editor, this opens the gradle configuration. Then press the Reload All Gradle Projects button.


If your skill crashes due to not able to read skill.properties then ensure that the working directory of your skill is set to the root folder of the skill. Go to Run -> Edit configurations and edit Kotlin -> MainKt, set the Working directory field to $MODULE_DIR$. To fix this for all future skills, make sure to edit your default Run configuration Templates.