Remote Access Utilizing Twingate (Docker) - uthomelabs/guides GitHub Wiki
This lab is going to allow you to create remote access to your homelab utilizing principles of SASE and ZeroTrust in less than 15 minutes! We are going to be utilizing a service provided by Twingate under their free tier.
Required Components:
- A docker host
- An account on Twingate
What you don't need:
- A static IP at home
- Any form of dynamic DNS setup
- Knowledge of certificates
- VPN configuration files
- Forwarding any ports into your home network
** Folks that are using an ISP that utilizes CGNAT (Starlink users, looking at you) this is a FANTASTIC option to get access to your home network
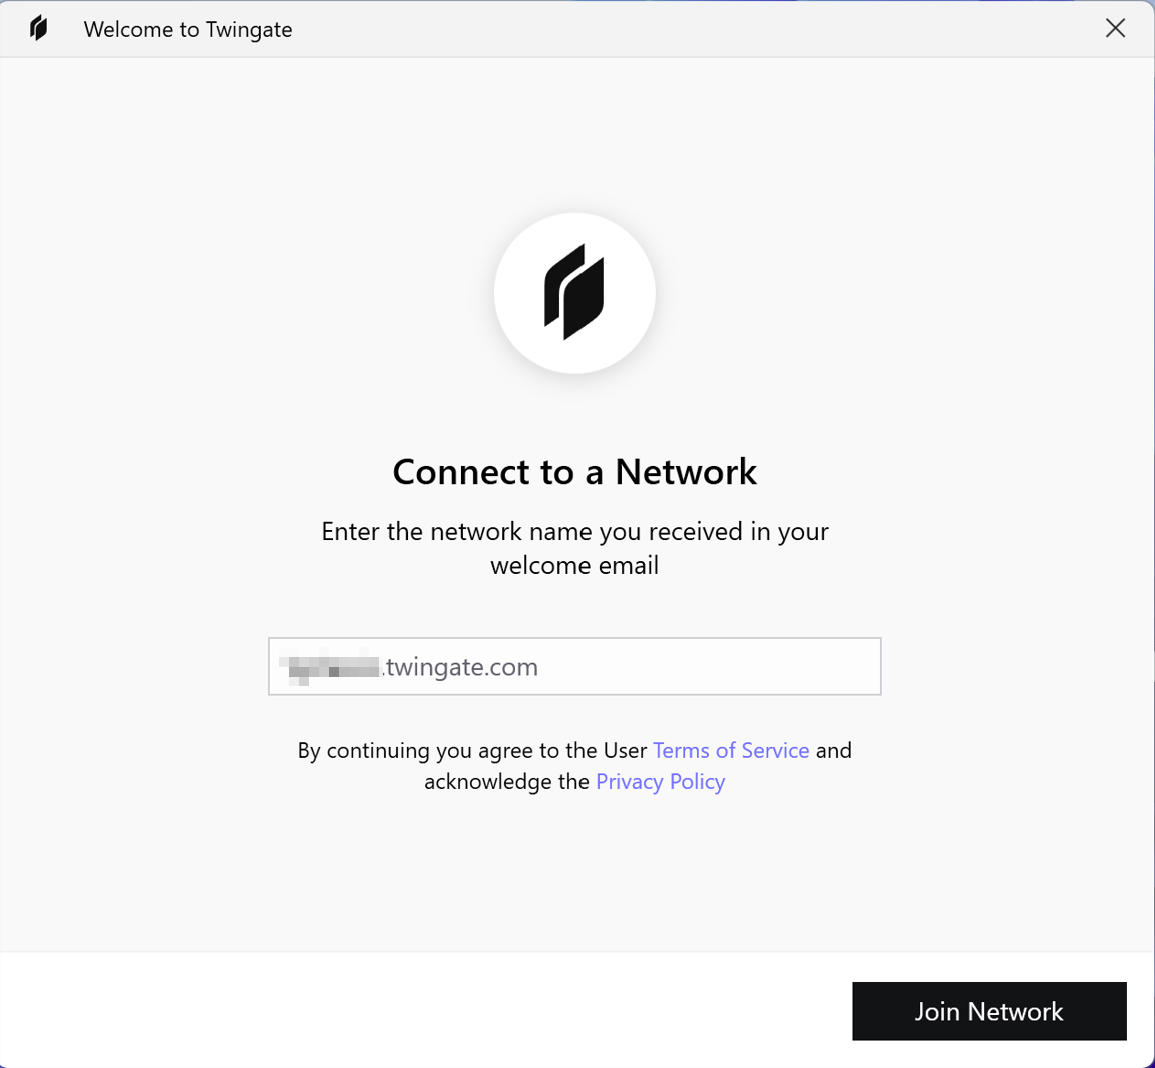
1. Sign up for Twingate
Browse out to Twingate and select "Try for Free"
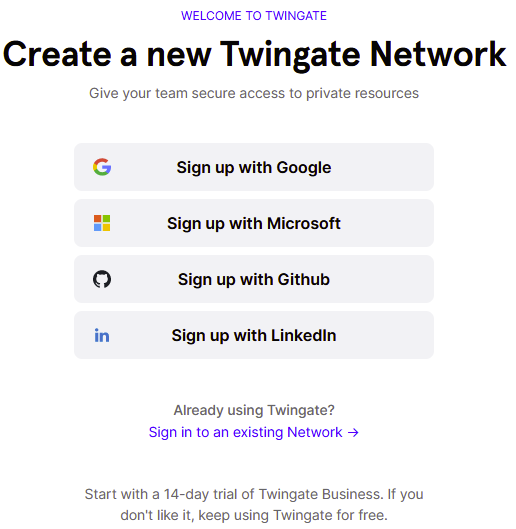
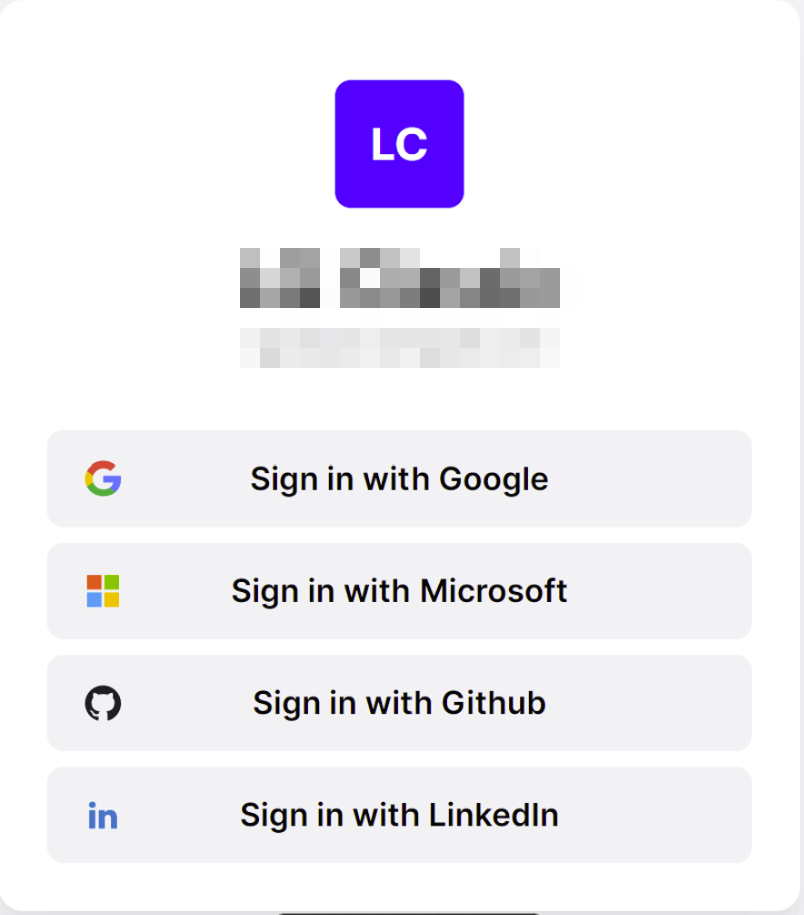
From here, you will need to choose what identity provider you'd like to authenticate against.
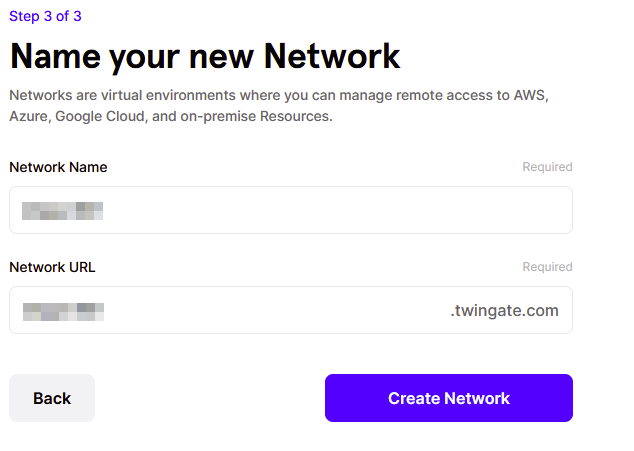
After choosing your identity provider, the wizard will ask you a few marketing-style questions about how you intend to use the project. Proceed through them and on the last step you'll select a name / URL to access your home network.
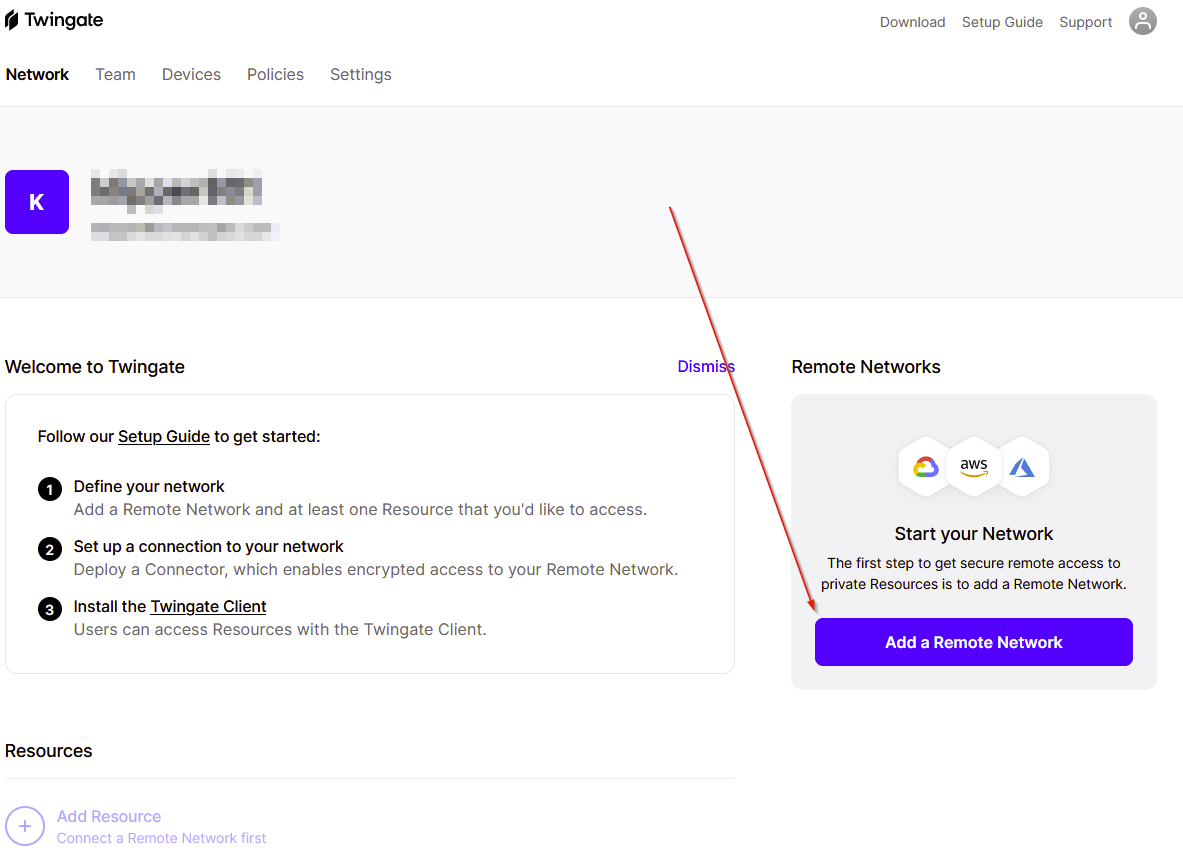
After this wizard, the main interface will load and you'll be asked to define a network:
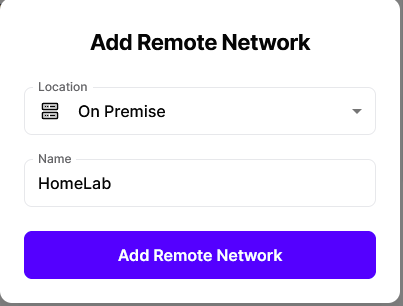
 Choose your network type (Azure, AWS, etc.) For this example we are going to choose on-prem.
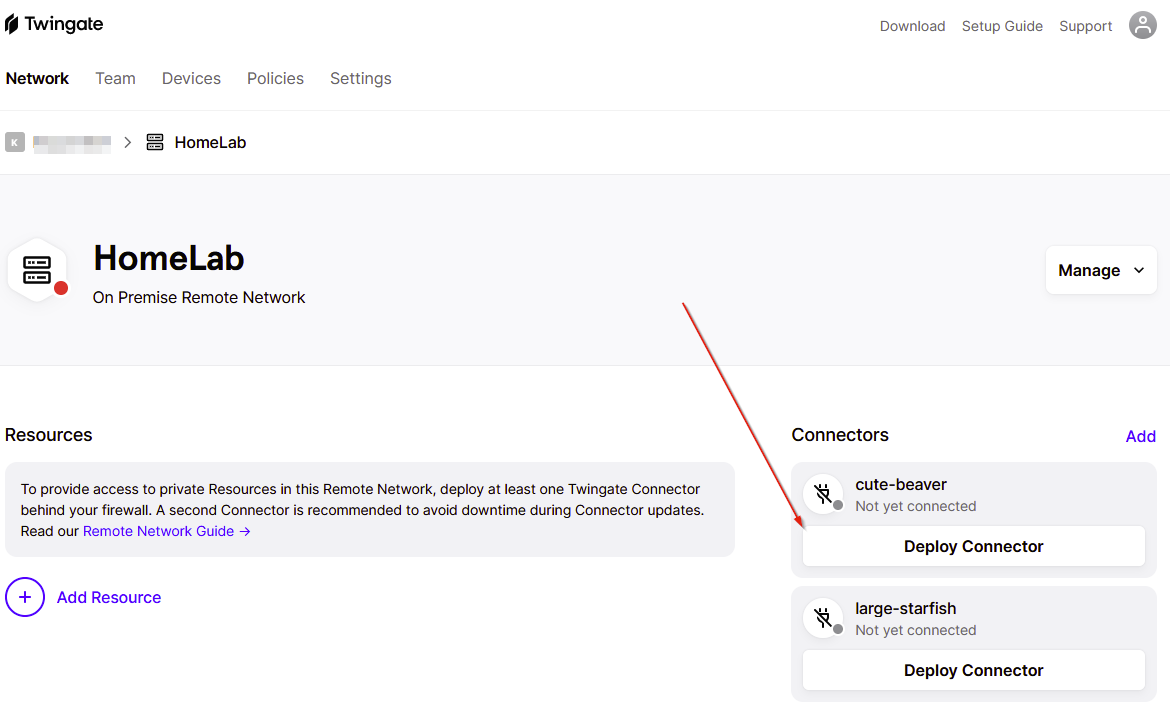
Once you choose on-prem, you'll see two connectors (for redundancy) that we need to deploy:
There are several options here, but we're going to go with docker:
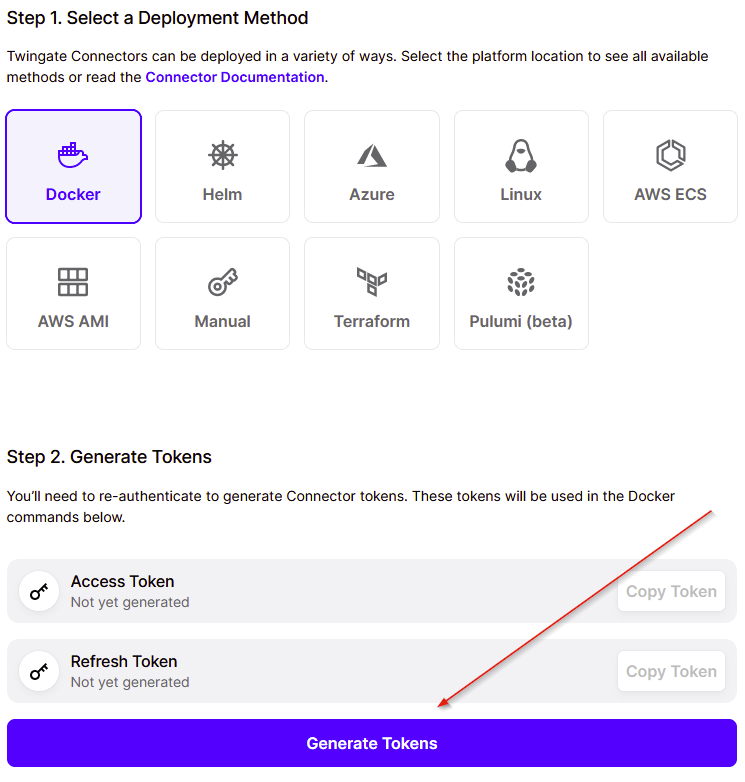
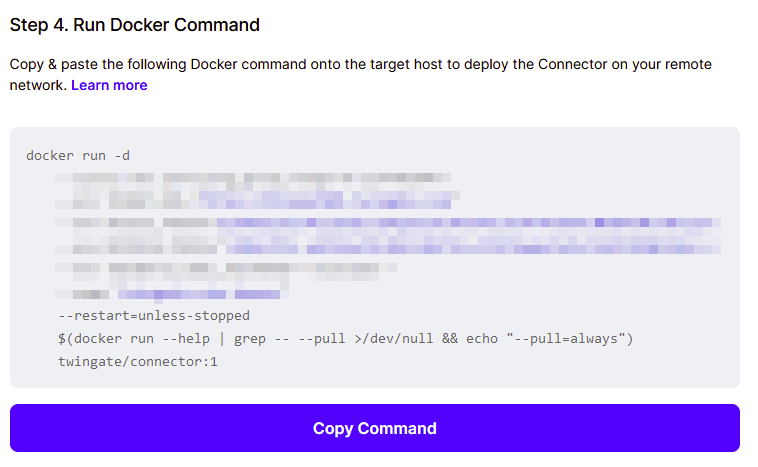
After you choose docker, you'll click generate tokens. Please protect these as they are the connectors into your new environment. For your convenience, the docker command is generated for you:
If all goes well, the connector light will light up indicating everything is connected:

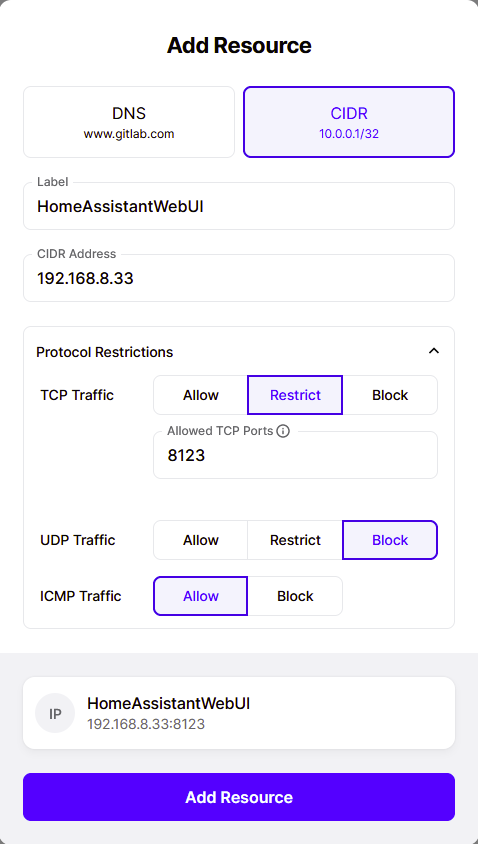
Now it is time to define a resource. Remember, be specific here as the whole idea behind SASE is to be specific in what we give access to. Sure, you can do the whole network, but if you JUST want access to Home Assistant; limit down to the host and IP of Home Assistant.
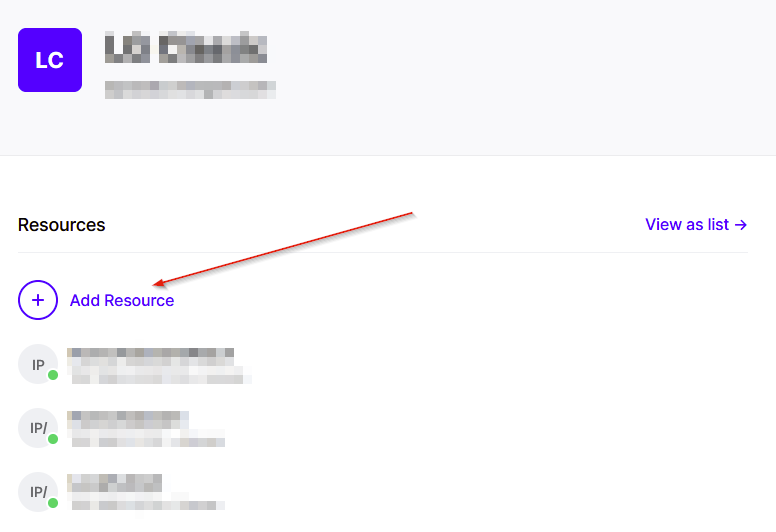
Limiting just down to Home Assistant:
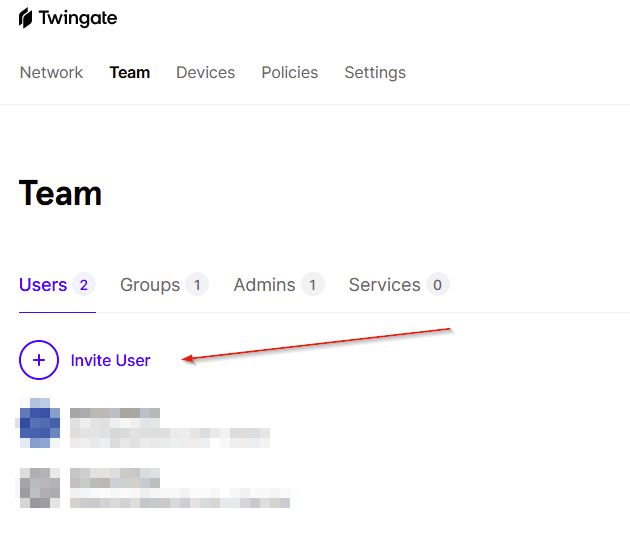
Now, let's define the users that are allowed to access this resource:
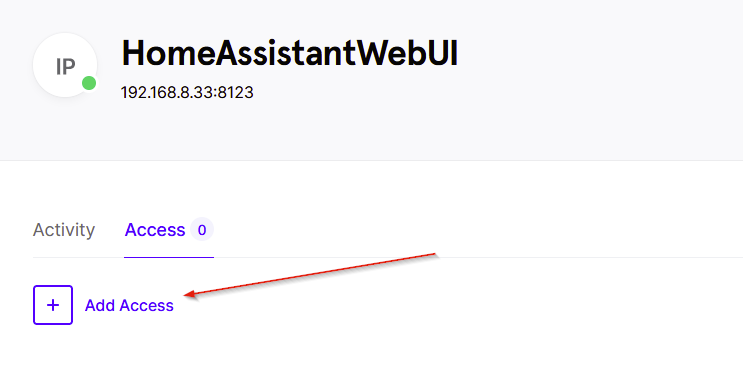
Here, you define the users or groups that will have access to this resource:
Once this is done, you are now free to test your resource. You will need to download the Twingate agent for whatever device you want to connect from. https://www.twingate.com/download/
Once you run through the installer, you will need to authenticate your client to your Twingate environment. You defined this earlier in this guide.
Once you authenticate with your chosen IDP, Twingate will be open / running and you are free to test your resource.