Media Server (Manual) - uthomelabs/guides GitHub Wiki
This guide will help you get Plex Media Server running in a Linux virtual machine. We will perform all steps manually as this is a beginner tutorial. The basic steps will be:
1. Install a Linux Virtual Machine
2. Install Plex Media Server
3. Map some media files
1. Install a Linux Virtual Machine
For this tutorial, we are going to be using Ubuntu Server running as a Virtual Machine. Start by downloading the Ubuntu ISO: Ubuntu Server Download.
For the ease of the lab work, an Ubuntu ISO has been uploaded to the ISO repo for you.
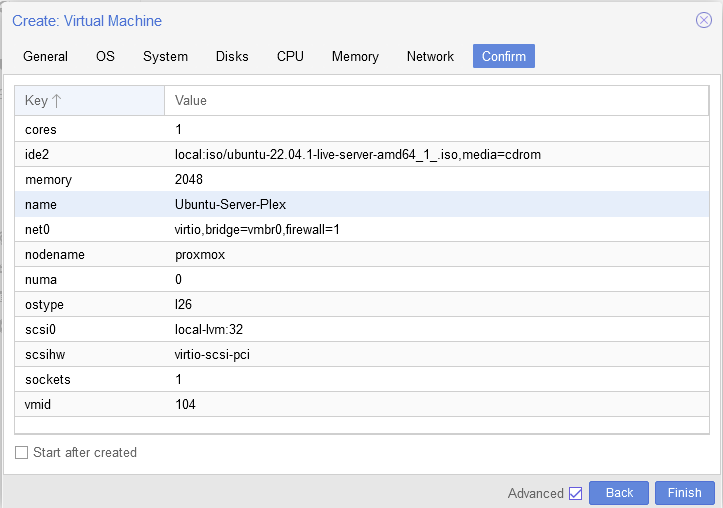
You can use any hypervisor you like for the install, for this example we are going to use Proxmox. Your resource needs may vary, but for this example let's start simple with a single core, 2 Gigs of memory, and a 32 GB disk. (Keep in mind, you'll need to have space to store your media files, but this is a simple lab)
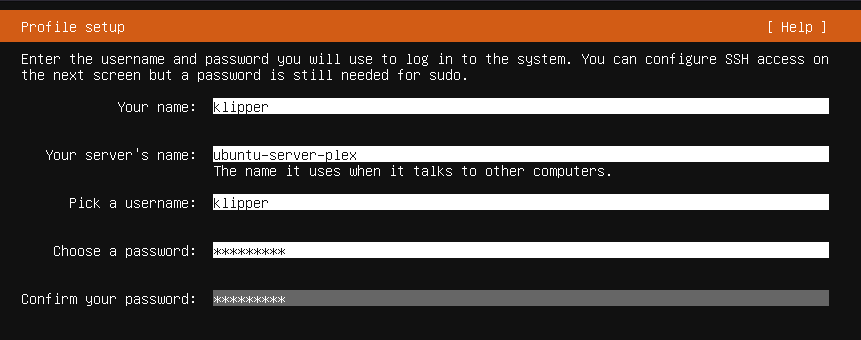
Accept the default boot option (Try or Install Ubuntu) and wait for the installer to launch. You can select the defaults and hit enter on nearly every step of this process, just remember to create a user when it asks:
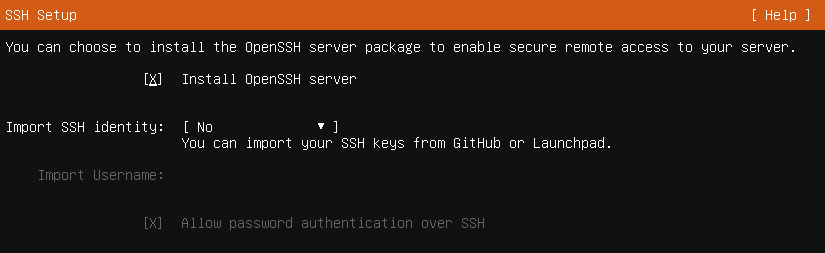
Also install OpenSSH Server when prompted as it will assist in copy/pasting vs trying to type in your hypervisors' console view.
Wait for the install to finish (accept the rest of the defaults) and wait for it to prompt you to reboot into your installed system.
Login for the first time (using the username you created previously) and get the IP address it was assigned from DHCP:
ip addr show

Now open your favorite SSH program and SSH to your new server and login.
2. Install Plex Media Server
Now we're going to add the Plex repository to our system and add the associated keys:
echo deb https://downloads.plex.tv/repo/deb public main | sudo tee /etc/apt/sources.list.d/plexmediaserver.list
curl https://downloads.plex.tv/plex-keys/PlexSign.key | sudo apt-key add -
Once we have the Plex repo added, it's a matter of simply running a quick sudo apt-get update and installing the media server with sudo apt-get install plexmediaserver
Let's make sure it's running!
sudo systemctl status plexmediaserver
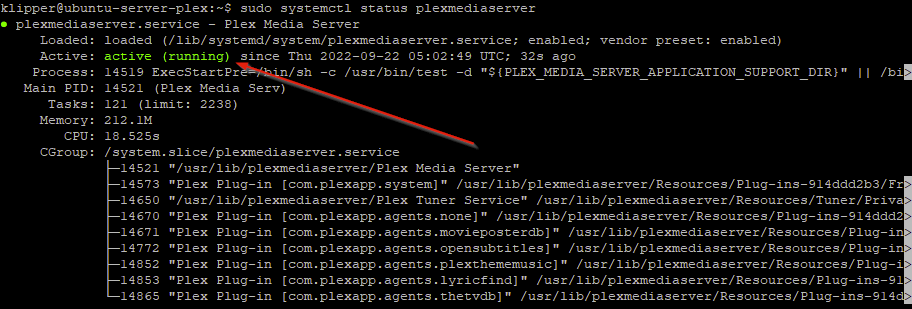 Looks like we are golden!
3. Map some media files
Since this is a lab, we're just going to put a media folder and a test video file in the tmp directory
cd /tmp
wget https://download.blender.org/peach/bigbuckbunny_movies/big_buck_bunny_480p_stereo.avi
mkdir Videos
mv big_buck_bunny_480p_stereo.avi /tmp/Videos
sudo chown -R plex Videos
sudo chgrp -R plex Videos/
These commands downloaded a sample video file, made a directory for us to store our Videos, moved the file into our new folder, and finally gave permission to this folder to Plex.
It's now time to access our Plex server on the web for the first time. Open a browser and direct it to:
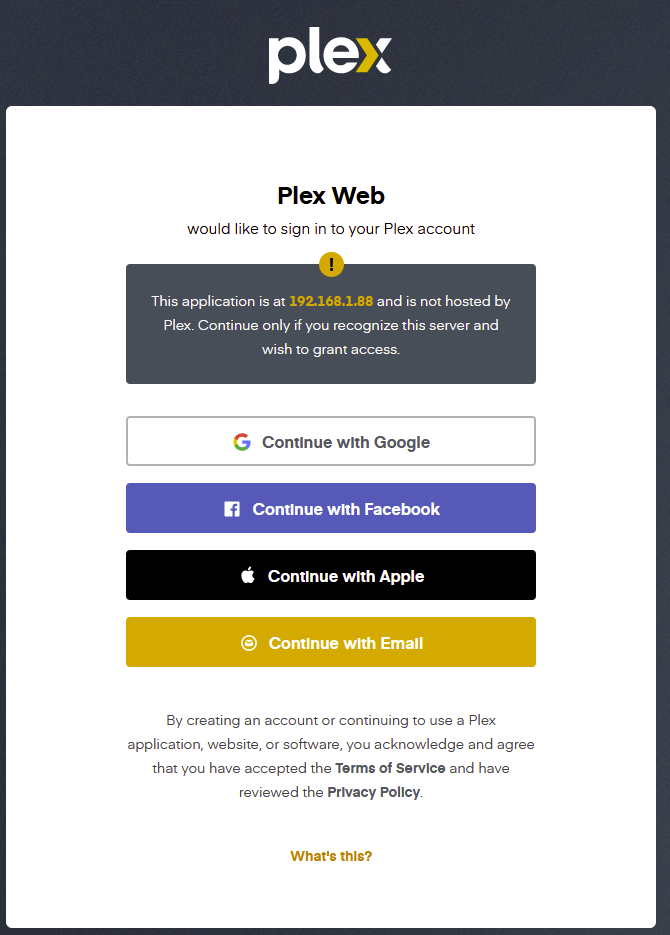
You are now greeted with this login screen. Choose your favorite auth provider, or sign up with an email / password and get logged in.
We will now follow the wizard to finalize our setup:
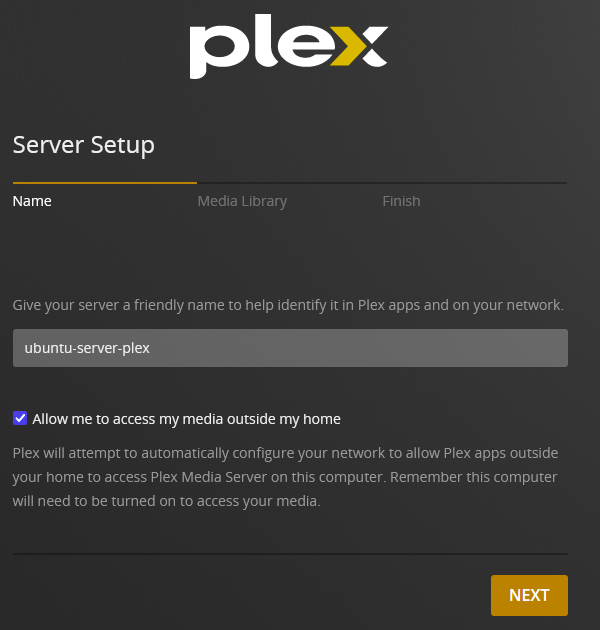
Here is where you give your server a name.
Please note the checkbox to 'allow me access my media outside my home' will utilize UPNP to attempt a port forward on your router
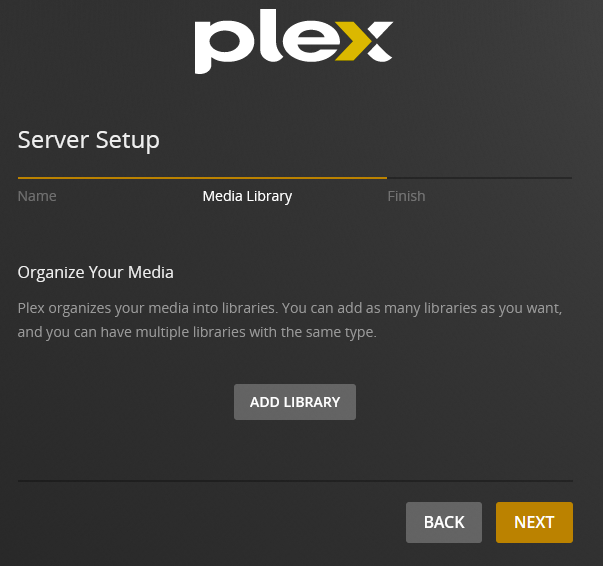
This next screen allows us to find our media files we prepared earlier.
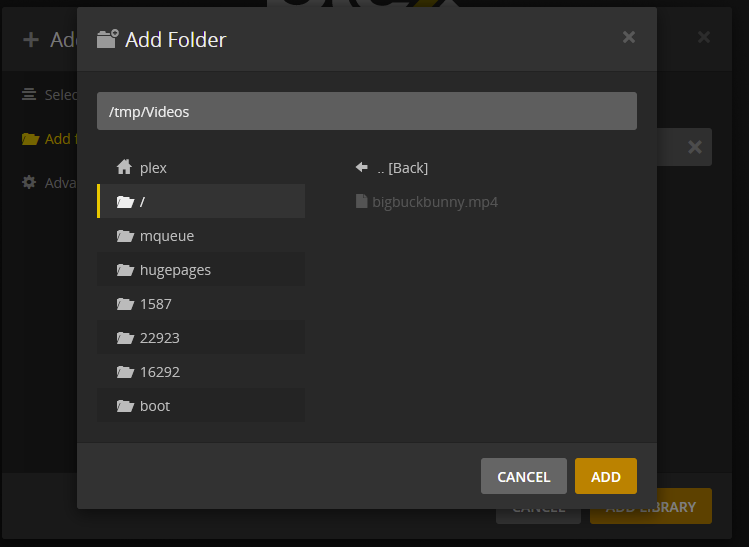
Choose 'Add Library' and browse to that Videos folder we made earlier
Finalize the Wizard and you are all set! Browse to your library folder you created and see your video file.