How to create a Pull Request (PR) - uoftblueprint/the-period-purse-ios GitHub Wiki
For how to create a feature branch to make changes on, please see here:
You just finished making code changes on your feature branch, now what? How do you get the changes merged to the master branch?
git status
Is an essential git command that will show you a summary of what files you've added and what files you've changed. If there are new files you need to add, use the following commands:
git add <FILE>
Will add a specified file to the stage so they are ready to be committed.
git add .
Will add all files to the stage so they are ready to be committed.
Now we'll commit the changes! Make sure you add new files before committing, or they won't appear on the PR.
git commit -m "<MESSAGE>" <FILE>
The -m flag indicates a message that is attached to the commit. Please always add a commit message that's a summary of what changes you've made, as it is helpful for version control. A great example message would be "Added form validation for fields in onboarding form." Once you've committed the files, and added a commit message, you are ready to push!
git push origin <FEATURE_BRANCH_NAME>
This will push your feature branch to a new branch on the origin with the same name. You can make multiple commits and multiple pushes, once you are satisfied with your changes, you are ready to go to Github to create a PR!
Navigating to the Github repo's Code tab, you should see an alert here similar to this one:

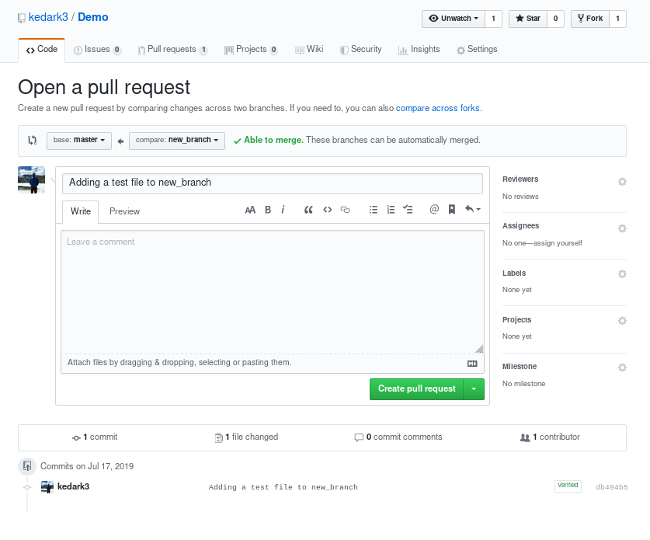
Click "Compare & pull request" and you should see a page like this
Please ensure your pull request has the following completed before assigning a reviewer:
- The title of the PR is the name of the ticket, ex: "TPP-23: Add form validation to onboarding form"
- In the description of the PR, there should be a link to the ticket, and a few notes about what changes you made
- If applicable, a screenshot
- SELF-REVIEW your own changes before requesting a review! Ensure that all the changes on the PR are as you expected and you didn't commit any debugging lines, or local files.
After you've ensured the above is complete, click 'Create Pull Request'.
The final step is to assign two reviewers to your code review. And hooray! You've created a pull request!
