Autonomy Starter Project Perception - umrover/mrover-ros GitHub Wiki
Implementation
Creating a Custom Tag Message
One can think of an entire ROS project as a collection of nodes that talk to each other via named topics. Without any extra info, the data flowing between the nodes are just bytes. Messages identify how this data is structured (go ahead and read the linked Wiki page). We want to make a message that tells Navigation where the tag is. Here is one possible solution:
int32 tagId
float32 xTagCenterPixel
float32 yTagCenterPixel
float32 closenessMetric
Make this a new file called StarterProjectTag.msg under the msg folder in the starter_project directory. There should be no other messages in there yet.
You may be asking now, how do I use this in C++? I just made some text file? The answer is that you have to now add your file to the top of the AutonomyStarterProject.cmake file present in the starter_project directory. CMake will automatically generate the C++ code for this message!
add_message_files(
        FILES
        StarterProjectTag.msg    <---- add your message here
)
Now run catkin build in terminal or hit Ctrl-Shift-P in VSCode and run CMake: Build to generate the C++ code. (For those interested the source can be see in ~/catkin_ws/devel/.private/mrover/include/mrover/StarterProjectTag.msg)
Detecting ArUco tags
Direct your attention to the Perception::findTagsInImage function. Our first task will be to extract the ArUco tags from the image parameter and place them into the tags output vector.
You will want to use the cv::aruco::detectMarkers function for this. Read the hint to understand what parameters you need to pass.
Make sure to also fill in Perception::getClosenessMetricFromTagCorners and Perception::getCenterFromTagCorners. You should use these in the Perception::findTagsInImage.
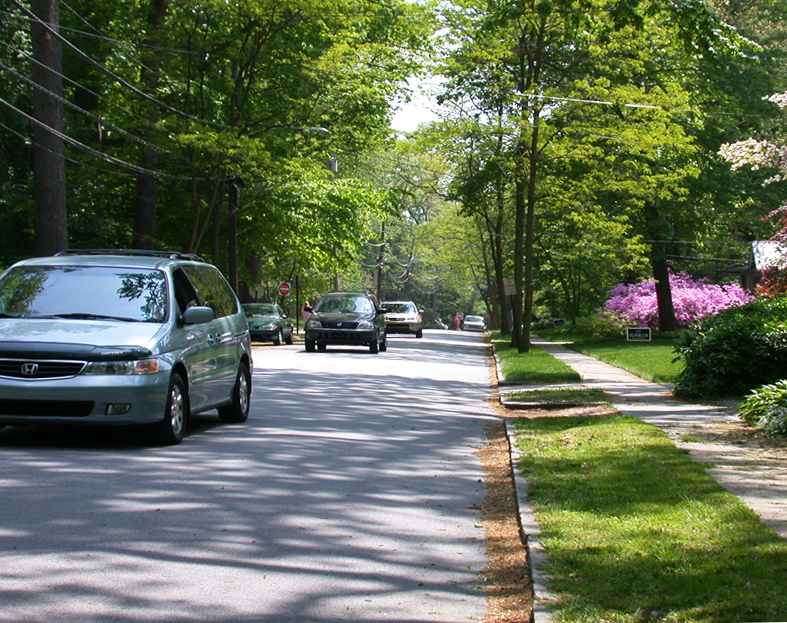
Implementing these two functions will require some thought and we will not provide a way to do it. Discuss with your partners or others about how to solve both. xTagCenterPixel and yTagCenterPixel can be thought of as the center of the four corners of the tags, which you have access to via std::vector<cv::Point2f>. Note the types carefully! It is worth reading them in perception.hpp. For closeness metric, you only need an approximation. It will be used to drive towards the tag and stop within a distance. Consider how you as a human would estimate how far something is from you using your eyes. How would you approximate how far the vehicles in the image below are from you? How do you know they are different distances away? Be creative!
Selecting the Center-most Tag
Next you will want to select the tag from this vector that is closest to the center of the camera. In other words the distance to (image width / 2, image height / 2) is smallest. Go ahead and fill in the Perception::selectTag function.
Publishing the Tag
Now that we have our desired tag, it is time to publish it to the proper topic. Implement Perception::publishTag.
Testing your Work
To test your tag detection algorithm run roslaunch mrover starter_project.launch to open the simulator. Then run rostopic echo /tag to monitor the output of perception. Make sure your node (the code you wrote) is not crashing in the log output!
Debugging
First comment out launching our node in the starter_project.launch file. You will instead be launching it from VSCode.
Now run roslaunch mrover starter_project.launch in a terminal.
Then hit Ctrl-Shift-P and run Cmake: Debug. Select "Unspecified" if it asks for a kit. Select the starter project program to run (these settings are also on the bottom bar).
Make sure to set breakpoints in the source code files! They are almost always better than print statements.
Extra
What is Camera Space?

Consider the following image. Let's say it is 400x400 pixels. We can define a coordinate system that starts at the top left corner, consider that (0,0) with positive values of x extending right and positive values of y extending downward. The center of the tag would be about (300,100) in this space. Here is a diagram to aid understanding:
