Messaging Configuring APNs with FCM - tuarua/Firebase-ANE GitHub Wiki
The Firebase Cloud Messaging APNs interface uses the Apple Push Notification service (APNs) to send messages up to 4KB in size to your iOS app, including when it is in the background.
To enable sending Push Notifications through APNs, you need:
- An Apple Push Notification Authentication Key for your Apple Developer account. Firebase Cloud Messaging uses this token to send Push Notifications to the application identified by the App ID.
- A provisioning profile for that App ID.
You create both in the Apple Developer Member Center.
Create the authentication key
This section describes how to generate an authentication key for an App ID enabled for Push Notifications. If you have an existing key, you can use that key instead of generating a new one.
To create an authentication key:
-
In your developer account, go to Certificates, Identifiers & Profiles, and under Keys, select All.
-
Click the Add button (+) in the upper-right corner.
-
Enter a description for the APNs Auth Key
-
Under Key Services, select the APNs checkbox, and click Continue.
-
Click Confirm and then Download. Save your key in a secure place. This is a one-time download, and the key cannot be retrieved later.
If you'd like to verify that your APNs authentication key is set up properly and is accepted by APNs, try sending a test push notification.
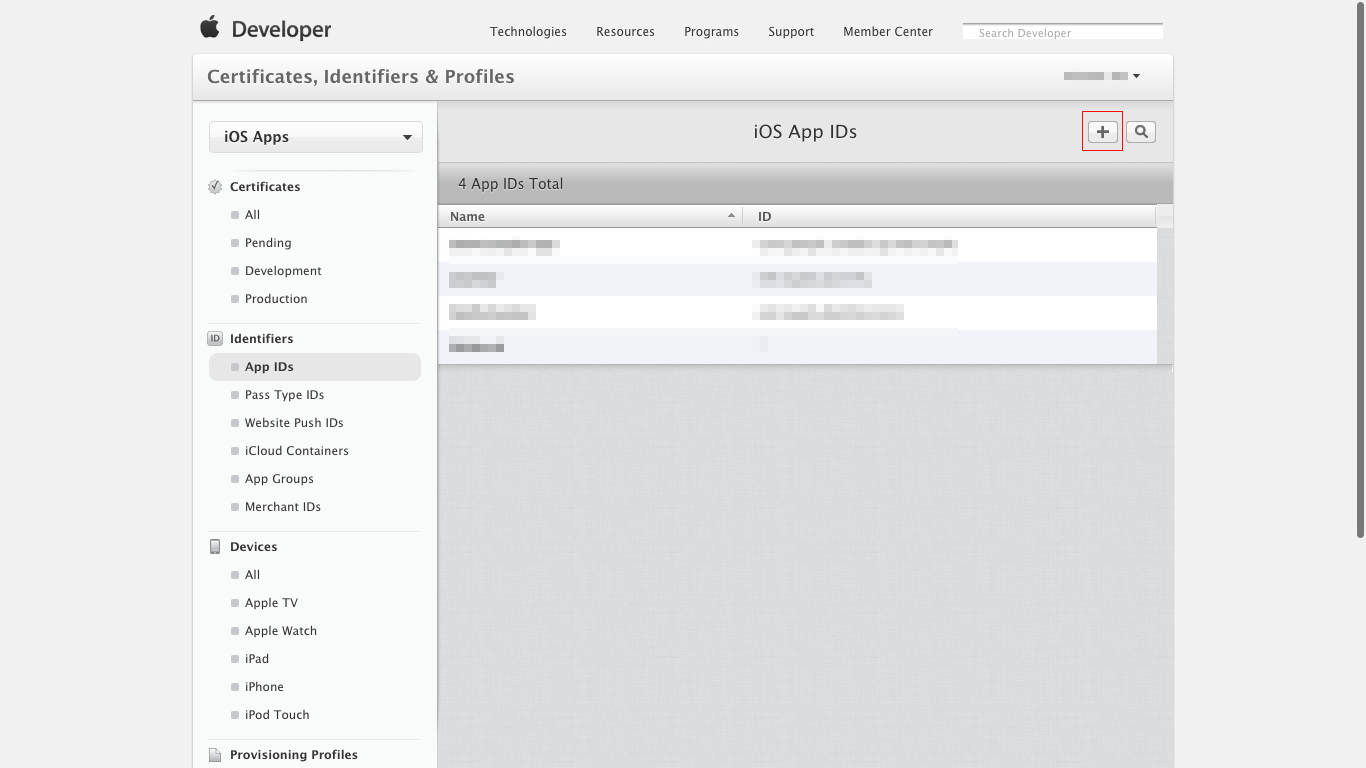
Create an App ID
An App ID is an identifier that uniquely identifies an app. As a convention it is represented by a reversed domain (e.g. com.google.samples.firebaseexample).
If you already have an App ID that you would like to use, make sure that it is an explicit App ID (it does not contain a wildcard) and skip this section.
- Navigate to the Apple Developer Member Center and sign in.
- Navigate to Certificates, Identifiers and Profiles.
- In the drop down menu on the top left corner, select iOS, tvOS, watchOS if it's not already selected, then navigate to Identifiers > App IDs.
- Click the + button to create a new App ID.
- To create the new App ID:
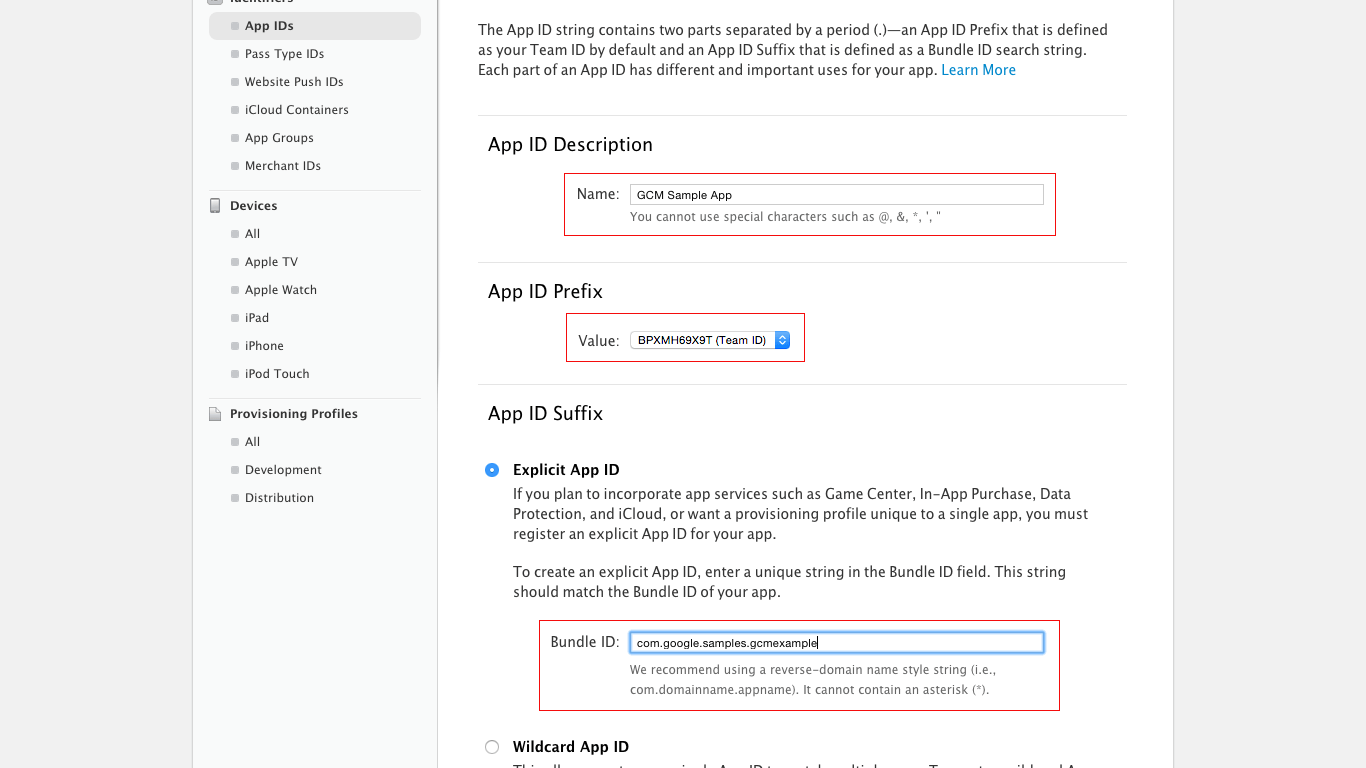
- Input a Name for your App ID (e.g. Firebase Sample App)
- Input an App ID Prefix. This value must match the Team ID in the Membership tab.
- In the App ID Suffix section, select Explicit App ID, then input your Bundle ID (e.g. com.google.samples.firebaseexample). The value of the Bundle ID should match the value that you are using in your app's Info.plist and the value that you are using to get a configuration for FCM.
- In the App Services section, make sure that Push Notifications is checked.
- Click Continue and check that your input is correct:
- The value of Identifier should match the concatenation of the values of the App ID Prefix and of the Bundle ID
- Push Notifications should be Configurable
- Click Register to create the App ID.
Create the Provisioning Profile
To test your app while under development, you need a Provisioning Profile for development to authorize your devices to run an app that is not yet published on the App Store.
- Navigate to the Apple Developer Member Center and sign in.
- Navigate to Certificates, Identifiers and Profiles.
- In the drop down menu on the top left corner, select iOS, tvOS, watchOS if it's not already selected, then navigate to Provisioning Profiles > All.
- Click the + button to create a new Provisioning Profile.
- Select iOS App Development as provisioning profile type, then click Continue.
- In the drop down menu, select the App ID you want to use, then click Continue.
- Select the iOS Development certificate of the App ID you have chosen in the previous step, then click Continue.
- Select the iOS devices that you want to include in the Provisioning Profile, then click Continue. Make sure to select all the devices you want to use for your testing.
- Input a name for this provisioning profile (e.g. Firebase Sample App Development Profile), then click Generate.
- Click Download to save the Provisioning Profile to your Mac.
- Double-click the Provisioning Profile file to install it.