Presets and Pipelines - strohne/Facepager GitHub Wiki
In the Menu Bar you will find a button to open a list of presets. These presets will help you to simplify your Facepager experience. Every preset includes a short description and an overview about its functionality.
See the Getting Started tutorial to get a basic understanding about how to use the default presets. In the following sections you will find an introduction to editing and sharing presets.
Presets marked with an asterisk are included by default.
They are downloaded from GitHub automatically and stored inside the application directory everytime you start Facepager.
Your own presets are stored in your user directory as shown in the Status Bar of the preset window (e.g. C:\Users\username\Facepager\Presets).
They may be copied, distributed and shared with other users. Click the Status Bar to open the directory.
Multiple presets may be grouped to pipelines. A pipeline is just a collection of presets that are processed one after another. Each step works with the resulting data of the previous step.
We encourage you to share your presets with us – do so by mailing the .json-file to the authors of Facepager and provide a short description of your preset!
Buttons in the preset window
| Buttons | Function |
|---|---|
| Apply | Load the selected preset. This transfers the preset options into the query settings and the column setup. |
| Run Pipeline | Run the presets in the pipeline one after another. This has the same effect as applying the first preset to the selected nodes and then each following preset to the newly created child nodes. |
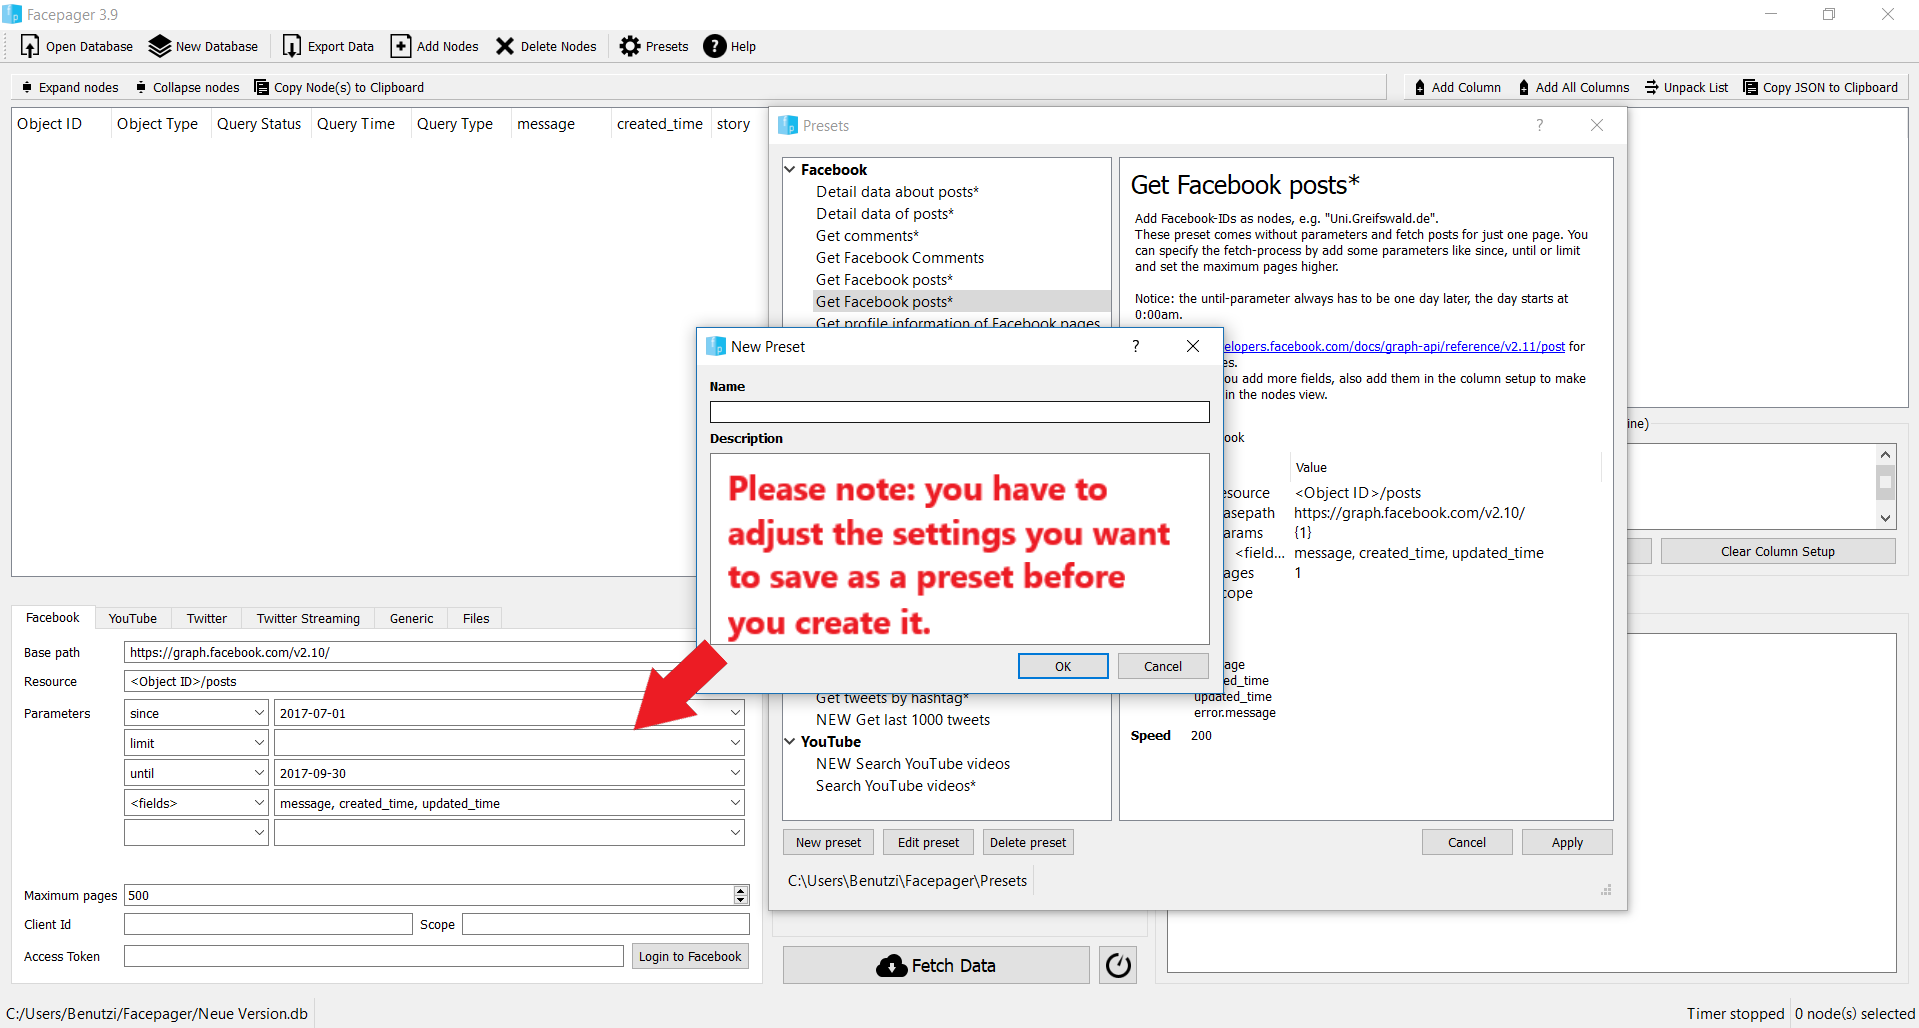
| New preset | Creates a new preset and stores the current column setup and query settings. Adjust these settings before creating the new preset. |
| New pipeline | Creates a new pipeline. A pipeline groups multiple presets together for multistage data collection scenarios. |
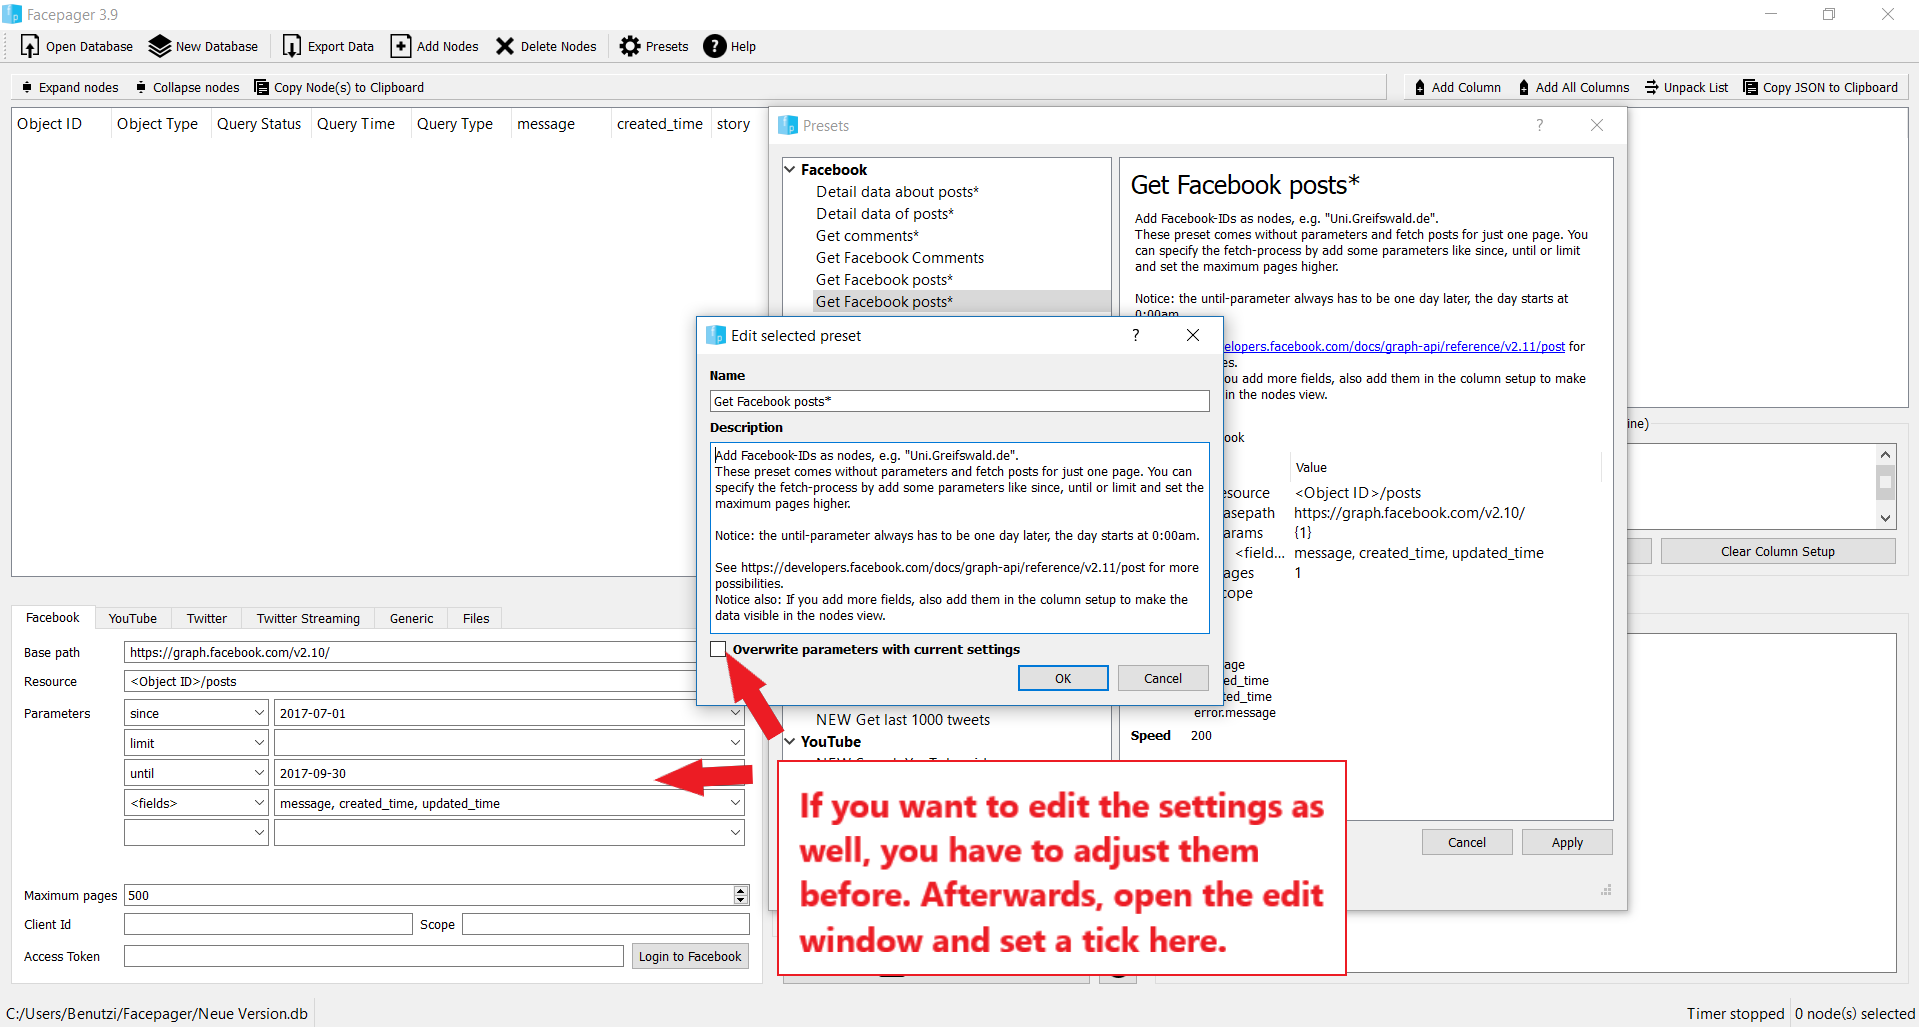
| Edit | Edit the currently selected preset. You can change the name and description or the settings as well. If you want to edit the settings, adjust the column setup and the query settings before editing the preset. Then click on Edit preset and set a tick on Overwrite parameters with current settings. Presets marked with an asterisk are default presets and cannot be edited. |
| Delete | Deletes the currently selected preset from the list. Presets marked with an asterisk are default presets and cannot be deleted. |
| Reload | Reloads the presets from GitHub and from your custom preset folder. |
| Add Columns | Add all columns of the preset to the current column setup. |
| Cancel | Close the preset window. |
Create a preset
Use presets to store and load your settings for certain API calls. These presets store your custom table column setup, the selected query module and its settings. No data or private access tokens are stored!
Edit a preset
To edit presets, load an existing one, make changes in the description and/or overwrite the current settings. Alternatively you can go to the presets folder and edit the preset with a text-editor.
Load a preset
You can load presets provided by other users. Open the preset folder by clicking onto the path in the status bar of the preset window. Then copy the preset into this folder. Click Reload in the preset window or restart Facepager.
In the following list you find some additional presets. You can save them into you preset folder (download by right mouse click).
- Twitter: Get old tweets
- Twitter: Get replies
- Instagram: Search
- Instagram: Get profile data
- Instagram: Get posts
- Instagram: Get Comments
Pipelines
Data collection often involves multiple steps. For example, on platforms such as YouTube, you may first collect channel information, then the videos and finally the comments. Some APIs even follow standards such as Hydra and explicitly implement multi-stage collection processes. In Hydra, you first fetch collections that contain URLs, then you follow the URLs to get the detail data.
The pipeline feature of Facepager support multi-stage data collection by grouping together multiple presets that run one after another. In Facepager, each time you run a query, child nodes are created. Thus, multiple stages are reflected in the hierarchy of nodes. When running a pipeline, each preset in the pipeline is applied to the resulting nodes from the previous preset.
You create new pipelines with the corresponding button in the preset window. After you created a pipeline, create or edit a preset and assign it to the pipeline. The order of presets within a pipeline is determined by the preset name. Thus, it is advised to start the preset name with a number.
For running a pipeline, select it and click Run pipeline.