Compiling the code using Arduino IDE - sorinbotirla/esp32-marauder-ESP32-3248S035C GitHub Wiki
you can compile the source code using Arduino IDE. I tested this using Linux (Debian or Ubuntu) but it should work on Windows too.
Install and open the the latest release of Arduino IDE
In the Arduino IDE, go to File>Preferences
Add the following URLs to Additional Boards Manager URLs:
https://dl.espressif.com/dl/package_esp32_index.json
https://raw.githubusercontent.com/espressif/arduino-esp32/gh-pages/package_esp32_dev_index.json
Go to Tools>Board>Boards Manager, search for esp32 and install esp32 by Espressif Systems
NOTE: If you're using windows
Install the CP210X Drivers
Install the CH340X Drivers
With any text editor, open platform.txt file which is located on:
Windows: C:\Users\USERNAME\AppData\Local\Arduino15\packages\esp32\hardware\esp32\2.0.10\platform.txt
Linux or Mac: /home/USERNAME/.arduino15/packages/esp32/hardware/esp32/2.0.10/platform.txt
(replace USERNAME with your username)
In the platform.txt file:
Add -w to the following compiler settings
build.extra_flags.esp32
build.extra_flags.esp32s2
build.extra_flags.esp32s3
build.extra_flags.esp32c3
Add -zmuldefs to the following compiler settings
compiler.c.elf.libs.esp32
compiler.c.elf.libs.esp32s2
compiler.c.elf.libs.esp32s3
compiler.c.elf.libs.esp32c3
alternatively you can rename the platform.txt to platform.txt_bak (to make a backup) and copy the platform.txt file from this repository
-
Arduino GFX
-
ESP Async WebServer v1.2.3
- AsyncTCP v1.1.1
- ArduinoJson v6.18.2
- JPEGDecoder v2.0.0
- LinkedList v1.3.3
- lv_arduino v3.0.1
- TAMC_GT911 v1.0.2
- TFT_eSPI v2.5.43
- MicroNMEA v2.0.6
- EspSoftwareSerial v6.14.0
- NimBLE-Arduino v1.4.2
- Adafruit NeoPixel v1.12.3
open the TFT_eSPI library installation folder:
on Windows: C:\Users\USERNAME\Documents\Arduino\libraries\TFT_eSPI\
on Linux or Mac: /home/USERNAME/Arduino/libraries/TFT_eSPI-master/
make a backup of the User_Setup.h file by renaming it to User_Setup.h_bak
Copy the User_Setup.h file from this repository to the folder you just opened
7. Follow these instructions for installing ESP32 Spiffs Tool
Open Arduino IDE, go to Tools > Board > Esp32 and choose LOLIN D32
go to Tools > Partition Scheme and choose Minimal SPIFFS (Large APPS with OTA)
go to Tools > Programmer and choose esptool
Click the compile button. If you did everything correctly it should compile just fine.
For me, the usb port did not worked well and I couldn't flash it trough the usb or establisha connection to the PC.
Only powering up the display worked on the usb.
You may try to connect the usb cable to the usb port and try to upload the code from Arduino IDE.
To do so, connect the usb cable,
press both power and reset buttons on the back of the display simultaneously,
keep the boot button pressed and reelase the reset button,
release the reset button.
If you get a new open port (/dev/ttyUSB0 on linux, or COM(X) on Windows) and the "waiting for download" message in the Serial Monitor on Arduino IDE, you are fine to go uploading the code now.
If you don't see any new opened port and no "waiting for download" message in the Serial Monitor, you need to use a serial/ttl usb interface
and connect it to the port next to the usb connector.
I have used a FTDI FT232 serial/ttl interface
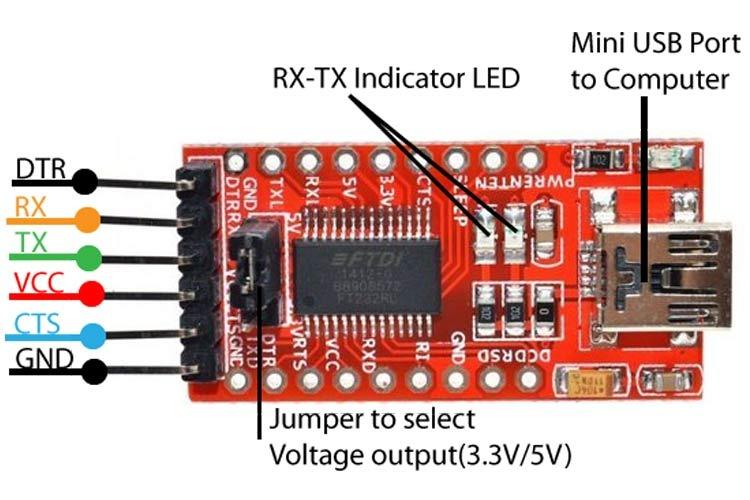
Here is how I connected it to the display:
| TTL Interface | Esp32 display |
|---|---|
| GND | GND |
| VCC | VIN |
| TX | RX |
| RX | TX |
If your interface supports 3.3V and 5V output and it has a jumper, place the jumper to the 5V
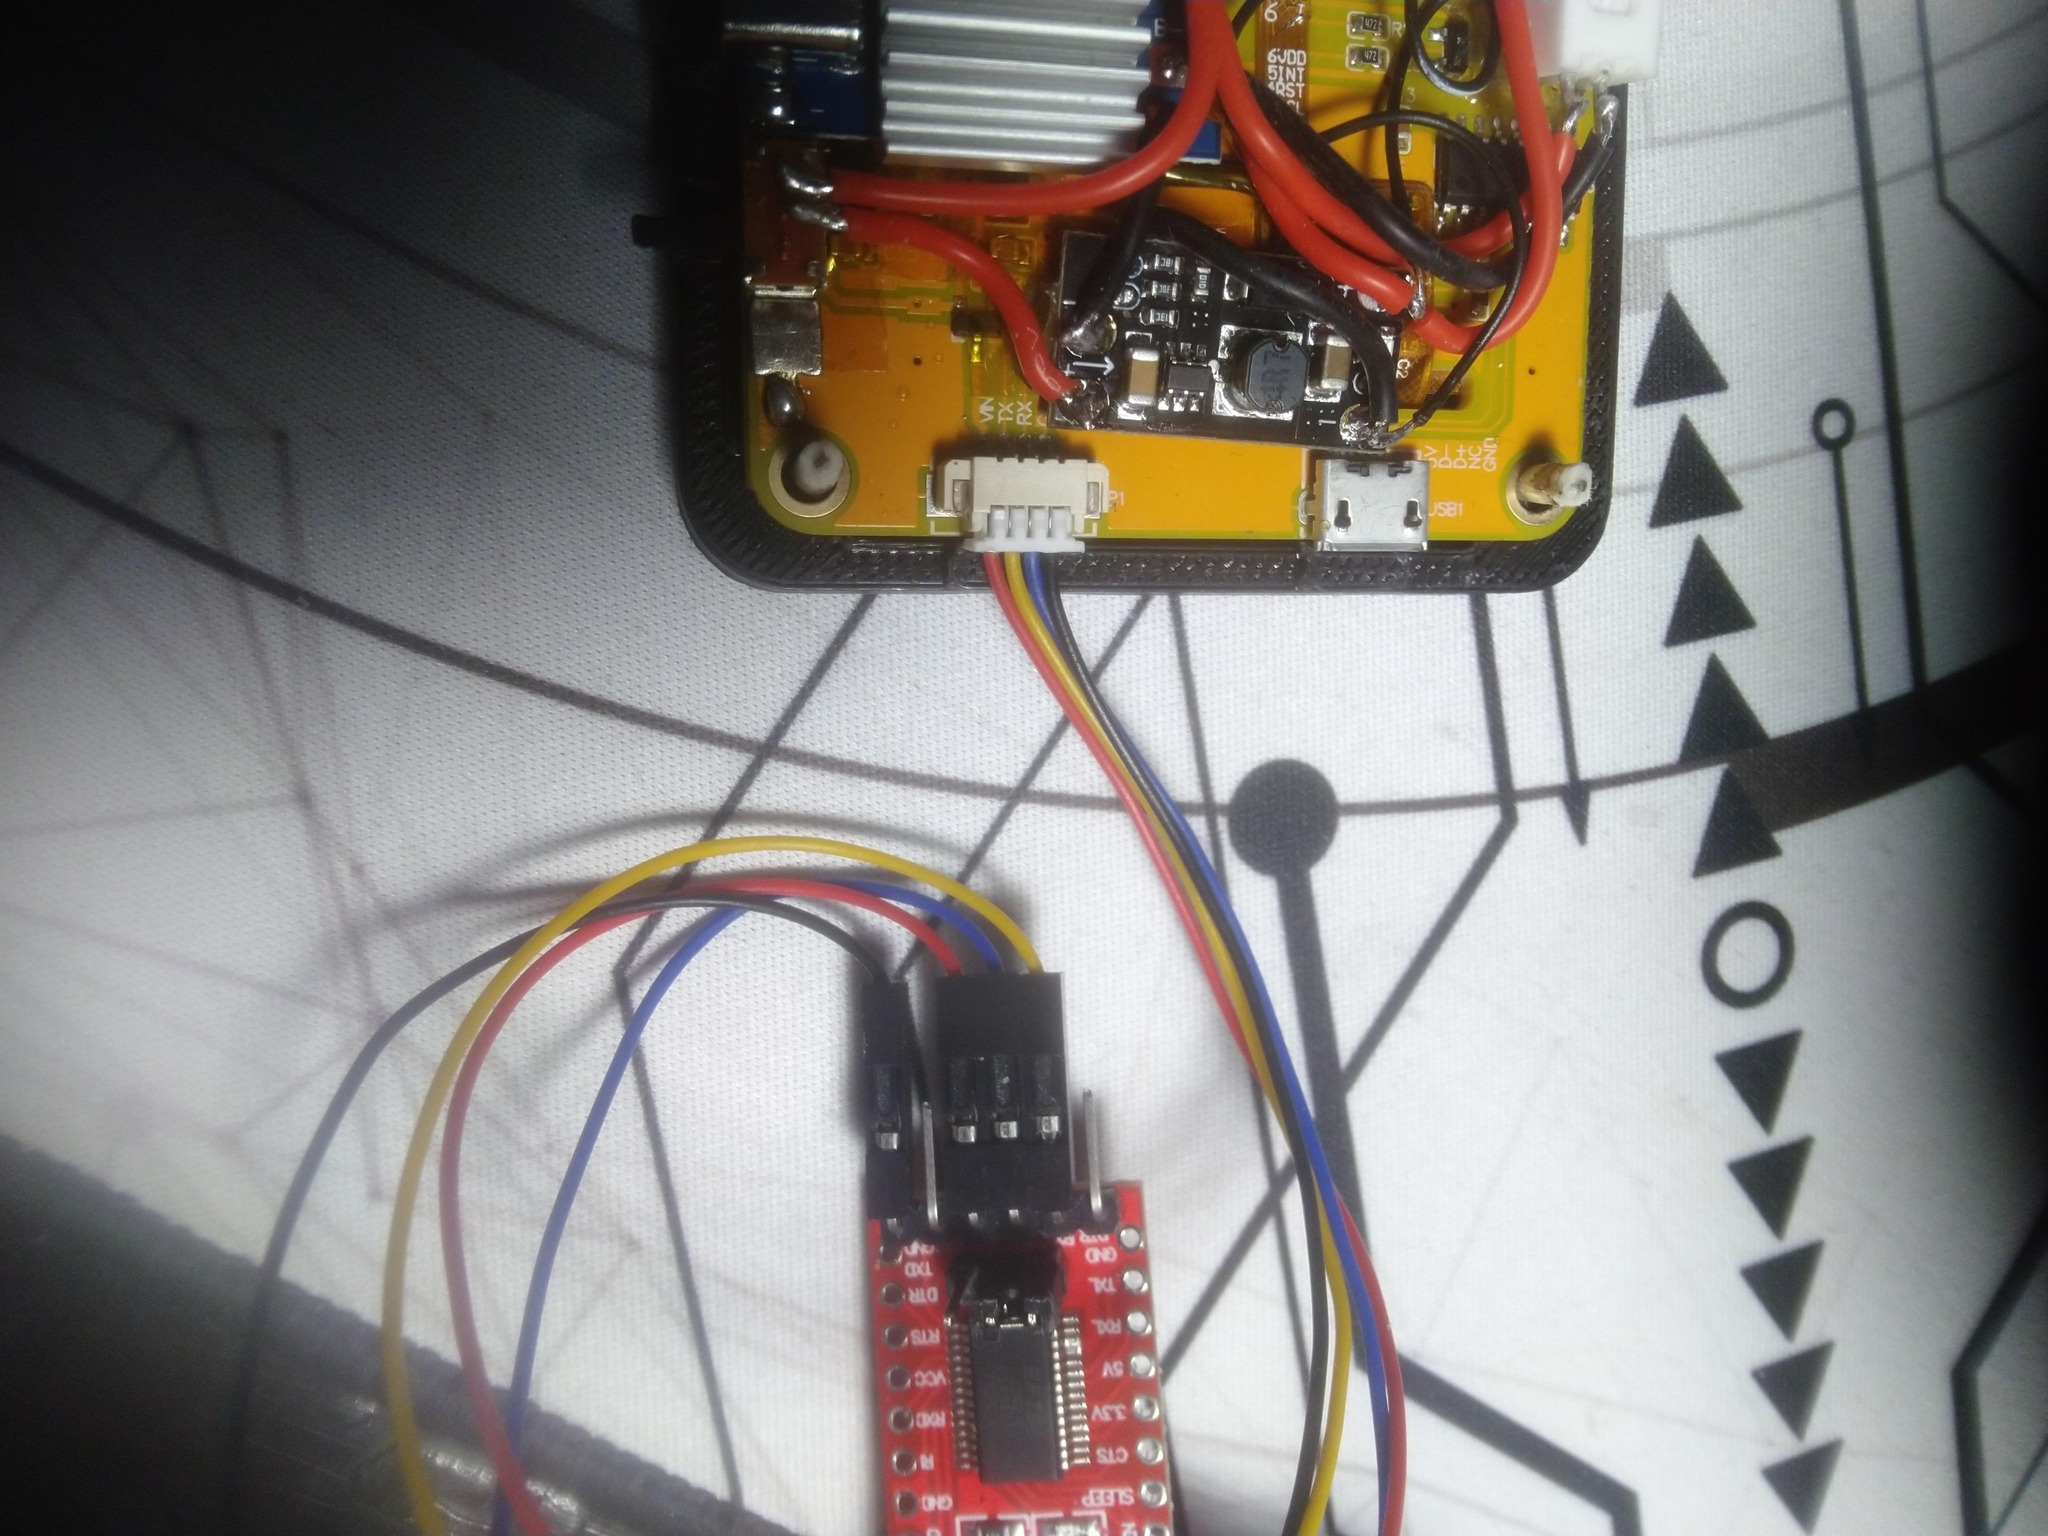
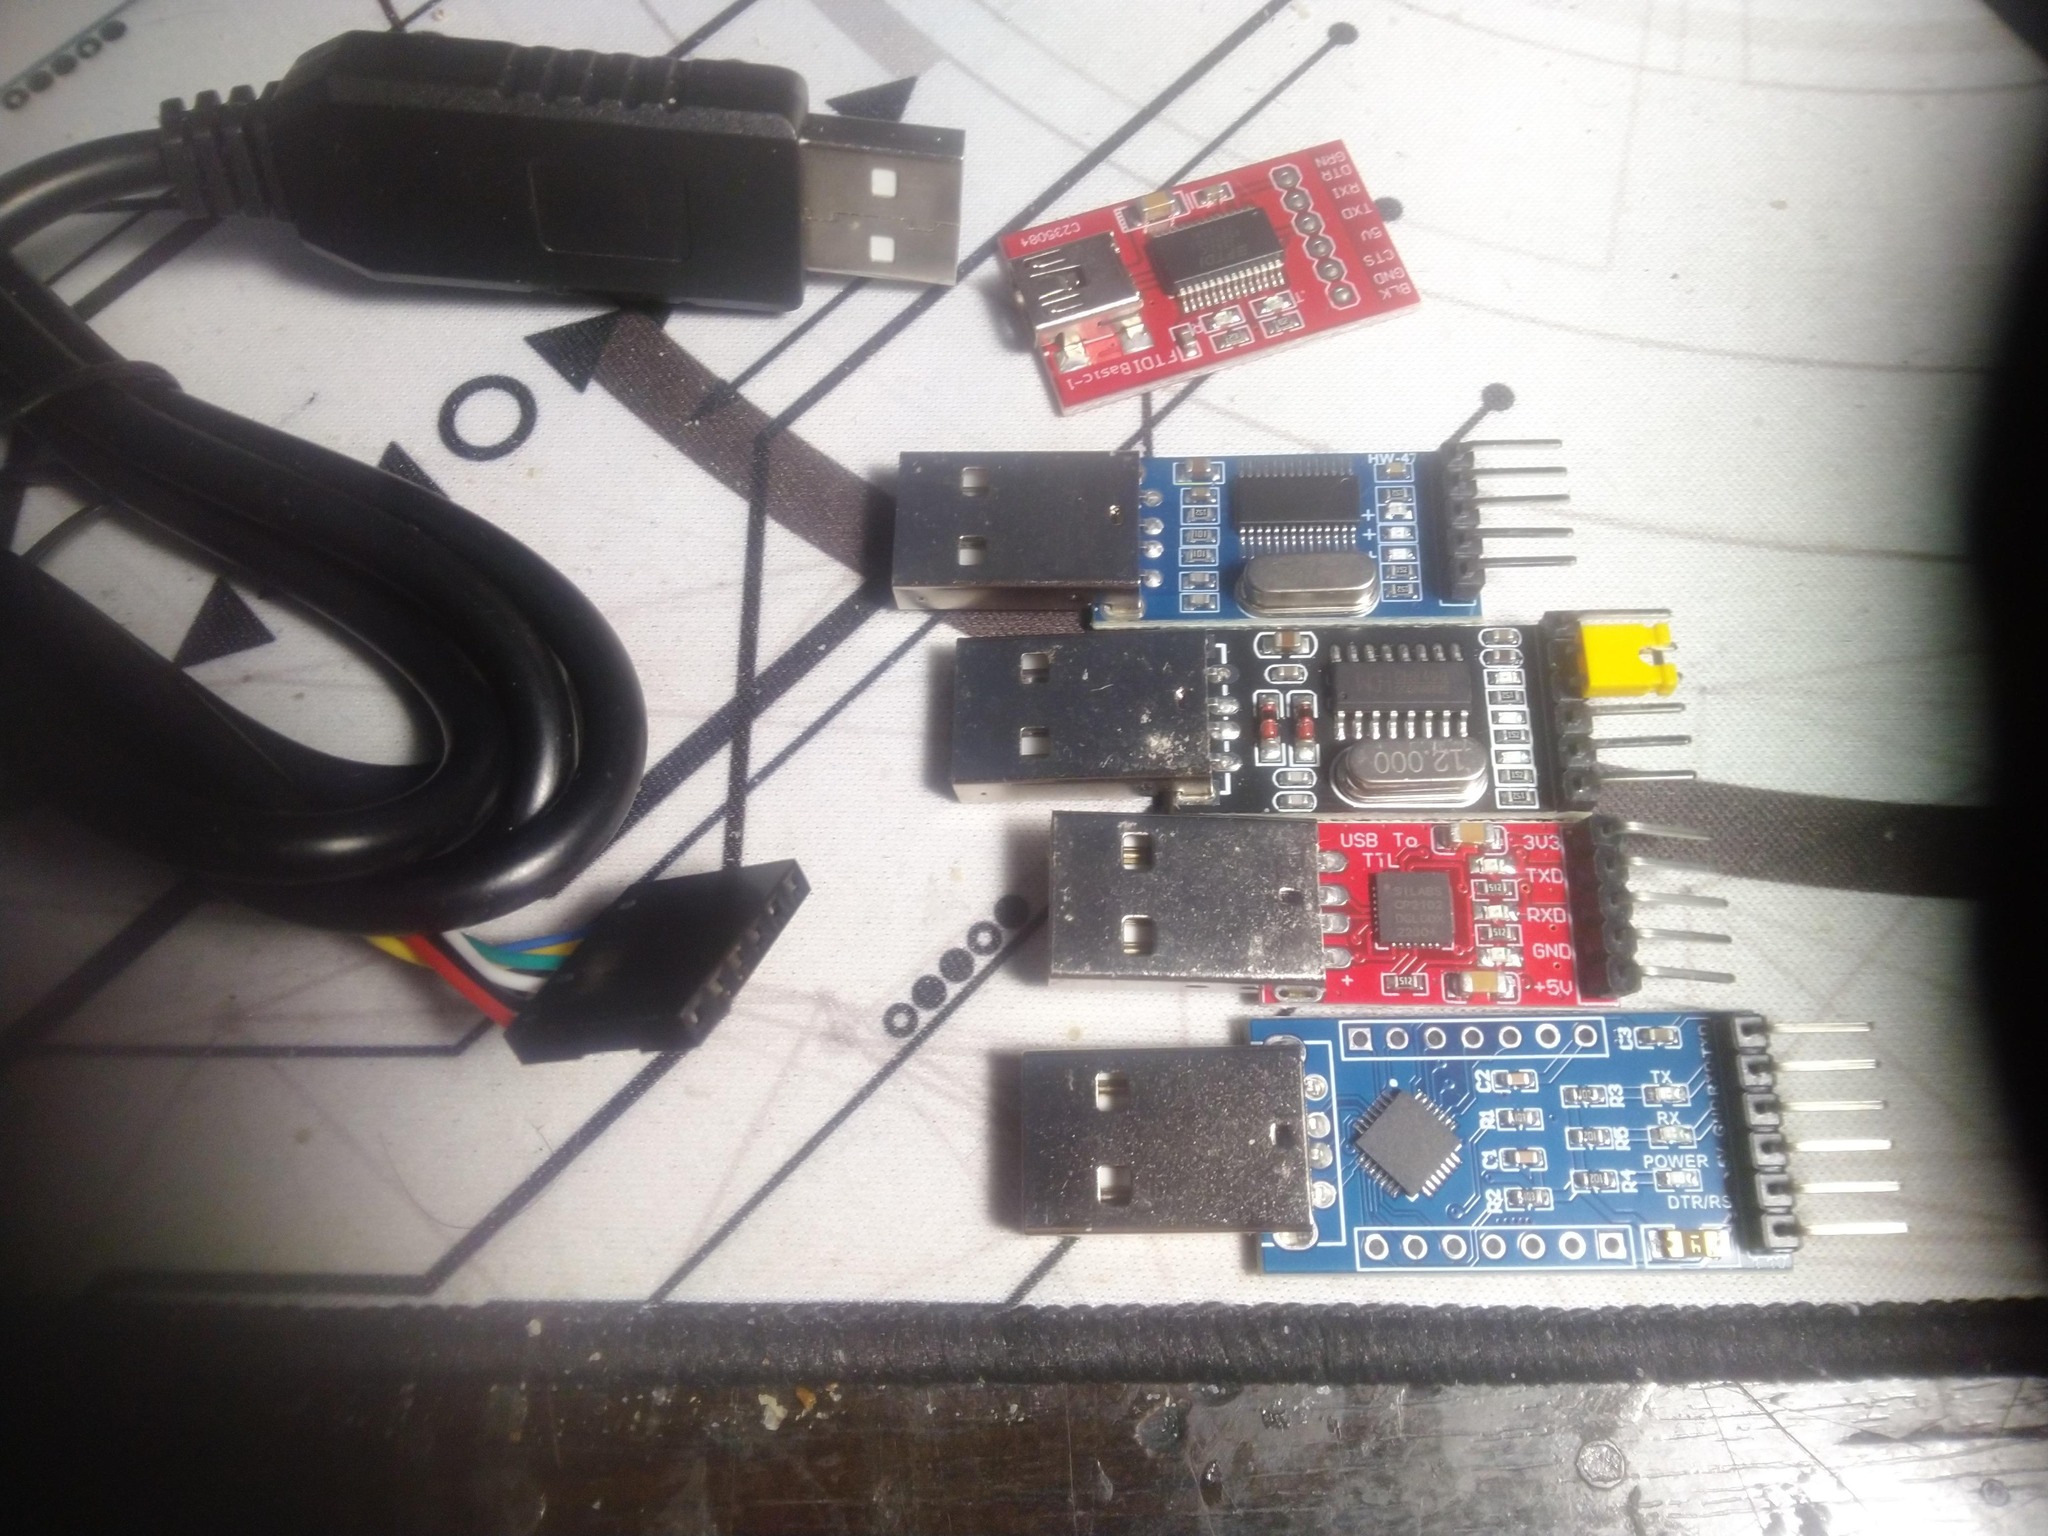
You can use other serial/ttl interfaces like CP2101, CH340G, Prolific PL232 and so on:
Use the colored wires which come within the display's package and connect them to the interface as I did in the picture above.
You can connect the interface to the pc usb port and you will see the new port opened in the Arduino IDE.
From there, you can set the esp32 in download mode by:
pressing the boot and reset buttons simultaneously,
release the reset button,
then release the boot button.
You can upload the code and after it finishes uploading, you need to press the reset button once.
Repeat the procedure if you want to change things in the code and upload again.
If everything went right, you can now start Building a Standalone ESP32 Marauder