How to use SPUM - soonsoon2/SPUM GitHub Wiki
How to run
1. Running a SPUM *. Proceed with SPUM added to Unity Editor. If the installation did not proceed, refer to the .
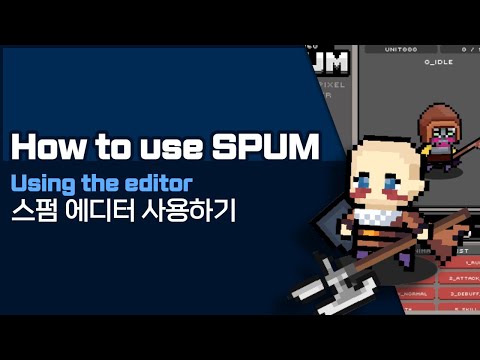
- Run the ‘SPUM_Scene.unity’ scene in the [Assets->SPUM->Scene] path.
- When you run it, you can see how SPUM works as shown below.
Tribe Setting
1. What is tribe setting?
You can select a species by clicking the human appearance icon ‘Select tribe’ on the SPUM screen. It is a function to frame characters such as skin color, undead, and elf.
*. Properties that serve as the skeleton of the character.
If you set the tribe, your appearance will be initialized. It is recommended to select a tribe and use it as a way to decorate the character.
2. How to tribe setting
- Click the Select tribe button.
- Select the desired tribe.
Class Setting
1. What is Class Settings?
The SPUM internal class selection feature allows you to set up the cavalry. There is a difference between the infantry character and the animation of the mounted soldier character.
2. Setting Up a Class
- Click the Select Class button.
- Select the desired vehicle.
You can release the vehicle by selecting the Trash icon.
Appearance Settings
1. What is Character Appearance Settings?
You can set the appearance of the character with the appearance setting function provided by SPUM. It is possible to create a character with a unique personality by combining various elements such as eyes, hair, and clothes.
The appearance can be set through the buttons in the right area of the SPUM UI.
From the top left, [Eye, hair, beard, hat, top, bottom, shoulder, cape, left-handed weapon, right-handed weapon] and random button and item reset.
2. To set the appearance of a character
- Call hair Selection Window
As an example, proceed with the process of modifying the character’s hair. Click the hair icon to set the character’s hair.
- Decide your hair style
Select and select the appropriate hair style. If you want to release the set head, click the ‘Trash Bin’ icon in the upper left corner.
The buttons at the top of the head selection window are categorized by version and extension pack. Depending on your selection, you can browse only the items in the desired category.
- Determining the hair color
The icon changes to red in areas where the item is attached, such as hair style. This will help you determine if the item is fitted.
Press the ‘C’ button to invoke the Change Color window.
In the Change window, select the desired color to change the hair color. Other elements can be changed in the same way.
- Utilize random elements
There is also a random function for users who want to set their appearance at random. Click the ‘R’ button to take advantage of the random function. This allows you to see random changes in hair style and color. Other components can change components randomly in the same way.
- Initialize the hair
You can reset the set item by pressing the ‘D’ button. (Recover to Not Installed) In addition to the hair, elements that require removal and initialization can be initialized through the ‘D’ button.
- Setting lock function
Locking can prevent your favorite attributes or essential elements from changing. Setting the lock does not affect random through ‘R’.
*. Due to the nature of SPUM, the hair and hat are not applied at the same time. To prevent the ‘R’ function of the hair and hat, both the hair and the hat need to be locked. (Undo ‘Hat’ when setting ‘Hair’ / Undo ‘Hair’ when setting ‘Hat’)
- Full random functionality
If you want to give randomness to the entire appearance of the character, you can use ‘ALL ITEMS RANDOM’. Sets all appearances at random except for locked appearance elements.
- Full initialization
If you want to initialize the entire appearance of the character, you can use ‘ALL ITEMS RESET’. Return all elements to the beginning, whether locked or not, so use it carefully.
Characters who have completed the character appearance setting can be saved and used.
To avoid overlapping the character’s hair with the hat, the hair and hat cannot be worn in duplicate.
*. The functions ‘DELETE’ and ‘ALL ITEMS RESET’ operate regardless of whether they are locked or not.
Animation
1. What is character animation?
You can check the behavior of the character using the animation function provided by SPUM. It supports functions such as zoom and playback speed to observe the character’s movements smoothly.
2. To manipulate character animation
- Time function *. When playing animation again after operating the TIME bar, click the animation inside the ‘ANIMATION LIST’ at the bottom.
It is a function that allows you to view the animation of the character in a stationary state according to the progress. You can set the progress of the animation by manipulating the TIME bar.
- SPEED function This function controls the playback speed of the character animation. You can slow down or check the animation playback speed quickly by manipulating the SPEED bar.
*. If the speed is set to 0%, the character stops working. (Adjustable within 0% to 200%)
- Zoom in/out function This feature allows you to zoom in and out on the size of the SPUM character.
When the maximum/minimum size within the SPUM is reached, messages ‘REACHED MAXIMUM SIZE’ and ‘REACHED MINIMUM SIZE’ are displayed as pop-ups, respectively.
- Animation List function
You can observe the operation of the animation through various animations provided inside the SPUM.
SAVE & MODIFICATION
1. What is Save/Modify Character?
Characters created by SPUM can be saved on Unity Editor. The saved character is saved in the form of a prefab.
2. To save/modify characters
- Save
- Press the ‘SAVE UNIT’ button to save the currently decorated character.
- If the save is successful, the message “SAVED UNIT OBJECT UNIT NAME” will be displayed as a pop-up as shown in the image below.
- Characters that have been saved can be found in the form of prefabs within the [Assets-Resources-SPUM-SPUM_Units] path.
- Modify
- Press the ‘LOAD UNIT’ button to recall the saved character.
- Click the appropriate button to recall the list of saved characters as shown below.
- If you select a character that needs to be edited, you can see that the existing ‘SAVE UNIT’ button has been changed to ‘EDIT UNIT’. Modify the character to its desired appearance and press the ‘EDIT UNIT’ button to save the changes.
- Create a new character
- You can create a new character through the ‘NEW UNIT’ button. If you press the button, the character you are decorating will be initialized, so you can save the character you are working on before using it.
SAMPLE SCENE
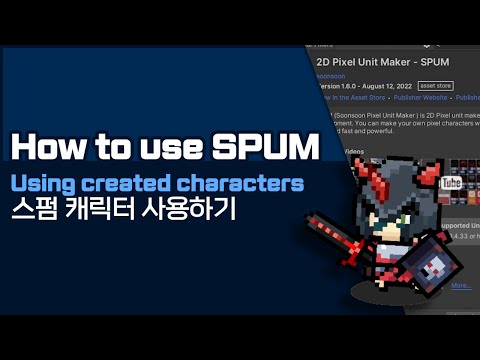
1. What is the SPUM Sample scene?
The sample scene included inside the SPUM allows you to place and manipulate characters created through SPUM.
- Using the SPUM Sample Scene Move SPUM Sample Thin Character
- Run the Sample scene of the [Asset->SPUM->Sample->Scene] path.
- You can select and move the SPUM character to the desired location by clicking the mouse.
Place the entire SPUM Sample scene character
- Runs a Hierarchy of the Sample scene in the [Assets->SPUM->Sample->Scene] path.
- Select ‘PlayerManager’ inside the sample scene.
- Click ‘Generate’ inside the inspector of ‘Player Manager’.
- [PlayObject->PlayerObject] You can see that the saved SPUM characters in the path have been created. You can also see the addition of characters in the GAME window.
- SPUM Sample Scene Place specific characters
- [Assets->SPUM->Sample->Prefabs] Place the ‘SamplePlayer’ prefab inside the path under the ‘PlayerObject’ inside the Sample thin Hierarchy.
- Place the character prefabs created through SPUM inside [PlayObject->PlayerObject]. The saved SPUM character is located in the path [Assets->Resources->SPUM->SPUM_Units] by default.
- Initializes the location information of the added character.
If you do not initialize the location information, it may not click normally.
- Click to set Prefabs properties for script ‘Player Obj’ inside ‘SamplePlayer’ Inspector.
- When the ‘Select SPUM_Prefabs’ window appears, select the character prefabs you placed.