Hands On - sedgewickmm18/microk8s-spark-pulsar-etc GitHub Wiki
You can find a longer tutorial here, it explains what kubernetes is and why installing Spark on kubernetes is a good idea.
On Ubuntu 20.10 we can skip the first 3 items of the tutorial mentioned above. Just type in
sudo snap install microk8s --classic
wait a bit, and run microk8s status to find out if the cluster is ready.
On a Mac you can use homebrew to install microk8s with brew install ubuntu/microk8s/microk8s, see also here. Note: I haven't tried it myself, so please let me know the results.
Now enable services like intra-cluster name resolution, dashboard, storage and ingress with
microk8s enable dns dashboard storage ingress
Again wait a bit until you can access the dashboard.
Use microk8s kubectl -n kube-system get service kubernetes-dashboard to find the dashboard's cluster IP. Enabling the ingress service connects the kubernetes based dashboard with the workstation browser.
See also Installing microk8s on Ubuntu
Download Spark from the Spark Download page and extract it with tar xfz ~/Downloads/spark-3.1.2-bin-hadoop3.2.tgz
Make the spark shell accessible with export SPARK_HOME=~/spark-3.1.2-bin-hadoop3.2/ and alias spark-shell='/home/markus/spark-3.1.2-bin-hadoop3.2/bin/spark-shell'
Install Spark master and worker on kubernetes with
microk8s kubectl apply -f https://raw.githubusercontent.com/big-data-europe/docker-spark/master/k8s-spark-cluster.yaml
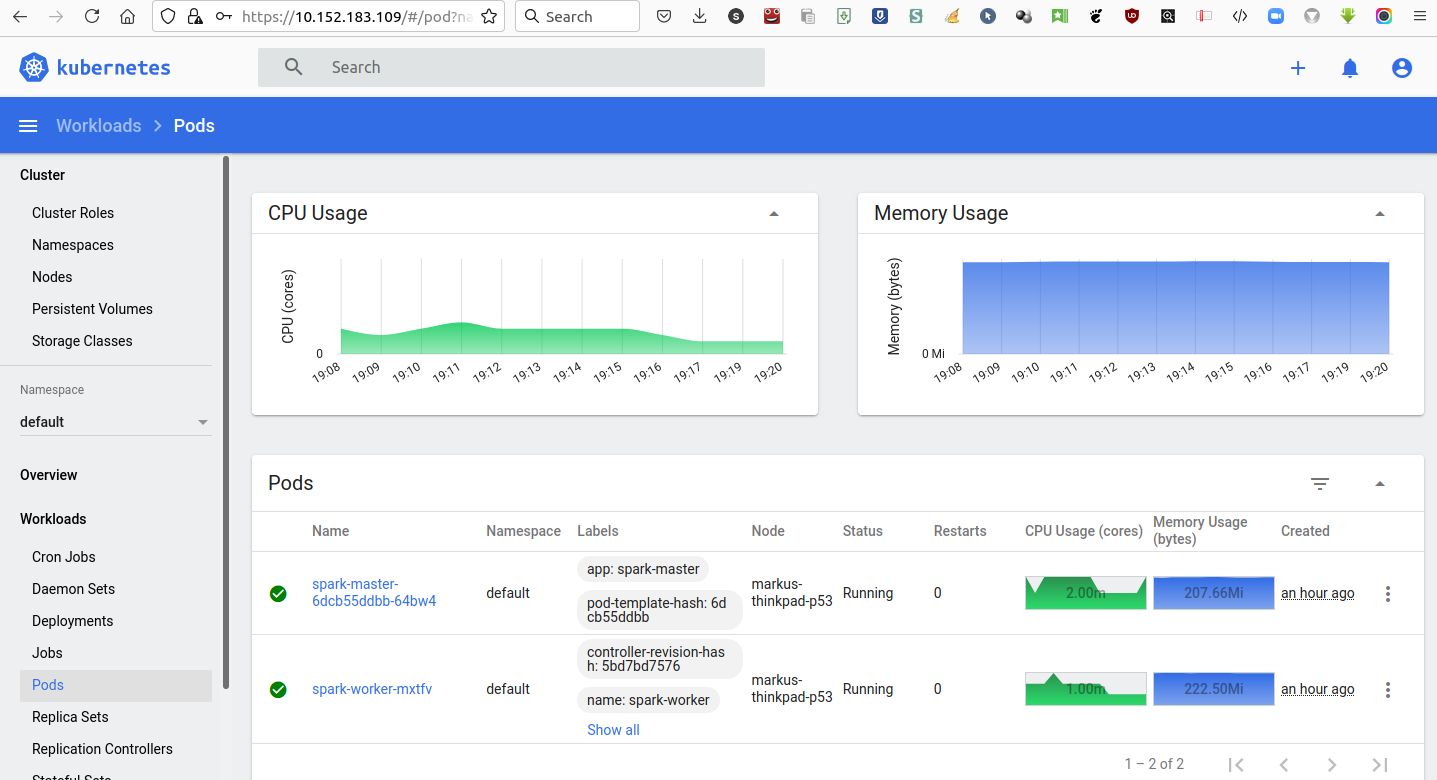
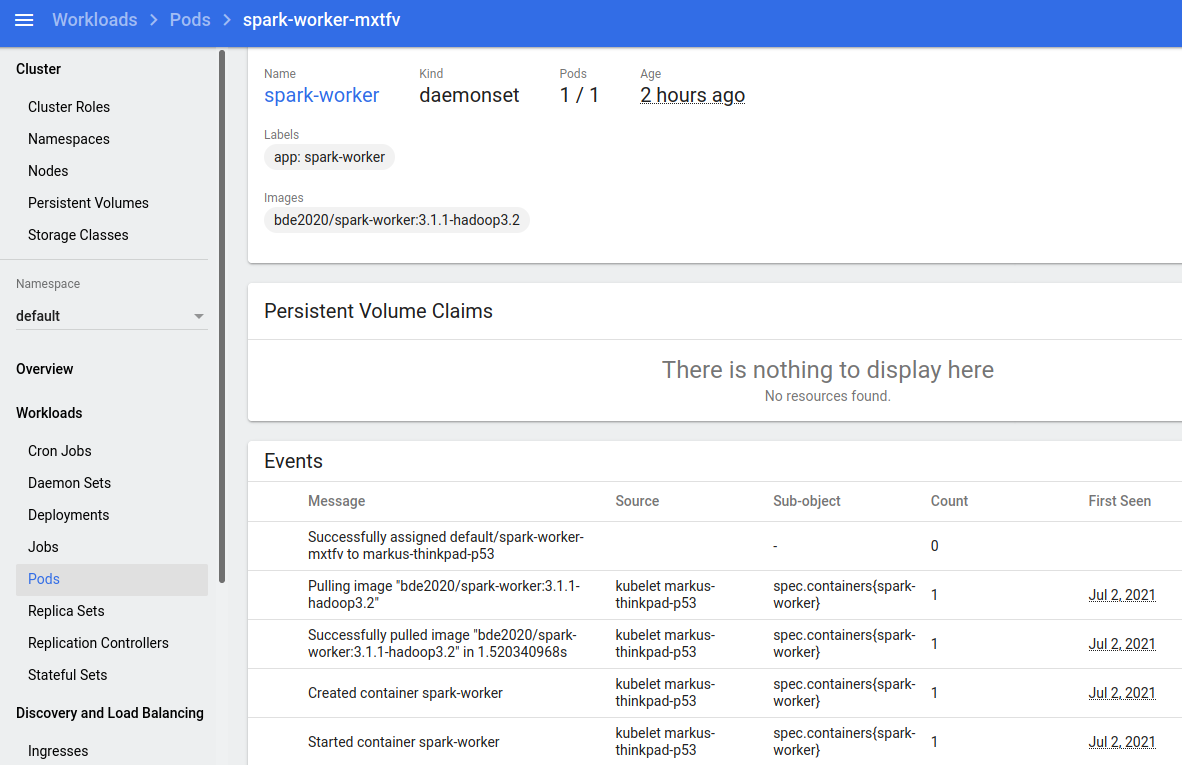
Use the kubernetes dashboard to follow the deployment of both spark components. This is how it should look like (for the worker)
Logs should show that both pods can make use of their cluster IPs, otherwise Spark worker and master cannot find each other. If there are any issues try to disable and re-enable kubernetes dns with microk8s disable dns followed by microk8s enable dns.
See also the Big-Data Europe repo
Schedule SparkPi to the kubernetes based Spark cluster with
microk8s kubectl run spark-base --rm -it --labels="app=spark-client" --image bde2020/spark-base:3.1.1-hadoop3.2 -- bash ./spark/bin/spark-submit --master spark://spark-master:7077 --deploy-mode client --conf spark.driver.host=spark-client --conf spark.kubernetes.authenticate.caCertFile=/var/snap/microk8s/current/certs/ca.crt --class org.apache.spark.examples.SparkPi local:///spark/examples/jars/spark-examples_2.12-3.1.1.jar
This commmand schedules a simple example to compute π and logs results to stdout.
21/07/02 17:49:58 INFO DAGScheduler: Job 0 finished: reduce at SparkPi.scala:38, took 5.248559 s
Pi is roughly 3.144195720978605
21/07/02 17:49:58 INFO SparkUI: Stopped Spark web UI at http://spark-client:4040
21/07/02 17:49:58 INFO StandaloneSchedulerBackend: Shutting down all executors
21/07/02 17:49:58 INFO CoarseGrainedSchedulerBackend$DriverEndpoint: Asking each executor to shut down
21/07/02 17:49:58 INFO MapOutputTrackerMasterEndpoint: MapOutputTrackerMasterEndpoint stopped!
21/07/02 17:49:58 INFO MemoryStore: MemoryStore cleared
21/07/02 17:49:58 INFO BlockManager: BlockManager stopped
21/07/02 17:49:58 INFO BlockManagerMaster: BlockManagerMaster stopped
21/07/02 17:49:58 INFO OutputCommitCoordinator$OutputCommitCoordinatorEndpoint: OutputCommitCoordinator stopped!
21/07/02 17:49:58 INFO SparkContext: Successfully stopped SparkContext
21/07/02 17:49:58 INFO ShutdownHookManager: Shutdown hook called
21/07/02 17:49:58 INFO ShutdownHookManager: Deleting directory /tmp/spark-c045b782-45e9-4140-a7a0-973ac49d670a
21/07/02 17:49:58 INFO ShutdownHookManager: Deleting directory /tmp/spark-b43aeb39-81df-41af-815f-e342fcbca0aa
Session ended, resume using 'kubectl attach spark-base -c spark-base -i -t' command when the pod is running
pod "spark-base" deleted
Expose the calico network to the local laptop with
microk8s enable host-access:ip=11.0.1.1
and equip the Spark master with a cluster IP. Note: I've selected the non-standard IP 11.0.1.1 to avoid IP address conflicts with Deutsche Bahn WiFi login, so in general you should get away with the default IP.
For the latter, i.e. equipping Spark master with a cluster IP, export the service definition with microk8s kubectl get svc spark-master -o yaml > spark-master-svc. Then delete (!) the spark master service with microk8s kubectl delete svc spark-master. Now choose a suitable clusterIP, i.e. find an IP in the class A network (10...*) that is unused yet. Edit the spark-master-svc definition file and replace the clusterIP of None with the one you've just selected. Now recreate the spark master service with microk8s kubectl create -f spark-master-svc.
Furthermore we check that we have direct access to the kubernetes API server from a laptop shell with
export TOKEN=$(microk8s kubectl get secrets -o jsonpath="{.items[?(@.metadata.annotations['kubernetes\.io/service-account\.name']=='default')].data.token}"|base64 --decode)
export APISERVER="https://"$(microk8s kubectl get svc kubernetes -o jsonpath="{.spec.clusterIP}")
curl --cacert /var/snap/microk8s/current/certs/ca.crt -X GET $APISERVER/api --header "Authorization: Bearer $TOKEN"
Now it should be possible to schedule the SparkPi example from the laptop with the following command
(with 10.152.183.1 the admin's Cluster IP; just use microk8s kubectl get svc and look for kubernetes)
SPARK_LOCAL_IP=10.0.1.1 ./bin/spark-submit --master k8s://https://10.152.183.1:16443 --deploy-mode cluster --name spark-pi --class org.apache.spark.examples.SparkPi --conf spark.kubernetes.driver.pod.name=spark-pi-driver --conf spark.executor.instances=5 --conf spark.kubernetes.container.image=bde2020/spark-base:3.1.1-hadoop3.2 --conf spark.kubernetes.authenticate.caCertFile=/var/snap/microk8s/current/certs/ca.crt ./examples/jars/spark-examples_2.12-3.1.1.jar
(Don't use the loop-back address for the kubernetes service.)
For Spark 2.4 there is a troubleshooting article found here.
I'm creating a service account along with cluster role bindings for spark
kubectl create serviceaccount spark
kubectl create clusterrolebinding spark-role --clusterrole=edit --serviceaccount=spark:spark --namespace=spark
and try a different image
./bin/spark-submit --name sparkpi-test1 --master k8s://https://10.152.183.1:16443 --deploy-mode cluster --class org.apache.spark.examples.SparkPi --conf spark.kubernetes.authenticate.driver.serviceAccountName=spark --conf spark.executor.instances=2 --conf spark.kubernetes.container.image=jboothomas/spark-py:k8sv3.0.0 --conf spark.kubernetes.container.image.pullPolicy=Always local:///opt/spark/examples/jars/spark-examples_2.12-3.0.0.jar
This works !!
See also the following preview book
Install and initialize helm with
microk8s enable helm
microk8s helm init --stable-repo-url=https://charts.helm.sh/stable --client-only
microk8s helm init
Following the Pulsar installation guide we add the pulsar helm repository and update.
Enable the 'native' kubectl command: Dump the output of microk8s config into `/.kube/config, edit the resulting file and make sure the kube apiserver address is either localhost or a class A network address (for which the certificate in /var/snap/microk8s/current/certs/ca.crt is valid)
Check out https://github.com/apache/pulsar-helm-chart and run the script
./scripts/pulsar/prepare_helm_release.sh -n pulsar -k pulsar-mini -c followed by
helm install --values examples/values-minikube.yaml --set initialize=true --namespace pulsar apache/pulsar
Downloading the various pulsar images takes some time ...
Afterwards exec into the pulsar toolset container and create a new pulsar tenant with ./bin/pulsar-admin tenants create apache
Follow the rest of the tutorial to create a namespace and a topic with 4 partitions. You should get
root@silly-cardinal-pulsar-toolset-0:/pulsar# bin/pulsar-admin topics list-partitioned-topics apache/pulsar
"persistent://apache/pulsar/test-topic"
Now Pulsar should be ready to receive and provide messages.
Follow the Pulsar tutorial, download and unpack the Pulsar binaries for the CLI.
Edit the conf/client.conf file in the Pulsar directory. It should look like the following example with the class A network addresses as provided by the Pulsar proxy loadbalancer service.
# URL for Pulsar REST API (for admin operations)
# For TLS:
# webServiceUrl=https://localhost:8443/
webServiceUrl=http://10.152.183.252:80/

# URL for Pulsar Binary Protocol (for produce and consume operations)
# For TLS:
# brokerServiceUrl=pulsar+ssl://localhost:6651/
brokerServiceUrl=pulsar://10.152.183.252:6650/
Now start the subscriber with bin/pulsar-client consume -s sub apache/pulsar/test-topic -n 0 and produce messages with
bin/pulsar-client produce apache/pulsar/test-topic -m "---------hello apache pulsar-------" -n 10
To specify the service url use the --url option like
bin/pulsar-client --url pulsar://10.152.183.252:6650 produce apache/pulsar/test-topic -m "---------hello apache pulsar-------" -n 10
Following a full restart of pulsar neither bookie nor pulsar manager will come up because they cannot reconnect to Zookeeper with the now stale 'cookie'.
If you can afford losing messages in Pulsar just reinitialize bookie and pulsar manager: there are two jobs, pulsar-bookie-init and pulsar-pulsar-init. Save the job YAML with, for example, microk8s kubectl get jobs -n pulsar silly-cardinal-pulsar-bookie-init -o yaml, strip the YAML document of uids, delete the original job and then use kubectl apply -f <yaml document> to restart the job.
Then rescale both Stateful Sets (first down to 0, then up to 1) to enforce a restart with
microk8s kubectl -n pulsar scale --replicas=0 sts/silly-cardinal-pulsar-bookie
microk8s kubectl -n pulsar scale --replicas=0 sts/silly-cardinal-pulsar-broker
followed by
microk8s kubectl -n pulsar scale --replicas=1 sts/silly-cardinal-pulsar-bookie
microk8s kubectl -n pulsar scale --replicas=1 sts/silly-cardinal-pulsar-broker
Then check if the corresponding pods are up and running.
Since we focus on Pulsar functions first this might not be necessary
I started to install and configure the community edition of IntelliJ, following the description the Pulsar github repo.
- Follow the instructions word by word !
- Lombok plugin is already installed with community edition 2012.
- Install check style plugin as it is no longer pre-installed and restart the IntelliJ
- Actually I had to run
mvn install -DskipTestsfirst to get it built; IntelliJ build failed with missing dependencies
Once you have built pulsar successfully which takes considerable time and memory we can register pulsar functions like the simple stateless one below that reads an input sentence and returns its length as a string.
package mm.functions;
import java.io.*;
import org.apache.pulsar.functions.api.Context;
import org.apache.pulsar.functions.api.Function;

import java.util.Arrays;
public class WordCountFunction implements Function<String, String> {
   // This function is invoked every time a message is published to the input topic
    @Override
    public String process(String input, Context context) throws Exception {
       String[] words = input.split("\\s+");
       return Integer.toString(words.length);
   }
 }
To compile it with maven use the following pom-file, rename it to pom.xml and store it at ./. Then store the java file as WordCountFunction.java in ./src/main/java and run mvn install -DskipTests
Now start the compiled function with (after adapting the location of your target jar, of course)
../pulsar/bin/pulsar-admin --admin-url http://10.152.183.252 functions localrun --jar /home/markus/src/pulsar-functions/target/wordcount-0.1.0.jar --classname mm.functions.WordCountFunction --tenant public --namespace default --name word-count --inputs persistent://public/default/sentences --output persistent://public/default/count --broker-service-url pulsar://10.152.183.252:6650
Producing a simple 10 word sentence with
../pulsar/bin/pulsar-client --url pulsar://10.152.183.252:6650 produce public/default/sentences -m "Ich bin sehr zufrieden und völlig mit mir im Reinen"
yields "10" on the target topic consumed with
../pulsar/bin/pulsar-client --url pulsar://10.152.183.252:6650 consume -s sub public/default/count -n 0
Examples are kept in the pulsar-ml-functions subdirectory of this github repo. To build the example cd into this directory and run mvn install.
Caveat: The example is built on a research asset for time series handling; just replace it with tablesaw. Note also that the serializer/deserializer TimeSeriesDoubleSerde is non-functional.
To start the function as local process just run the following command
../pulsar/bin/pulsar-admin --admin-url http://10.152.183.252 functions localrun --output-serde-classname mm.functions.TimeSeriesDoubleSerde --jar /home/markus/.m2/repository/mm/functions/anomalies/anomalies/0.1.0/anomalies-0.1.0.jar --classname mm.functions.AnomalyScorer --tenant public --namespace default --name word-count --inputs persistent://public/default/sentences --output persistent://public/default/count --broker-service-url pulsar://10.152.183.252:6650 --sliding-interval-count 30 --window-length-count 60
Note that you have to specified the size and overlap for windowed functions (with sliding-interval-count and window-length-count). Since we want to return a complex data type, TimeSeries, to the output topic we have to implement a SerDe class packaged into the same jar and let the local runner know the correct class name (with output-serde-classname).
Pip-install river for online learning with, clone Pandio-com's pulsar-python-functions github repo and cd into the Naive Bayes classification example
pip3 install scikit-multiflow river phonenumbers    # phonenumbers for testing purposes
git clone https://github.com/pandio-com/pulsar-python-functions
cd ./pulsar-python-functions/functions/Naive_Bayes_Agrawal
Unfortunately there is no Python 3.9 installable for pulsar-client, so I had to build it myself. Making up for the lack of an installable the Pulsar team ships the docker-build-python3.9.sh script. I had to modify the build script with docker build --network=host ... and it worked without further issues. Finally I installed the libraries with sudo python3 ./setup.py install
Now it's time to modify consumer, log-consumer and producer - their pulsar client connects to localhost, this has to be replaced with the kubernetes service address, 10.152.183.252 in my case.
Adapt the following files accordingly
- Consumer:
Naive_Bayes_Agrawal/test/test-consumer.py - Log-consumer:
Naive_Bayes_Agrawal/test/test-log-consumer.py - Producer:
Naive_Bayes_Agrawal/test/test-producer.py
Install the supporting libraries for the pulsar client with
pip3 install ratelimit apache-bookkeeper-client and register the ML function with
python3 /home/markus/src/pulsar/pulsar-functions/instance/target/python-instance/python_instance_main.py --py /home/markus/src/pulsar-python-functions/functions/Naive_Bayes_Agrawal/src/NaiveBayesExample.py --logging_directory /home/markus/src/pulsar/logs/functions --logging_file NaiveBayesExample --logging_config_file /home/markus/src/pulsar/conf/functions-logging/logging_config.ini --instance_id 0 --function_id b96f5f77-63a9-4477-bd3d-a1ed4114bbfd --function_version dc9d7bee-ef8b-43da-9dd8-2fcad6913768 --function_details '{"tenant":"public","namespace":"default","name":"NaiveBayesExample","className":"NaiveBayesExample.NaiveBayesExample","logTopic":"persistent://public/default/log","runtime":"PYTHON","autoAck":true,"parallelism":1,"source":{"inputSpecs":{"persistent://public/default/in":{}},"cleanupSubscription":true},"sink":{"topic":"persistent://public/default/out","forwardSourceMessageProperty":true},"resources":{"cpu":1.0,"ram":"1073741824","disk":"10737418240"},"componentType":"FUNCTION"}' --pulsar_serviceurl pulsar://10.152.183.252:6650 --use_tls false --tls_allow_insecure false --hostname_verification_enabled false --max_buffered_tuples 1024 --port 40631 --metrics_port 33037 --expected_healthcheck_interval 30 --secrets_provider secretsprovider.ClearTextSecretsProvider --cluster_name local
pulsar-admin localrun won't work on Ubuntu because it calls python (== python 2.7) instead of python3. Note: The example is taken from my laptop with the specific path to NaiveBayesExample.py
Since River-ML is scikit-multiflow's successor I'm trying to port the naive Bayes example to river. I'm following the blog article Online Machine Learning in Python with River ML on Streaming Data
Rewriting the Naive Bayes example for river while preserving the JSON document layout yields
from pulsar import Function
import pulsar
import json, numpy, time
from skmultiflow.data import AGRAWALGenerator
import pandas as pd
from river import naive_bayes
from river import stream

import json
import numpy as np

class NaiveBayesExample(Function):
    model = None

    def __init__(self):
        self.model = naive_bayes.GaussianNB()

    # expecting payload like this
    #  b'{"X": [[139351.65027744538, 0.0, 70.0, 1.0, 6.0, 2.0, 844385.8065109856, 24.0, 192473.63464600148]], "Y": [0]}'
    def process(self, input, context):
        if context is not None:
            logger = context.get_logger()
            context.record_metric('predict-count', 1)

        arr = json.loads(input)

        # turn list into dict
        cnt = np.arange(np.array(arr['X']).size)
        X = dict(zip(cnt,arr['X'][0]))

        arr['P'] = self.model.predict_one(X)   # return a single label
        if arr['P'] is None:
            arr['P'] = 0

        # do we have a ground truth element ?
        if 'Y' in arr:
            trueLabel = arr['Y'][0]   # we assume it has a single element as label

            RecordSuccess = False
            RecordFailure = False
            if trueLabel == arr['P']:
                RecordSuccess = True
            else:
                RecordFailure = True

            if context is not None:
                if RecordSuccess:
                    context.record_metric('predict-count-success', 1)
                if RecordFailure:
                    context.record_metric('predict-count-failure', 1)

            # learn from ground truth
            for x, y in stream.iter_array(arr['X'], arr['Y']):
                self.model.learn_one(x, y)

        # make life easy for consumer
        arr['P'] = [arr['P']]

        if context is not None:
            metrics = context.get_metrics()

            if metrics['user_metric_predict-count-success_count'] > 0:
                logger.info('success rate: {0}'.format((metrics['user_metric_predict-count-success_count'] / metrics['user_metric_predict-count_count']) * 100))
            if metrics['user_metric_predict-count-failure_count'] > 0:
                logger.info('failure rate: {0}'.format((metrics['user_metric_predict-count-failure_count'] / metrics['user_metric_predict-count_count']) * 100))
        else:
            print(arr)

        return json.dumps(arr)