Troubleshooting - sci-bots/dropbot-v3 GitHub Wiki
Table of Contents generated with DocToc
Unable to connect to DropBot from MicroDrop
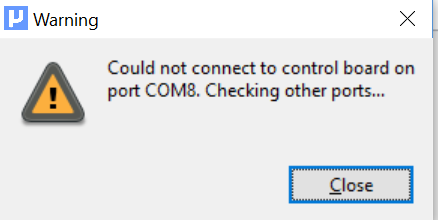
When launching MicroDrop, a warning dialog is displayed if a connection to the DropBot cannot be established.
For example:
What should I do if I encounter a DropBot connection error?
Before launching MicroDrop:
- Verify USB cable is connected between host computer and DropBot.
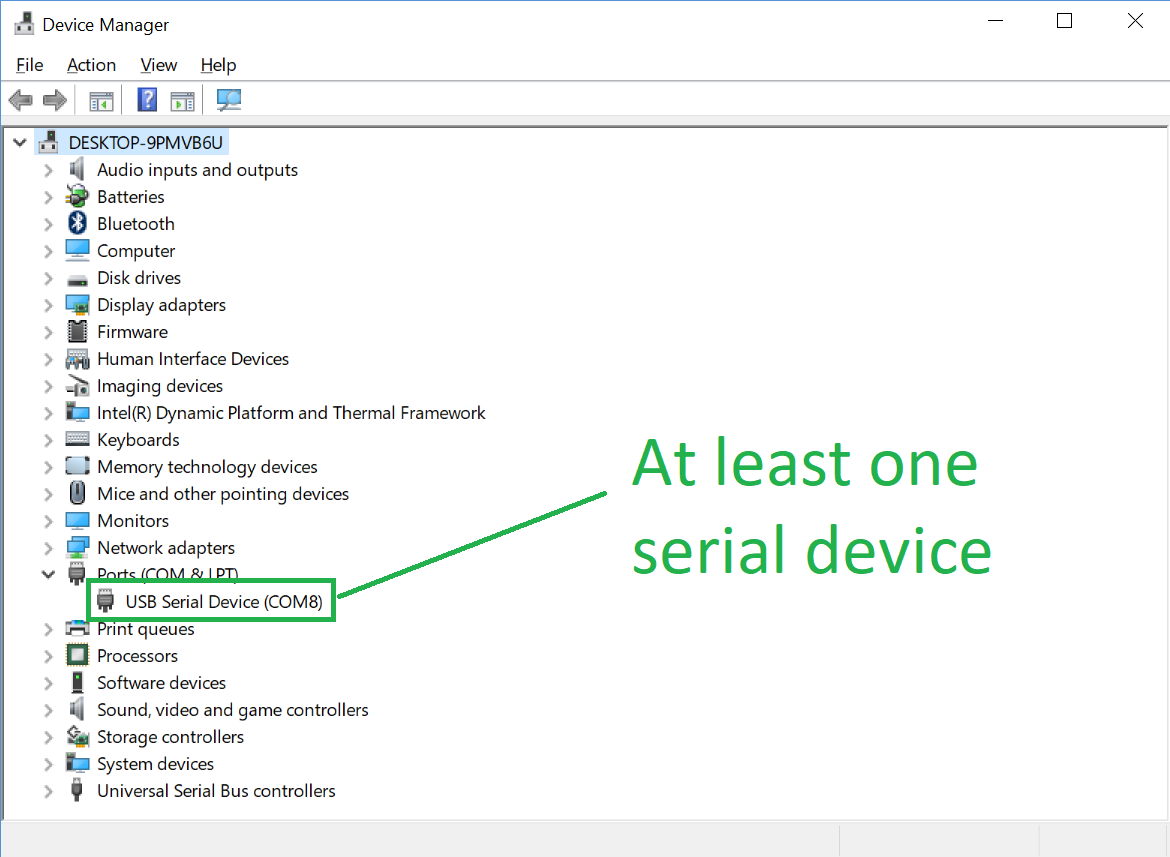
- Upon connection of USB cable, verify at least one serial device is listed in Windows Device Manager:
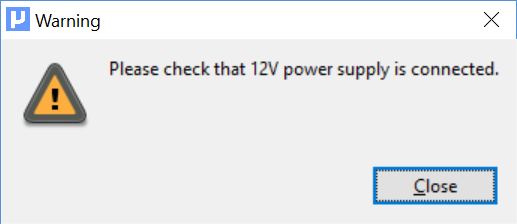
- Verify 12V power supply cable is connected to DropBot.
If difficulty connecting to the DropBot from MicroDrop persists after verifying all of the above items, see below for potential issues.
Potential causes of DropBot connection failure
12V power supply not connected or not functioning (i.e., NoPower error)
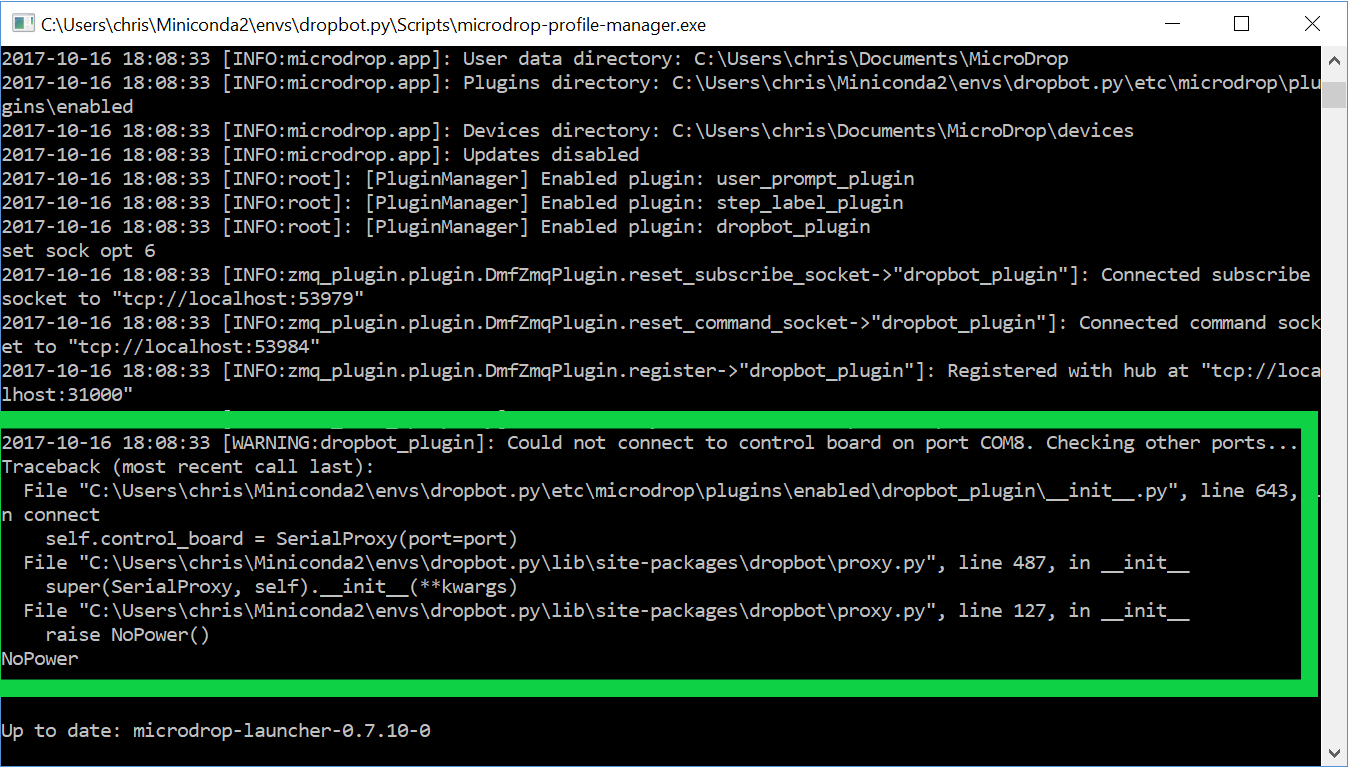
If the 12V power supply is not connected or not functioning, MicroDrop will encounter a NoPower exception and will display a "Warning" dialog with the message "Could not connect to control board on port ..." and a second warning dialog will display the following message (as of DropBot firmware version 1.34.1):
The NoPower exception is logged to the MicroDrop console window, e.g.:
Solution:
- Connect 12V power supply to DropBot.
- Ensure power "brick" LED is on.
Mismatch between MicroDrop plugin version and DropBot firmware
MicroDrop may fail to connect to a DropBot if the dropbot_plugin version does not match the DropBot firmware version.
To correct this:
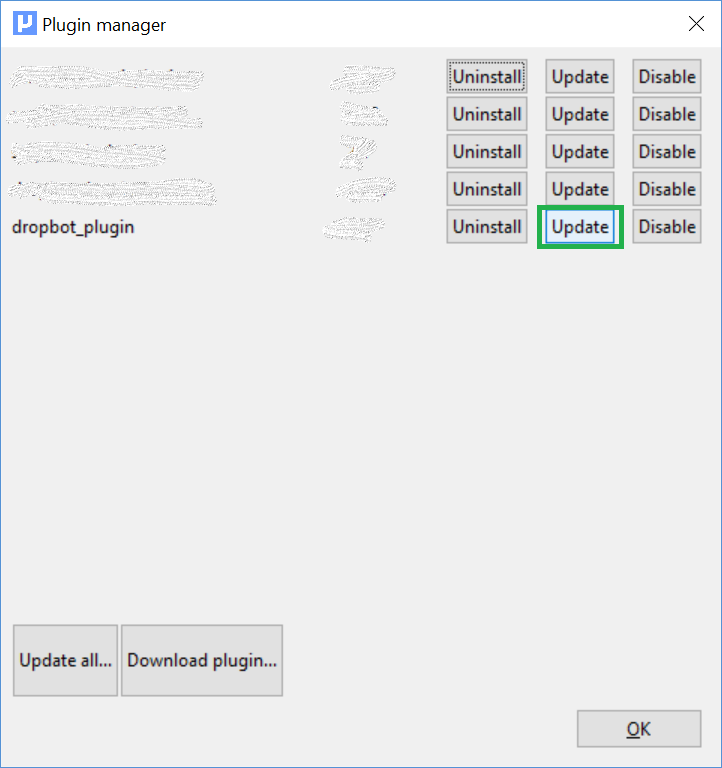
- Manually update the DropBot MicroDrop plugin to the latest version:
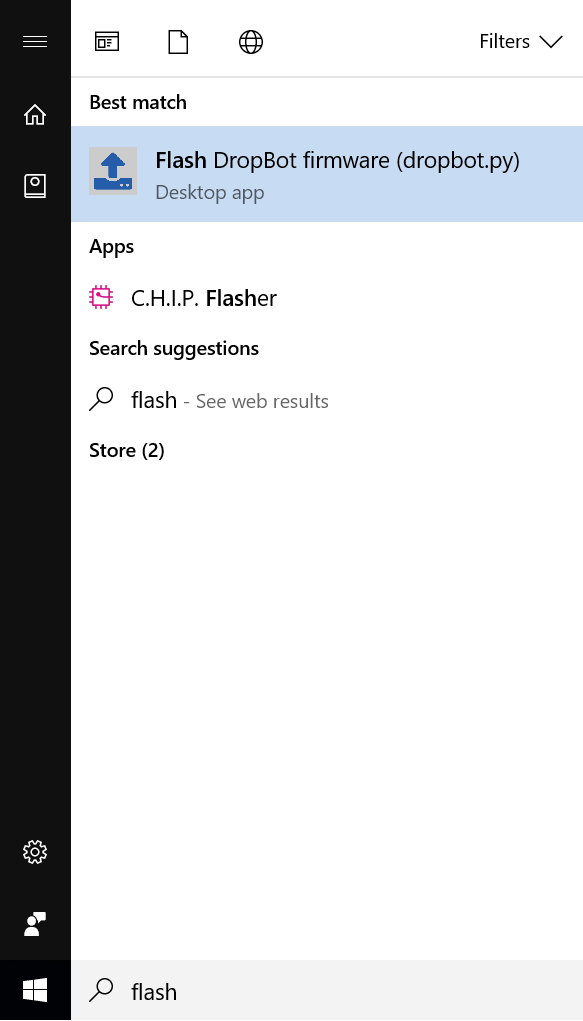
- Manually flash DropBot firmware from the Windows Start menu:
Can't flash DropBot firmware
DropBot v3 is built using the Teensy 3.2 microcontroller. To test that this microcontroller is functioning (independent of MicroDrop), we can try flashing a new firmware using the Arduino IDE.
- Download and install the Arduino IDE.
- Download and install the Teensyduino extension.
- Launch the Arduino IDE.
- Load the "Blink sketch": "File/Examples/01.Basics/Blink".
- Select "Teensy 3.2 / 3.1" from the "Tools/Boards" menu.
- Click the "Upload" button.
- Once the sketch has compiled and the "Teensy Loader" application pops up, press the "PROG" button on the side of the DropBot with a sharp object (e.g., tweezers, toothpick, pipette tip).
- You should see a progress bar quickly pop up as the firmware uploads followed by the message "Reboot OK". If so, you've confirmed that you can successfully program your Teensy microcontroller. Leave the "Teensy Loader" window open for the next step.
- Launch a "MicroDrop environment prompt" from the Windows Start menu and run the command:
python -m dropbot.bin.upload
- Verify that you can connect to the DropBot by running the following command:
python -m dropbot.bin.self_test test
- If the connection is successful, the first line of the output should be something like:
Successfully connected to dropbot on port COMXX
Unable to move liquid
If you are unable to move liquid on your DropBot and it is passing the hardware diagnostic tests, please try the following steps.
1. Check that realtime mode is enabled
Make sure that the "Realtime mode" checkbox is ticked before actuating any electrodes. If this box is not ticked, the DropBot will not apply voltage to any of the electrodes.

2. Try increasing the voltage
80V is a conservative default to avoid damaging chips, but you may require a higher voltage depending on the dielectric thickness and the liquid you are trying to move. Try increasing the voltage in steps of 10V (up to a maximum of 140V). You can adjust the default voltage under Options\dropbot_plugin\Default voltage.
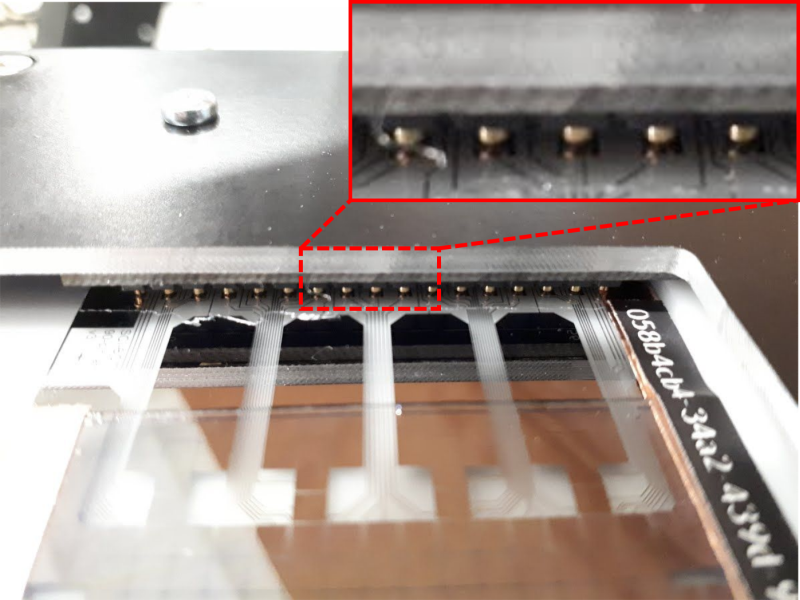
3. Check pogo-pin alignment
Check that you have good alignment between the pogo-pins and the contact pads on the device. You may need to make adjustment the chip position if the alignment is off.
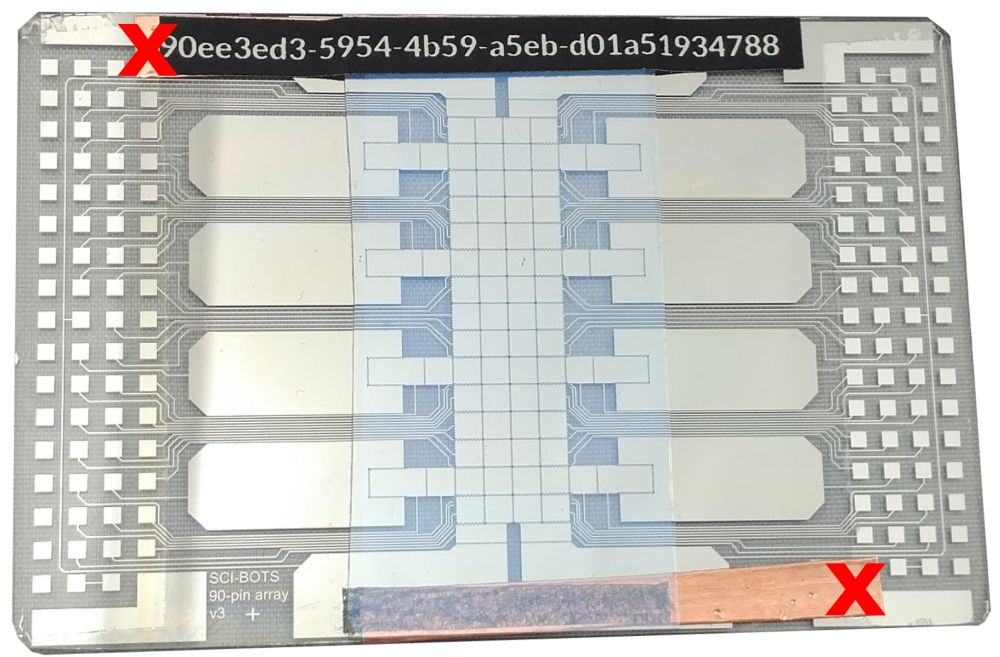
4. Check the top plate
Check that there is a good connection across the top plate. To do this, you will need to remove the chip from the DropBot and use a multimeter to measure the conductivity between the two test points (x's) on the following image. It should be < 100 Ohms.