Overview - sanni/cartreader GitHub Wiki
V5 of the Open Source Cartridge Reader simplifies the build process even more.
It offers several build options:
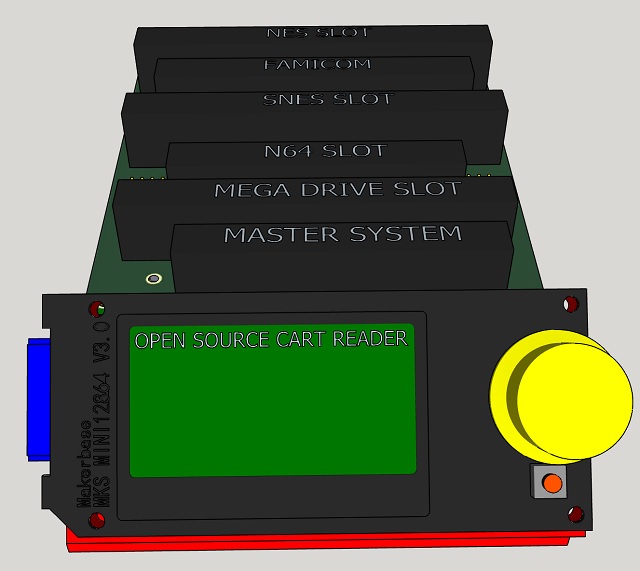
- 7-slot (main PCB with integrated GB/GBA + six-slot adapter with NES, FC, SNES, N64, MD, SMS)
- 2-slot (main PCB with integrated GB/GBA + a single slot adapter of your choice)
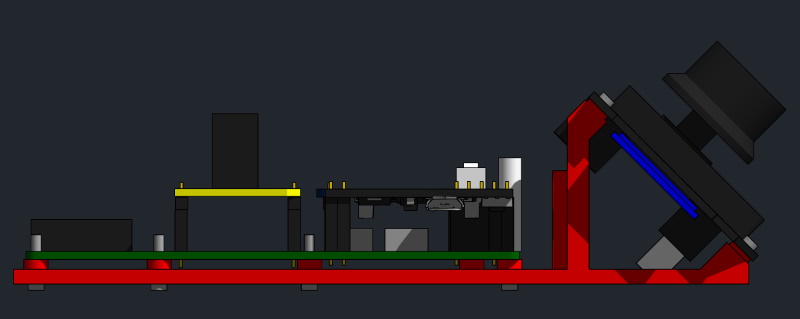
- 1-slot (main PCB with integrated GB/GBA)
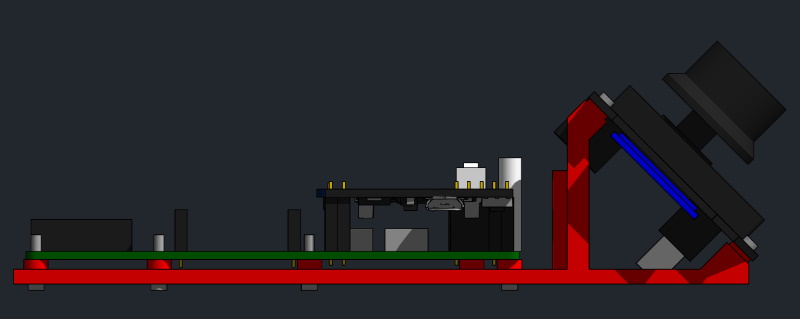
All use the same main PCB:
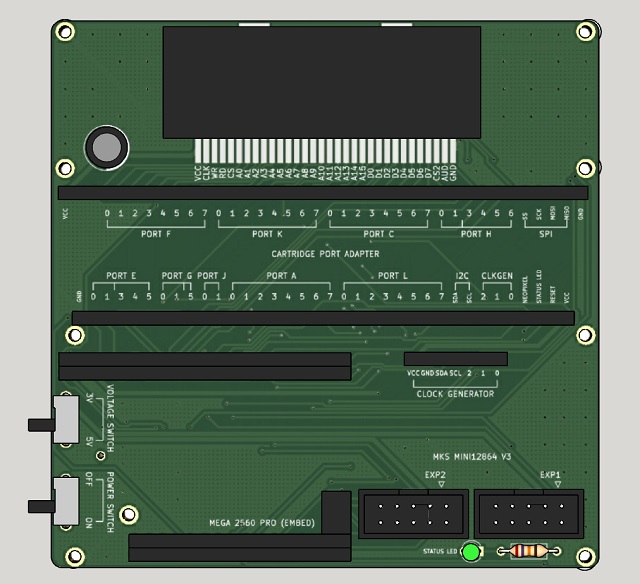
On the side there are two switches. One turns the OSCR On and OFF and the other selects between 3.3V or 5V.
Systems that need to be switched to 3V have "(3V)" in their menu name.
Both the Arduino Mega and the game cartridge will be run at that voltage to ensure proper voltage levels at all times. At the front there is a status LED that blinks during longer operations to signal that the Cart Reader is still doing something.
The  LCD screen displays all the menus and cartridge infos, the
  rotary encoder can be turned left/right and pressed to make and confirm a selection, the
  reset button restarts the Cart Reader and the
  SD slot supports FAT, FAT32 and exFAT SD cards. You need to copy the files found in the SD directory of the current release to the root of the SD card.
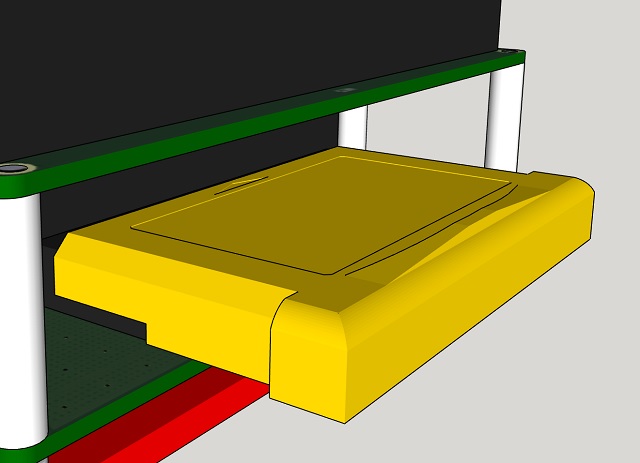
The GB, GBC, GBA slot is found at the back.
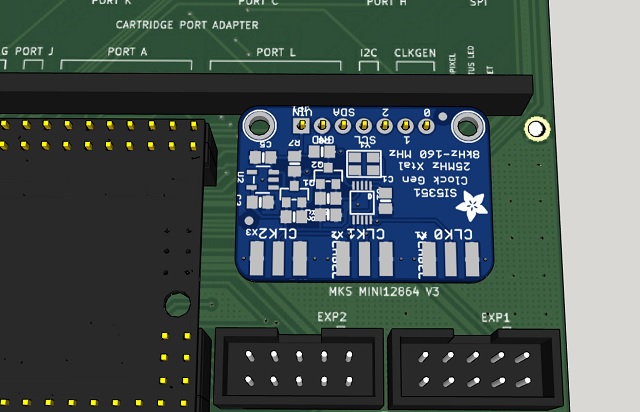
The Cartridge Reader makes use of the SI5351 Clock Generator to provide a clock signal for SNES SPC7110/SA1/SF Memory/Satellaview cartridges and N64 cartridges with EEPROM saves.
Since all cartridge slots are wired in parallel you are only allowed to plug in one cartridge at a time.
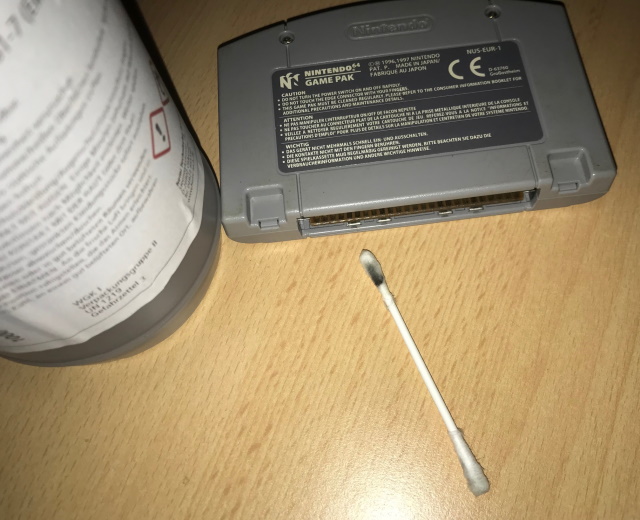
Before dumping a cartridge you should clean the gold contacts with a q-tip dipped in rubbing alcohol until it does not come out black anymore.
You should also only insert or remove cartridges while the Cart Reader is turned off, and not have any cart inserted while you are doing a firmware update.