React Native ~ iOS Deployment - rohit120582sharma/Documentation GitHub Wiki
iTunes Connect is a suite of web-based tools for, among other things, managing iOS applications on the App Store. A .iOS application will need to be properly set up and configured in iTunes Connect before it can be submitted to Apple for review and ultimately released for sale or as a free app in the App Store.
iTunes Connect can be used for the following:
- Set the application's name (as displayed in the App Store).
- Your app’s icon, sized 1024 by 1024 pixels.
- Provide screenshots or video of the application in action on the iOS devices it supports. (More details about sizes can be found here)
- Provide a clear, succinct description of the application including it's features and benefit to the end user.
Before an .iOS application can be uploaded to iTunes Connect for distribution through the App Store, you will need to create a record for the application in iTunes Connect. This record includes all the information about the application as it will appear in the App Store (in as many languages as required) and all of the information needed to manage the app through the distribution process.
To add an iOS application to iTunes Connect, you will need to be the Team Agent or a user with an Admin or Technical role.
Do the following:
- Login to the iTunes Connect Portal using your Apple developer credentials.
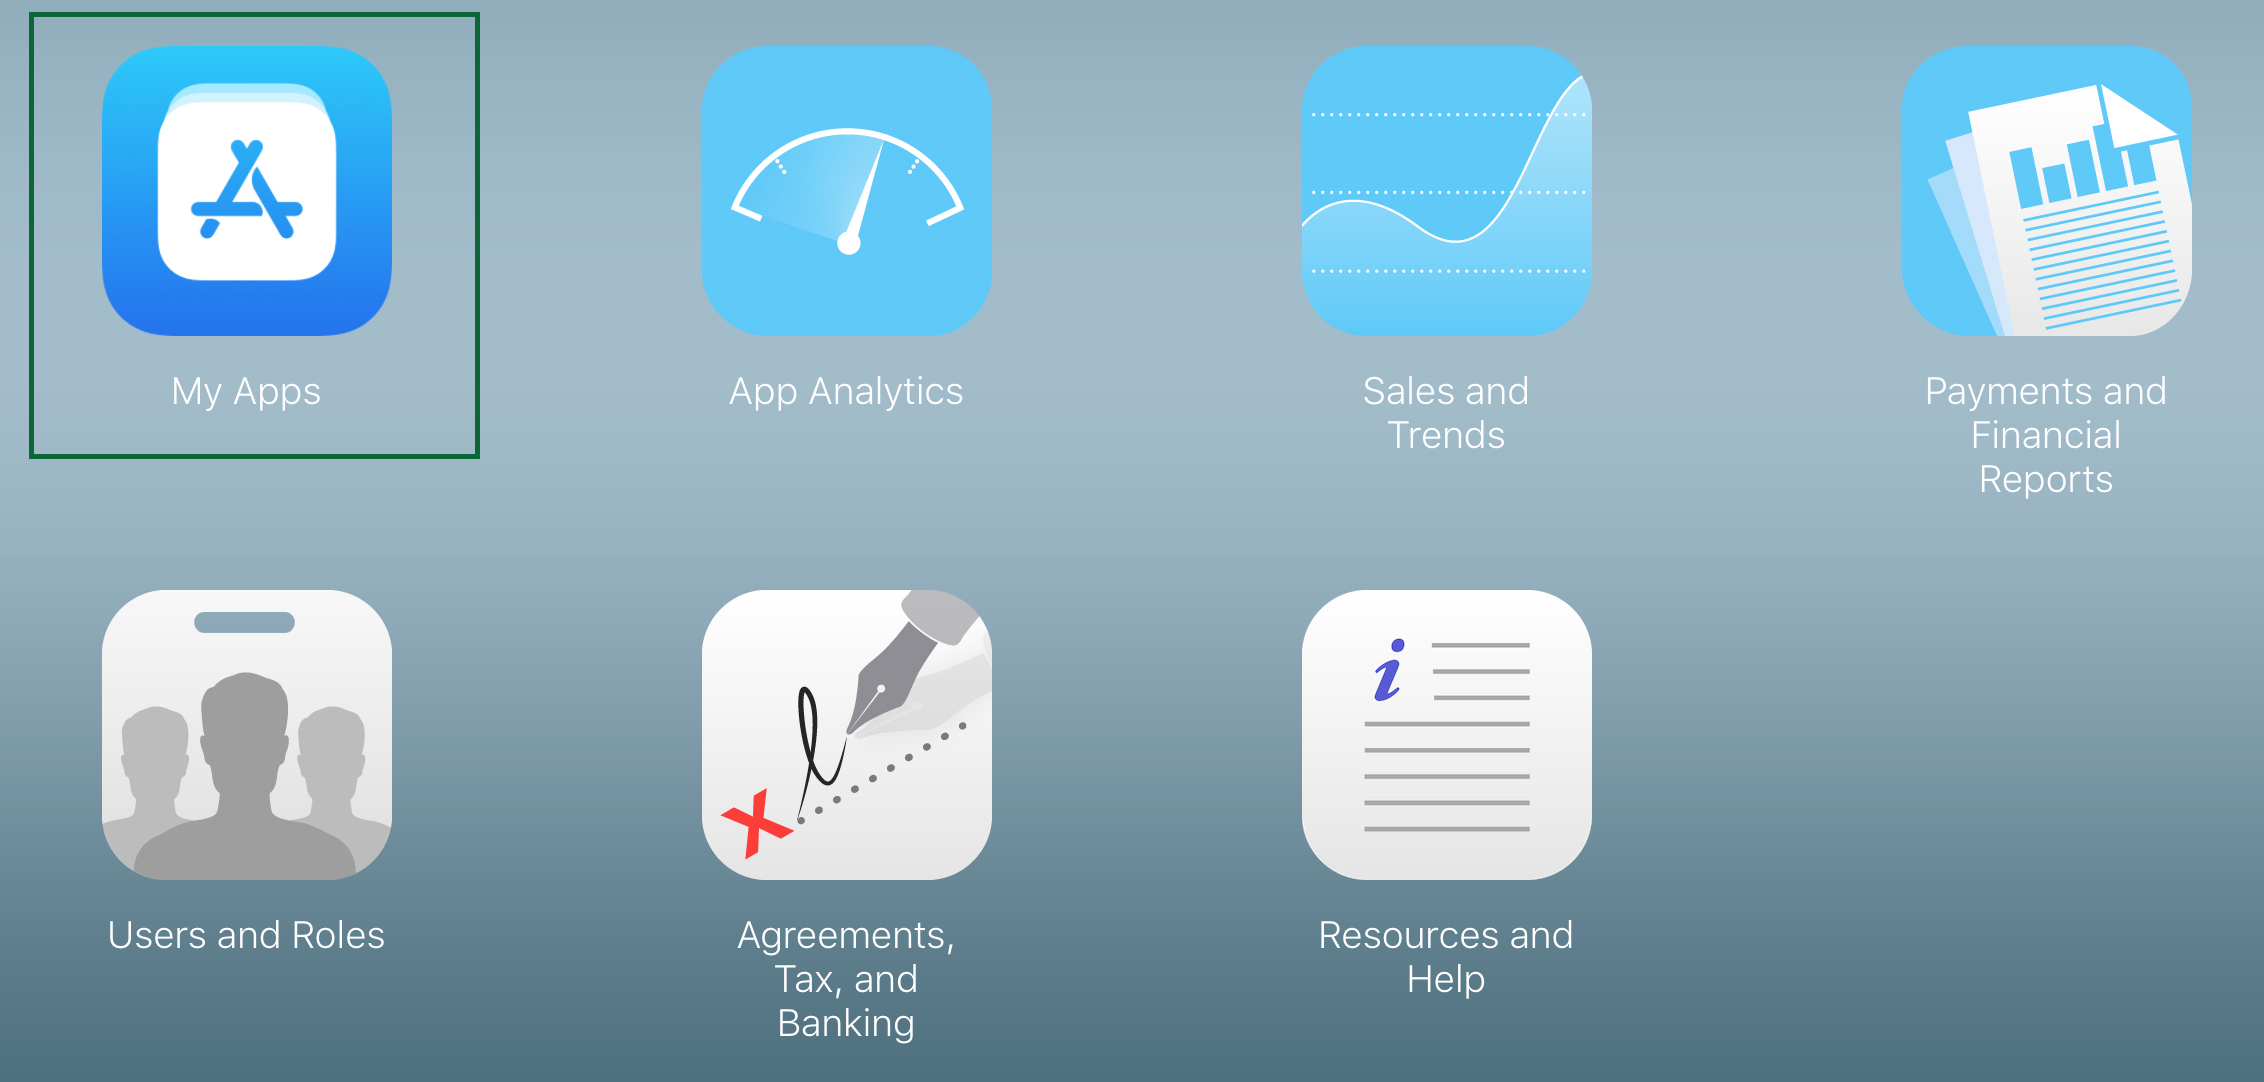
- Select My Apps:
- Click the "+" in the upper left hand corner and select New iOS App:
- iTunes Connect will display the New iOS App dialog:
- Enter a Name and Version Number for the application as they should be displayed in the App Store.
- Enter a SKU number, this is a unique, constant, identifier that will be used to track the application. It will not be displayed to the end user and it cannot be changed once the app has been created.
- Select the Bundle ID for the application that you created in the developer center when you provisioned the application. This same Bundle ID will need to be used when signing the distribution bundle in Xcode.
- Click the Create button to build the new iTunes Connect Record for the application.
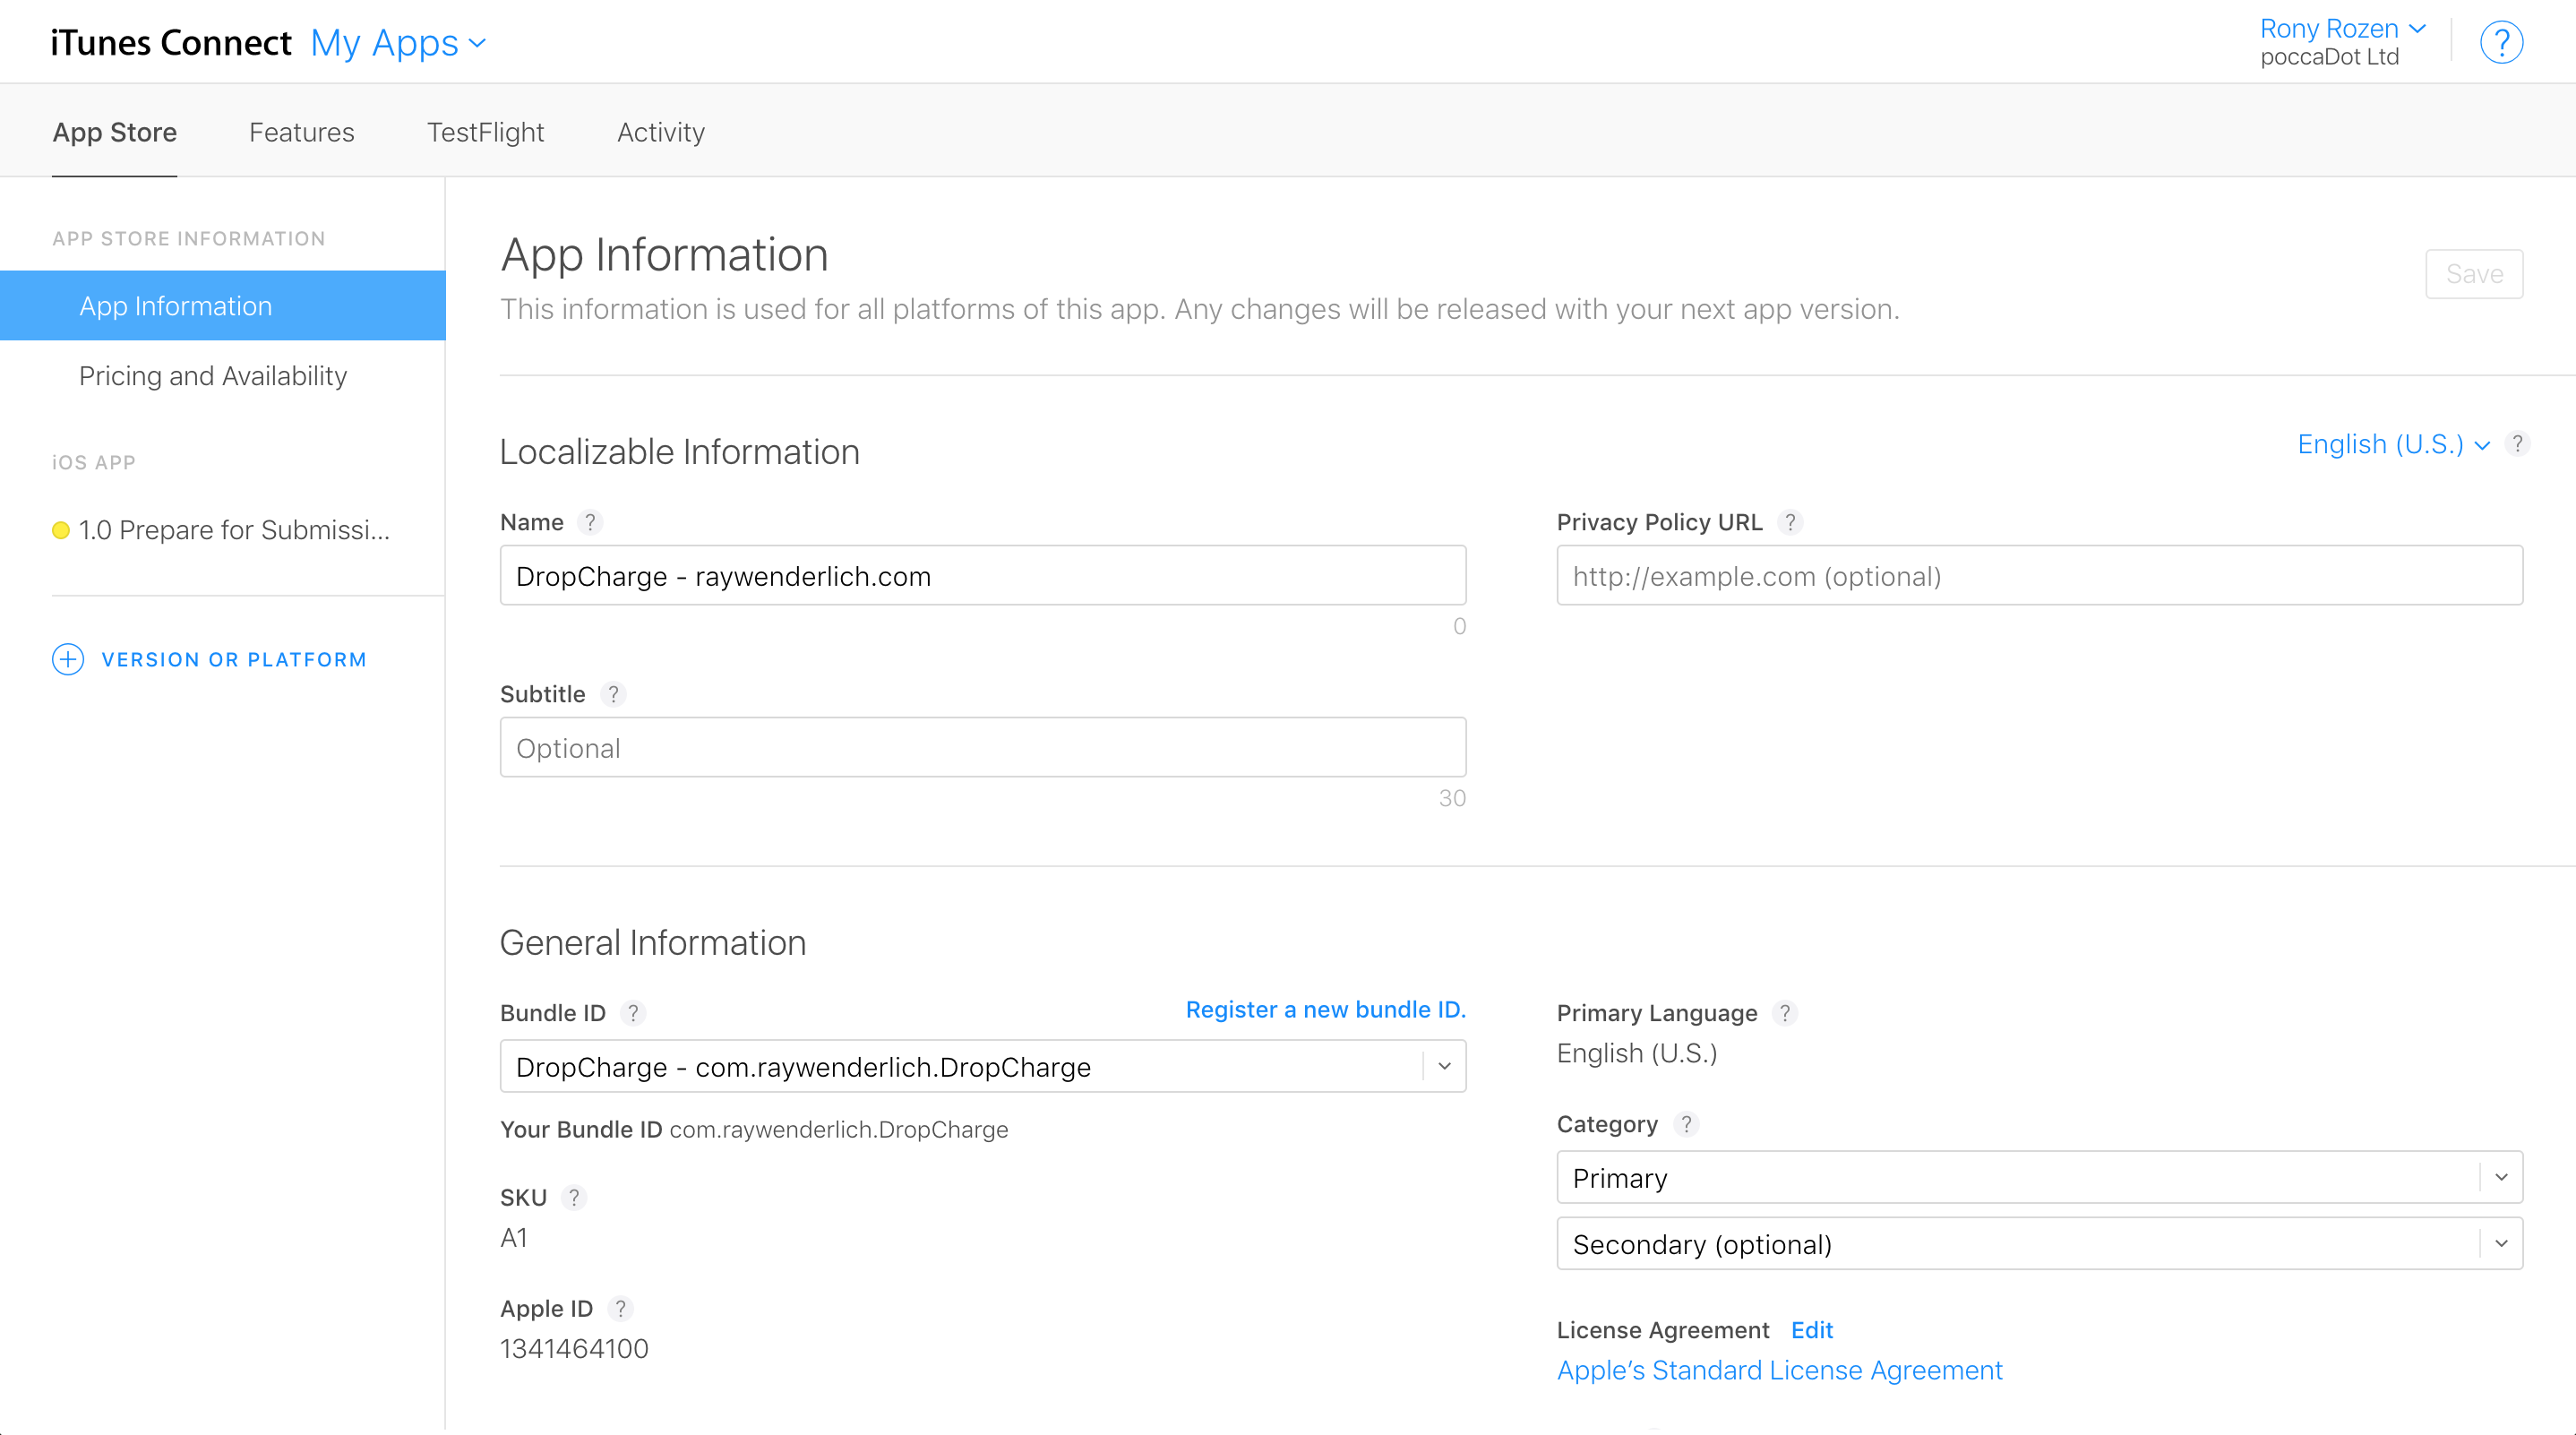
The new application will be created in iTunes Connect and will be ready for you to fill in the required information such as Description, Icons & Screenshots, Pricing, Categories, Ratings, etc.
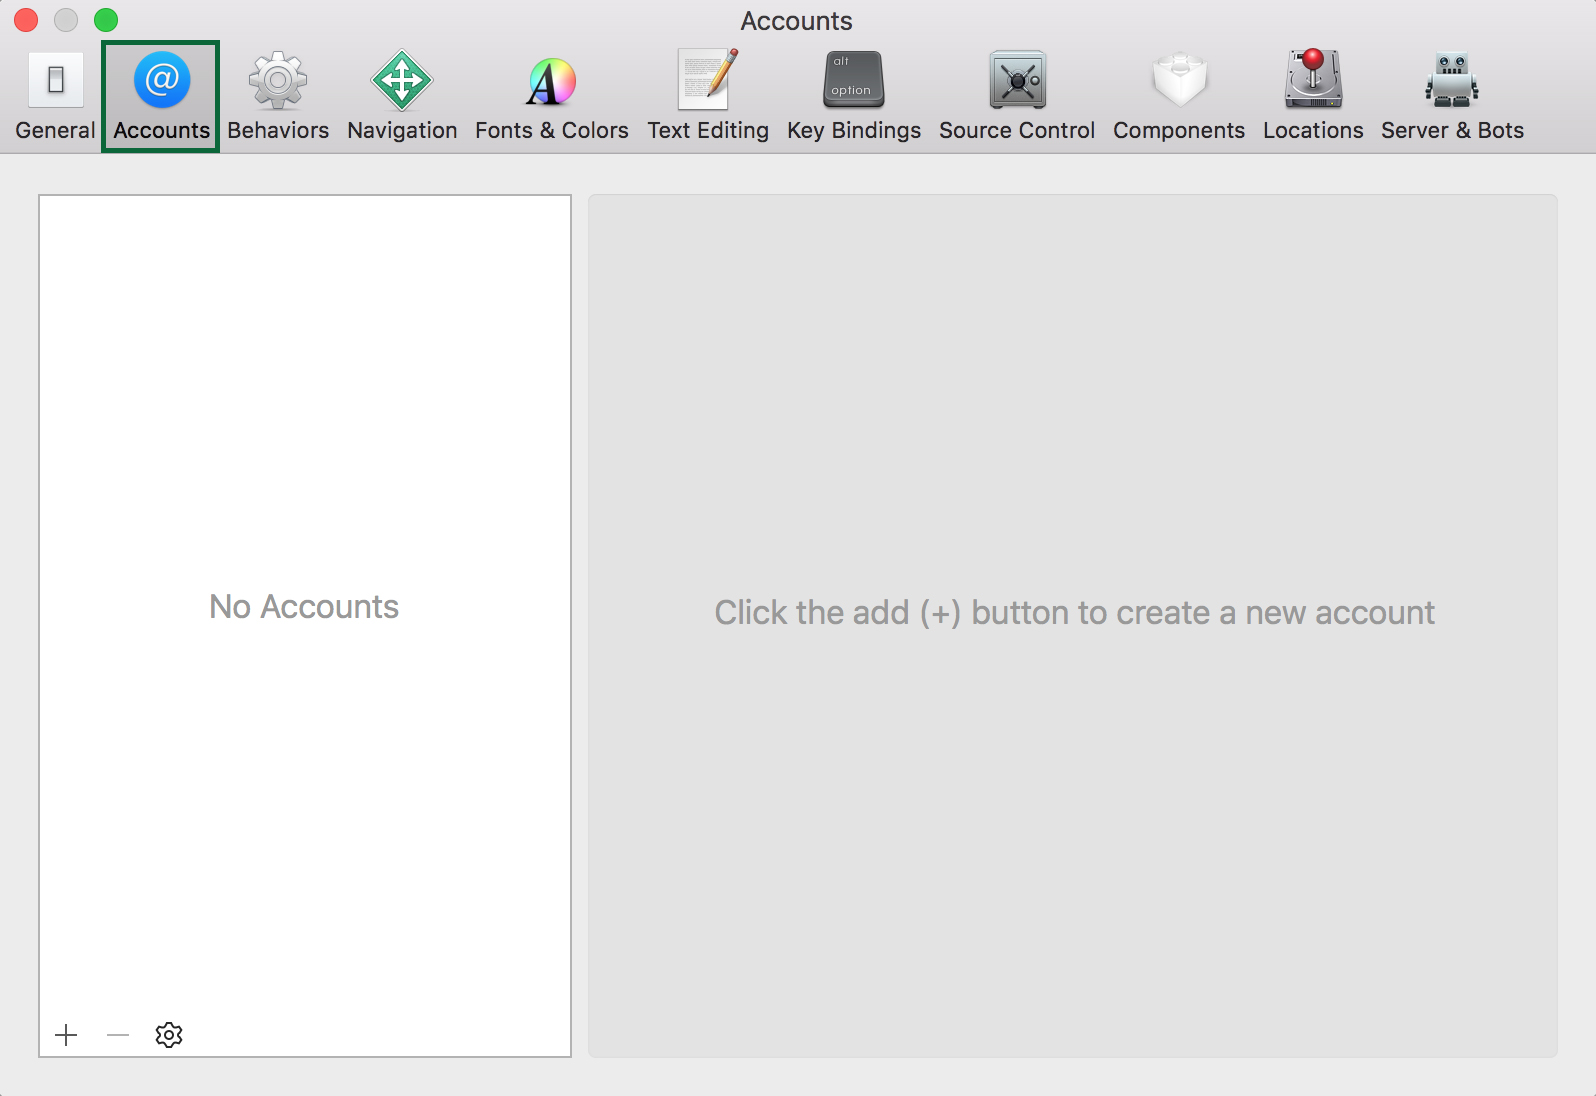
Open Xcode, select Xcode\Preferences… and choose Accounts.
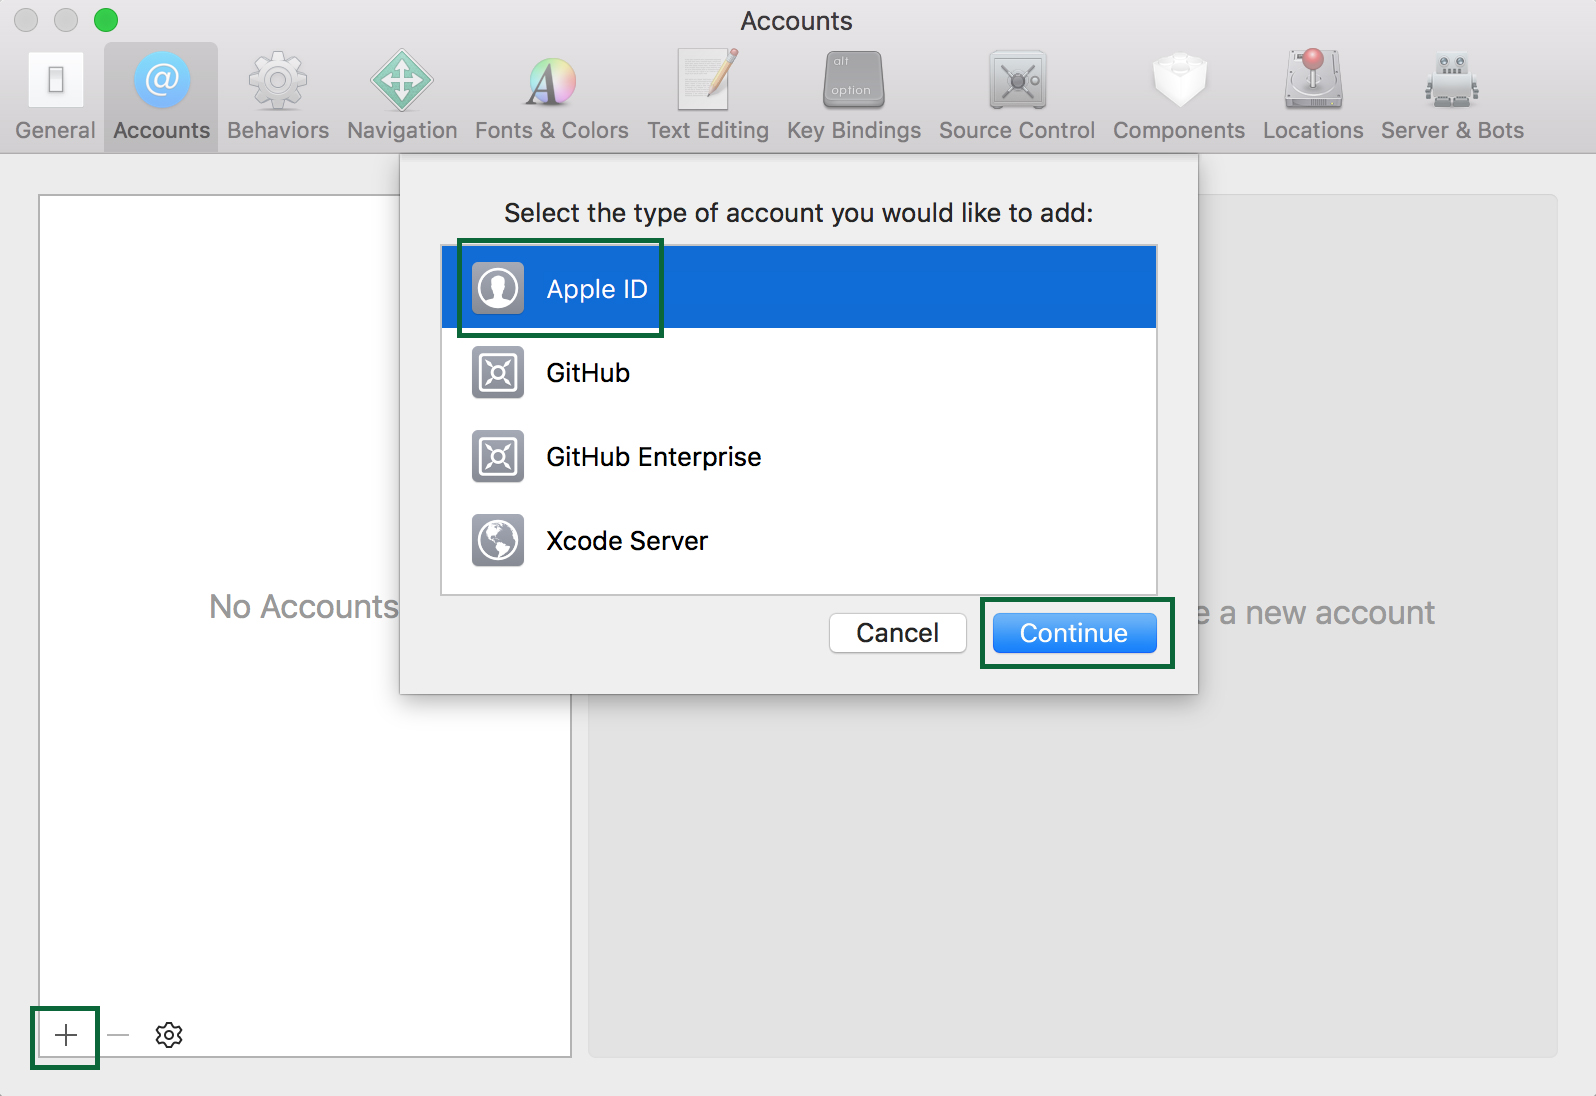
Click + in the lower left, select Apple ID, and click Continue.
Enter your developer account credentials and click Sign In.
Entering your credentials this way allows Xcode to connect automatically to the Provisioning Portal on your behalf. It will also detect any connected devices and automatically register them with the Provisioning Portal if they aren’t there already.
Next you will see a screen that shows your information. At the bottom of the screen, you will see two buttons:
- Download Manual Profiles - downloads profiles that haven’t been added to Xcode yet.
- Manage Certificates - enables you to create additional certificates, similar to what you did via the Developer Portal in the previous part of this tutorial.
You can now close the preferences pane.
One of the things you did was open Project navigator, click on the project node of the tree, click General, and set Deployment Target at or below the iOS version on your device.
Deployment Target is a fancy way of saying “the minimum version of iOS that your code supports”. If, you set the Deployment Target to iOS 8.0 but use an API that is only available on iOS 9, your app will crash!
Make sure the Bundle Identifier is the same as the bundle identifier you used for the App ID you registered in the Provisioning Portal.
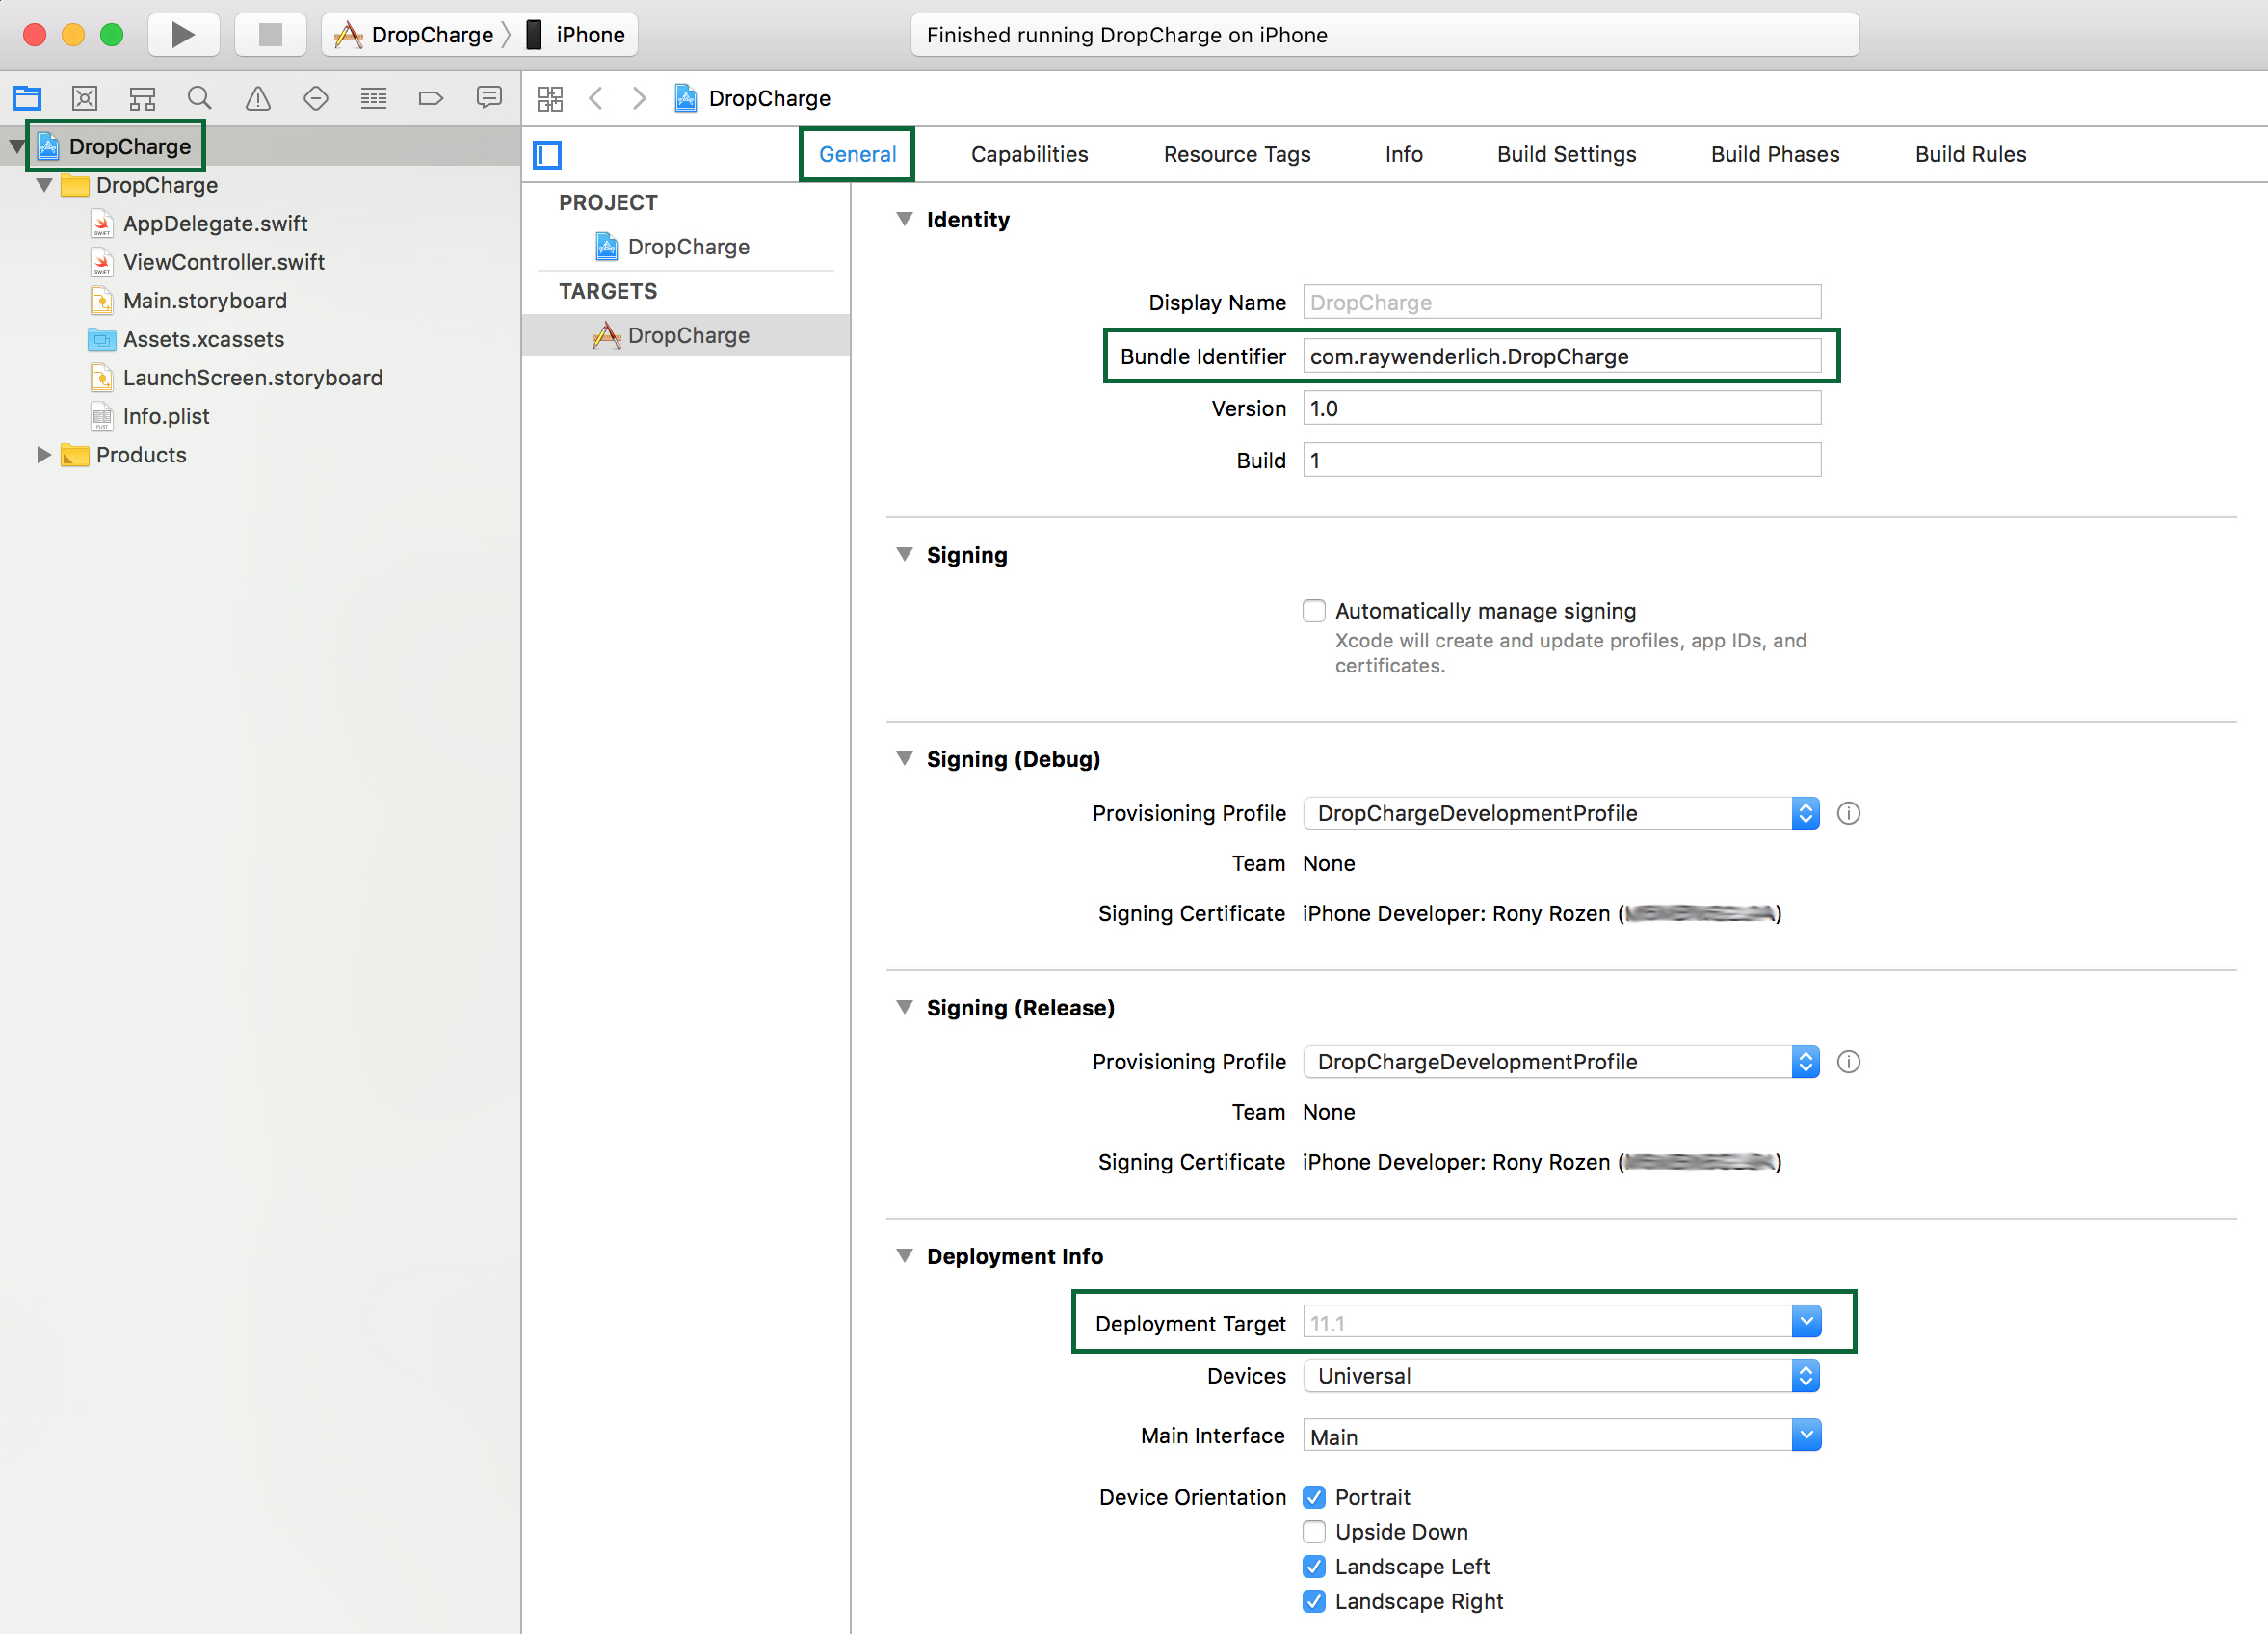
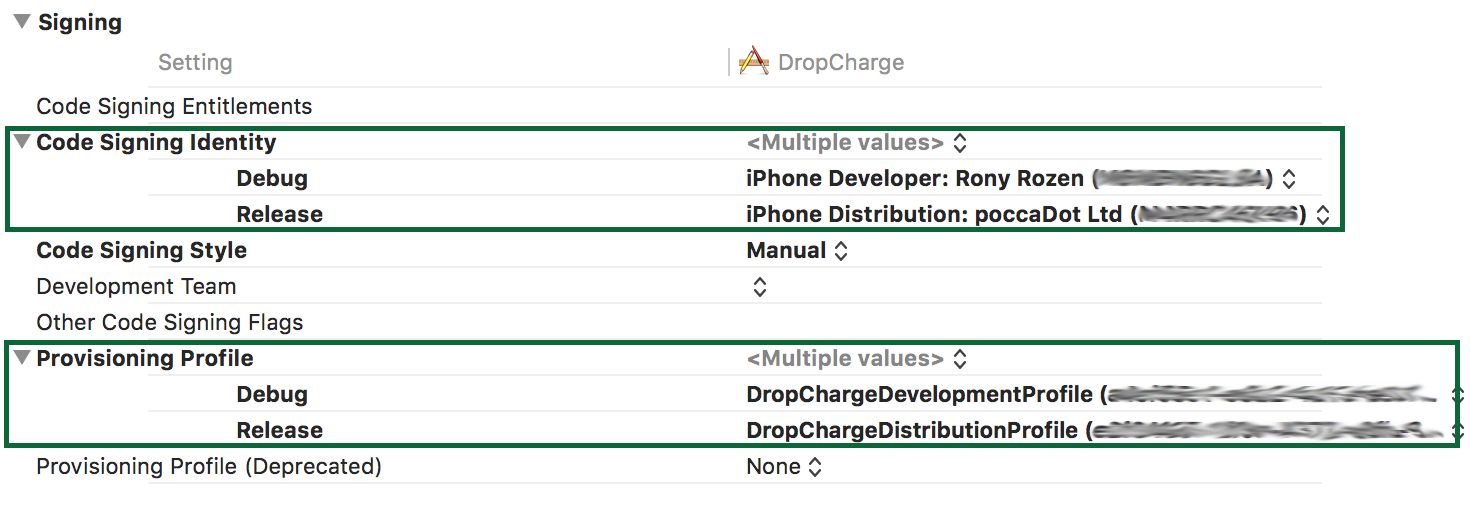
Next, you must point Xcode to the correct provisioning profiles. Click Build Settings and search for the word “signing”. In the search results list under the Code Signing Identity section, click the drop downs for the Debug and Release entries and choose the correct certificates. Then, under the Provisioning Profile section, choose the matching provisioning profiles from those presented by Xcode.
You should select your Developer Certificate & Profile for the Debug build, and your Distribution Certificate & Profile for the Release build:
Press Command-B to build the project. You may see a prompt saying “codesign wants to sign using key ‘privateKey’ in your keychain”. The Mac is letting you know Xcode wants to access your credentials. Enter your password and click Always Allow.
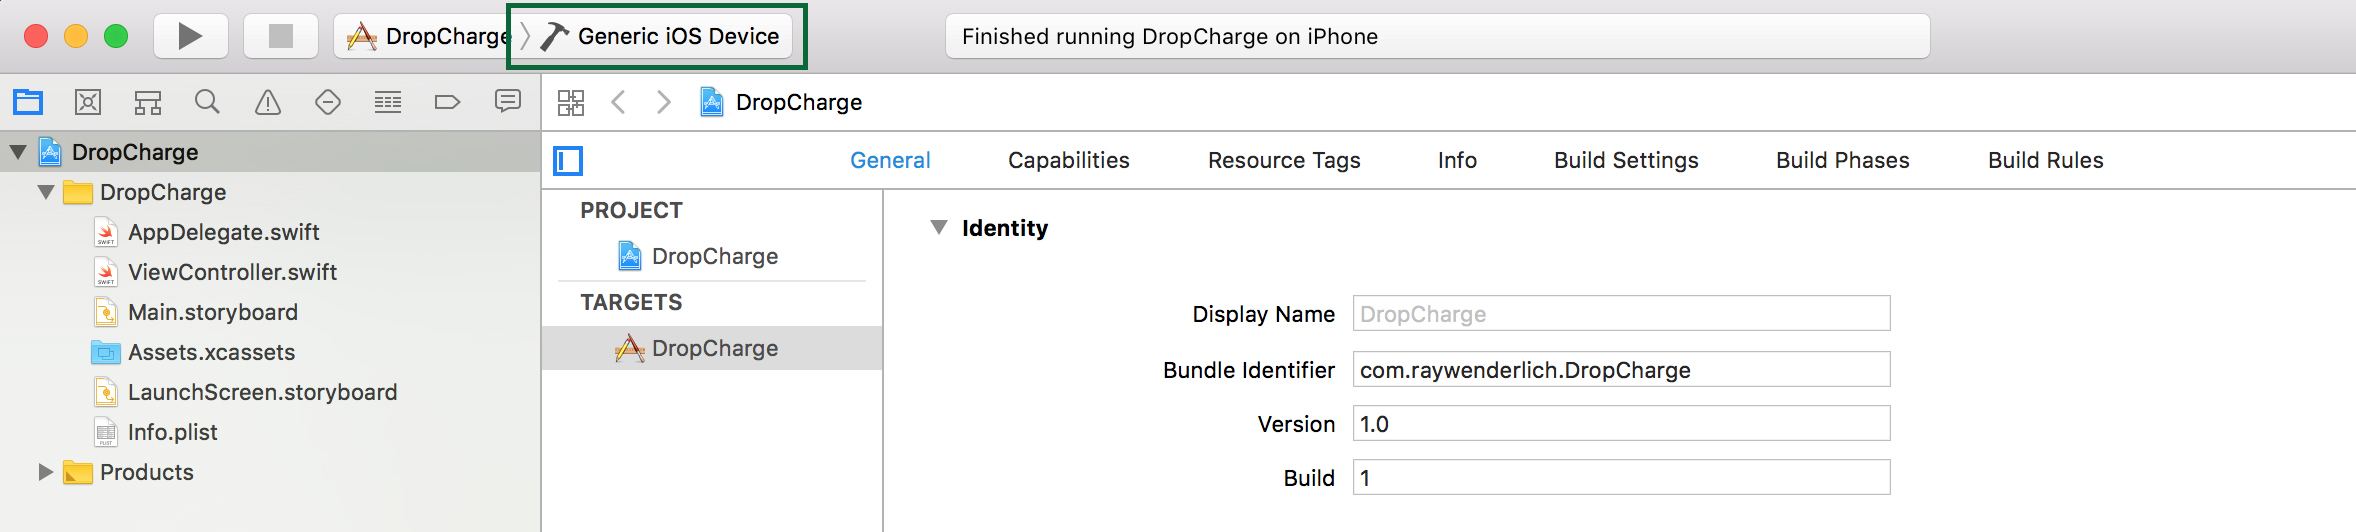
Go to Xcode and choose Generic iOS Device in the scheme chooser:
Building an app for distribution in the App Store requires using the Release scheme in Xcode. To configure your app to be built using the Release scheme, go to Product → Scheme → Edit Scheme. Select the Run tab in the sidebar, then set the Build Configuration dropdown to Release.
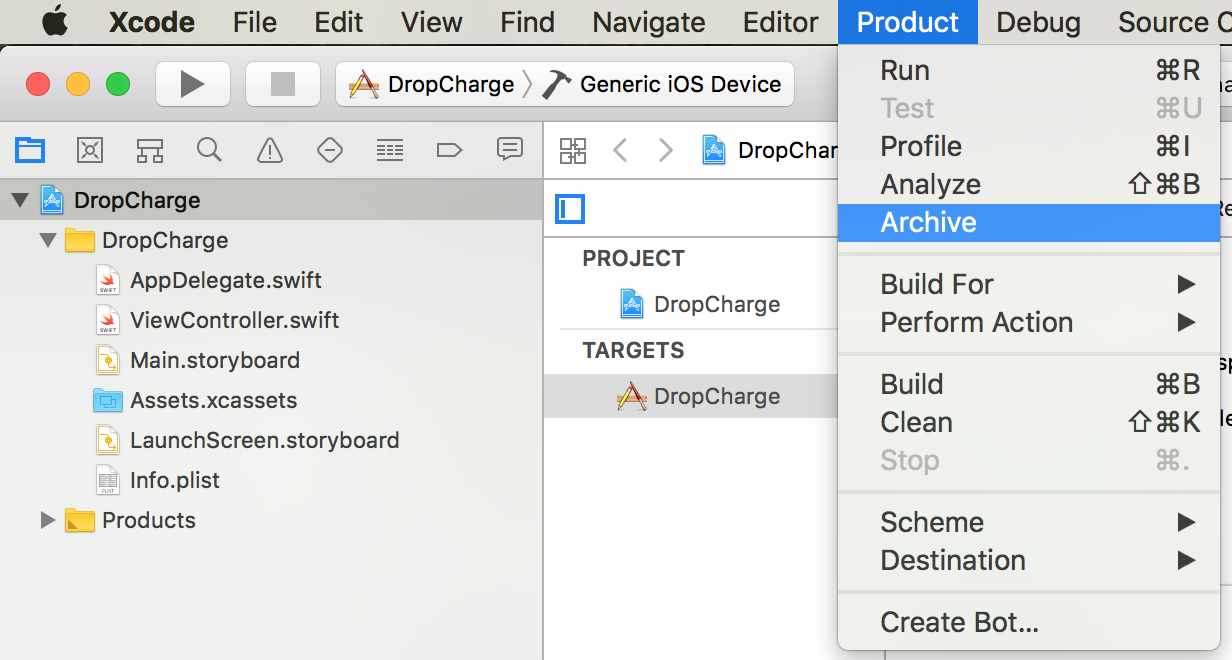
Then choose Product\Archive:
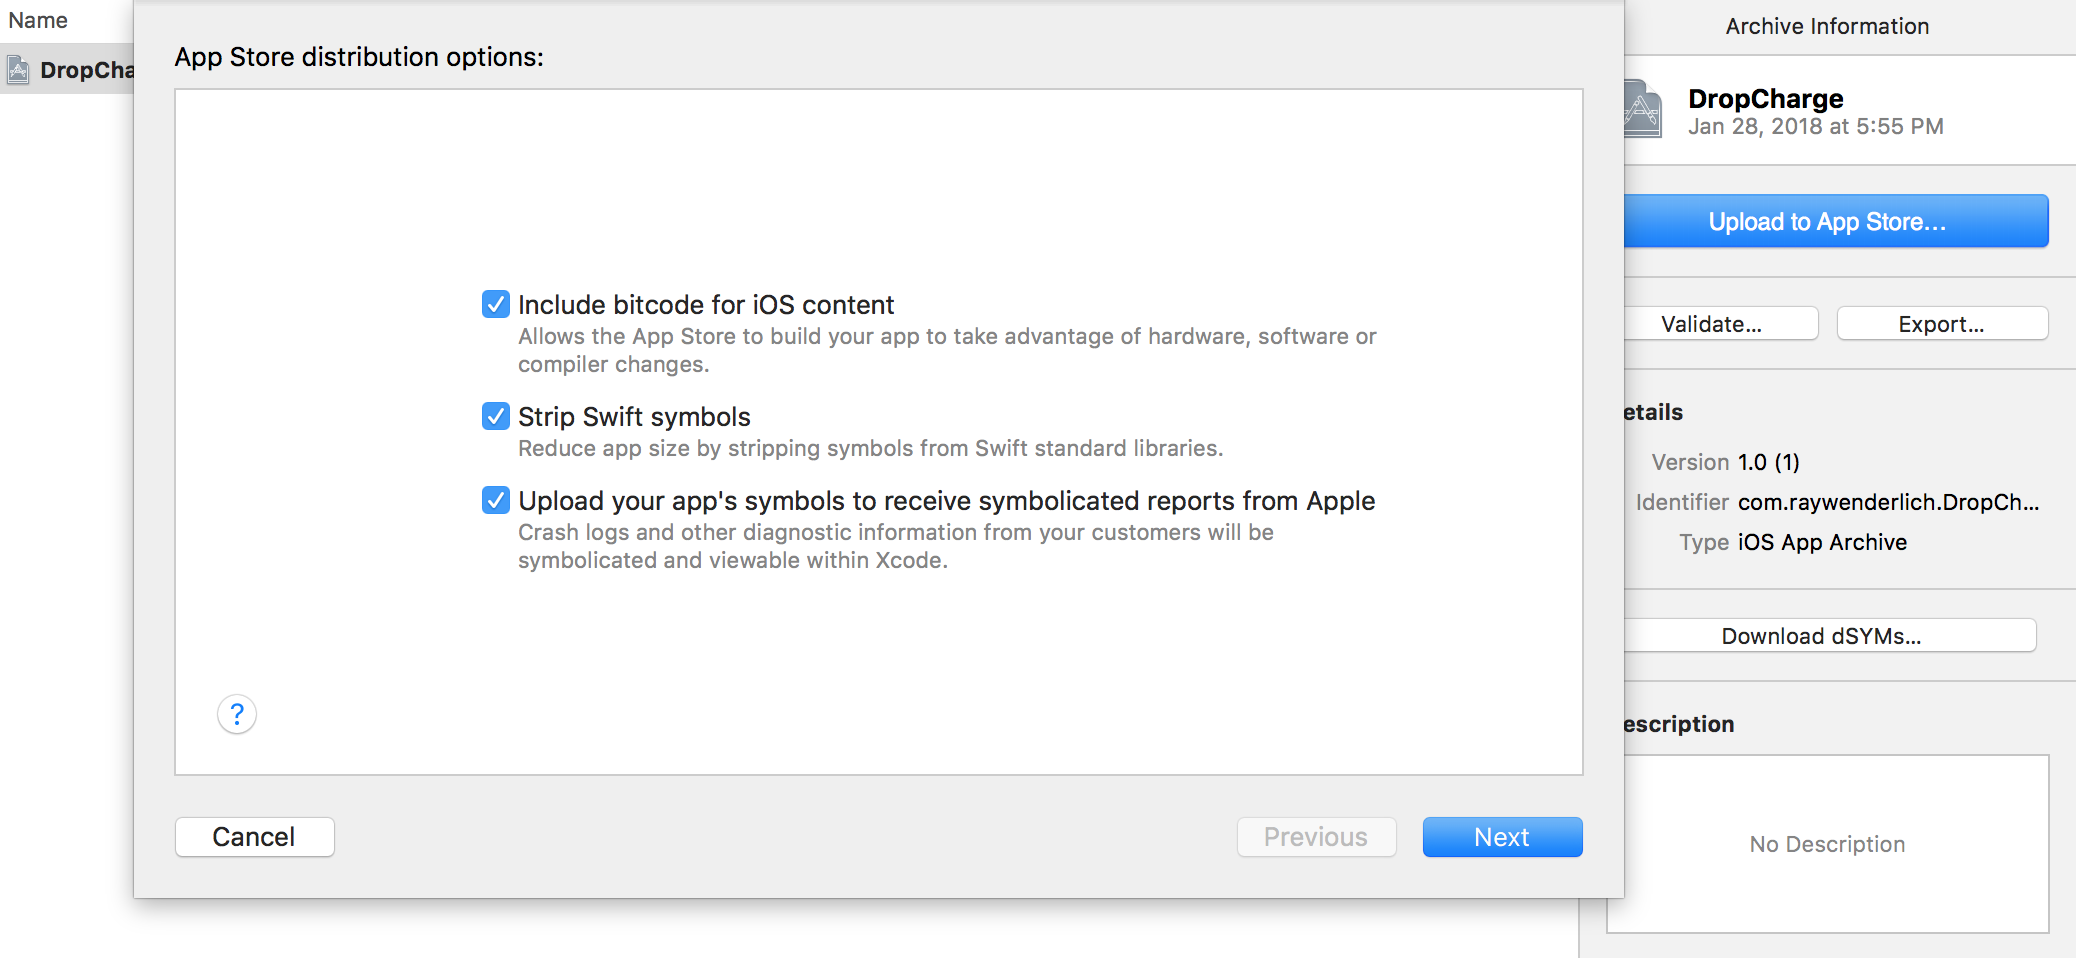
If everything is okay with the build, Xcode will open the Organizer window with your app in the Archives tab. You don’t really need to click Validate… here because this will be done when you submit anyway, and Xcode should have already validated against most problems. So save yourself some time and click Upload to App Store….
You will then be prompted with App Store distribution options. All checkboxes should be selected by default. Leave them like this and click Next:
The next screen asks you to select your distribution certificate and provisioning profiles. Select the ones you created earlier, and click Next. Finally, once Xcode is done doing some of its magic, you’ll be presented with a summary page of the app you’re about to submit. Click Upload.
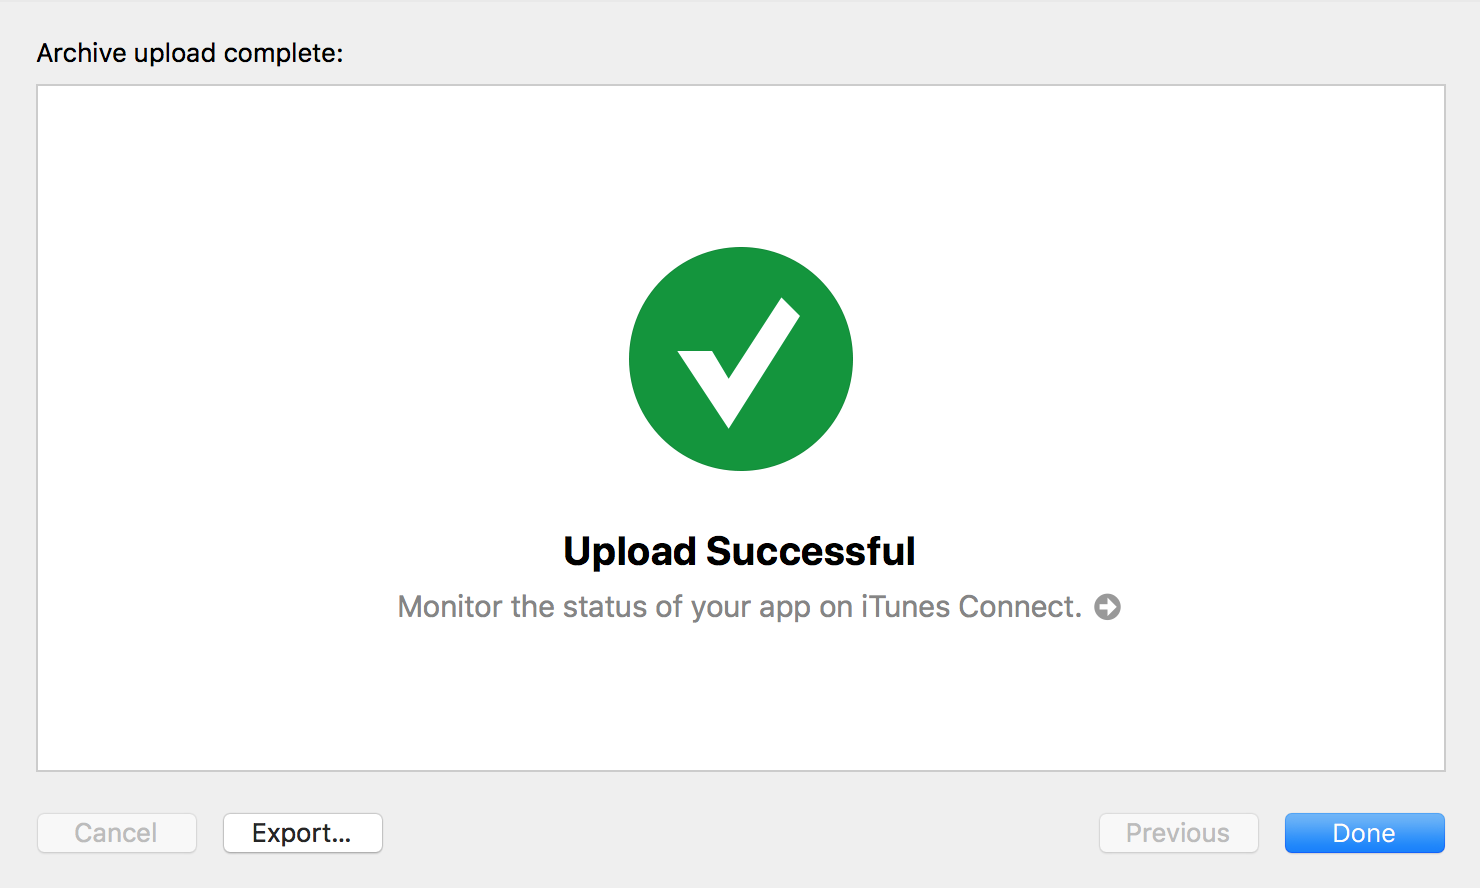
Your app will start uploading to iTunes Connect. Various messages will be displayed as code is compiled, verified and code-signed. When the upload finishes, you should see the following message:
Now switch back to iTunes Connect, scroll down to the Build area you skipped earlier and click Select a build before you submit your app. Select the build Xcode just uploaded and click Done.
Click Save at the top right.
Finally, click Submit for Review.
All you have to do now is wait for Apple to approve your app! The review time for your apps will vary based on traffic, but in general it takes around 5-10 days for most people.