React Native ~ creating iOS Provisioning Steps - rohit120582sharma/Documentation GitHub Wiki
The first step on the path to the App Store is to register as an Apple developer. Becoming an Apple developer is free, but this won’t enable you to submit an app to the App Store — to do that you must pay the aforementioned US$99 fee.
If you don’t yet have an Apple developer account, go to the Apple Developer site and create a new account.
Cool, you’re now an Apple developer! You have access to the libraries and tools, but you need to join the paid program to submit apps to the app store.
Being a registered Apple developer gives you access to a lot of information, but to be able to send apps to the App Store (and to have access to certain associated portals) you need to enroll in Apple’s Developer Program.
Membership in the Apple Developer Program includes everything you need to develop, distribute, and manage your apps on the App Store. You’ll also gain access to beta software, advanced app capabilities, beta testing tools, and app analytics.
Once logged in Apple's Developer Account, click the Join the Apple Developer Program link on the lower center of the page. Then, click Enroll.
The following page describes enrolment as an Individual or as a Company.
There are two main benefits to enrolling as a company:
- You’ll be able to invite other people to join your developer account (great for groups of developers working together on the same app)
- The Seller field on the App Store will display your company name (and not your first and last name)
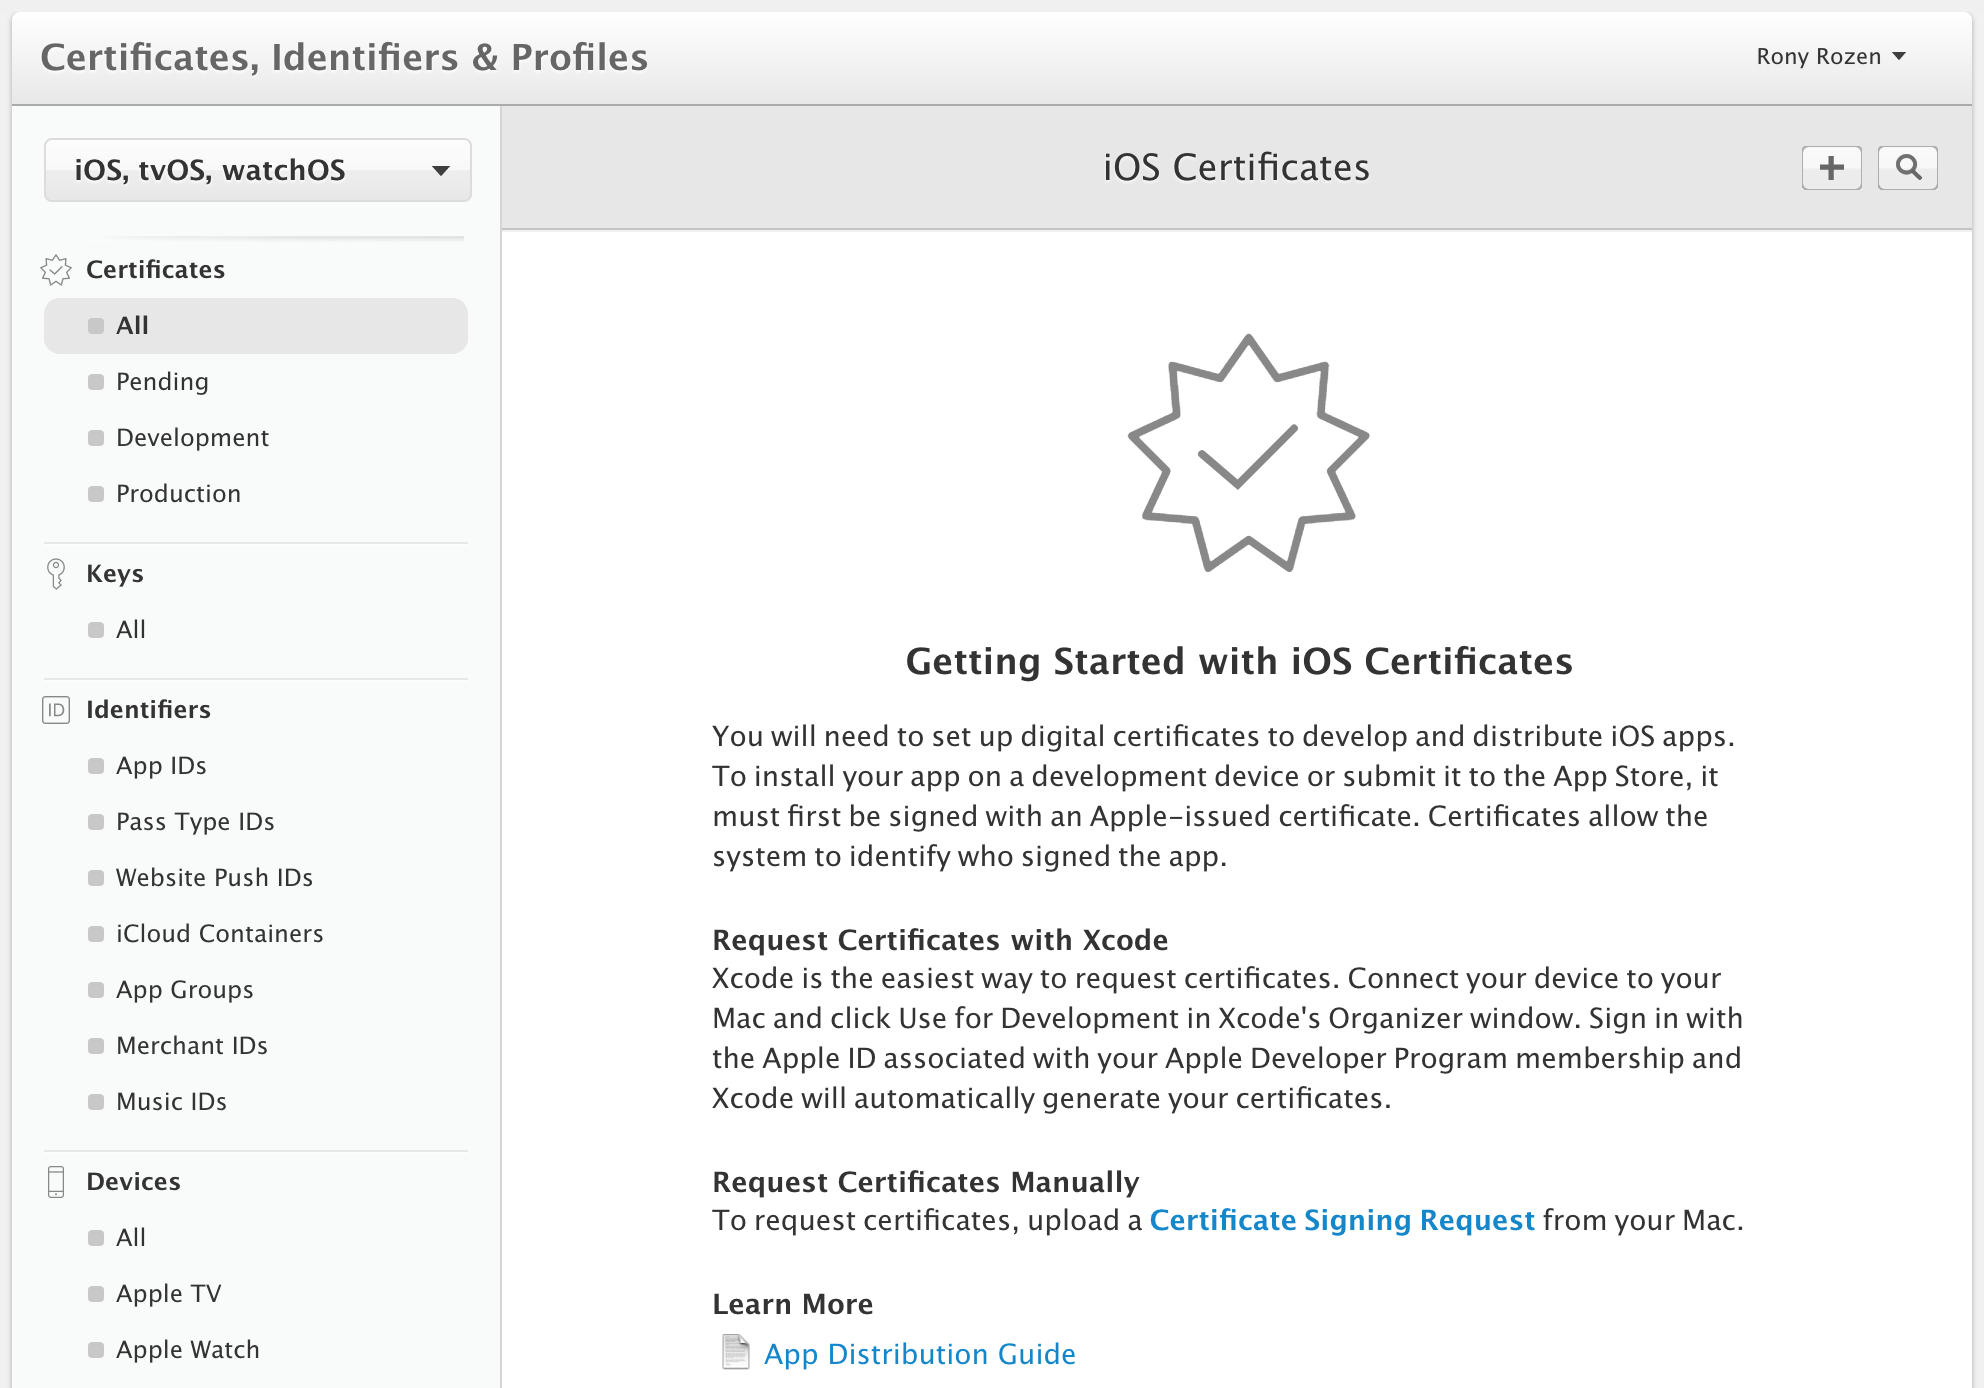
- Browse to the
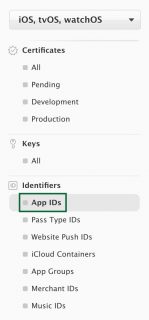
Certificates, Identifiers & Profilessection of the Apple Developer Member Center. - Make sure the drop down in the upper left says
iOS, tvOS, watchOS - Under
Certificates > Development, click the "+" button to create a new certificate. - Under the
Developmentheading, select iOS App Development:
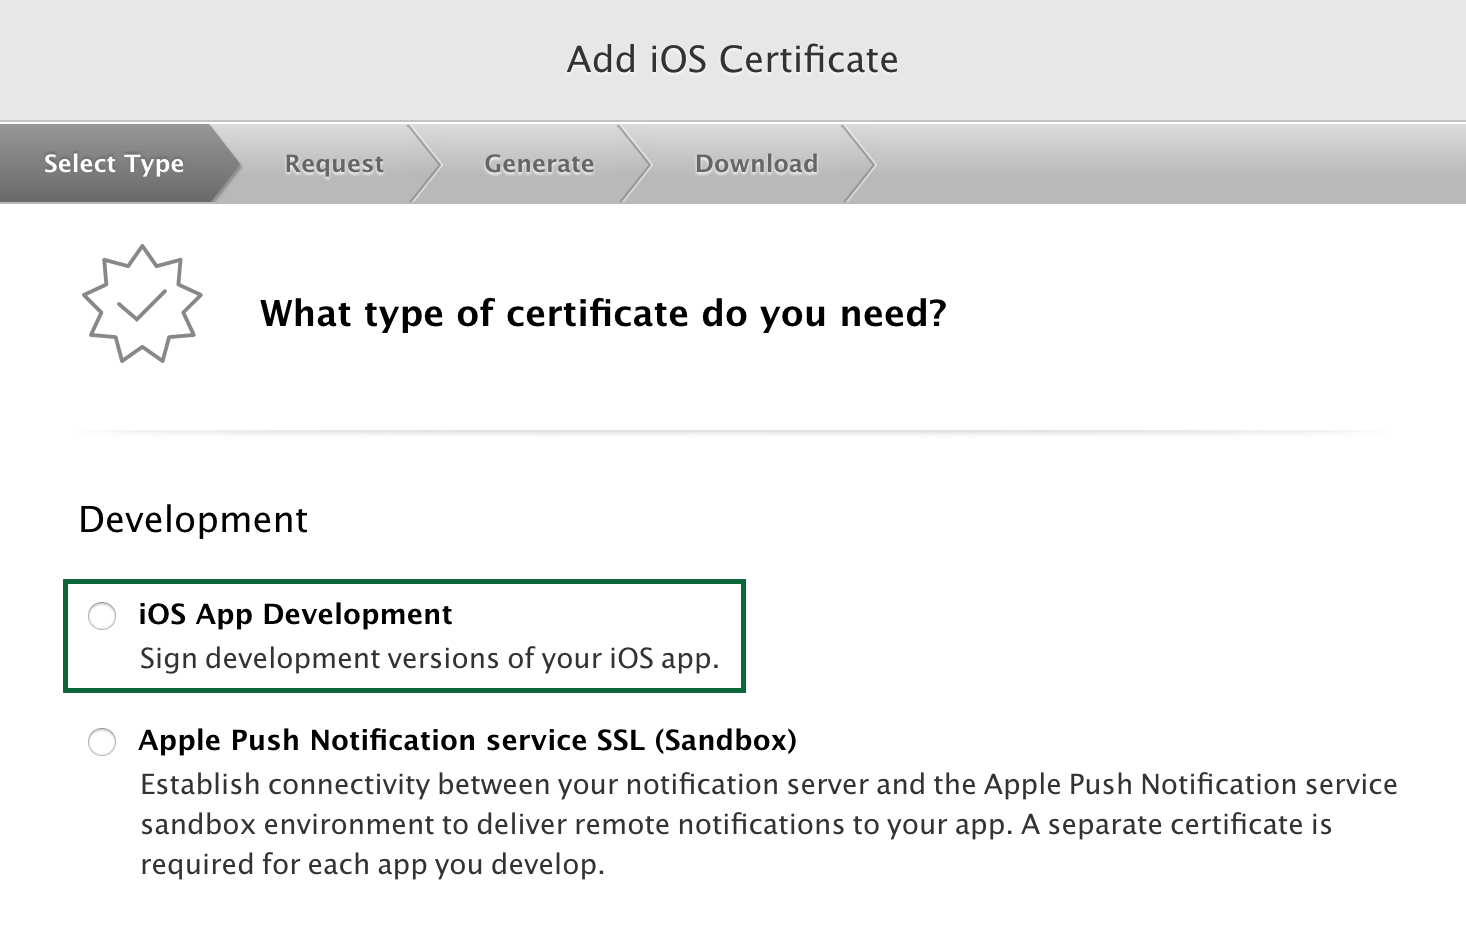
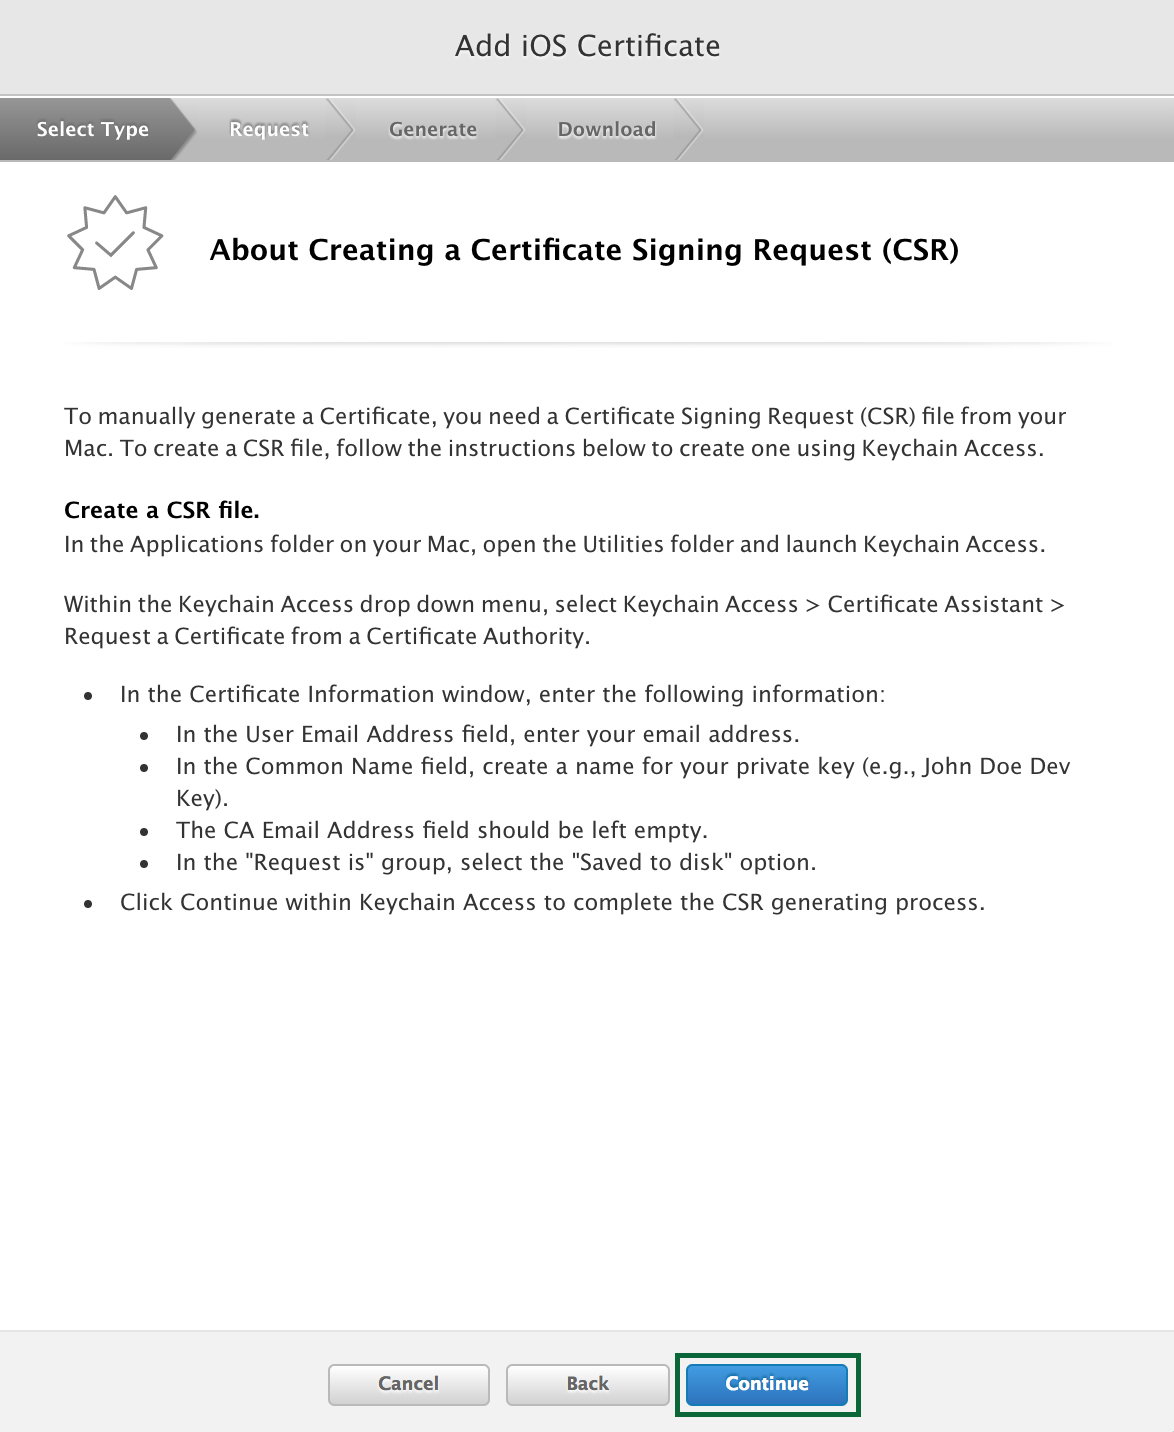
- Click Continue, and follow the instructions to create a
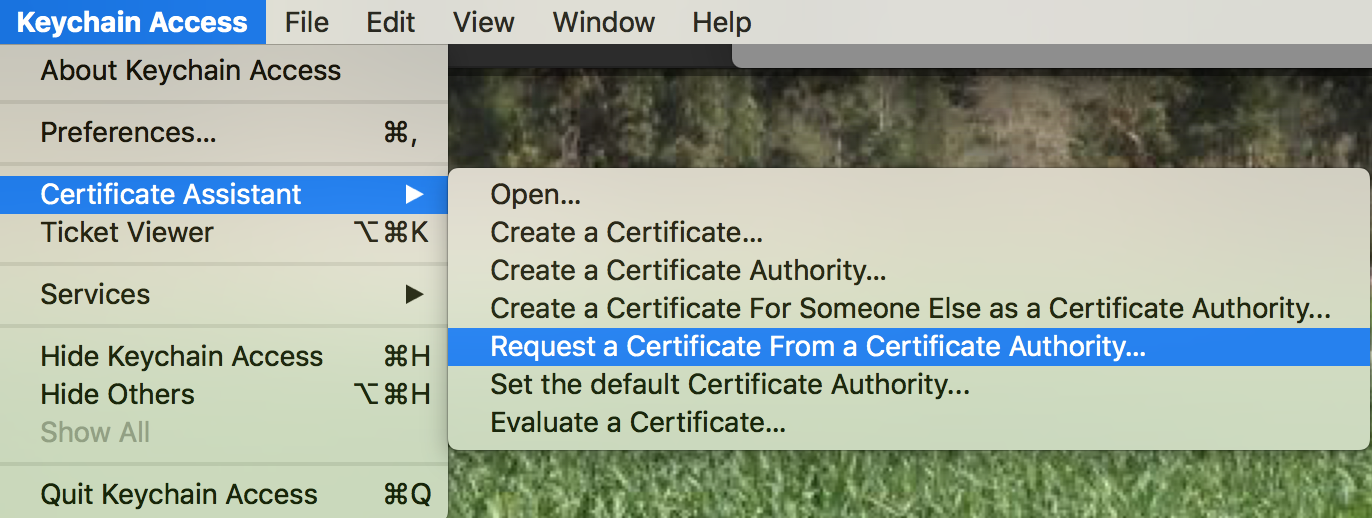
Certificate Signing Request (CSR)via Keychain Access: - Launch Keychain Access on a Mac and navigate to the main menu, and select
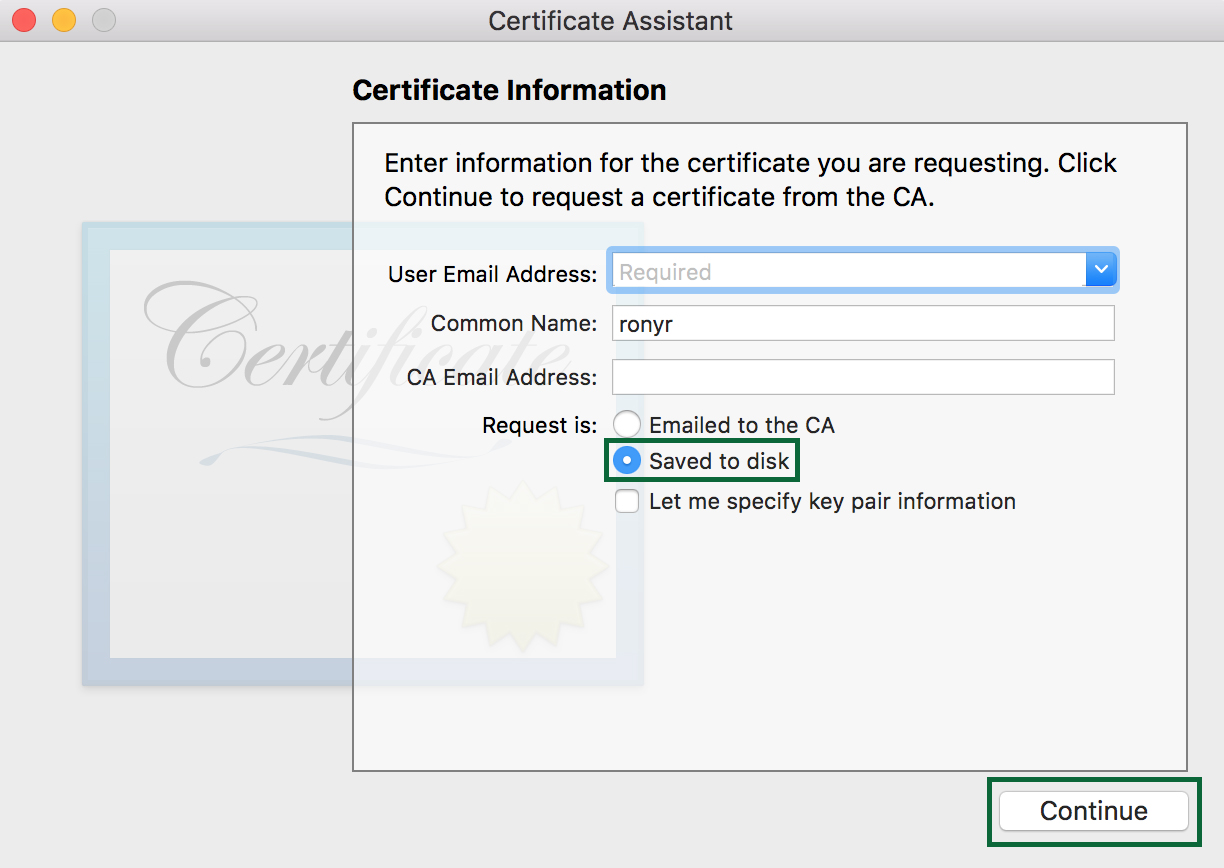
Certificate Assistant > Request a Certificate from a Certificate Authority... - Fill in your information, and select the option to Save to disk
- The assistant creates a
Certificate Signing Request (CSR)file.
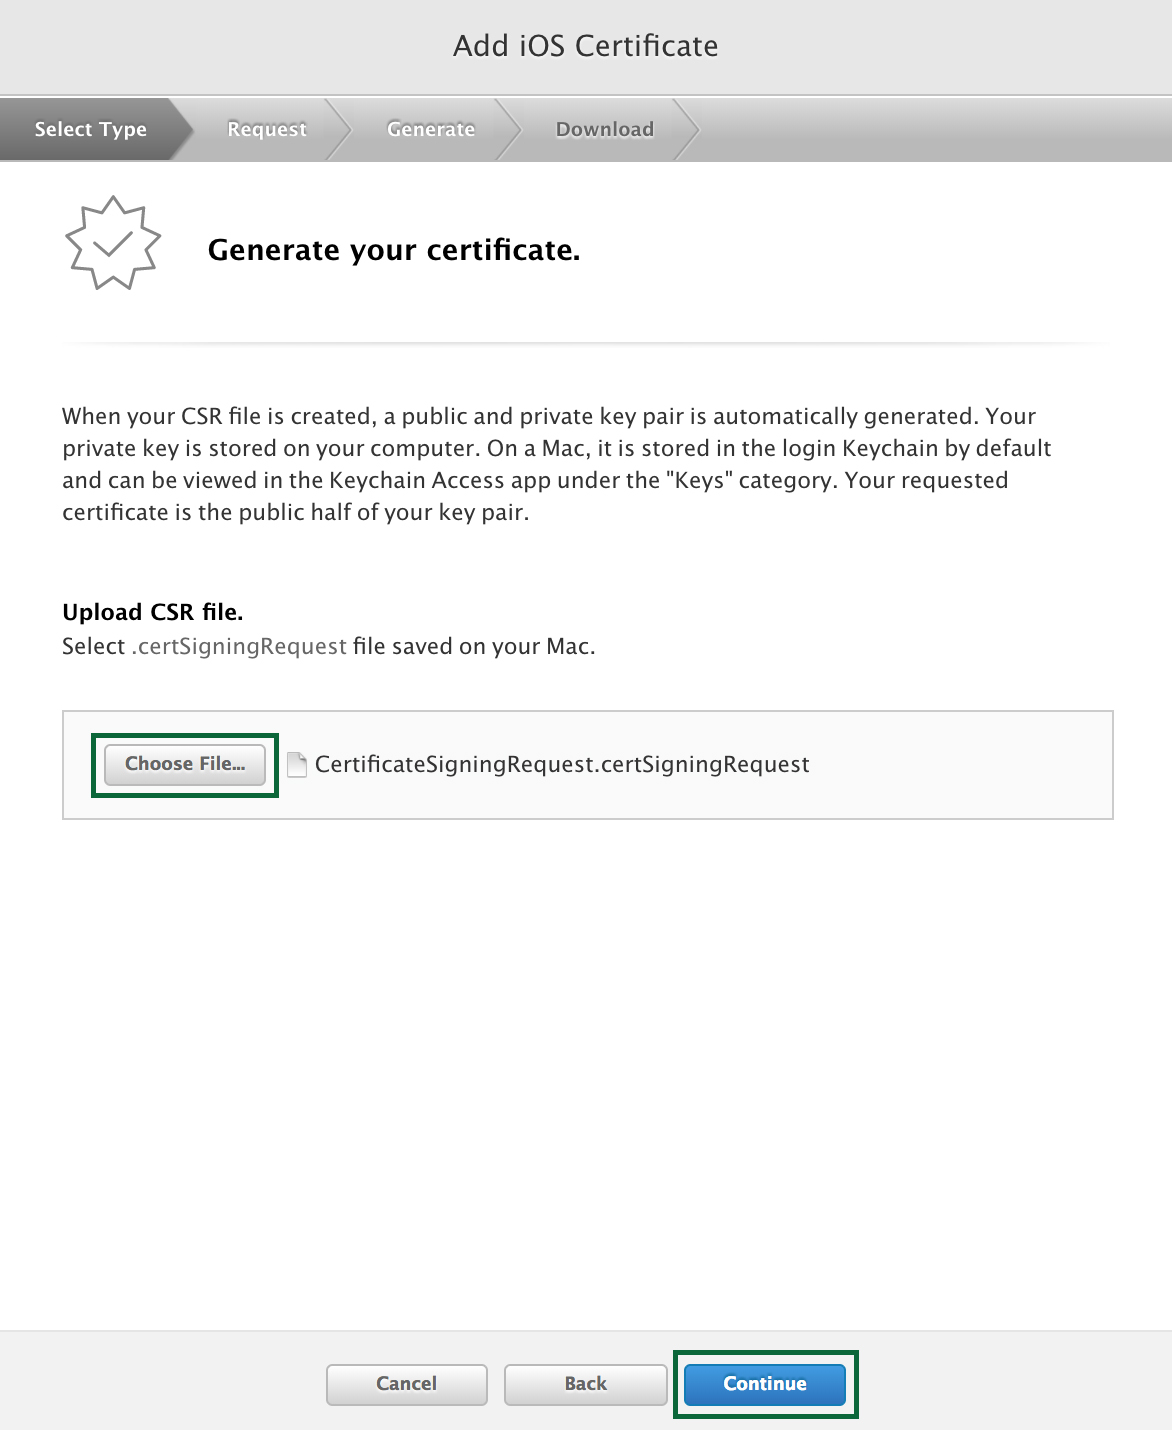
- Once you have created the CSR as instructed, click Continue, and upload the CSR to the Member Center:
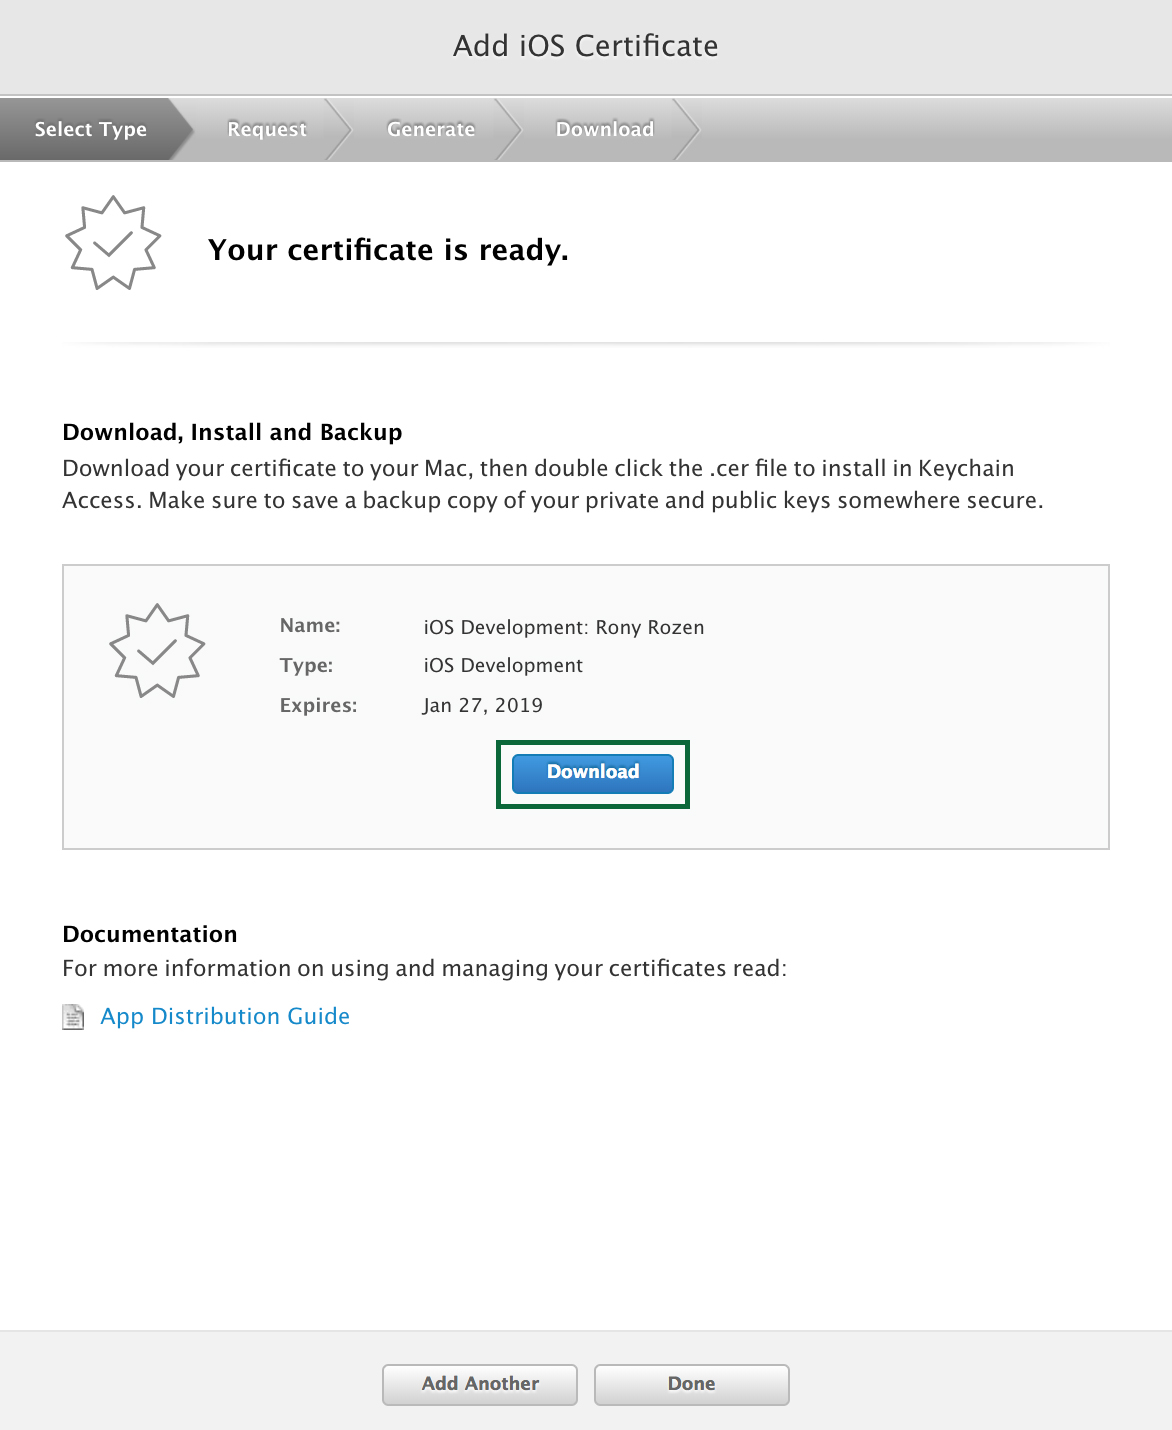
- Click Generate to create the certificate.
- Finally, Download the completed certificate and double-click on the file to install it. It will launch Keychain Access and open the My Certificates panel, showing the new certificate(s), and associated private key.
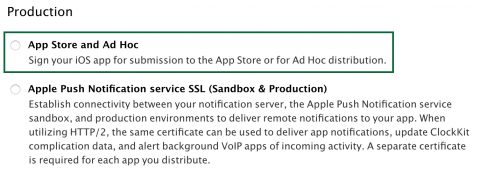
Now that you have your certificate for your development profiles, you need to create a certificate for your production or distribution profiles.
- Under the
Productionheading, select App Store and Ad Hoc and go through the same process as before to submit the same certificate signing request you used for your development certificate:
As with any other Provisioning Profile you create, an App ID is required to identify the App that you are distributing to the user's device. Follow the steps below to create one:
- In the Apple Developer Center browse to the Certificate, Identifiers and Profiles section. Under
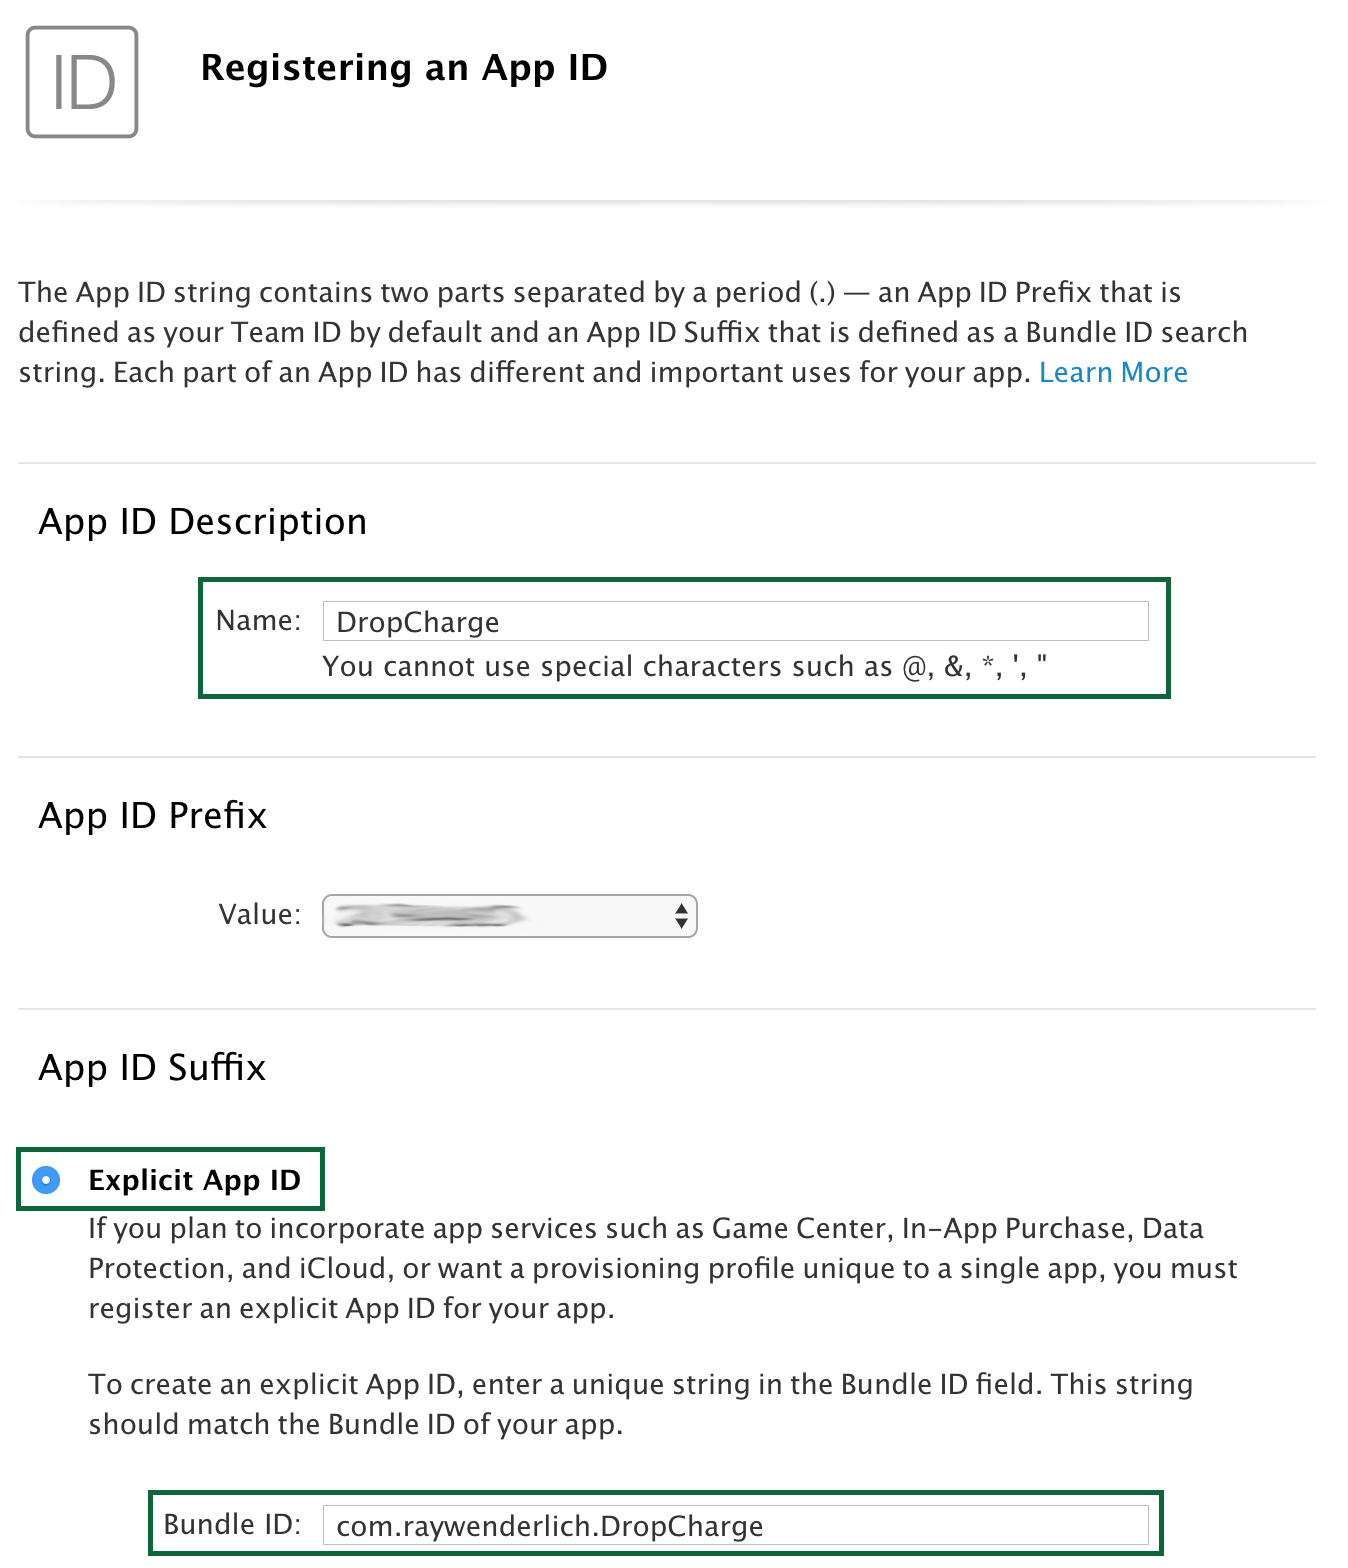
Identifiers > App IDs, click the "+" button to create a new certificate. - Provide a Name which will identify it in the Portal.
- The App prefix should be already set as your Team ID, and cannot be changed. Select Explicit App ID and enter a
Bundle IDin a reverse DNS format likecom.bluebolt.corebrands.app. - Select any App Services that the app requires.
- Click the Continue button and following the on screen instructions to create the new App ID.
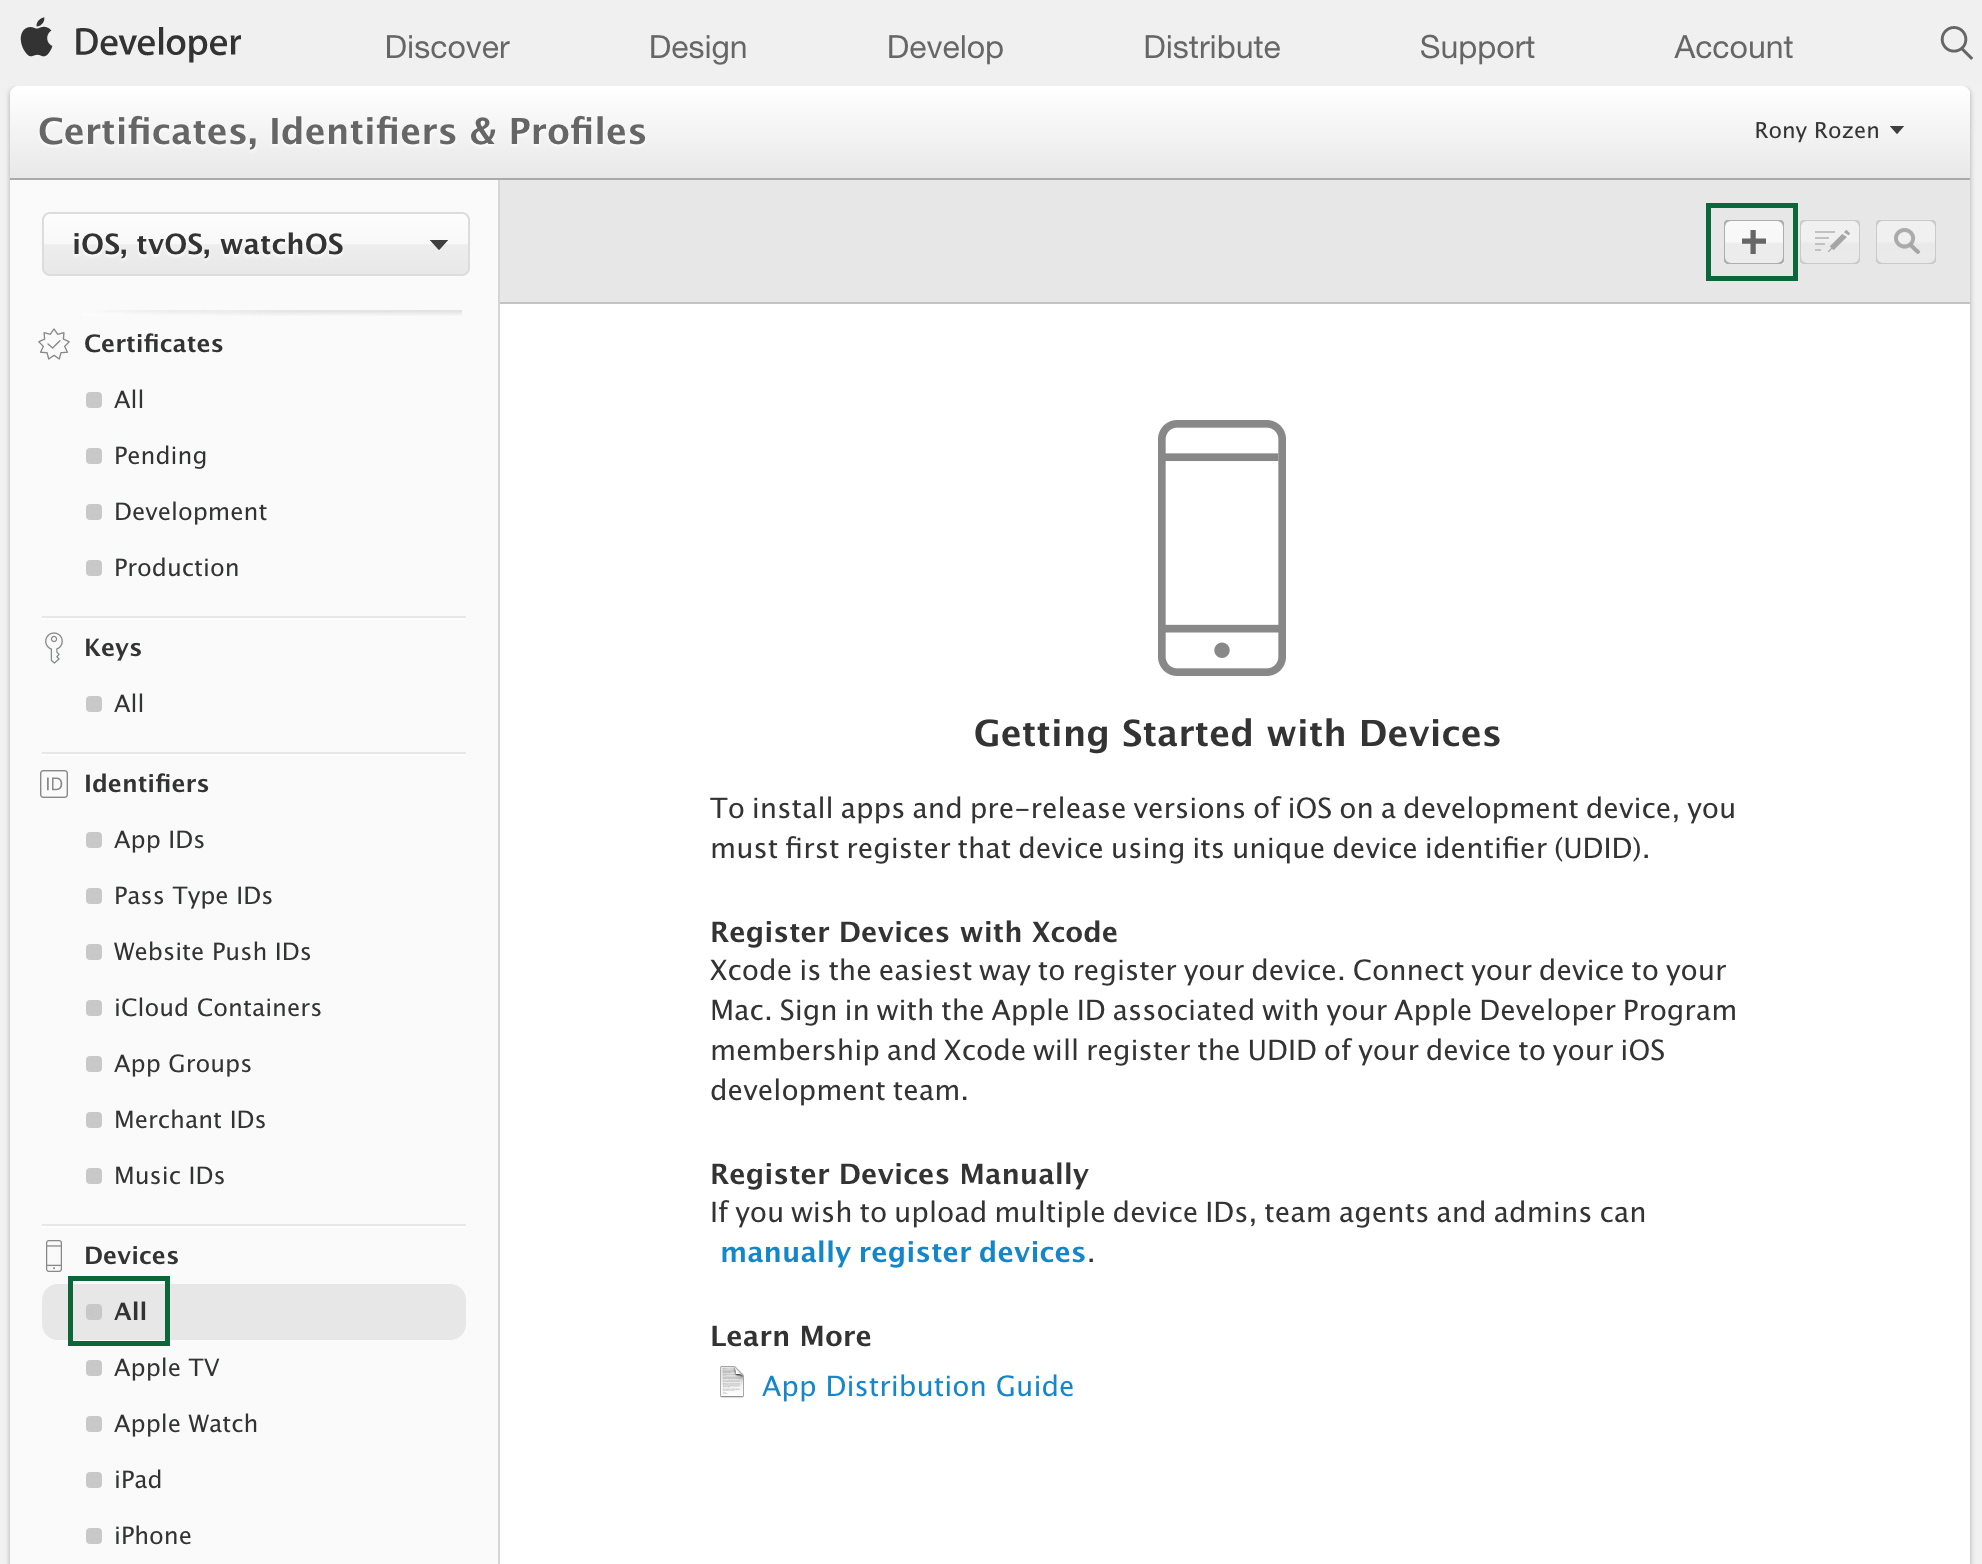
You must register a device (development device) using it's Unique Device Identifier (UDID) to allow iOS to install and run the app. A provisioning profile needs a list of UDIDs so that it knows which devices the app is allowed to run on.
Follow the steps below to register a device:
- Under
Devices > All, click the "+" button to create a new one. - Enter a device name (which can be anything you want) and paste the
UDIDof the device(s)

A provisioning profile brings together a Certificate, an App ID and device identifiers. When you get back to Xcode (you’re almost there), you’ll use the provisioning profile you created to bring everything together.
Once you have the required components needed for creating a Distribution Profile, follow the steps below to create it:
- Return to the Apple Provisioning Portal and select
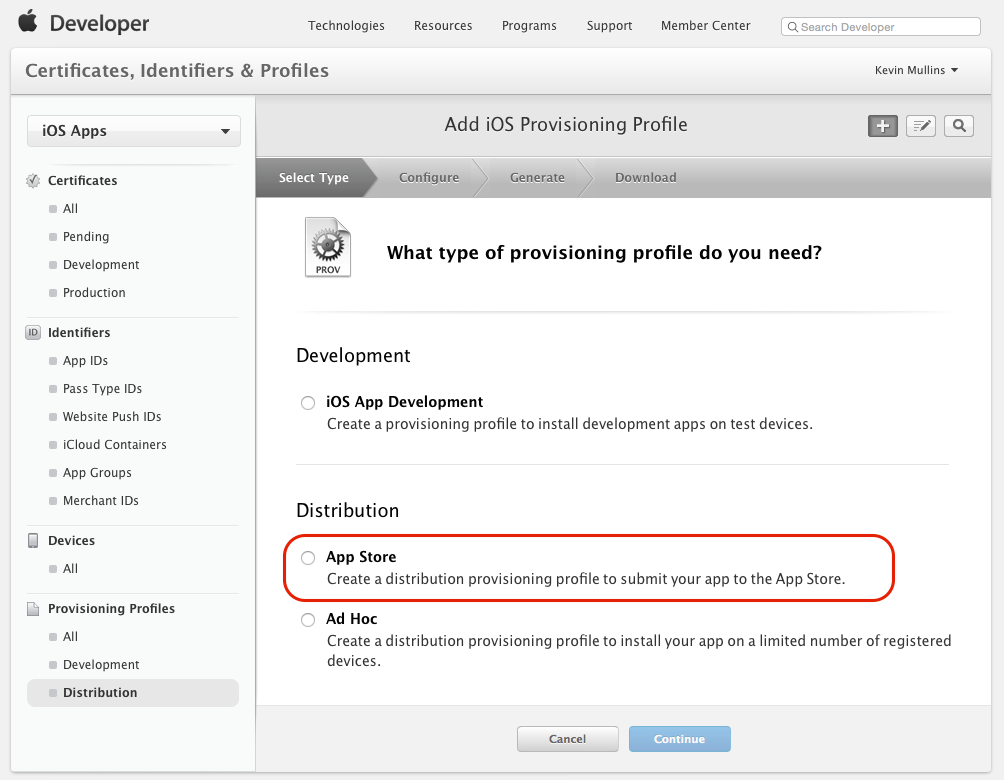
Provisioning > Distribution: - Click the "+"" button and select the type of Distribution Profile that you want to create as
App Store:
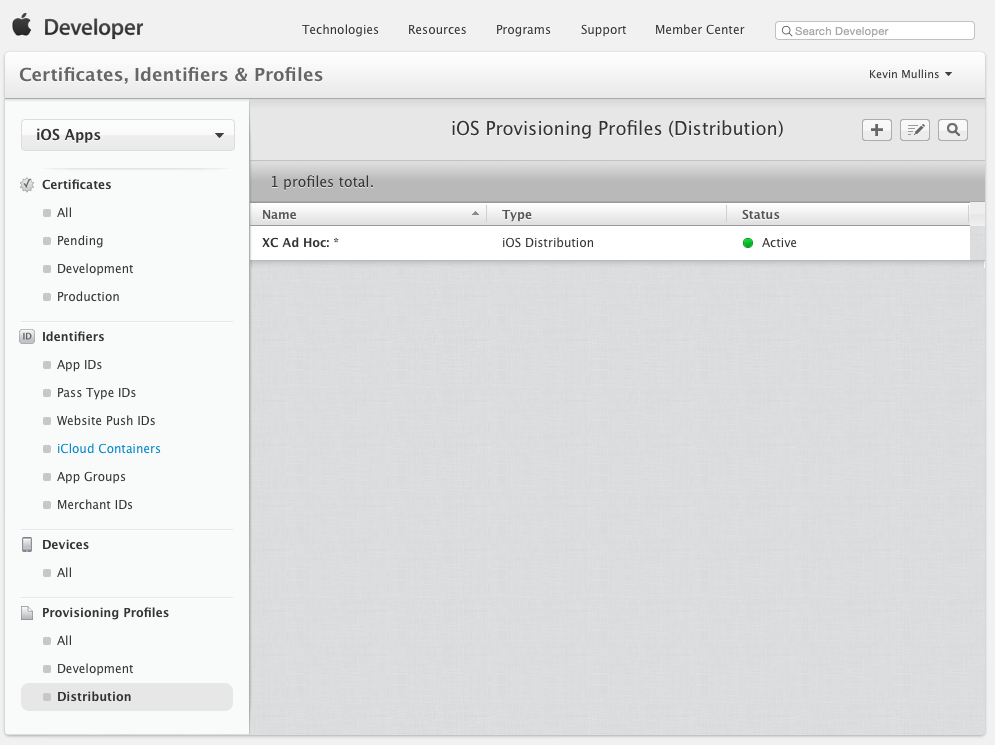
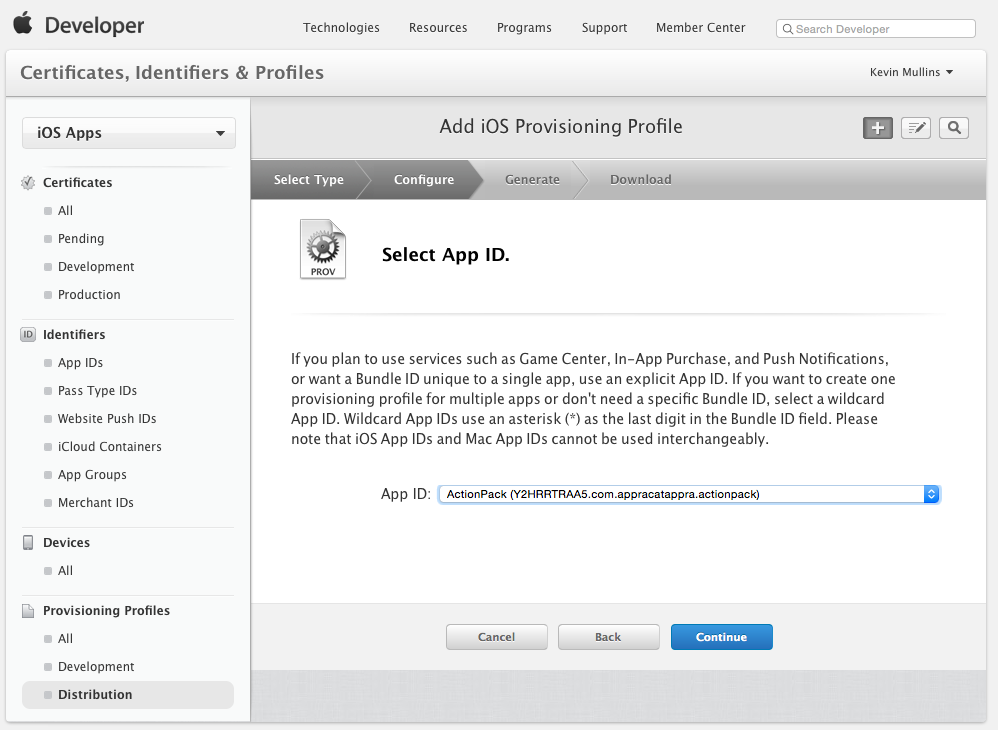
- Click the Continue button and select
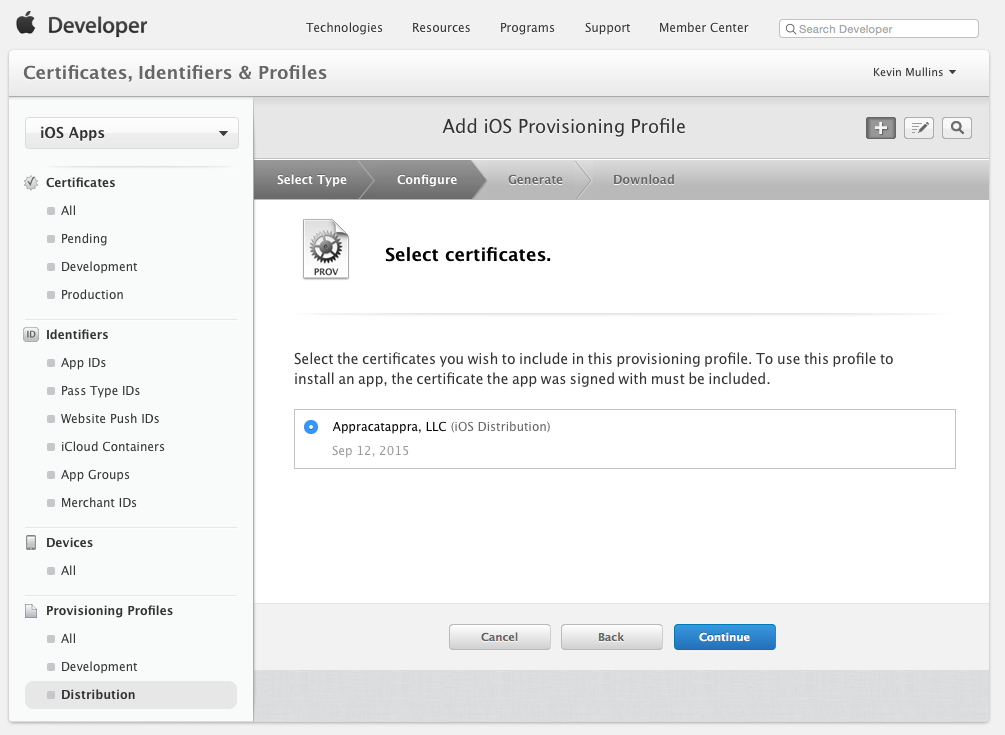
App IDfrom the dropdown list that you want to create a Distribution Profile for: - Click the Continue button and select the certificate required to sign the application:
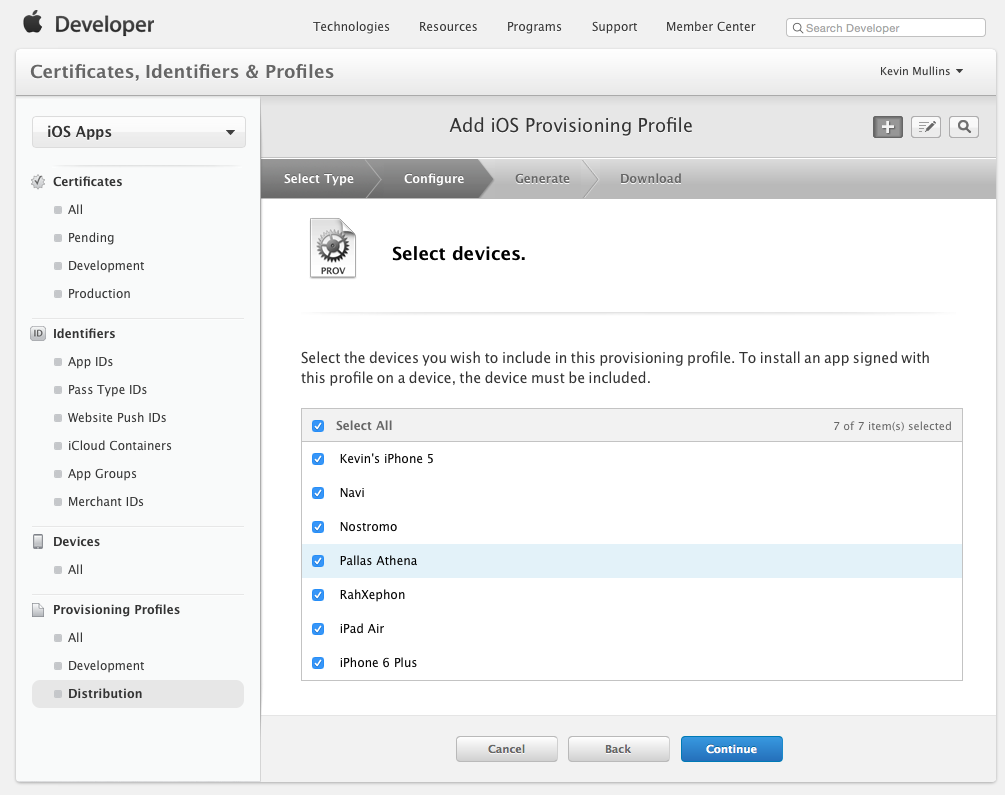
- Click the Continue button and select the iOS devices that the
.iOSapplication will be allowed to run on: - Click the Continue button and enter a Name for the new Distribution Profile:
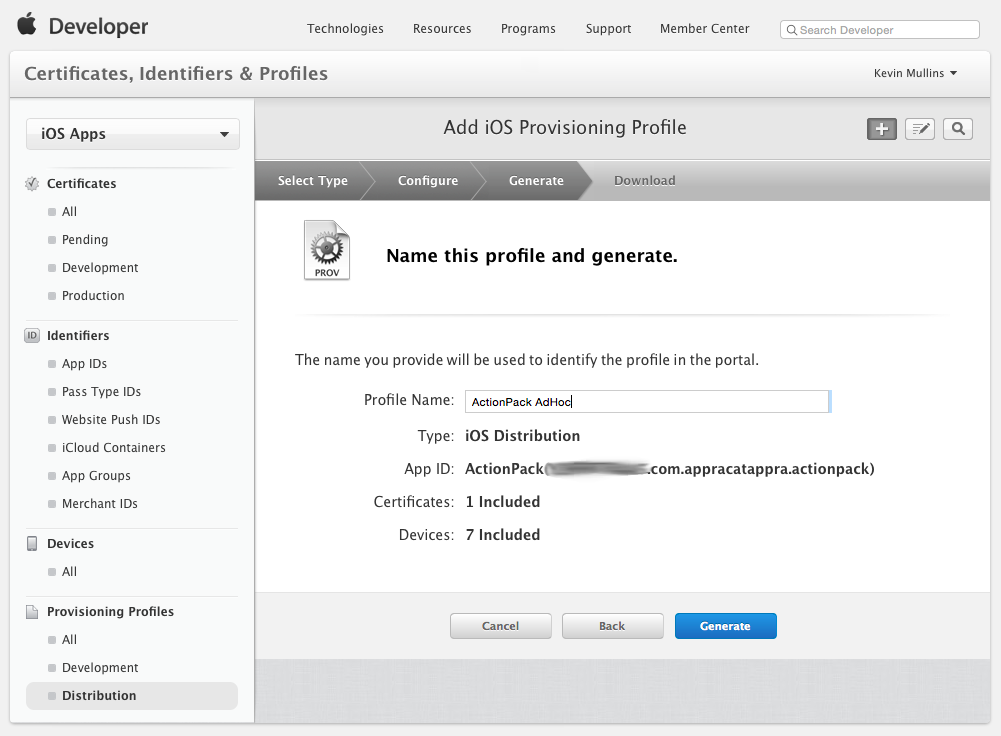
- Click the Generate button to create the new profile and finalize the process.
Now that you have your Distribution Profile, you need to generate the Development Profile. The steps are the same as for the Distribution Profile.