React Native ~ Custom fonts - rohit120582sharma/Documentation GitHub Wiki
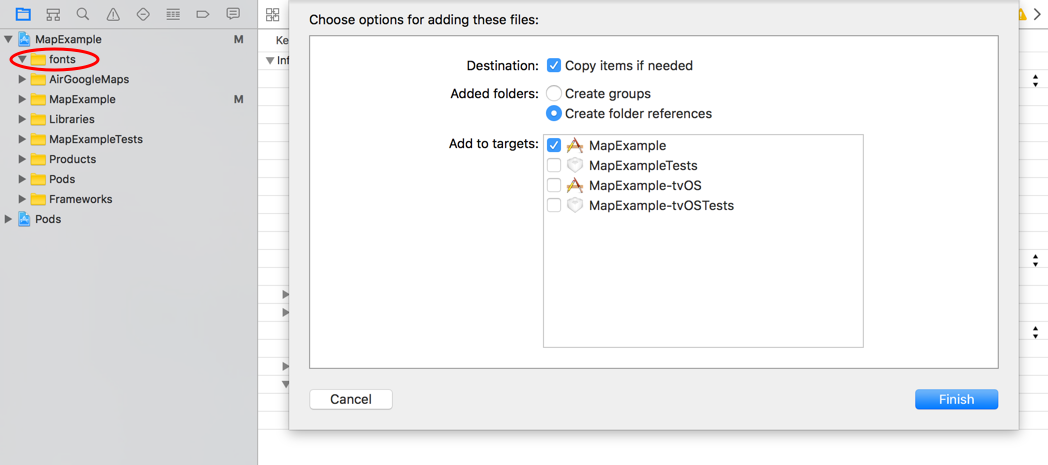
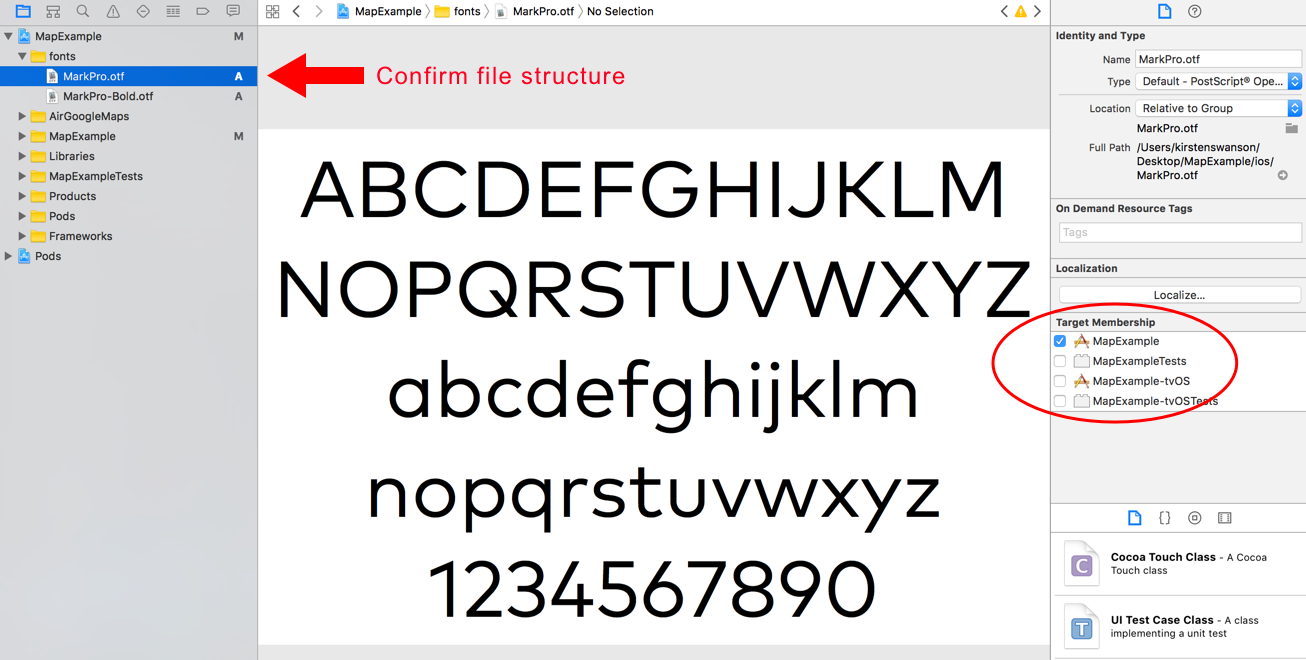
You will drag and drop your font files into this newly created folder. When dropping the files into the folder you’ll be prompted with this pop-up window. Make sure you select your project name as the added target.
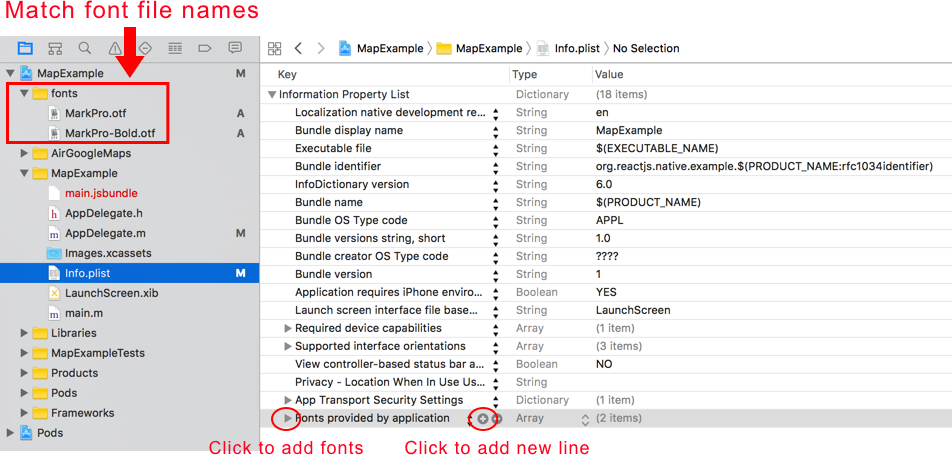
Within your project folder navigate to the
Info.plistfile where you will want to add your fonts. Hover on the last line in the list and click on the plus sign to add a new line. Select the option “Fonts provided by application.” Now you will add all your fonts and make sure the string is EXACTLY THE SAME as the font file (.otf, .ttf) name.
title: {
	fontFamily: 'MarkPro-Bold',
}In your android/app/src/main folder structure you will create an assets folder with the fonts folder inside. In the fonts folder you will place your font files here.
Now you can state the fontFamily just as you did for iOS and just rebuild your Android emulator and you should see the custom font/fonts you just added!
Now we’ll do the same thing of linking the fonts for both iOS and Android at the same time with react-native link.
In your package.json specify where the custom fonts are located
"rnpm": {
	"assets": [
		"./src/assets/fonts/"
	]
}
Next run the below command.
react-native linkYou will see that both the iOS and Android projects were linked. Also you will see a warning that a Resources folder was built. This Resources folder replaces the fonts folder that we had to make manually above.
Also you will see that the font references were created in your Info.plist file and in your editor you will see your fonts were copied over into your android/app/src/main/assets/fonts file path.