lesson 05 - ratiw/vuetable-2-tutorial GitHub Wiki
Let's make some adjustments to the MyVuetable.vue by removing and adding some fields.
- remove following fields:
address.line1,address.line2, andaddress.zipcode - then, add these fields:
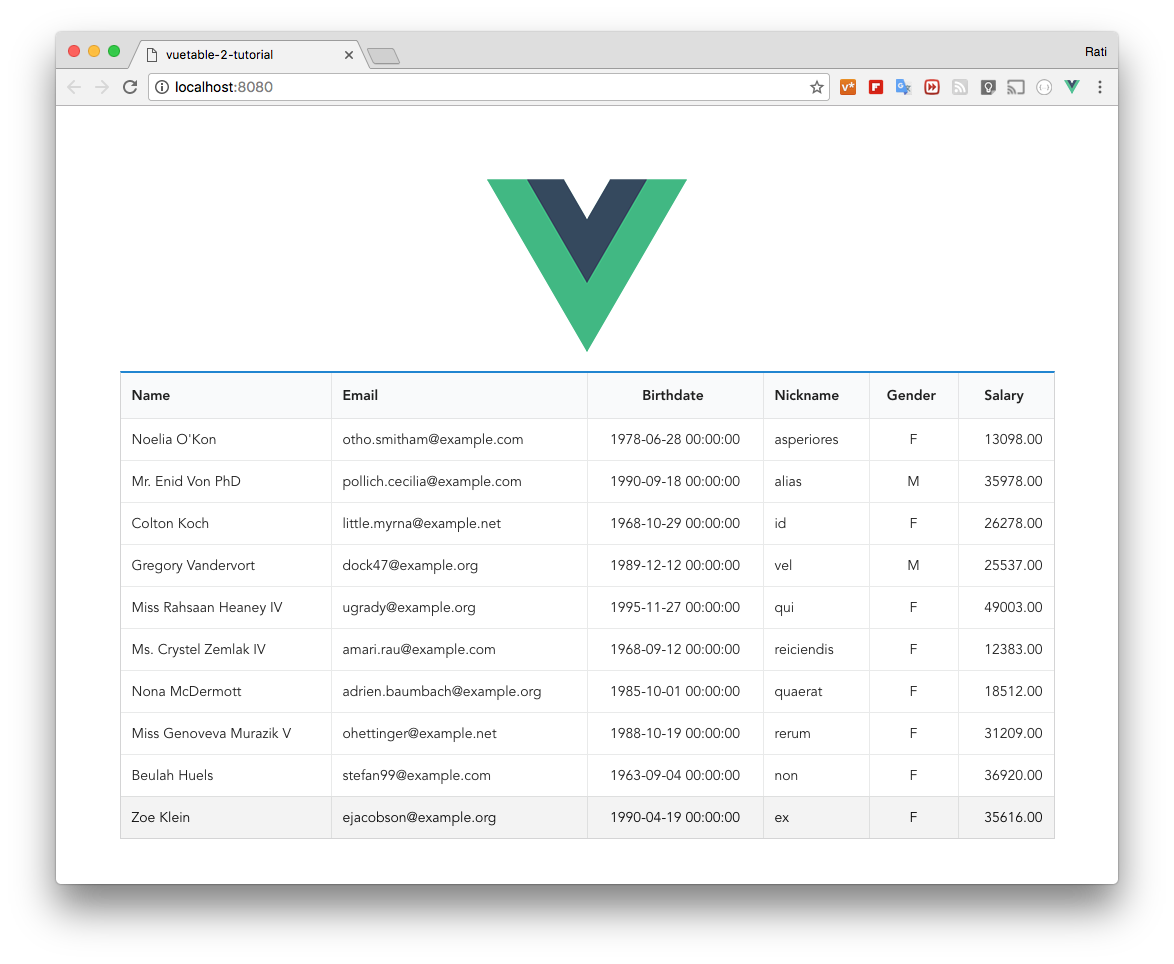
nickname,gender, andsalary
Your code should look like this
// MyVuetable.vue

<template>
  <vuetable ref="vuetable"
    api-url="https://vuetable.ratiw.net/api/users"
    :fields="fields"
  ></vuetable>
</template>

<script>
import Vuetable from 'vuetable-2/src/components/Vuetable'

export default {
  components: {
    Vuetable
  },
  data () {
    return {
      fields: [
        'name', 'email',
        {
          name: 'birthdate',
        },
        {
          name: 'nickname',
        },
        {
          name: 'gender',
        },
        {
          name: 'salary',
        }
      ]
    }
  }
}
</script>
Now, you can specify the appropriate CSS class for column alignment.
-
Sementic UI
- class="left aligned"
- class="center aligned"
- class="right aligned"
-
Bootstrap 3
- class="text-left"
- class="text-center"
- class="text-right"
titleClass option is used to specify the alignment of the field title.
dataClass option is used to specify the alignment of the field data.
We will add these options to birthdate, gender, and salary fields.
// MyVuetable.vue

<template>
  <vuetable ref="vuetable"
    api-url="https://vuetable.ratiw.net/api/users"
    :fields="fields"
  ></vuetable>
</template>

<script>
import Vuetable from 'vuetable-2/src/components/Vuetable'

export default {
  components: {
    Vuetable
  },
  data () {
    return {
      fields: [
        'name', 'email',
        {
          name: 'birthdate',
          titleClass: 'center aligned',
          dataClass: 'center aligned'
        },
        {
          name: 'nickname',
        },
        {
          name: 'gender',
          titleClass: 'center aligned',
          dataClass: 'center aligned'
        },
        {
          name: 'salary',
          titleClass: 'center aligned',
          dataClass: 'right aligned'
        }
      ]
    }
  }
}
</script>
Run the project and you should see this