getting started - qwasi/ios-pushkit GitHub Wiki
Building an Application using the QWASI iOS SDK (PushKit.framework) requires several steps prior to coding. This document assumes all Apple iOS Developer accounts have been setup and established. We will guide you through:
-
Preparing the iOS App ID
-
Creating the APNs Push Certificates for Development and Production.
-
Creating the iOS Provisioning Profile
The next document will assist you in configuring your App and ensuring it has been initialized in Xcode and is ready for integration with the QWASI iOS SDK. This document will provide the reader with a guide to the creation of a proper iOS provisioning profile, generating APNs Push Certificates and the setting up of Xcode.
Knowledge of programming languages, the iOS SDK and an account with iOS developer access is required.
-
The latest Xcode and iOS for development
Please Note: If you have already provisioned an application, this section can be skipped.
-
Open a browser to https://developer.apple.com and login with a valid iOS Developer Account.
-
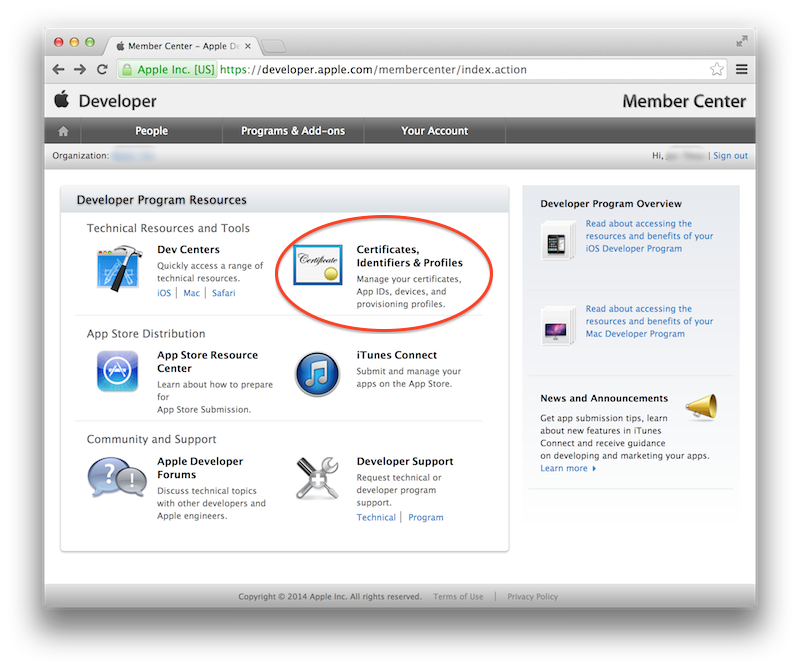
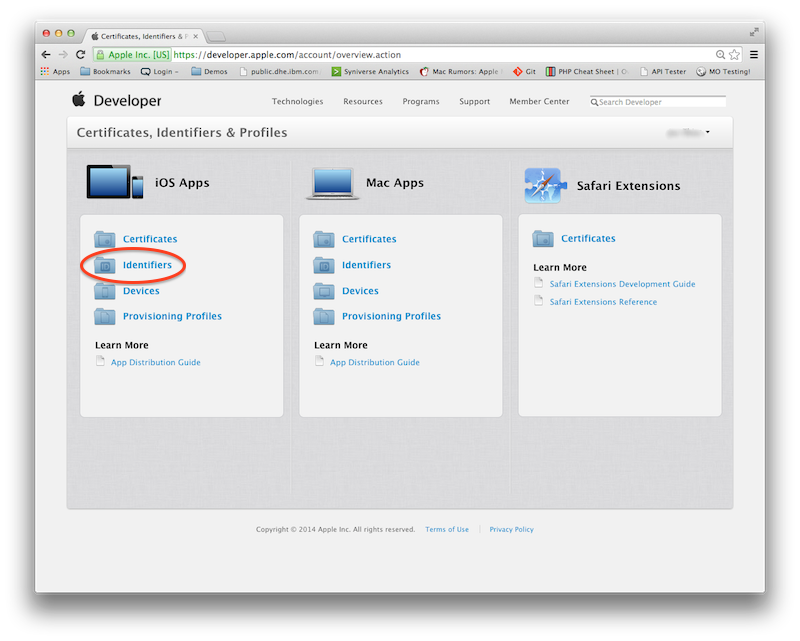
Follow the Certificates, Identifiers, and Profiles link in Developer Program Resources section.
-
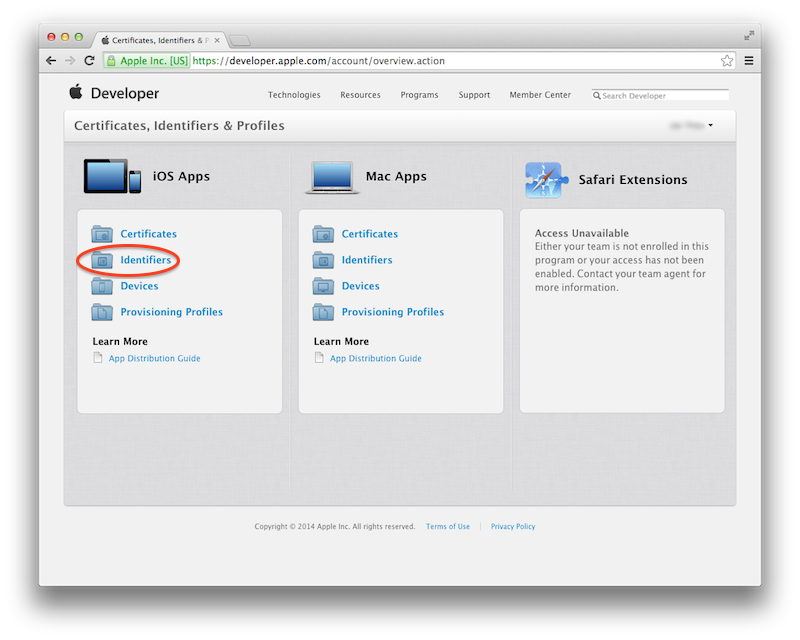
Select iOS Apps Identifiers in the Certificates, Identifiers and Profiles page.
-
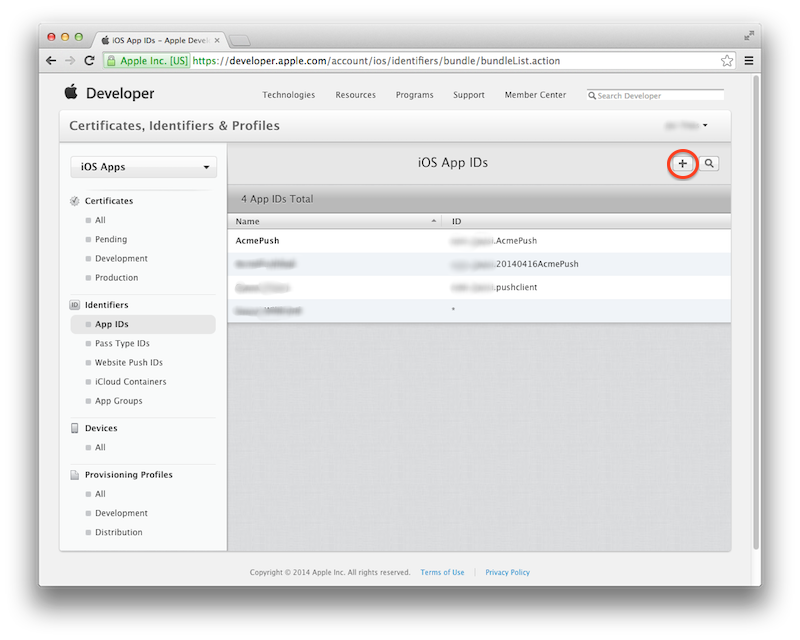
Create an iOS App ID by pressing the icon in the upper right corner.
-
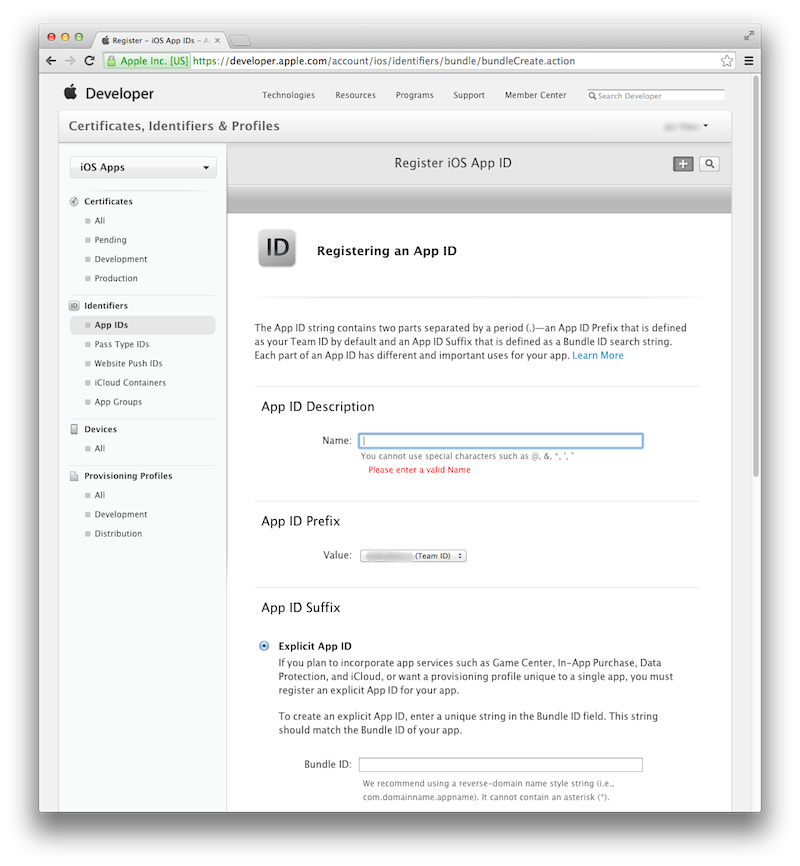
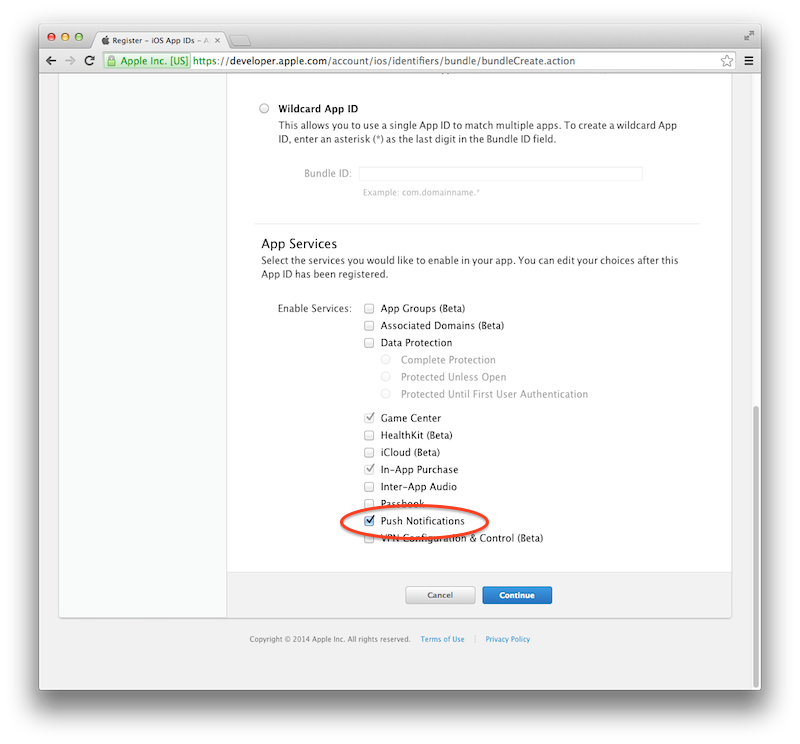
Configure your App ID and specify a Bundle ID. Your Bundle ID should contain your App Name such as
com.company.AppName. Take note of your Bundle ID for your app. This will be used later to configure the QWASI Push Channel.
(The following two screen shots are from the same App ID Registration page)
Also, you must select Push Notifications in the App Services Section if you wish to use QWASI Push Notifications
-
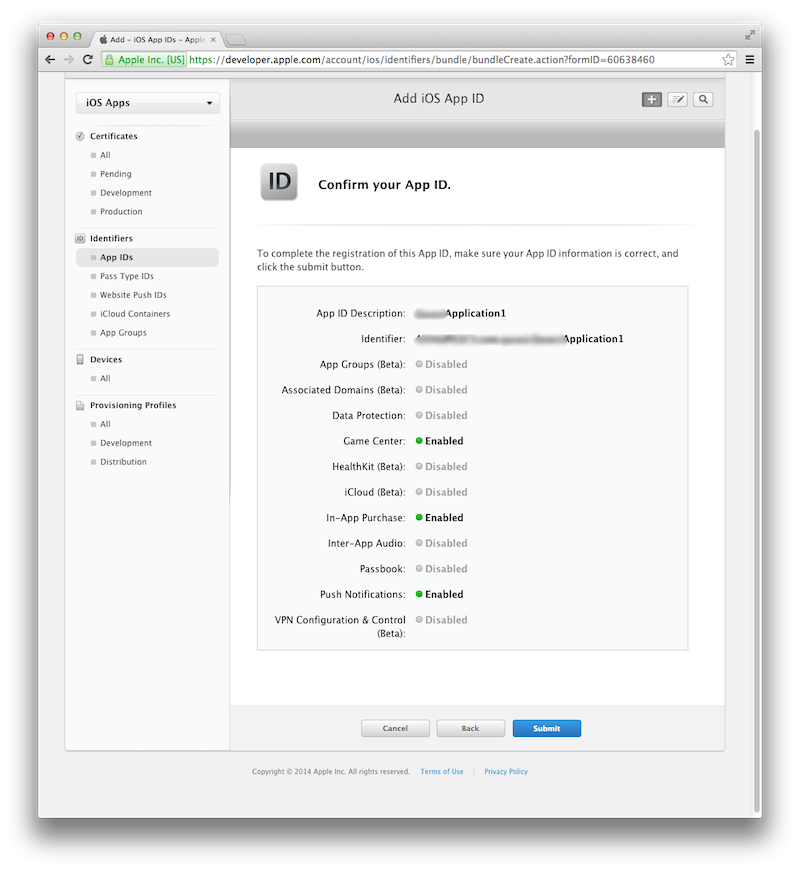
Confirm your App ID and press Submit
Please Note: If you have already provisioned an application for push and created the Application Certificates, this section does not apply.
Apple makes a distinction between development and production (distribution) profiles for applications. This section describes the process for provisioning an ‘in-development’ application. The process for production applications is analogous. The following are the steps to complete this task.
-
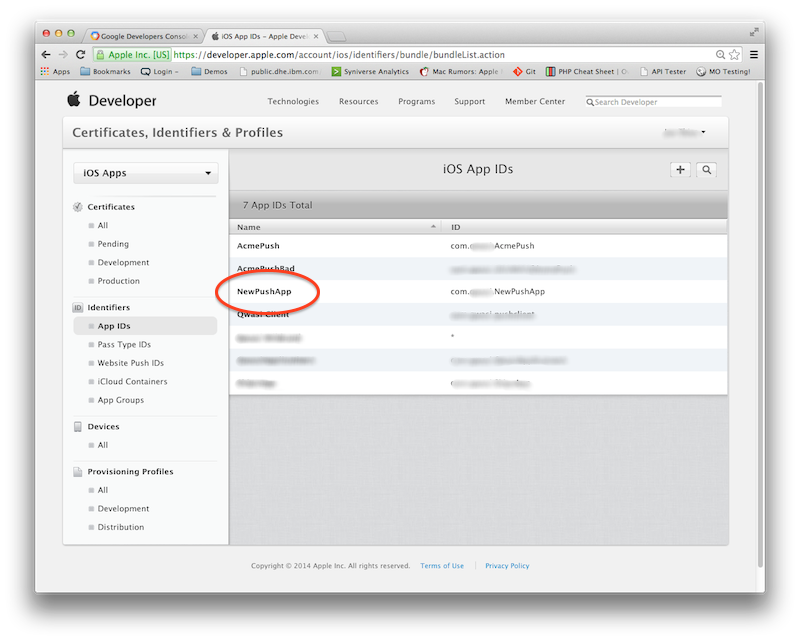
Select iOS Apps Identifiers in the 'Certificates, Identifiers and Profiles' page.
-
Click on Application you wish to generate the New Certificate for from the list of App IDs. (In this case we will be selecting NewPushApp)
-
Click Edit to edit the App ID.
-
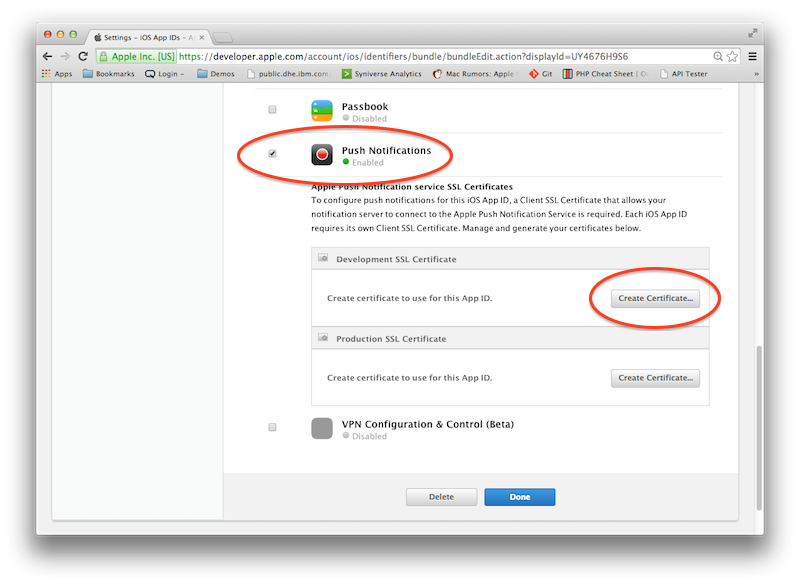
Scroll down to Push Notifications - enable it by selecting the check box if it's not already. Push the Create Certificate button.
-
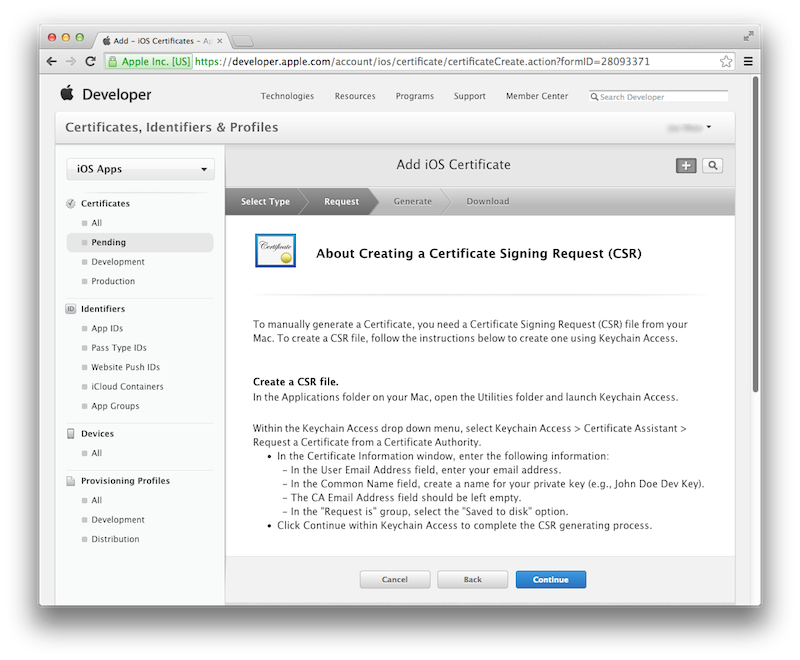
Follow the instructions to create a Certificate Request (CSR).
-
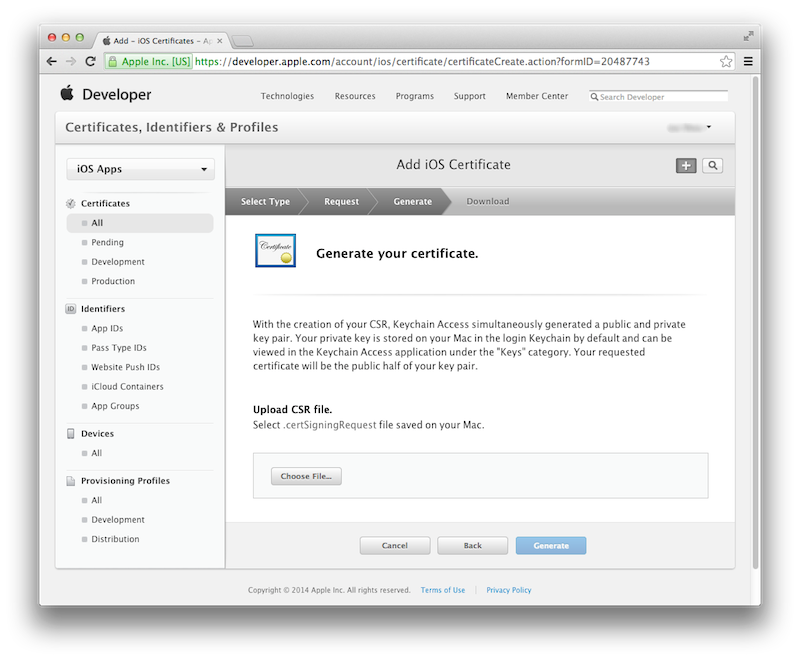
Upload the CSR you just created and Generate the certificate
-
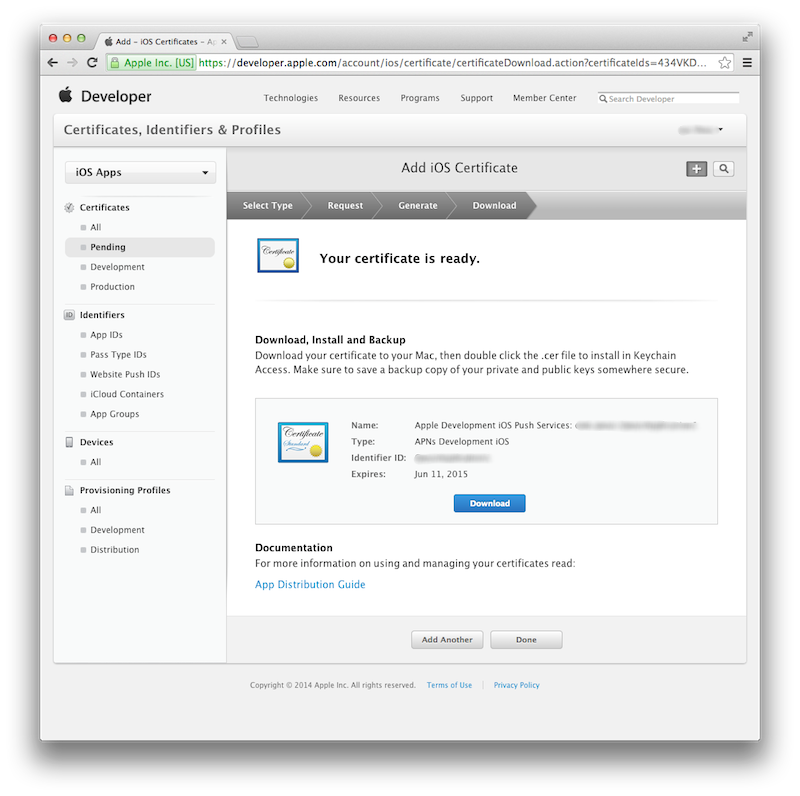
Once your certificate is ready – Download the certificate.
-
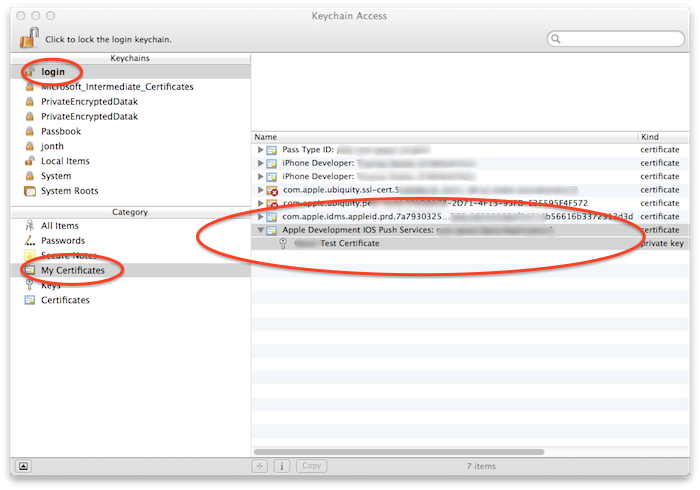
Double click on the certificate in your Downloads folder and Keychain Access will open. The certificate should be in the login Keychain under My Certificates. You'll find the certificate with a prefix of Apple Development IOS Push Services followed by the identifier you chose. If it is not, you may need to exit Keychain and open it again. This step is often the most difficult part of the process.
-
Click on the little gray triangle to expand the certificate and unveil the private key.
-
Select both the certificate and the private key.
-
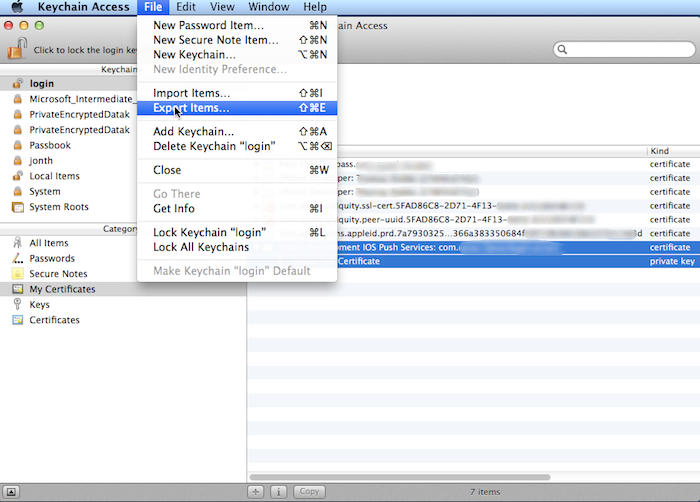
Choose the menu File > Export Items…
-
Choose a location and a file name and Save the certificate as a Personal information Exchange (.p12) file.
-
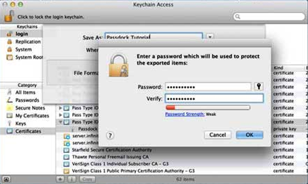
Insert a password and verify it.
-
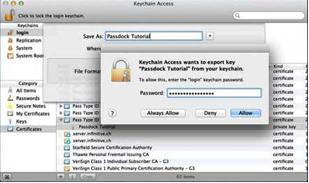
Now you'll be asked to insert the Password of your current account on your Mac
-
Click Allow or Always Allow.
-
You are now finished creating your p12 Push Certificate.
Please Note: You will need to provide this certificate file to configure your QWASI Push Channel. You will then need to follow the same steps above to create a Production Certificate. Please provide these certificates, the certificate passwords and bundle identifier to your Account Representative.
The Provisioning Profile is necessary in order to install your development applications on devices that you will use for development and testing.
-
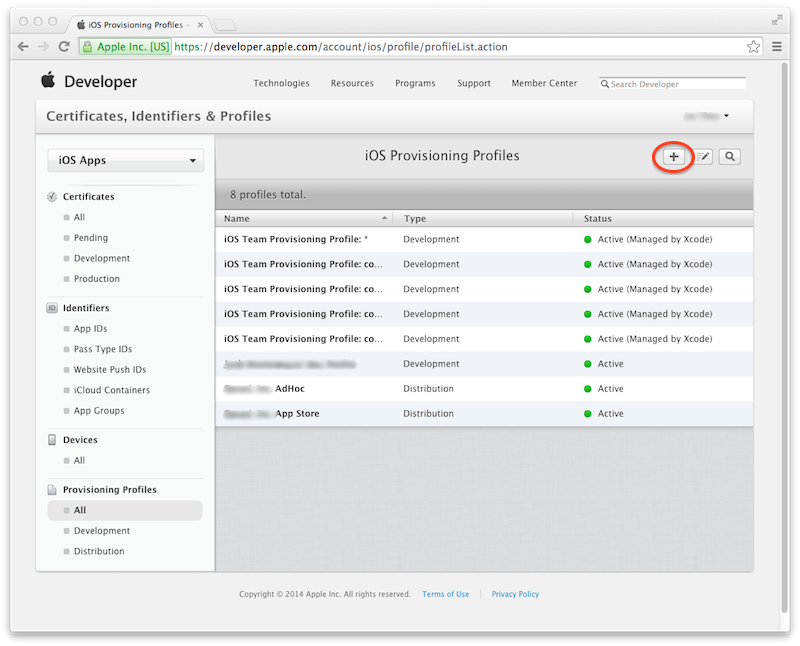
Select iOS Apps Provisioning Profiles in the Certificates, Identifiers and Profiles page.
-
Click on the to create a new profile.
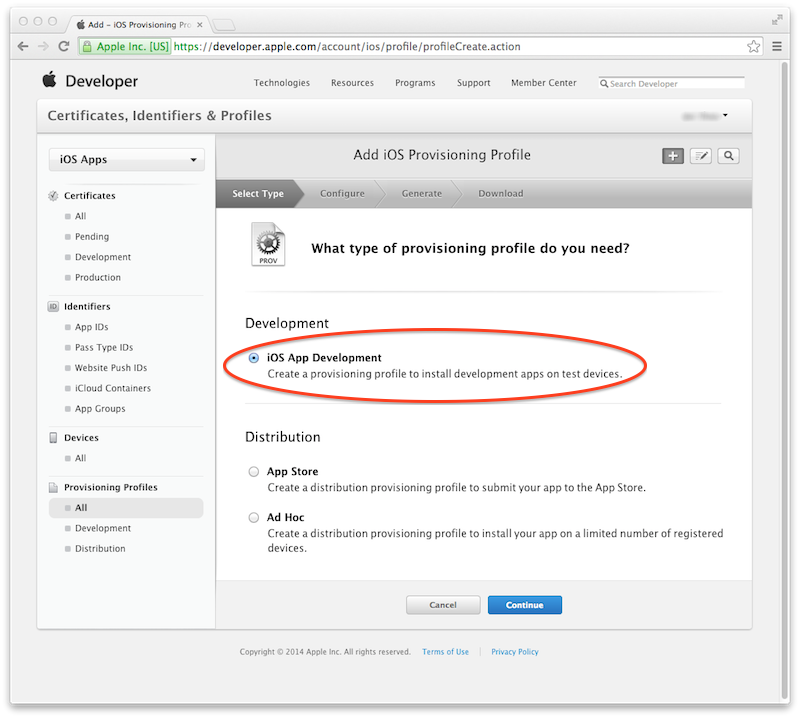
-
From the Development section, select iOS App Development and click Continue.
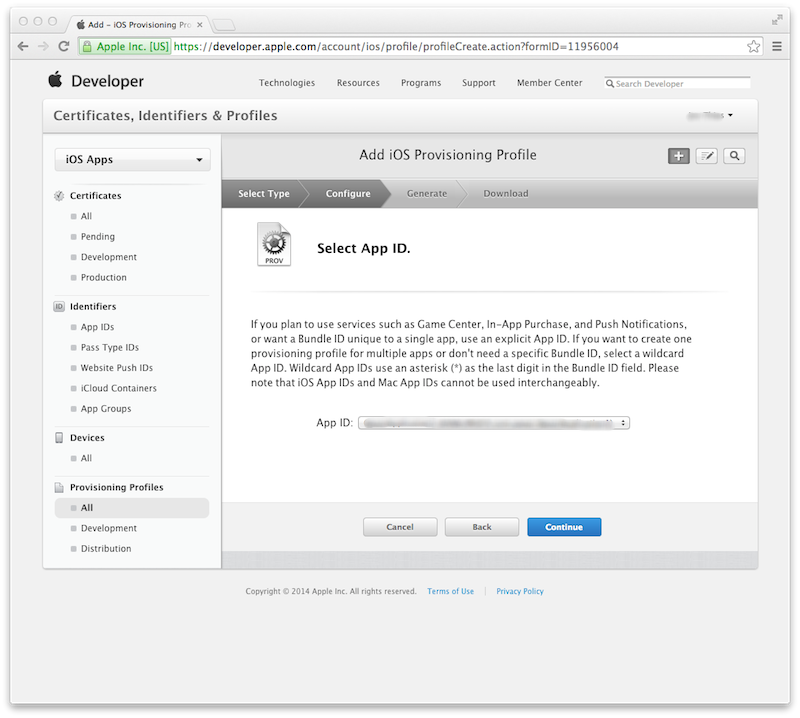
-
Select the App ID for your application and click Continue.
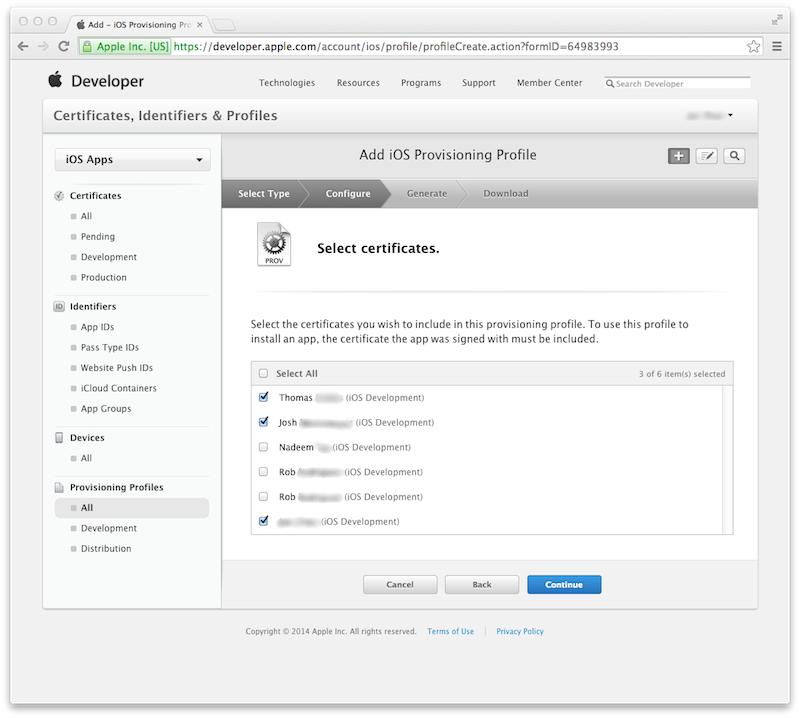
-
You will be asked to select any certificates you want to include in the profile. Only the developers chosen here will be able to work with the application in Xcode. Choose your certificate and click ‘Continue’.
-
On the next screen you will be able to select the valid testing devices. Select as many as you like, you can change this later. To add more devices, plug the device into your Mac and use the Xcode Organizer
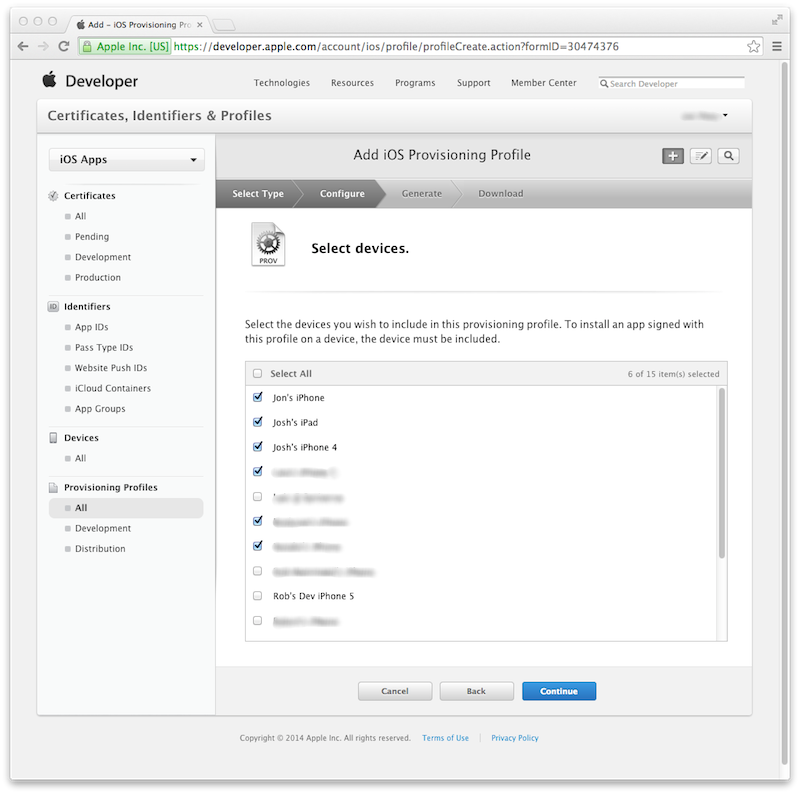
-
On the following screen you will name the profile, then click Generate.
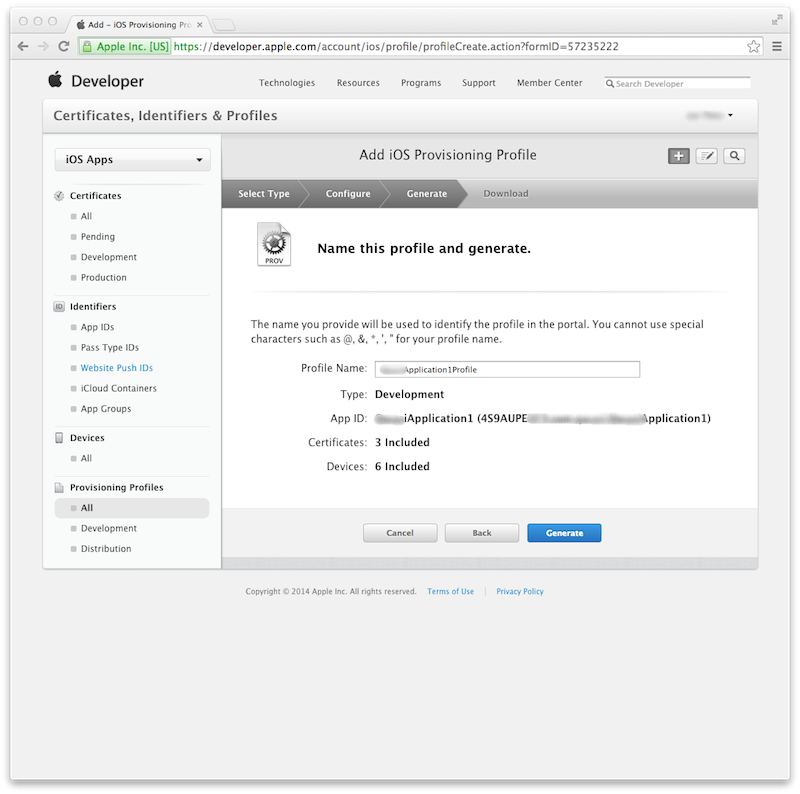
-
The Provisioning Profile is now ready. Download the profile and open it. Xcode will launch and the profile will be installed.
You are now ready to begin creating your application. In the next section we will walk you through creating your application and configuring it for Push and Location using the QWASI Framework.