Projects and Workspaces - overturetool/vdm-vscode GitHub Wiki
Creating a New Project
After you have installed the VDM VSCode extension, you can create new VDM projects.
One installation of Visual Studio Code can include many different extensions, each of which may create projects in a different way. So the tool does not have a common "Create New Project" option, as you might expect. Instead, by default, the tool will invite you to open an existing folder that contains project files already.
Of course, you have no project to start with! So if you click the Explorer icon at the top of the Activity Bar on the left, you will see the following:
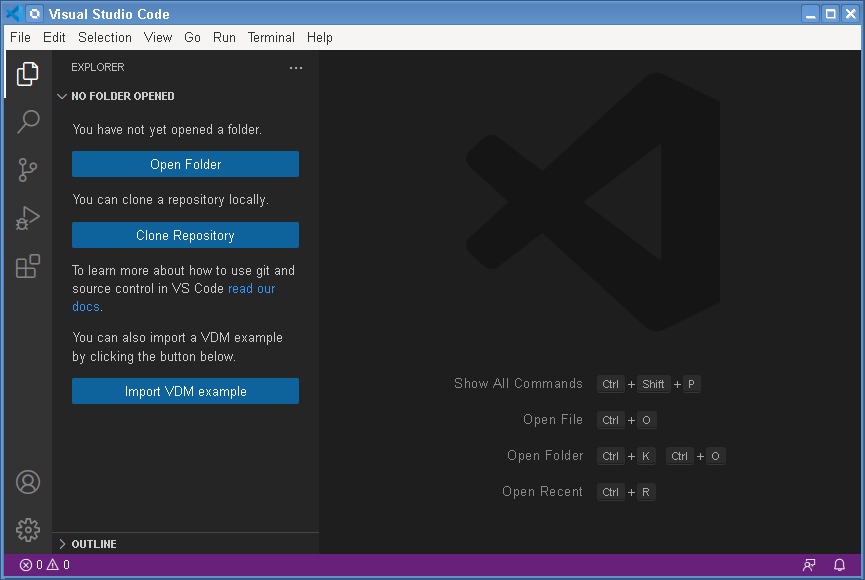
Note that it says "NO FOLDER OPENED" and invites you to either open one, or to clone a Git repository that may contain projects that you can open, or to import one of the VDM example projects.
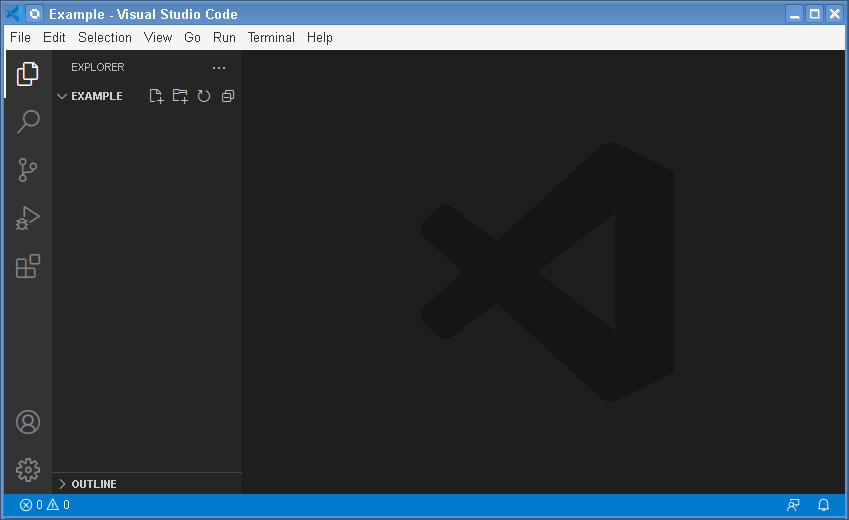
To create a brand new project from scratch, you would choose "Open Folder", which will open your operating system's open file dialog. From there, you can create a new empty folder and select it to be opened. If we call the new folder "Example", you will then see the following:
You may see a dialogue asking whether you trust the authors of the folder. This can put the tool into a safe mode for untrusted folders, but in our example we obviously trust ourselves. There is a tick-box to say that you always trust folders in a given location.
Note that you now see "EXAMPLE" in the Explorer view, though there are no files listed in the project.
You can now add new files by clicking the New File... icon on the title line of the project. Alternatively, you can create new folder(s) within your project first, using the New Folder... icon.
VDM VSCode infers the VDM dialect of your project by using filename extensions. VDM-SL project files must be called *.vdmsl; VDM++ project files must be called *.vdmpp; and VDM-RT project files must be called *.vdmrt. One project must only contain files of one dialect.
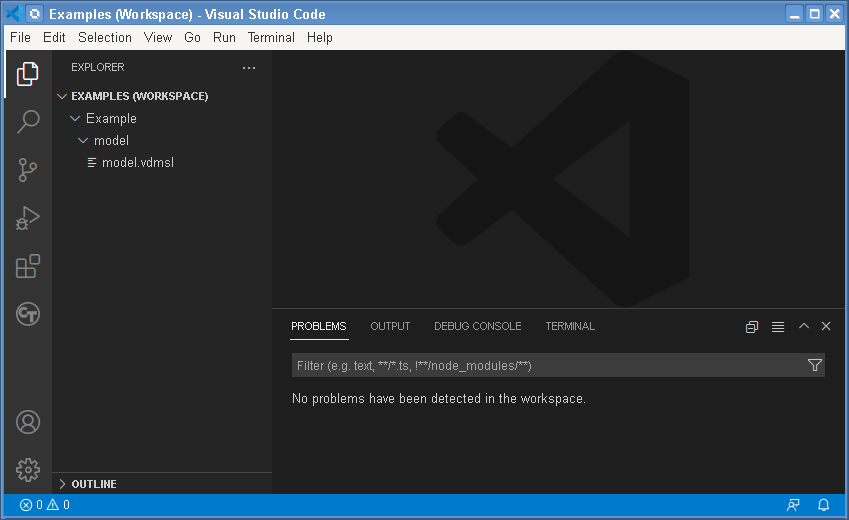
After creating a folder and a new VDM-SL source file, the Explorer might look like this:
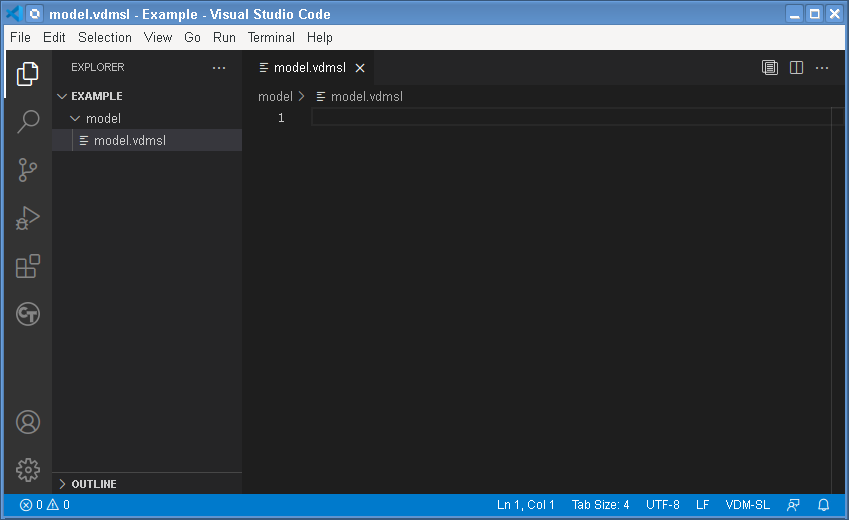
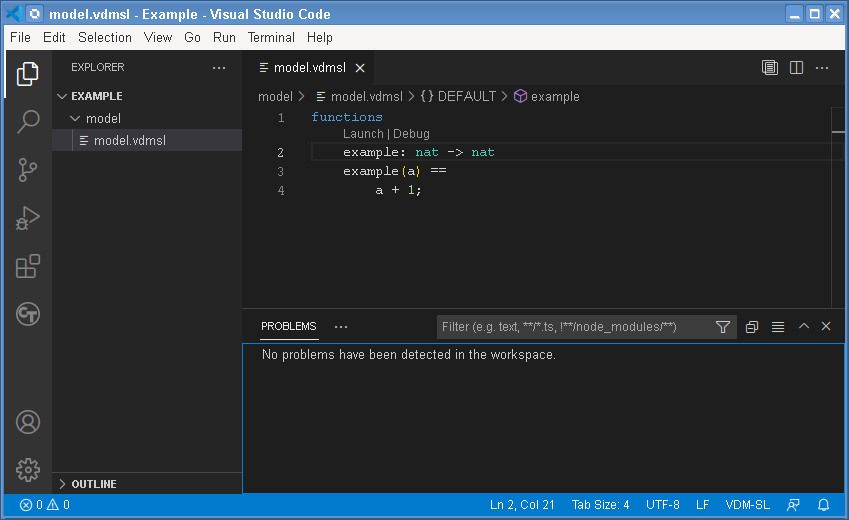
Note that the model.vdmsl file is selected and open in the Editor, but naturally there is no content yet. We can now add a simple VDM function to the source using the editor. You will notice that syntax errors are highlighted as red squiggles as you type. You can see errors in the Problems View which can be opened via the View menu (or CTRL-SHIFT-M). Type CTRL-S to save your changes. Extra type checking will be performed when a file is saved, and may result in more error or warning messages in the Problems view:
Switching Between Projects
If you close Visual Studio Code and then immediately re-open it, you will see that it remembers your project as the last one it worked with. It will restore open editors and it should also remember unsaved changes (though you are advised to save changes when you close the tool).
Since the tool remembers the last project you worked with, there has to be a way to switch between projects.
This is easily done via the File menu using the option Open Folder, though you can also use the Close Folder menu option, which will then show the original "Open Folder" dialog discussed above.
Importing a VDM Example Project
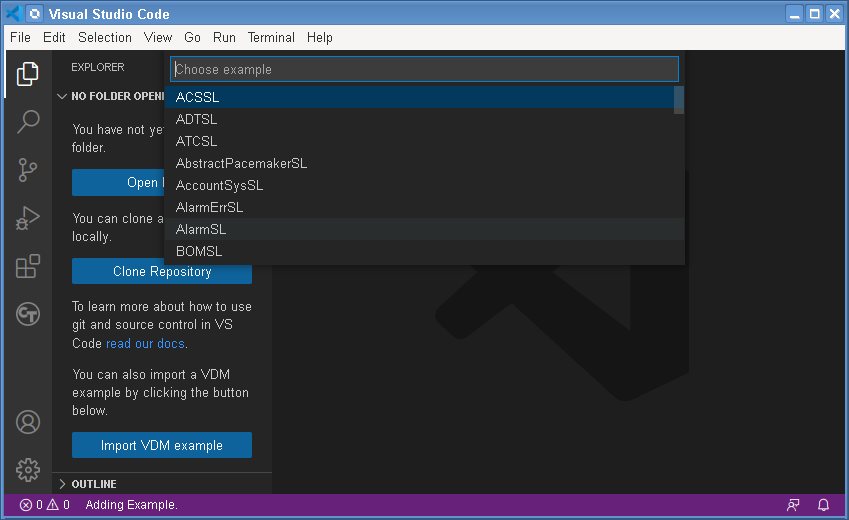
VDM VSCode is supplied with many example projects, in all dialects, that can be imported. The import process is either initiated via the "Import VDM Example" button in the Explorer view when no folders are open; or via the Explorer right-click context menu when a VDM project is open.
The first choice is to select the dialect of example you want. The choices are VDMSL, VDMPP and VDMRT. Then a list of examples in your chosen dialect will be shown. Tick the box of the project that you want to import:
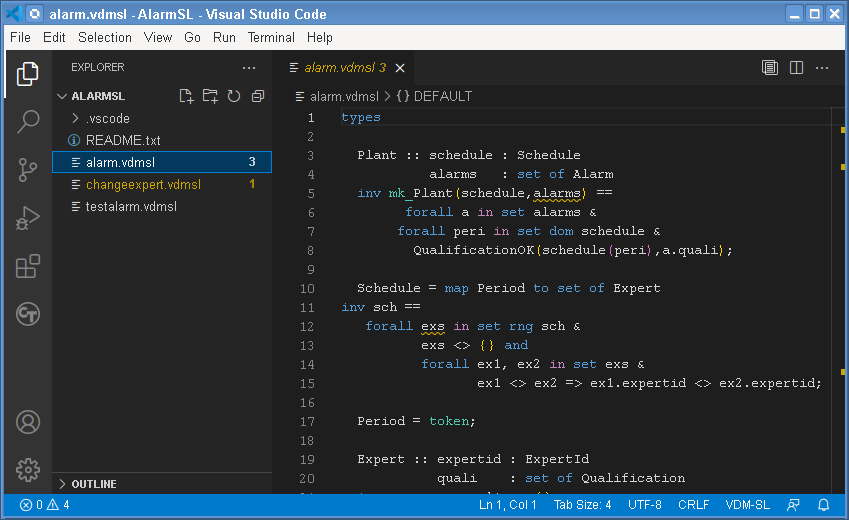
After this, your operating system's open file dialog will be shown. This is to select the parent folder into which the imported project will be copied. The projects themselves already have folder names, and are created below this parent folder. The imported project will then be available to use:
Adding Projects to a Workspace
Although you can work with individual projects, with one project open at a time, it is convenient to have a collection of related projects available while Visual Studio Code is open. Such a collection of projects is called a "workspace".
Internally, if you work with individual projects, Visual Studio Code uses an implicit workspace that just contains the one project that you have open. To create your own explicit workspace, you can save this implicit workspace and then add more projects to it. To create a workspace therefore, you would choose the Save Workspace As... option from the File menu. This will offer to create a file called Example.code-workspace located at the top level of the project you have open. This may not be an ideal location or workspace name, and you should consider saving the workspace file at a different location, typically at the folder level above all of your projects, though the workspace file can be saved anywhere.
Alternatively, you can create an empty workspace file by closing all folders and using the Save Workspace As... option.
After creating a workspace, it is best to close and re-open Visual Studio Code. In this example, we have called the workspace file "Examples.code-workspace":
Note that there is a new level in the Explorer display, showing "EXAMPLES (WORKSPACE)", and within that there is one project folder, called "Example". We can now add a second project to the workspace by using the File menu and Add Folder to Workspace...:

There are now two project folders listed within the workspace.
Projects can also be imported into a workspace using Import VDM Example from the right-click context menu of the Explorer. Multiple projects can be selected for import into a workspace in one go.
It may be helpful to look at the Examples.code-workspace file, which is a simple JSON file:
{
	"folders": [
		{
			"path": "Example"
		},
		{
			"path": "Example2"
		}
	],
	"settings": {}
}
Note that these filenames are relative to the location of the workspace file, so if you want to move your work, remember to keep the relative locations the same, or edit the workspace file to use absolute folder names.
The projects within a workspace are not related to each other in any way, so you cannot (for example) import functions or data types into your project from another project in your workspace. Workspaces are just a convenience for working with multiple separate projects. You can have files open from multiple projects at the same time and a workspace can contain projects in different VDM dialects.
If you are working with a workspace, Visual Studio Code will re-open that workspace when it is next started. It will also open the workspace if you click on the *.code-workspace file to launch the tool. Alternatively, you can open/close workspaces explicitly via the File menu's Open Workspace from File... and Close Workspace options. For convenience, the most recently opened folders and workspaces are available on the File, Open Recent... menu.