Installation and Settings - ousnius/BodySlide-and-Outfit-Studio GitHub Wiki
Installation
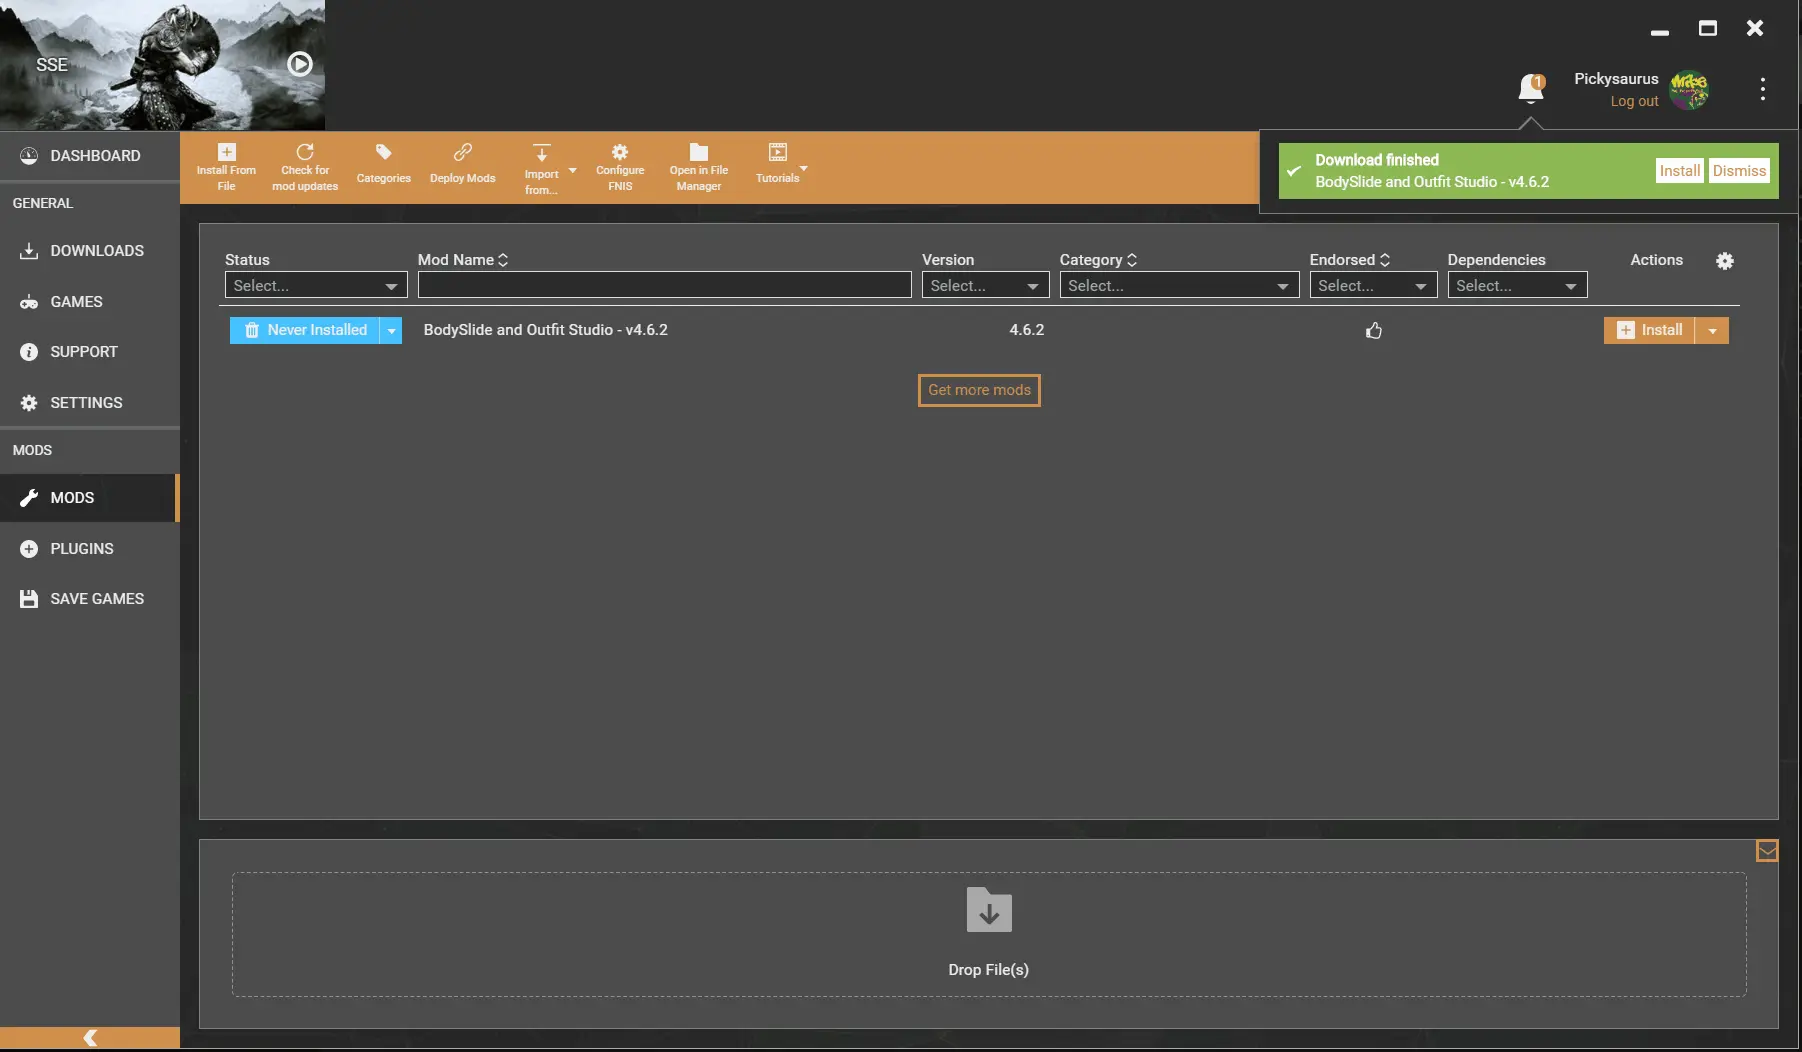
Simply download the program to your mod manager from one of its mod pages on Nexus Mods.
Manual installation is possible, but making use of mod managers is recommended, as well as keeping the program in the default folder provided with the download for the specific game, as this will make installing addons easier.
Before trying to configure the program, make sure you have set up a proper installation.
- When using mod managers, please follow the following instructions for installing and running BodySlide.
- Generally, make sure to read the description of the mod page you downloaded BodySlide or a body mod from.
Related Documentation
- For command-line startup and automation options, see Command‐line arguments.
- For Outfit Studio automation scripts, see Automation Dialog.
- For source builds and automated test setup, see Running Tests.
Manual Installation
- Simply download the file and extract into your game installation's "Data" folder using 7-zip.
- Make sure the folder structure is correct: "<game folder>/Data/CalienteTools/BodySlide" for Skyrim and "<game folder>/Data/Tools/BodySlide" for FO4/others.
- After you're done, the executable for you to launch can be found in aforementioned folder.
Vortex
- Download and install the archive to Vortex like you would do with any other mod and enable it.
- Make sure your Vortex deploys correctly by clicking the "Deploy Mods" toolbar button in the "Mods" section.
- In the dashboard, go to "Add Tool".
- In the "Target" field, choose the "BodySlide x64.exe" file from your game installation's real data folder, NOT the Vortex mods folder: "<game folder>/Data/CalienteTools/BodySlide" for Skyrim and "<game folder>/Data/Tools/BodySlide" for FO4/others.
- Install any BodySlide addons such as body mods and outfits to Vortex as well.
GIF of the Vortex installation process
Mod Organizer
- Download and install the archive to MO like you would do with any other mod and enable it.
- Add a shortcut to the "BodySlide x64.exe" file from the "Data" tab and set it to run from your game's real data folder, NOT the MO mods folder: "<game folder>/Data/CalienteTools/BodySlide" for Skyrim and "<game folder>/Data/Tools/BodySlide" for FO4/others.
- Install any BodySlide addons such as body mods and outfits to MO as well.
Troubleshooting
- Make sure you've installed the body mod for the matching game (download CBBE SE for Skyrim SE/AE, not CBBE LE).
- If using mod managers such as Vortex and MO, first confirm that other mods are generally working in-game.
- If using mod managers such as Vortex and MO, set up your BodySlide shortcut to point to the real game folder (Steam folder) instead of the Vortex/MO specific mods folders.
- For further help with mod managers, please ask for guidance in their respective communities.
Target Game
When running the executable for the first time, the following dialog window will show.

Select the "Data" folder of the game you want to use both BodySlide and Outfit Studio for and continue.
Games that are found in the registry will automatically have their paths filled out, but you can only choose one target game at the same time. You can change this selection later on in the settings dialog.
Settings
The settings dialog of the program can be accessed from the main BodySlide window.

Game
Target Game
The game you intend to use both BodySlide and Outfit Studio for. Changing this option will adjust the game data path and reference skeleton as well, make sure they're correct.
Game Data Path
This path is supposed to point to the "Data" folder of the active target game. It is used for telling the program where to load resources from and build the output files of projects to.
Advanced: Output Path
Optional override for the path to build output files to. When filled, the game data path is used to load resources from and the output path is used for building in BodySlide.
Advanced: Project Path
Optional override for the path to load files related to BodySlide projects from. If empty, the executable's directory will be used instead.
General
Override Warning
Enables or disables the selection dialog that appears when multiple projects in a batch build are overriding the same output files.
Left Mouse Pan
Enables or disables panning with the left mouse button in Outfit Studio. Bear in mind that the left mouse button is also used for brush actions.
BSA Textures
Enables or disables scanning BSA/BA2 archives in the data folder for resources, such as textures for the preview windows.
Language
This enables the selected language for the program, as long as the translation files for it exist and are translated.
Data Files
A selection of all BSA/BA2 archives that are scanned for resources as needed, such as material or texture files. Try to keep these to a minimum for performance reasons. You can disable archives that contain sound files only, for example.
Rendering
Background Color
The background color for the render window of both BodySlide and Outfit Studio.
Reference Skeleton
File
This is the reference skeleton file that Outfit Studio uses to create a list of bones and read bone transforms from.
Root Node
The root node name can differ from game to game. It needs to be correctly set up in order for Outfit Studio to know where to start reading the list of bones from.
Config.xml
A few options are currently only found in the Config.xml file itself.
GroupAliases
Group aliases provide a way for presets saved under older group names to still apply when a group has been renamed. You can also merge several groups into one by linking them to eachother.
SliderMinimum and SliderMaximum
Sets the minimum and maximum slider values for the BodySlide UI. This allows you to experiment more easily with sliders. There might be clipping outside of the 0-100 range and it's not supported!