Maintaining a Dev Branch - oresat/oresat-structure GitHub Wiki
Work in Progress
When you have multiple people working on the same project, it can be helpful to have different versions of the main file. This ensures that your work won’t interfere with (or be interfered by) someone else’s changes. To do this, we use branches. Branches can be thought of as separate paths of production. When you branch off a file, you create an identical copy that allows you to tinker around without any risk. The typical workflow uses five types of branches, but for the purposes of this wiki entry, you only need to know of two: the master branch and the develop branch.
ㅤ
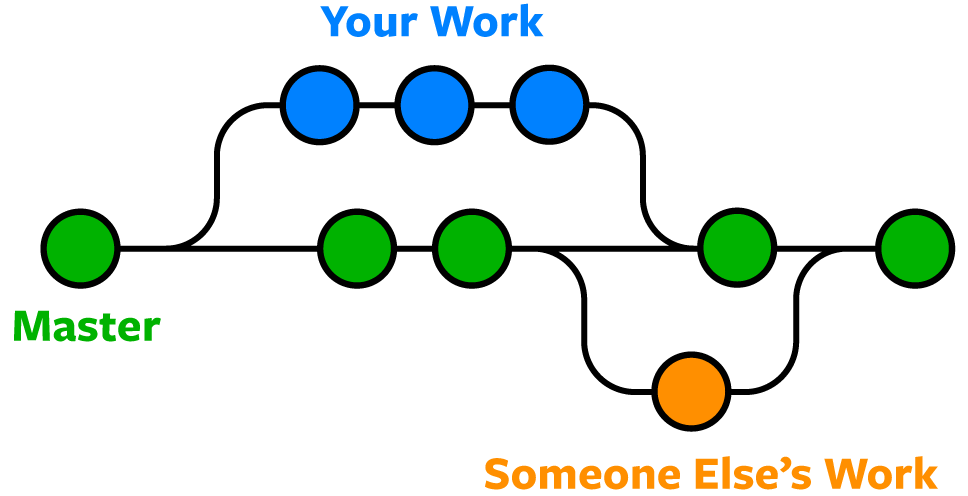
The master branch is essentially the main path. Commits will default under this branch until you create or switch to another branch. All changes done to the master branch should be considered ready for shipment.
The develop branch is a copy of the master branch. As the name suggests, this branch allows you to develop/work on features before officially publishing them to the master branch. To create your own dev branch, first navigate to the folder of your desired Git repository, then use the command:
git checkout -b insert-branch-name
Of course, insert-branch-name can be replaced with whatever name you want.
Once you’ve finalized your changes in the develop branch, you can send a request to implement it onto the master branch. This is done by using a pull request. When you navigate to a project’s repository on Github.com, there should be a tab for pull requests. From the Open a pull request page, you can enter a summary and description. If your request is approved, then your changes to the dev branch will be merged with the master branch!
https://backlog.com/git-tutorial/branching-workflows/
https://www.nobledesktop.com/learn/git/git-branches
https://www.dummies.com/web-design-development/what-are-github-pull-requests/