JovianDSS recovery from a major storage failure - open-e/JovianDSS-Proxmox GitHub Wiki
In this guide we will show how to configure backup of Proxmox container and VM data located on JovianDSS storage.
For this purpose we will use 2 JovianDSS storage's:
Pool Pool-0 has 2 virtual IP's: 192.168.21.100, 192.168.31.100
-
Productionnode with poolPool-0with virtual IP's 192.168.21.100, 192.168.31.100 -
Backupnode with poolPool-0with virtual IP's 192.168.22.100, 192.168.32.100
Make sure to introduce them to your proxmox as storage pools in /etc/pve/storage.cfg according to configuration guide
In demo setup it looks like this:
Pool present
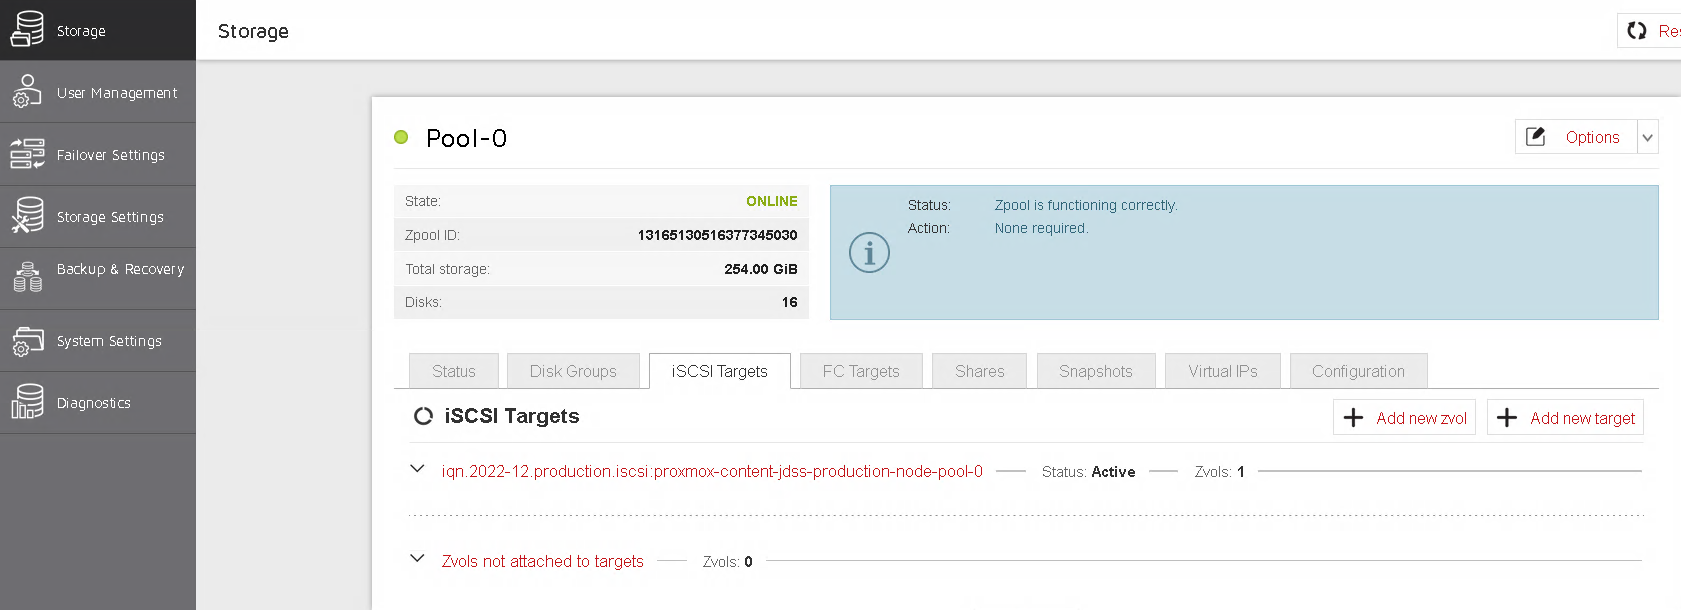
Virtual IP's present

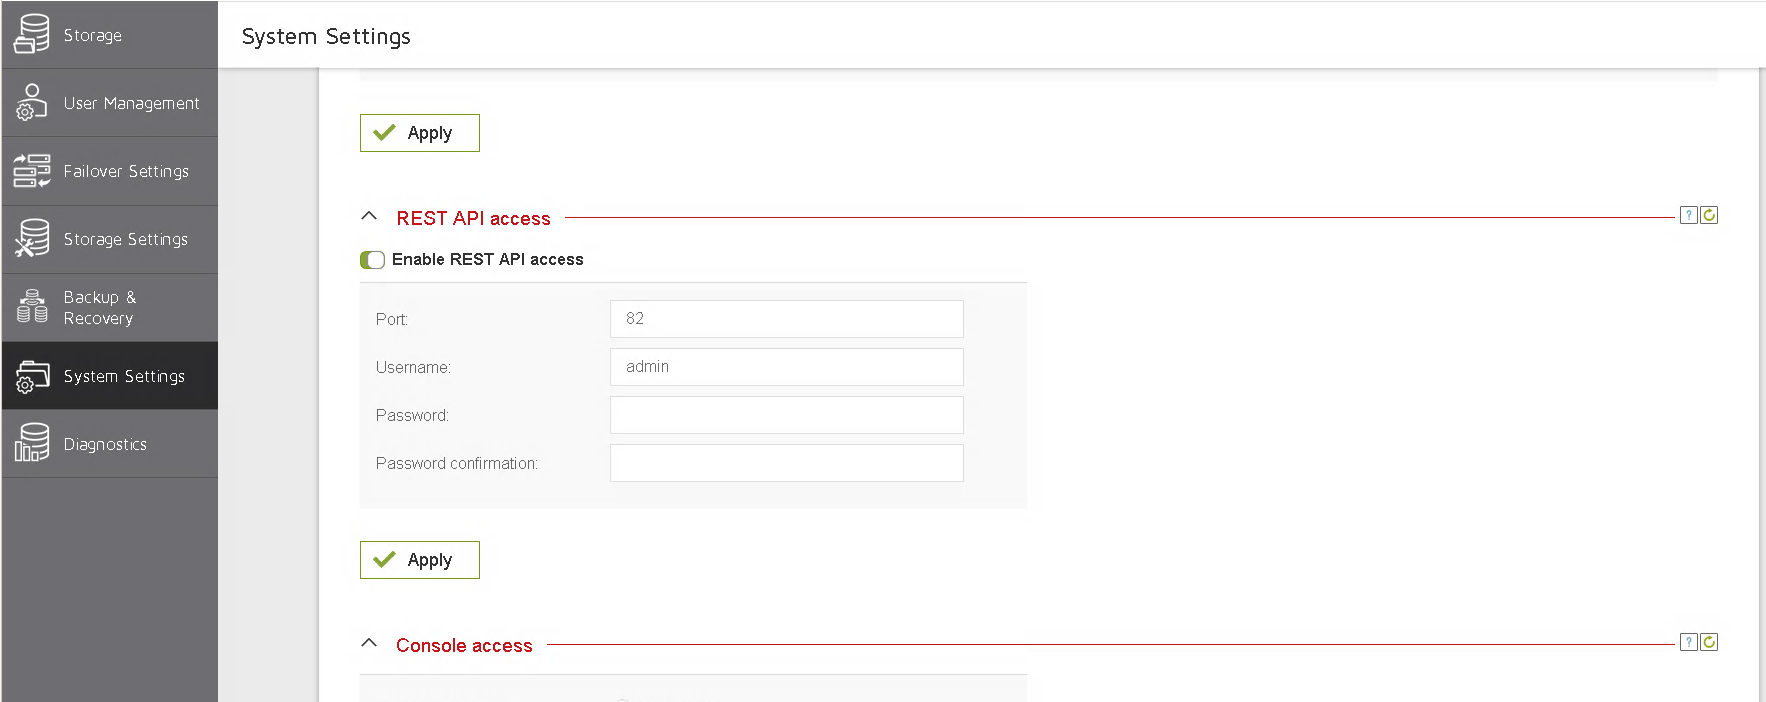
REST API is ON
/etc/pve/storage.cfg
joviandss: jdss-Production-node-Pool-0
        pool_name Pool-0
        user_name admin
        user_password admin
        content images,rootdir
        ssl_cert_verify 0
        control_addresses 192.168.21.100
        data_addresses 192.168.31.100
        path /mnt/pve/jdss-Pool-0
shared 1Pool present
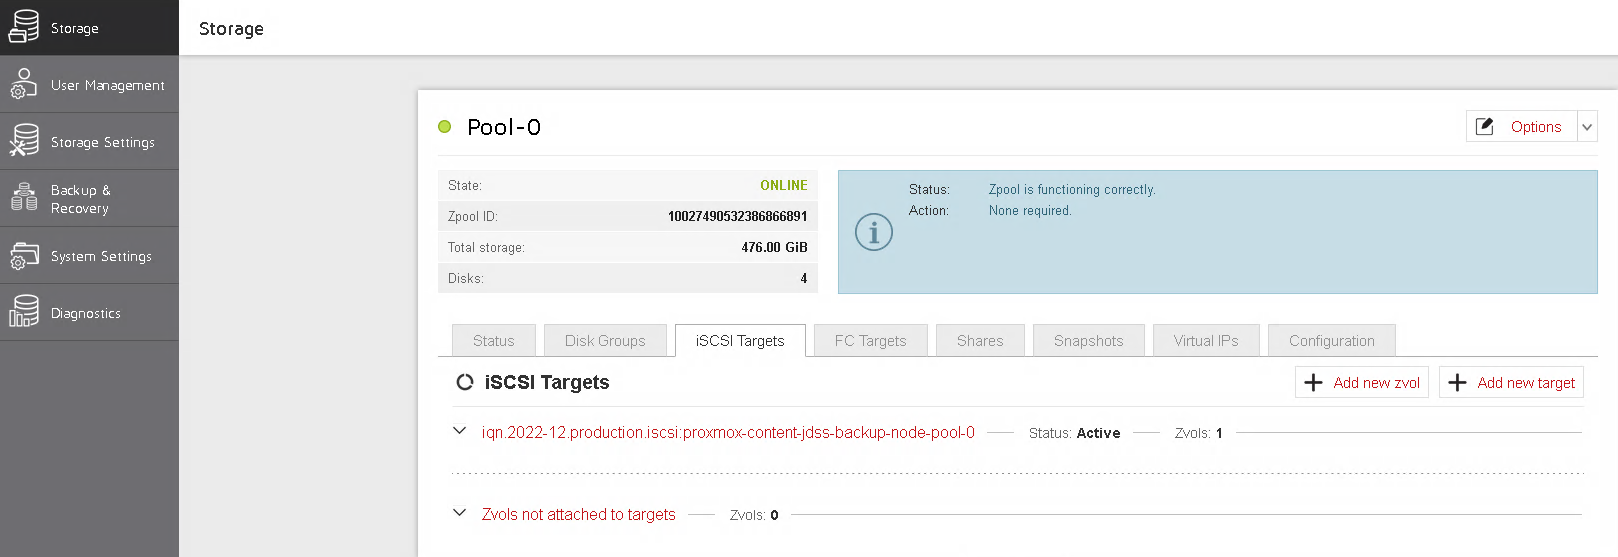
Virtual IP's present

REST API is ON
/etc/pve/storage.cfg
joviandss: jdss-Backup-node-Pool-0
        pool_name Pool-0
        user_name admin
        user_password admin
        content images,rootdir
        ssl_cert_verify 0
        control_addresses 192.168.22.100
        data_addresses 192.168.32.100
        path /mnt/pve/jdss-Pool-0
shared 1To check that both storages configured properly, you can check proxmox server web page.
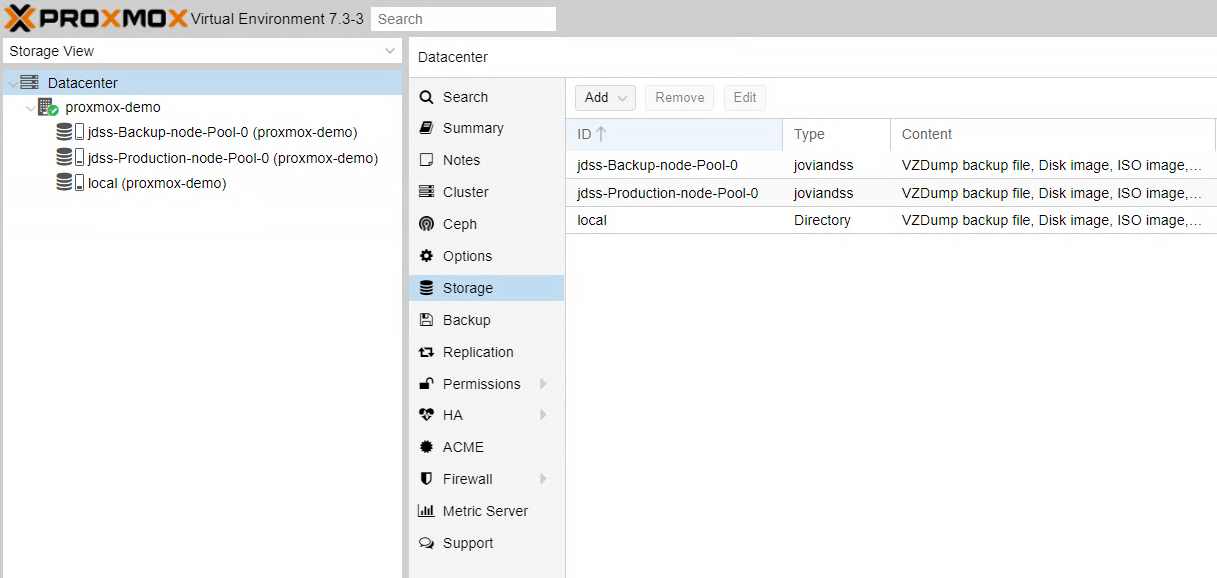
Herejdss-Production-node-Pool-0 and jdss-Backup-node-Pool-0 are online.
or use command line:
root@proxmox-demo:~# pvesm status
Name                               Type     Status           Total            Used       Available        %
jdss-Backup-node-Pool-0       joviandss     active       499122176        26214400       472907776    5.25%
jdss-Production-node-Pool-0   joviandss     active       266338304        46137344       220200960   17.32%
local                               dir     active        14145416         2831516        10573548   20.02%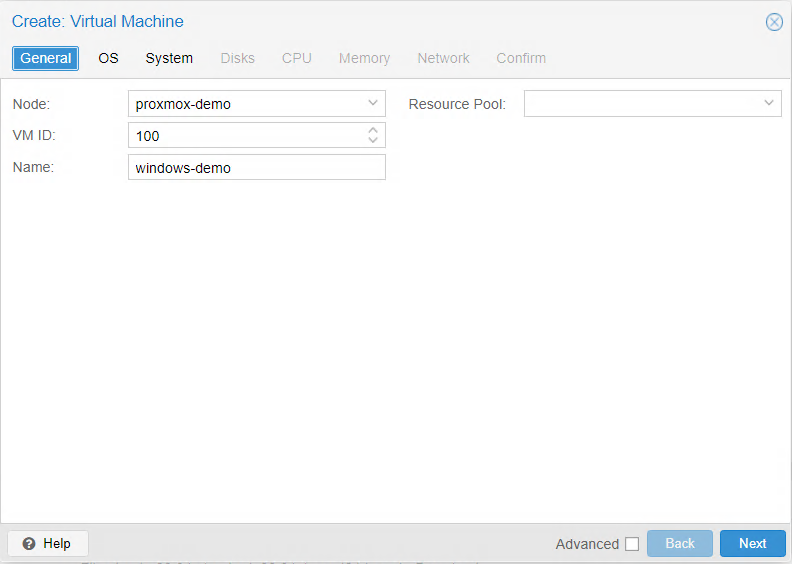

Now when everything is working we would setup backup task for VM 100(windows-demo).
To do this we will create dedicated zvol on Backup node and set Production node to store back up information on it.
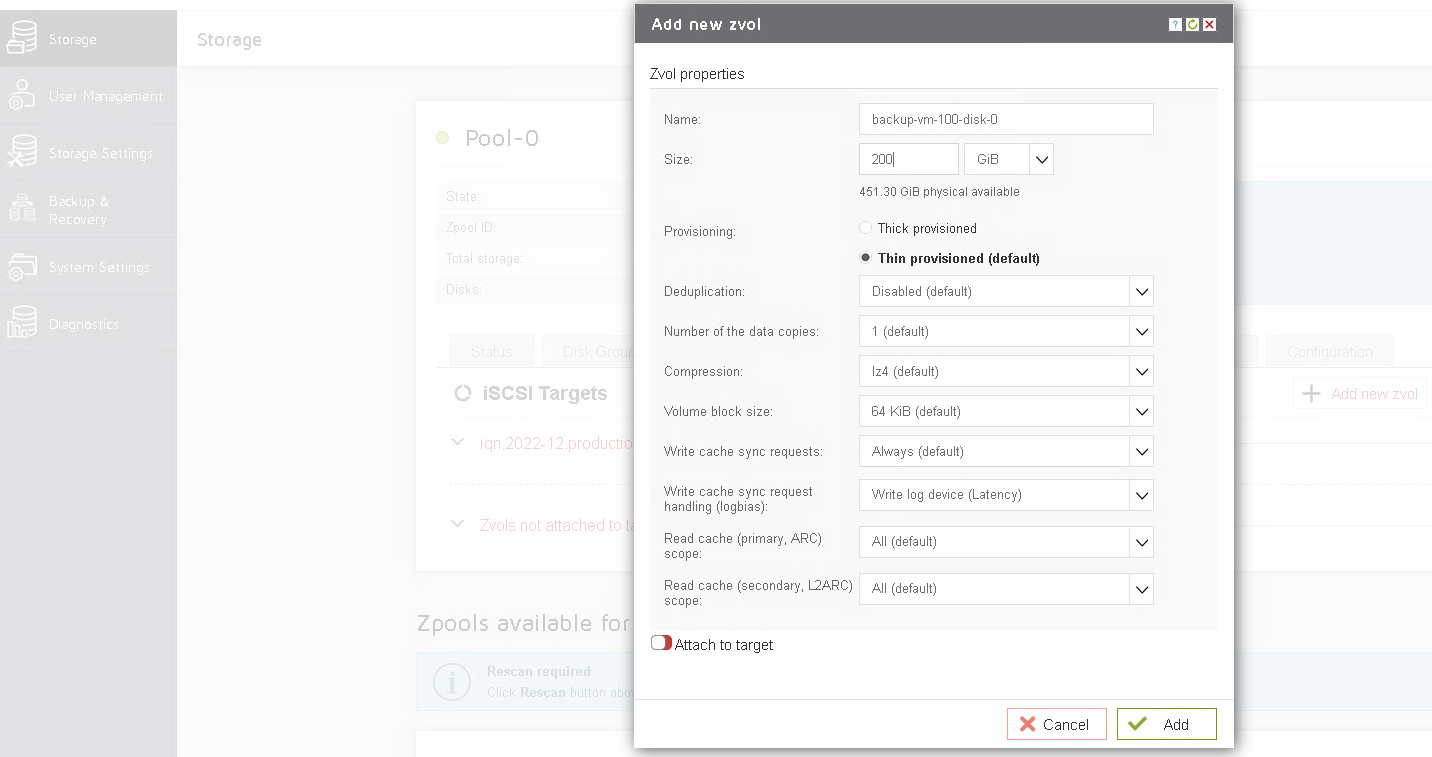
Go to Storage tab of Backup node and create backup-vm-100-disk-0 zvol. Name is arbitraty, but it would be better if this name will be easily associated with original volume.
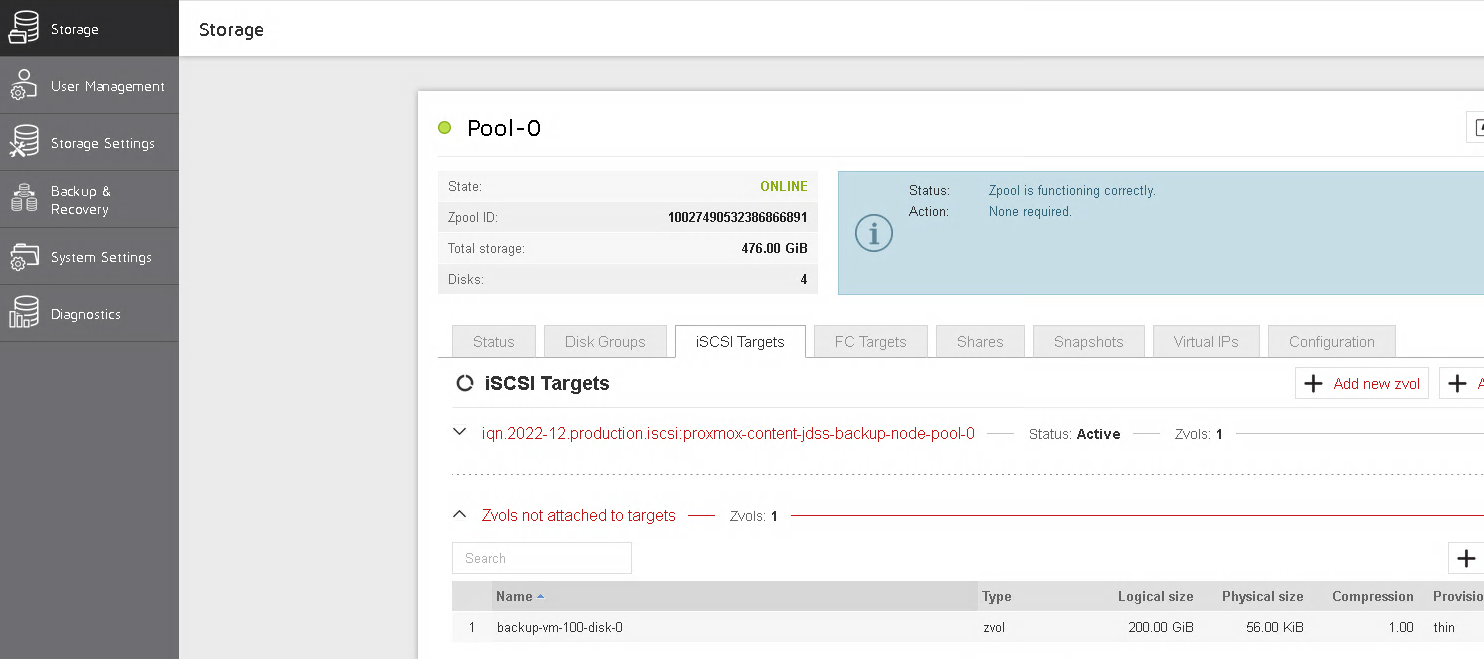
-
Go to
Storage/iSCSI Targetstab ofProduction node -
Find
zvolv_vm-100-disk-0attached to respective target -
Click setting for
v_vm-100-disk-0 -
Select
Add to backup task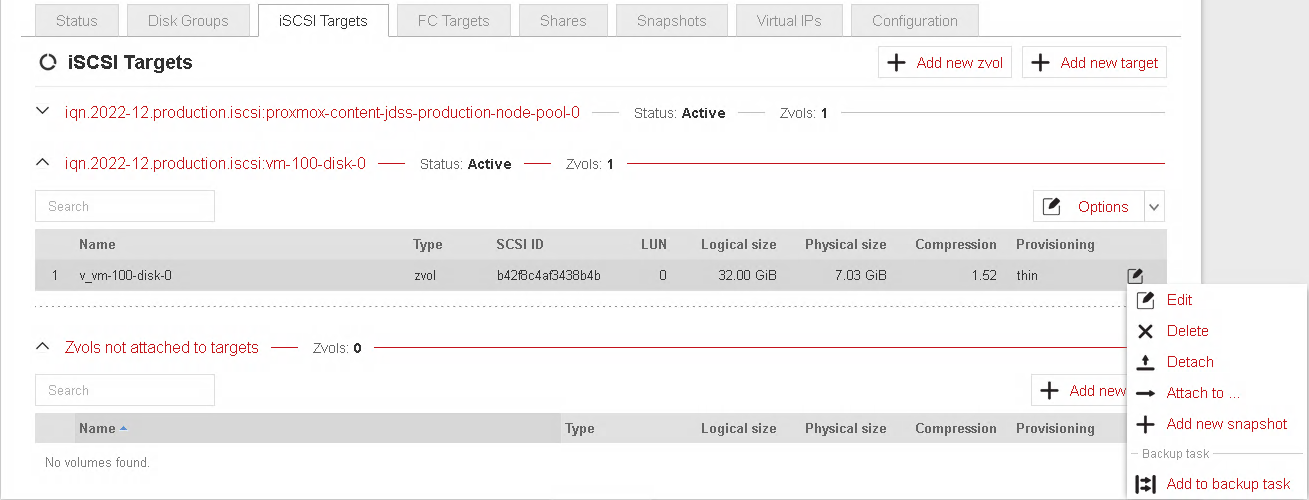
-
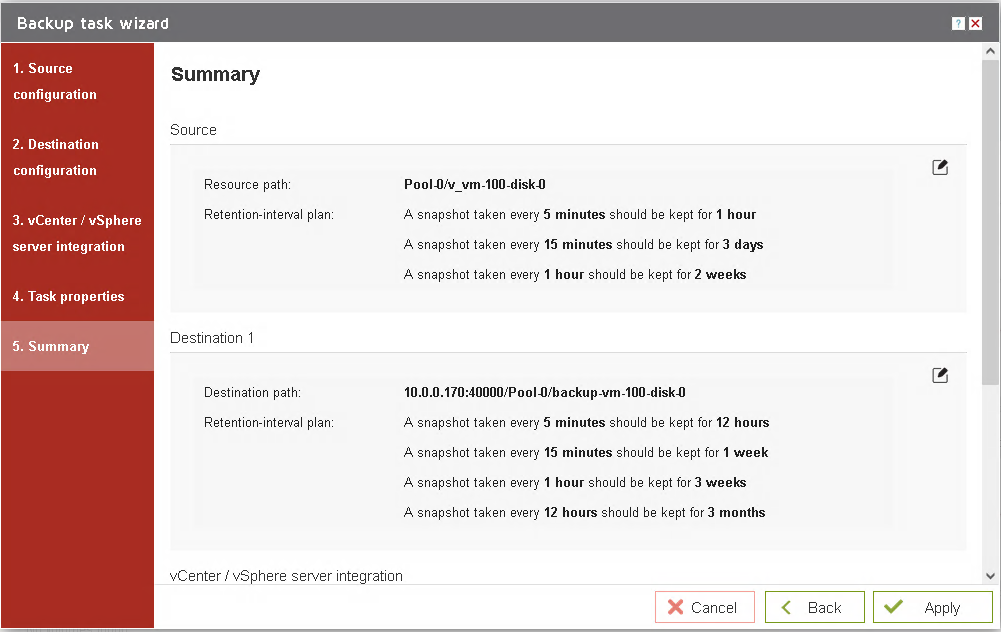
Specify appropriate
retension-intervalplans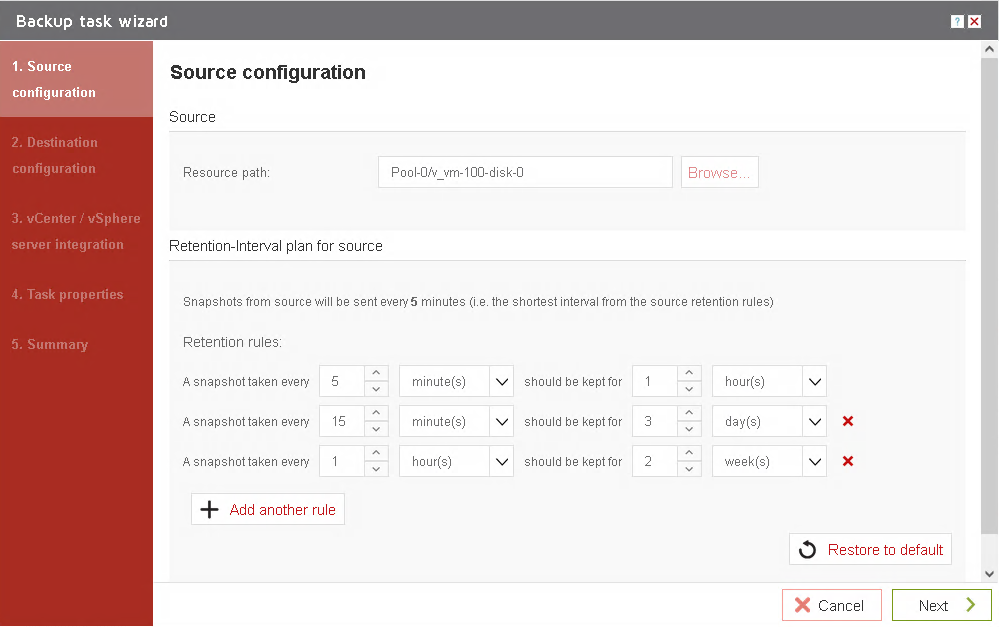
-
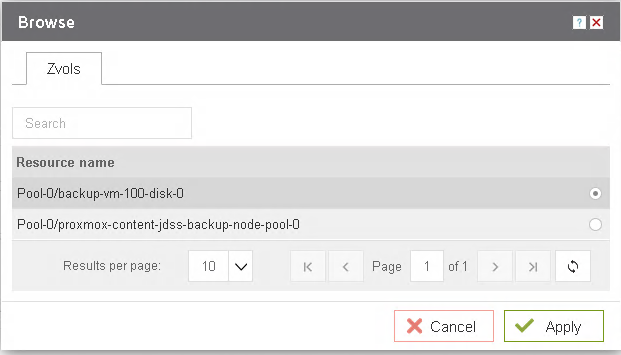
Set
Destination serverfield toBackup nodeby providing its IP address in. In this case it is -
Set
Resource pathasPool-0/backup-vm-100-disk-0or otherzvolname if you namedzvolbackup-vm-100-disk-0differently.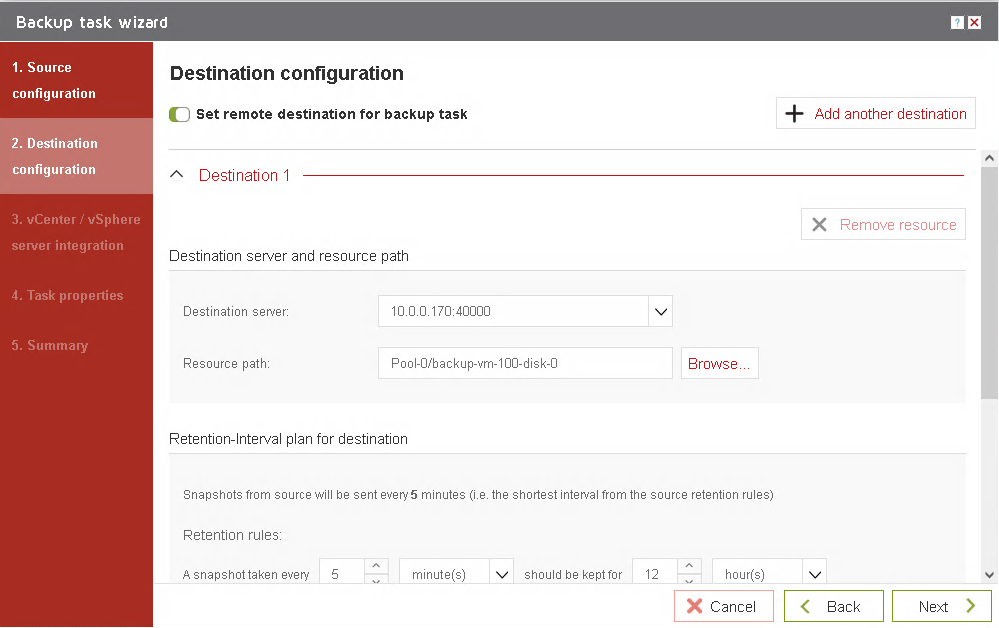
-
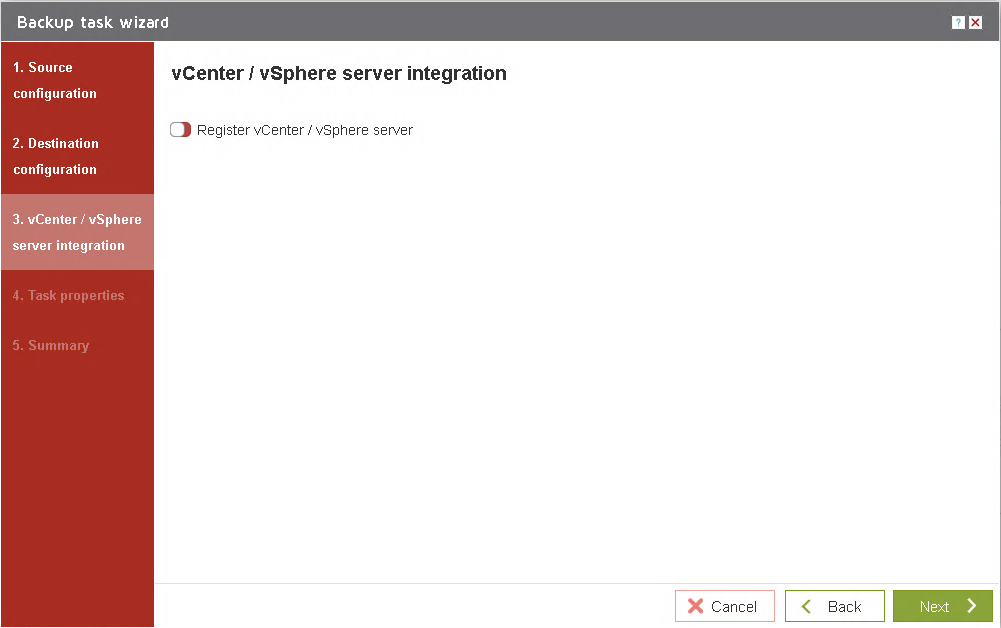
Go through other configurations

 9. Check
 Production node Storage menu Snapshot tab. v_vm-100-disk-0 includes A and B icons.
-
Afor Auto-snapshots -
Bfor Backup functionality.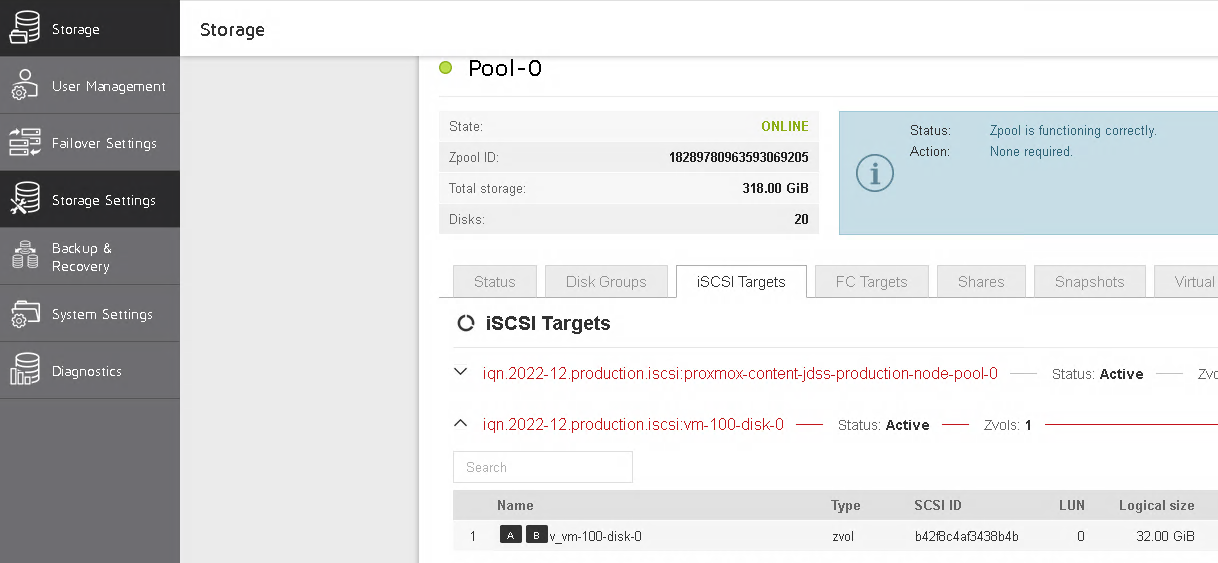
Imagine that something bad happens and virtual machine or its data gets corrupted, encrypted or entire server was damaged by fire or other disaster.
In that case you can restore your virtual machine from back up that was made on Backup node.
All you need to do is to clone backuped volume and assign it to copy of a virtual machine.
In the next section we will show how user can do it.
To get access to you previously backed up data user have to make a clone of appropriate snapshot stored on Backup node:
- Go to
Backup node, and inStoragemenu findSnapshotstab.
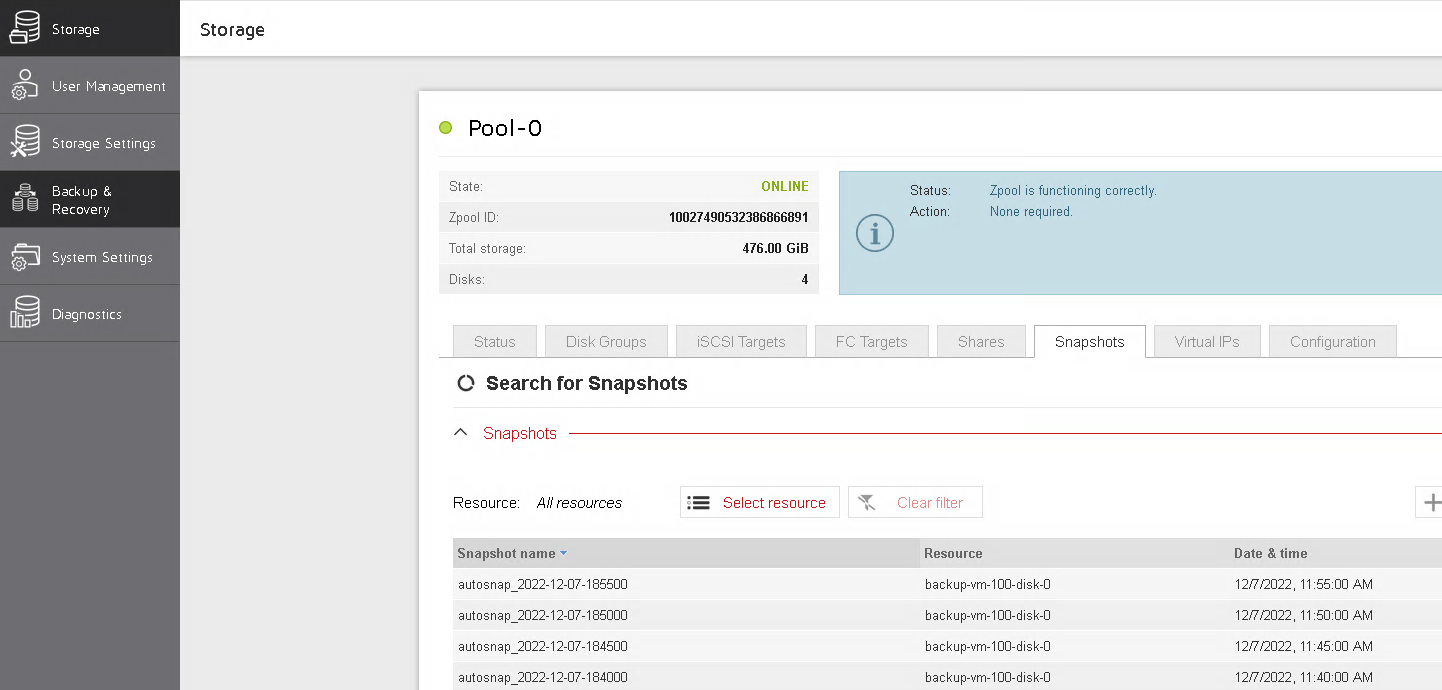
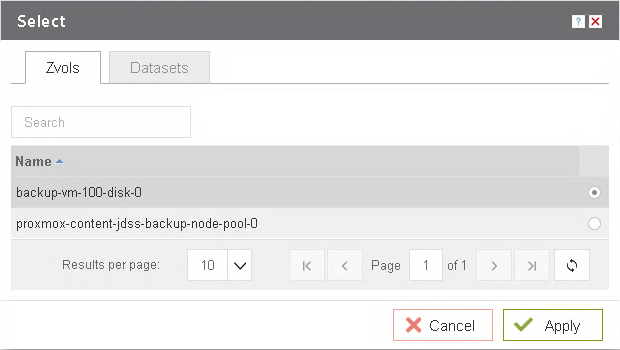
- Select
zvolthat you want to restore by pressingSelect resourceand finding appropriate volume. This action will list you all available snapshots.
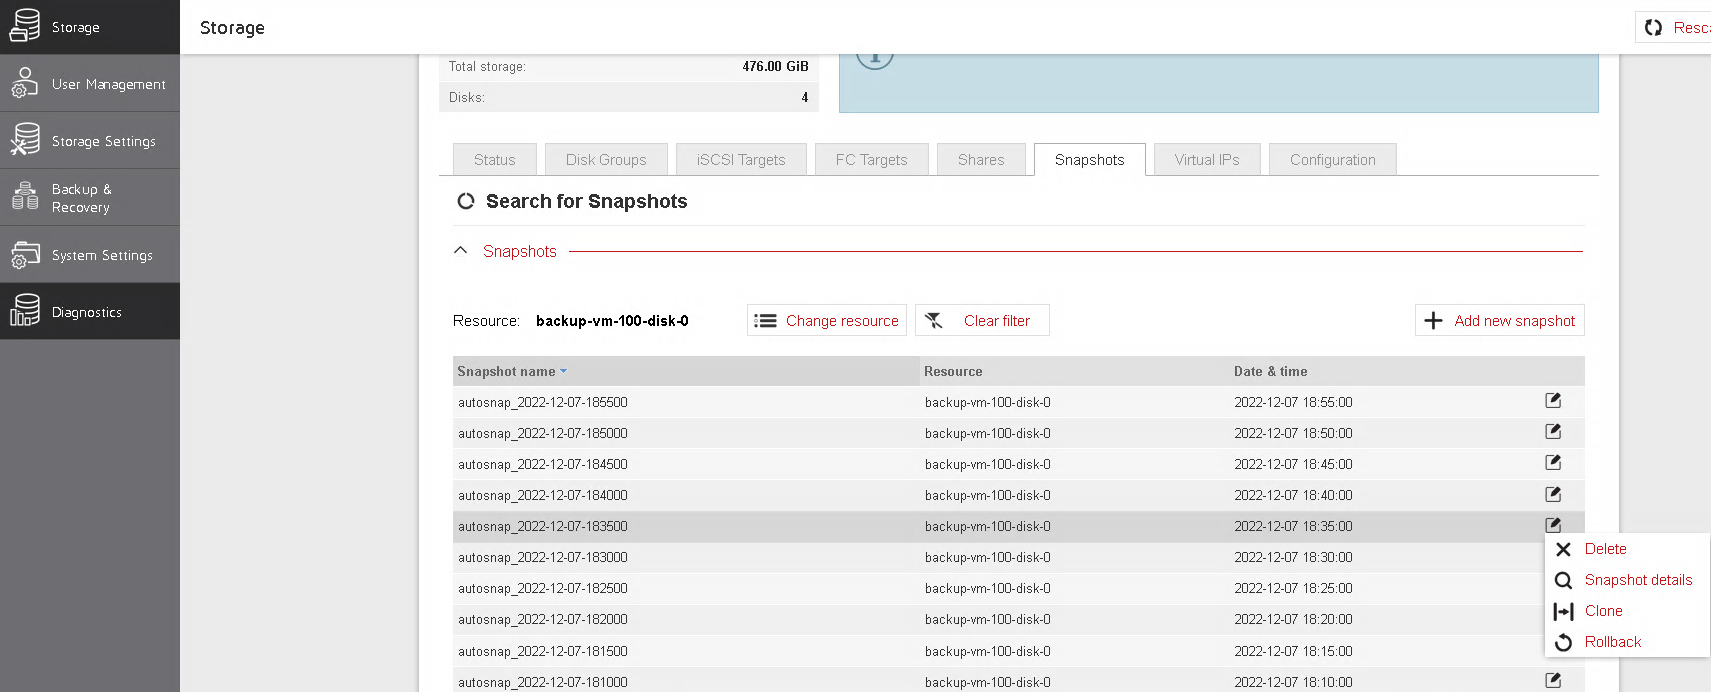
- Select snapshot that contains most actual version of storage that you are interested in and press
Clone.
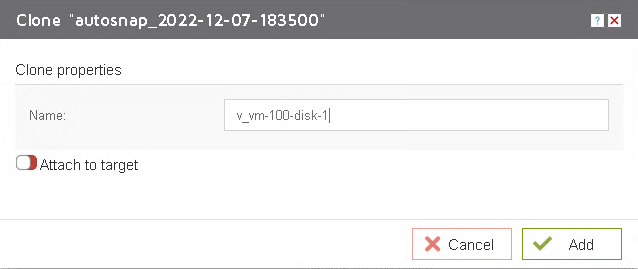
- Name new clone in a way that will resemble format
v_vm-<vm id>-disk-<disk id>.
-
vm idis a virtual machine identifier that is unique id inside proxmox -
disk idis unique disk identifier if disk associated with virtual machine100. Wheredisk idis number that is expected to be unique respective to virtual machine with id100. So that couple In out case it isv_vm-100-disk-1.
-
If everything is
OKyou will see newzvoliniSCSI targetstab ofStoragemenu.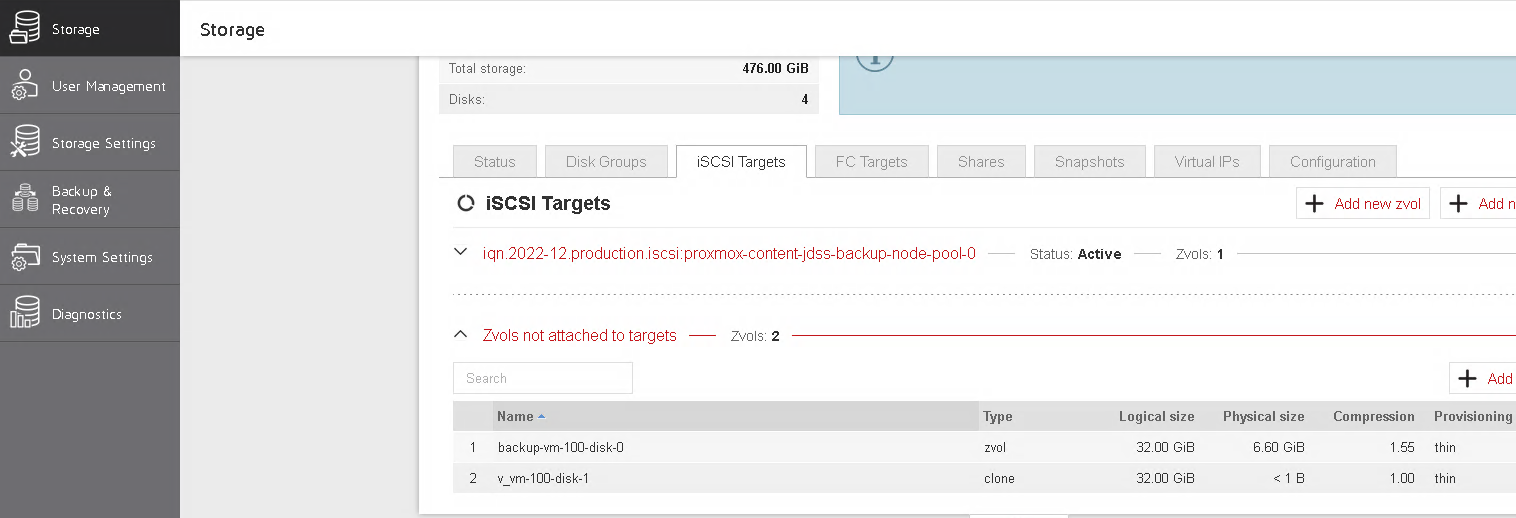
-
Also volume
v_vm-100-disk-1will appear inVM Diskstab ofstorage pooljdss-Backup-node-Pool-0in Proxmox.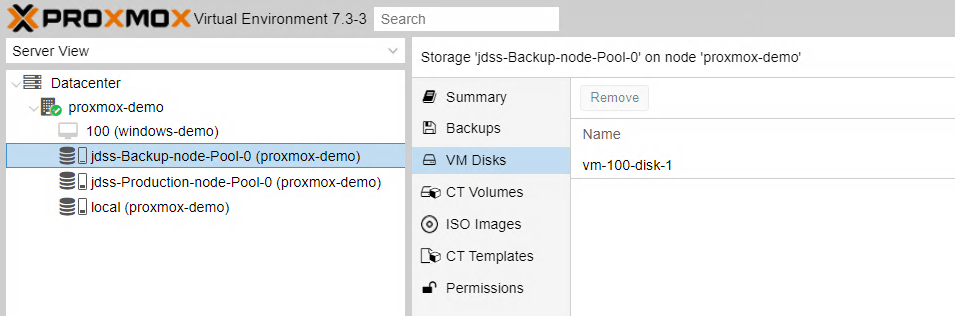
Once volume is restored user can create temporary virtual machine.
To do it go to /etc/pve/qemu-server/
root@proxmox-demo:~# cd /etc/pve/qemu-server/And duplicate config file for virtual machine that you want to restore.
In our case it is virtual machine with id 100.
Make sure that copy of original virtual machine config has unique id number.
In this case we use 101 as it is next free vm id
root@proxmox-demo:/etc/pve/qemu-server# ls
100.conf
root@proxmox-demo:/etc/pve/qemu-server# cp ./100.conf ./101.conf
Open virtual machine config in your favorite editor
boot: order=ide0;ide2;net0
cores: 4
cpu: qemu64
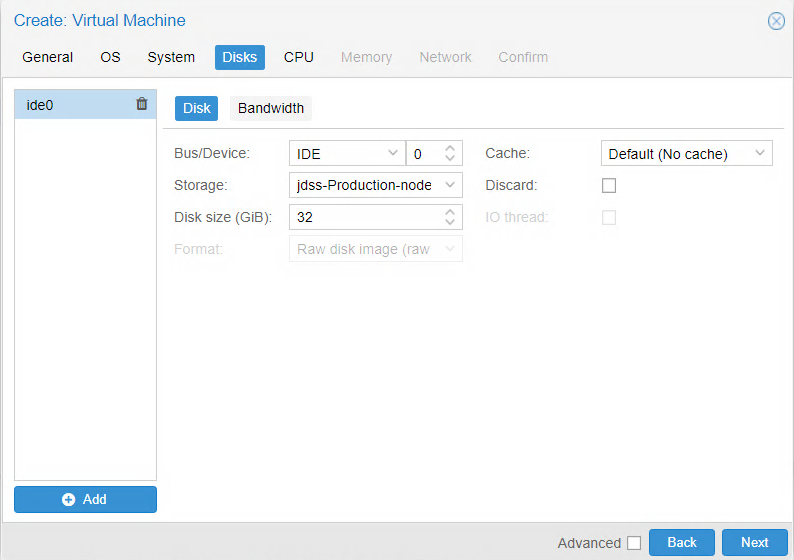
ide0: jdss-Production-node-Pool-0:vm-100-disk-0,size=32G
us.iso,media=cdrom,size=5420408K
kvm: 0
machine: pc-i440fx-7.1
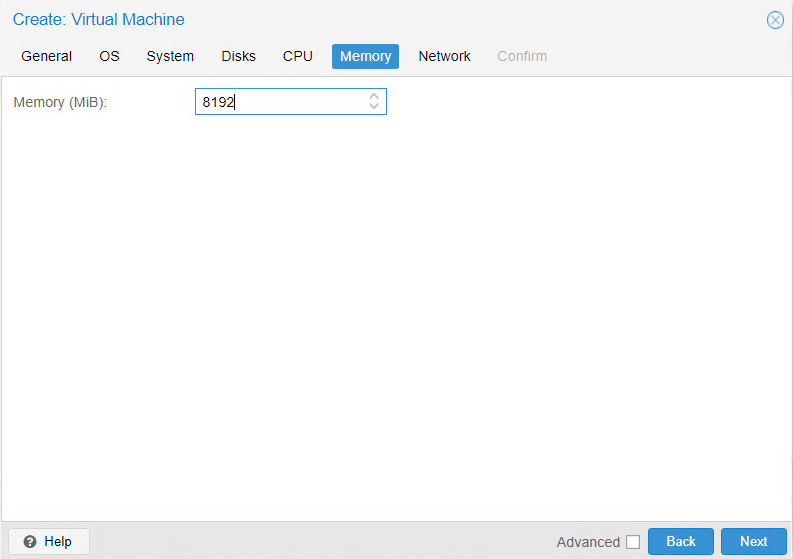
memory: 8192
meta: creation-qemu=7.1.0,ctime=1670424775
name: windows-demo
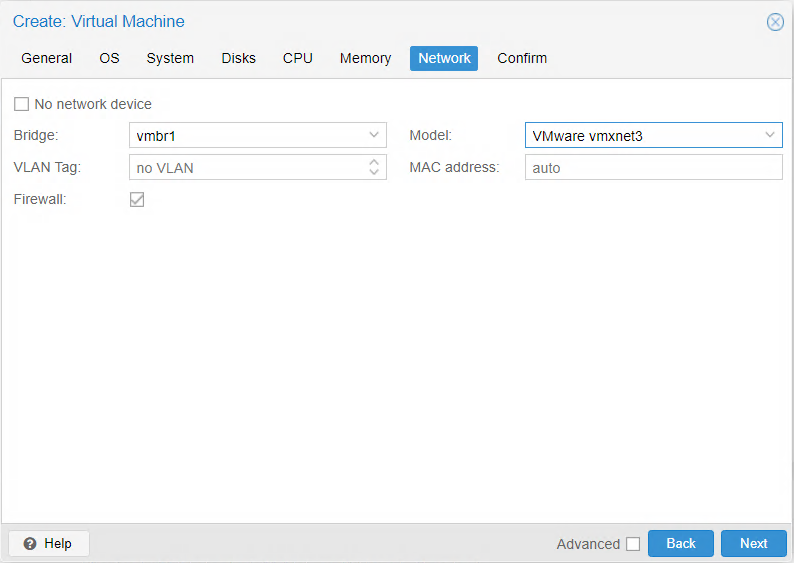
net0: e1000=3E:7B:70:D7:D7:E9,bridge=vmbr1,firewall=1
numa: 0
ostype: win10
scsihw: virtio-scsi-single
smbios1: uuid=7e718afc-0e17-4440-8432-0205b113d6ca
sockets: 1
vmgenid: e6ce6195-974a-4349-832f-6e7d4b115665
And modify line responsible for storage information.
In this case it is ide0 record.
ide0: jdss-Production-node-Pool-0:vm-100-disk-0,size=32G
Make it point out to clone created in previous step by specifying Backup node storage pool and proper volume name.
In this case it is: jdss-Vackup-node-Pool-0:vm-100-disk-1
So the line will look like:
ide0: jdss-Backup-node-Pool-0:vm-100-disk-1,size=32G
Also operator might want to change name field, so it would be more convenient to navigate.
name: windows-demo
change to
name: windows-demo-backup
So that final config will look like:
boot: order=ide0;ide2;net0
cores: 4
cpu: qemu64
ide0: jdss-Backup-node-Pool-0:vm-100-disk-1,size=32G
us.iso,media=cdrom,size=5420408K
kvm: 0
machine: pc-i440fx-7.1
memory: 8192
meta: creation-qemu=7.1.0,ctime=1670424775
name: windows-demo-backup
net0: e1000=3E:7B:70:D7:D7:E9,bridge=vmbr1,firewall=1
numa: 0
ostype: win10
scsihw: virtio-scsi-single
smbios1: uuid=7e718afc-0e17-4440-8432-0205b113d6ca
sockets: 1
vmgenid: e6ce6195-974a-4349-832f-6e7d4b115665
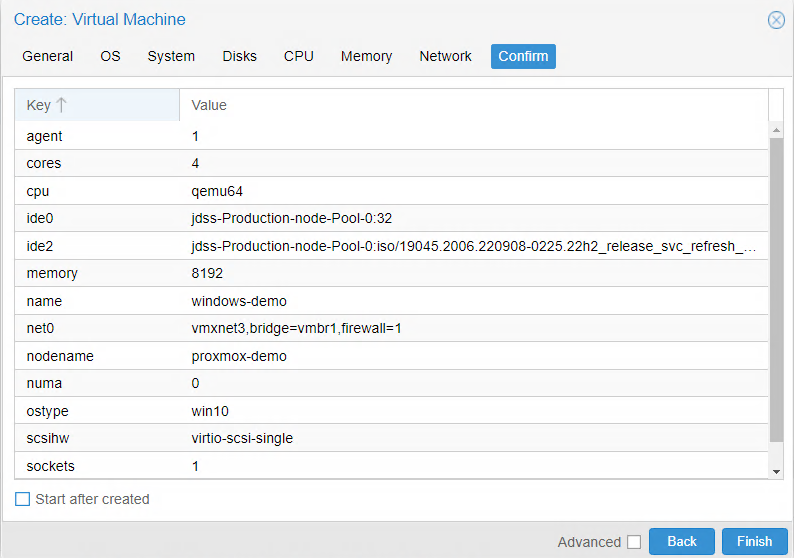
Once file is written virtual machine will appear in proxmox:
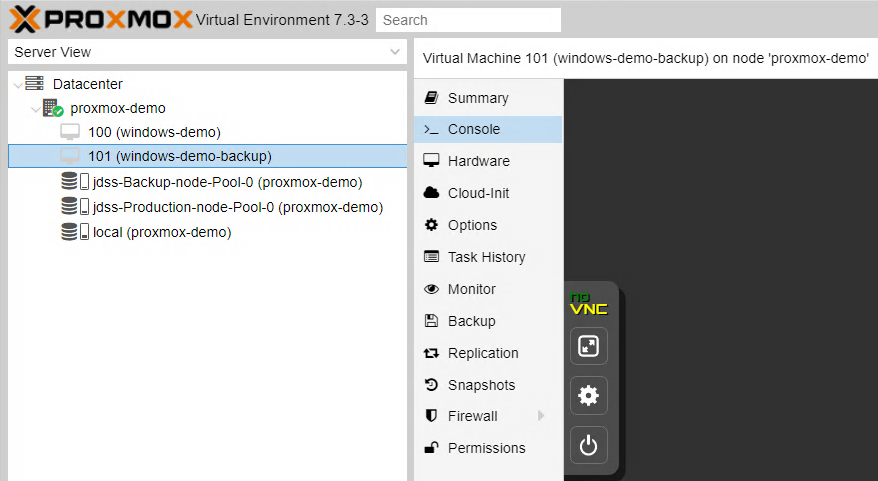
Now user have fully functioning virtual machine and can run it to make sure that all expected data is present.
But we do not recommend using this virtual machine as production as its storage is located on a Backup node.
There fore next best move would be to migrate this virtual machine to Production node
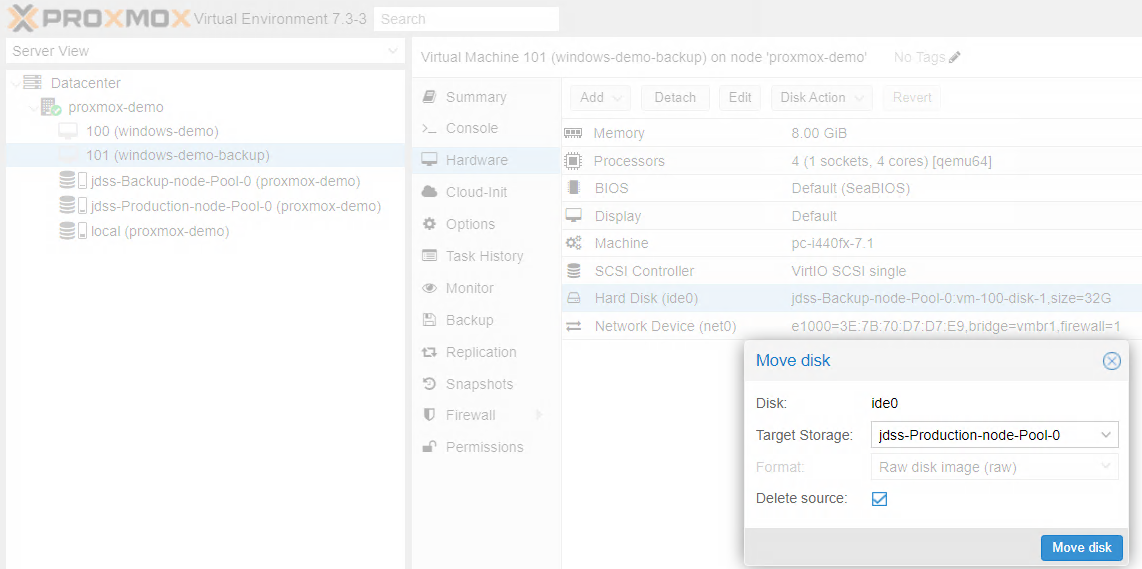
To do it operator have to go to proxmox and find virtual machine that was created from backup, in this case it is 101(window-demo-backup).
Select disk jdss-Backup-node-Pool-0:vm-100-disk-1 in Hardware menu, and press Disk Action, there you will find Move Storage
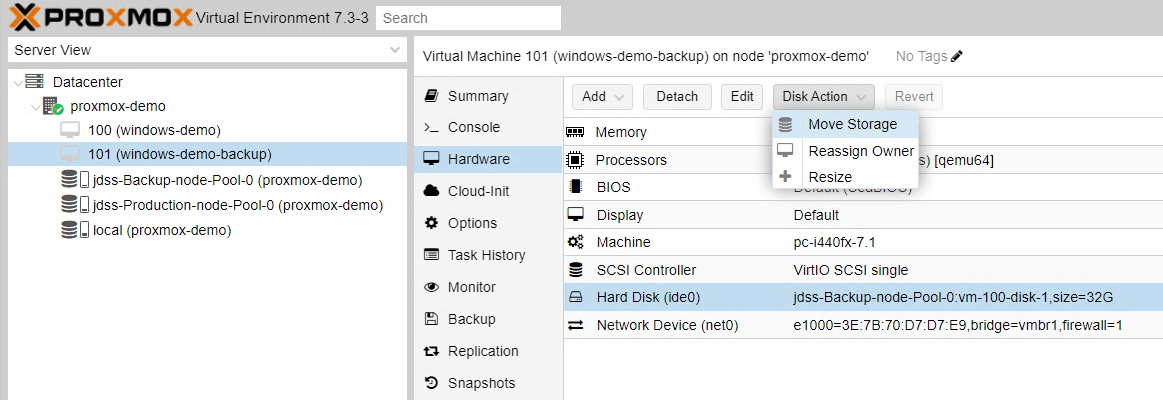
Select resource pool associated with Production node, in this case it isjdss-Production-node-Pool-0 and start transaction.
Once it is done virtual machine is back to Production node and you can continue regular operation. Please notice that proxmox will rename volume. In particular case it would be named vm-101-disk-0.
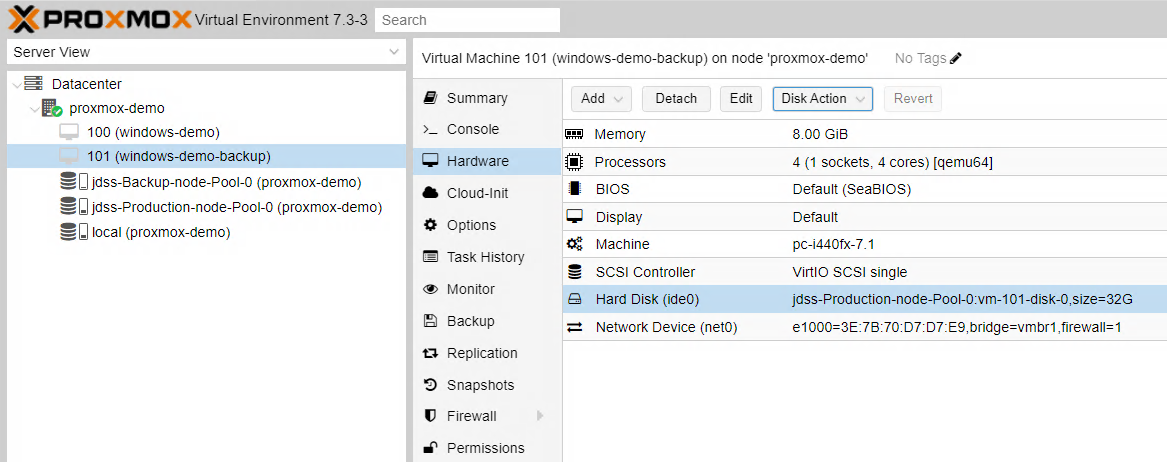
Also we would recommend to set up backup task again. As this volume is treated as new one and no backup tasks is applied to it.