(00) Creating a New Project - nroflmao/NesMakerHelp GitHub Wiki
1: Create a New Project (File..New)

1.A: This Creates new folder in the GraphicAssets folder

2: Set up FCEUX as your emulator (Project...Project Settings)
Note: must download & install FCEUX first

Import a Project Module
Note: This step may not be needed with 4.0.11 since when creating a new project it allows you to select the Module type you want to start
Also Note: These instructions presume use of the Adventure Module. It will not be accurate for other modules
1: Go to "Project...Import Project Module" to import the Adventure Module Scripts
Example is inside the NesMaker Modules folder

1.A: Check everything on the dialog (everything should already be checked). User Defined can't be checked

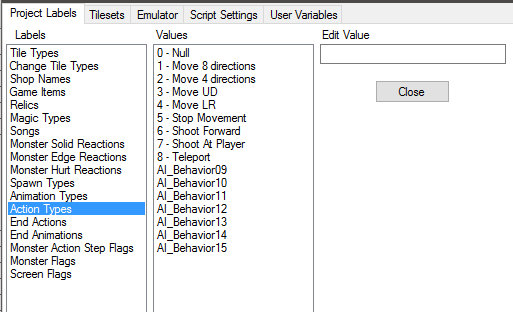
1.B: Check that everything is loaded in your project from Project...Project Settings...Script Settings

1.C: Check that the Tile Types look as below

And should match the numbers from the script settings

1.D: Action Types checking