modes - nortd/lasersaur GitHub Wiki
Vector and Raster Modes
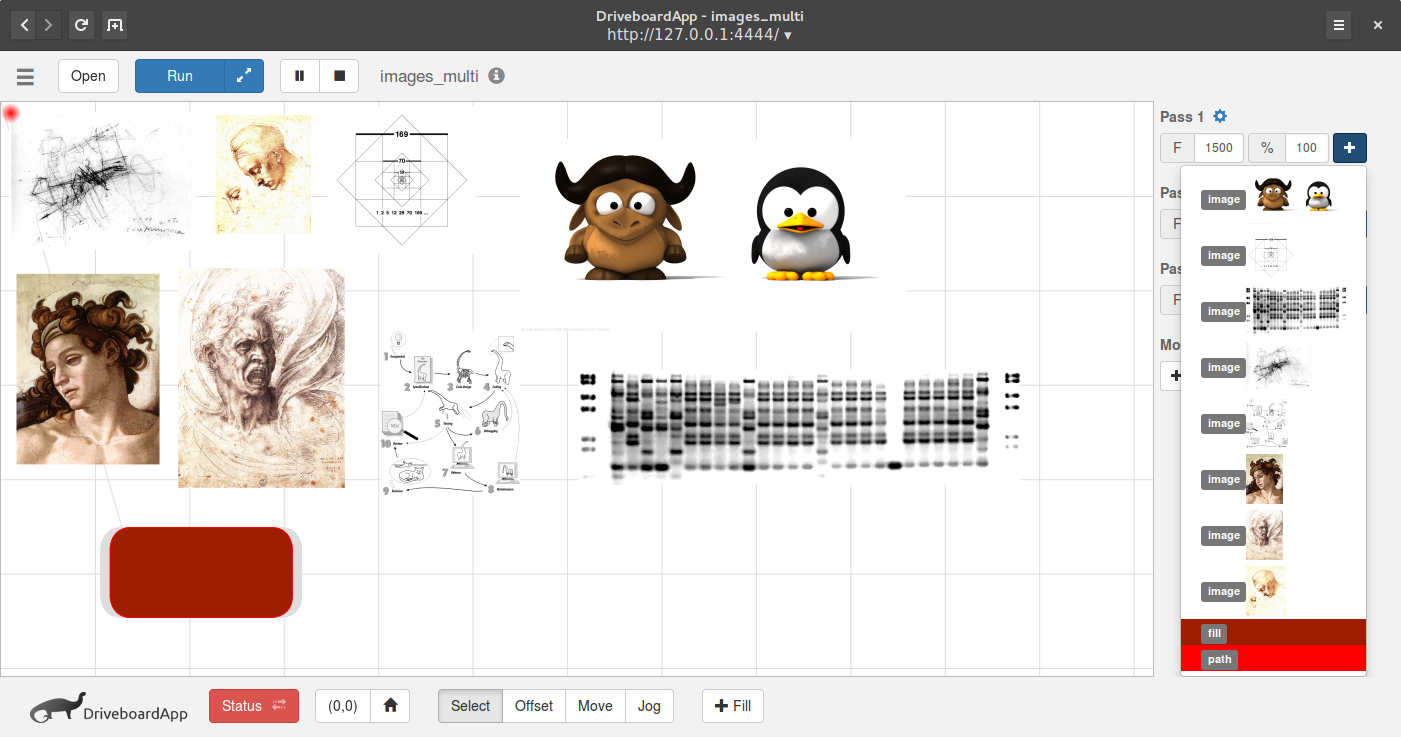
DriveboardApp supports three kinds of geometry: path, fill, and image. They are marked as such when you add them to any pass in the UI. Both path and image items come directly from the svg or dba file. A fill in contrast is generated in the UI from a path as needed.

path
A path item is basically one or more vector lines. Depending on the laser settings assigned, it results in a vector cut or a vector engraving. They are grouped by color. This means if you want to assign different paths to different passes (and laser settings) you need to color these items differently in your vector app.
fill
Fills are typically used for engrave-filling a path. The UI allows you to generate fills ("+Fill" button) as needed. Any generated fill then becomes an item which can be added to any pass just like a path vector cut. For best results allow some work space on both sides of the path. This way the engraving happens at nominal feedrate and not during accel/decelerations of the laser head.
pxsize
When you generate a fill you can specify the height of the scan lines with the pxsize parameter. Typically this should match the kerf of the laser and depends on the focus length of the lens, the distance between work piece and lens, and the material. A focused 76mm lens on wood typically results in 0.4mm lines. You can also use this setting to do low-res speed fills by defocusing the beam to a diameter of, say 5mm, and matching the pxsize value to it.
image
Images from an svg file can be raster-engraved with DriveboardApp. Simply embed an image in your svg document and open it in the UI. The image shows up in the preview and is available for assignment in any laser pass. The intensity setting sets the top range of intensity for the white pixels in the image. IMPORTANT: The image must be embedded not linked in the svg file. Inkscape, for example, will ask you these two options when importing an image into the document.
Images should be placed with some distance to the boundaries. This allows for the laser head to speed up to its nominal feedrate and only engrave while traveling at constant speed.
pxsize
The width and height of pixels can be tuned with the pxsize parameter. For images it can be found under the pass options drop-down (gear symbol). The concept here is the same as with fills. This parameter should match the width of a laser line. It depends on lens, distance to work piece, and material.